Category Archives: Jamming

How to Prevent Nasty Rusted Canning Lids

Standard

It is quite disconcerting to open a jar of your homemade preserves, only to find nastified rust and junk under the lid.

DSCN6520

Acidic foods have a way of destroying lids and make you wonder about the contents of your jar.

DSCN6521

Recently, I was opening a jar of homemade something or other from the fridge and saw the nastiness.

Then I noticed some Classico pasta sauce lids that I had been saving. They have a nice waterproof coating in the interior and they fit my regular mouth canning jars!

DSCN6519

No more gross stuff at the top of the jars!

I shared this (new to me information) with a friend of mine, who then informed me that mayo jar lids fit too. Now I’m going to be saving those too. These reused lids don’t look as nice as the canning lids, but the results are certainly much better.

Please note: I do not use these lids for the actual canning process, I only use these after canned goods are opened for use.

DSCN6517

Do you know of any other lids that fit regular mouth canning jars? What about lids for wide mouth canning jars? I’d love to hear what you do to prevent nasty canning lids !

Advertisement

75 Pounds of Peaches

Standard

I’m finally staring at the bottom of my last box of peaches.

peaches

So far I have made peach jam, blueberry peach jam, and peach pie filling. On the to-do list for today is plain canned peaches, more delicious peach jam, and freezing those peaches in need of emergency attention. If I still have some left, I hope to make some syrup for sweetening iced tea, and maybe a batch of spiced peach butter. I’ve already posted recipes for the peach jam and the blueberry peach jam, but I plan on posting a recipe for the peach pie filling soon; it’s really tasty! Also, I’ll let you know how the peach syrup turns out. If it turns out as good as it sounds in my head, it should be a really really good summer beverage.

What would you do with 75 pounds of peaches? Did I miss one of your favorite recipes? Let me know!

Oh, and I have my first ever video in the works! Stay tuned!

Super Easy Crock-pot Apple Butter-No Canning Required!

Standard

Having the words “easy” and “Crock-pot” in the same sentence is a bit redundant, I know. This apple butter is really simple to make and is a great way to make a dent in a bushel of apples.

Yep, I bought a whole bushel of Jonathan apples! 40 pounds of apples for $17 is a fabulous price to me.

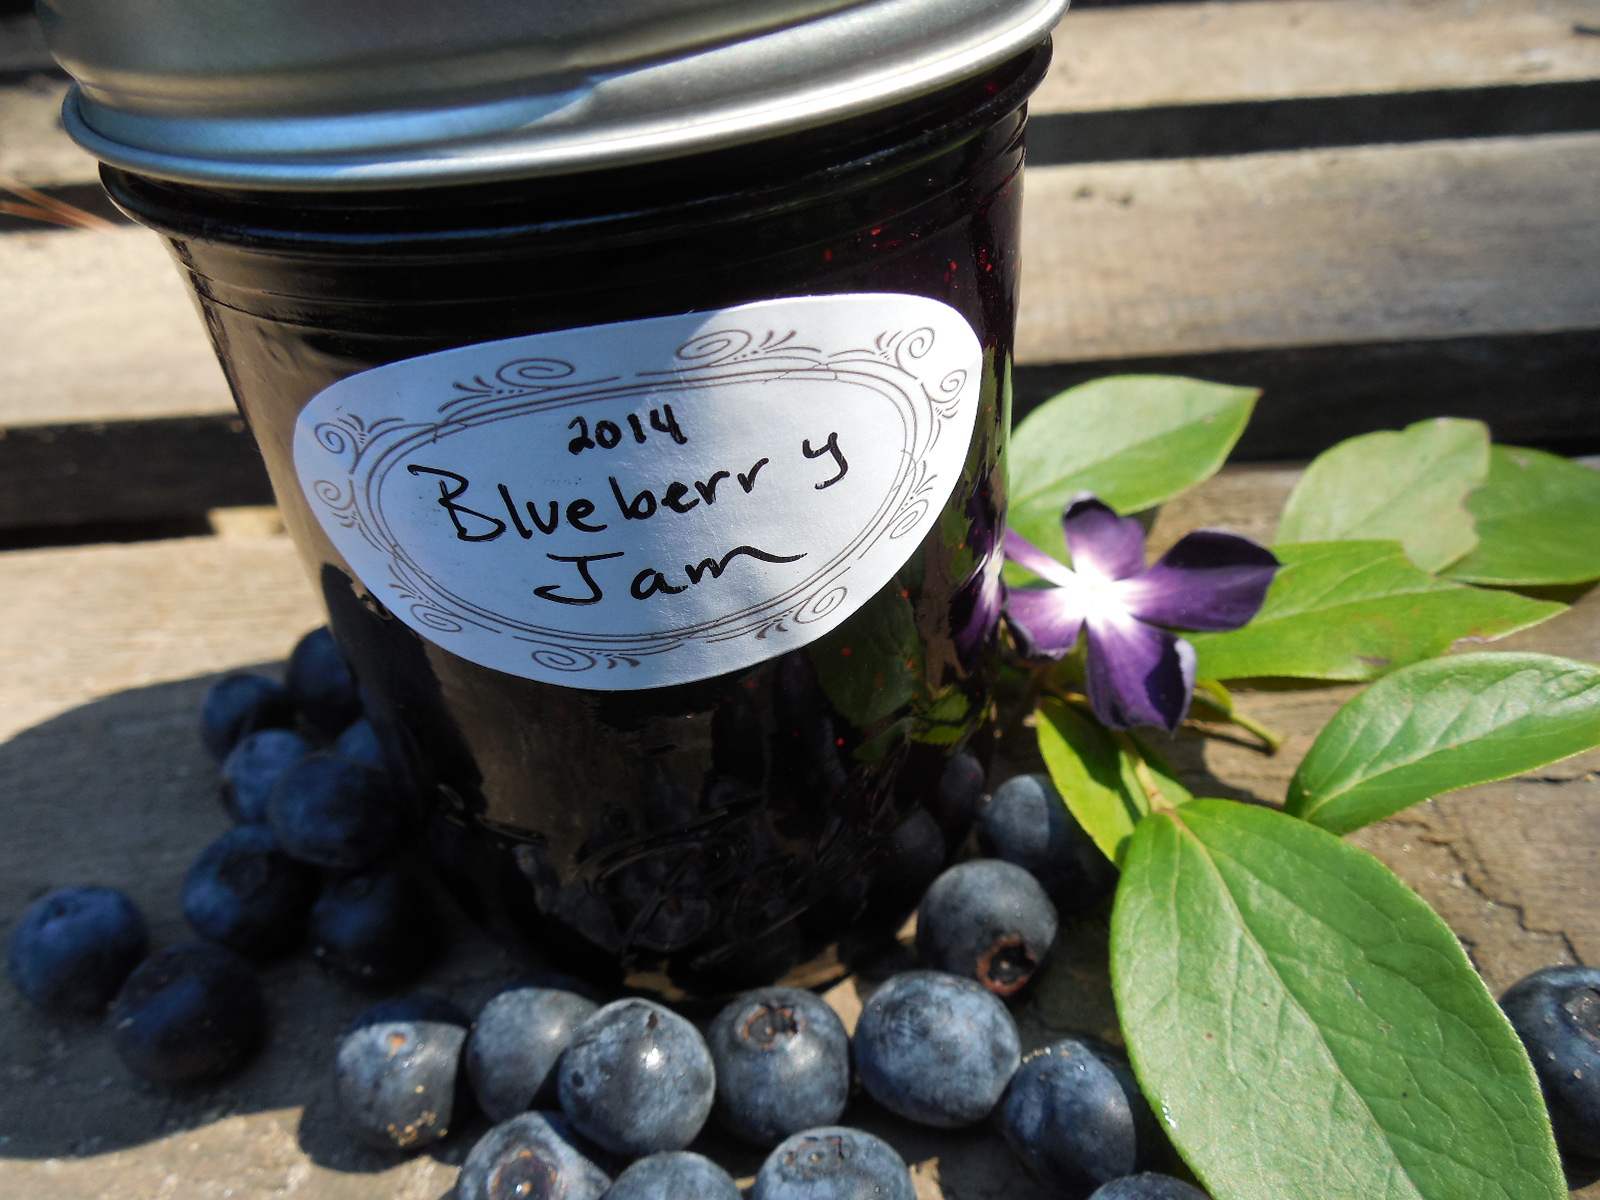
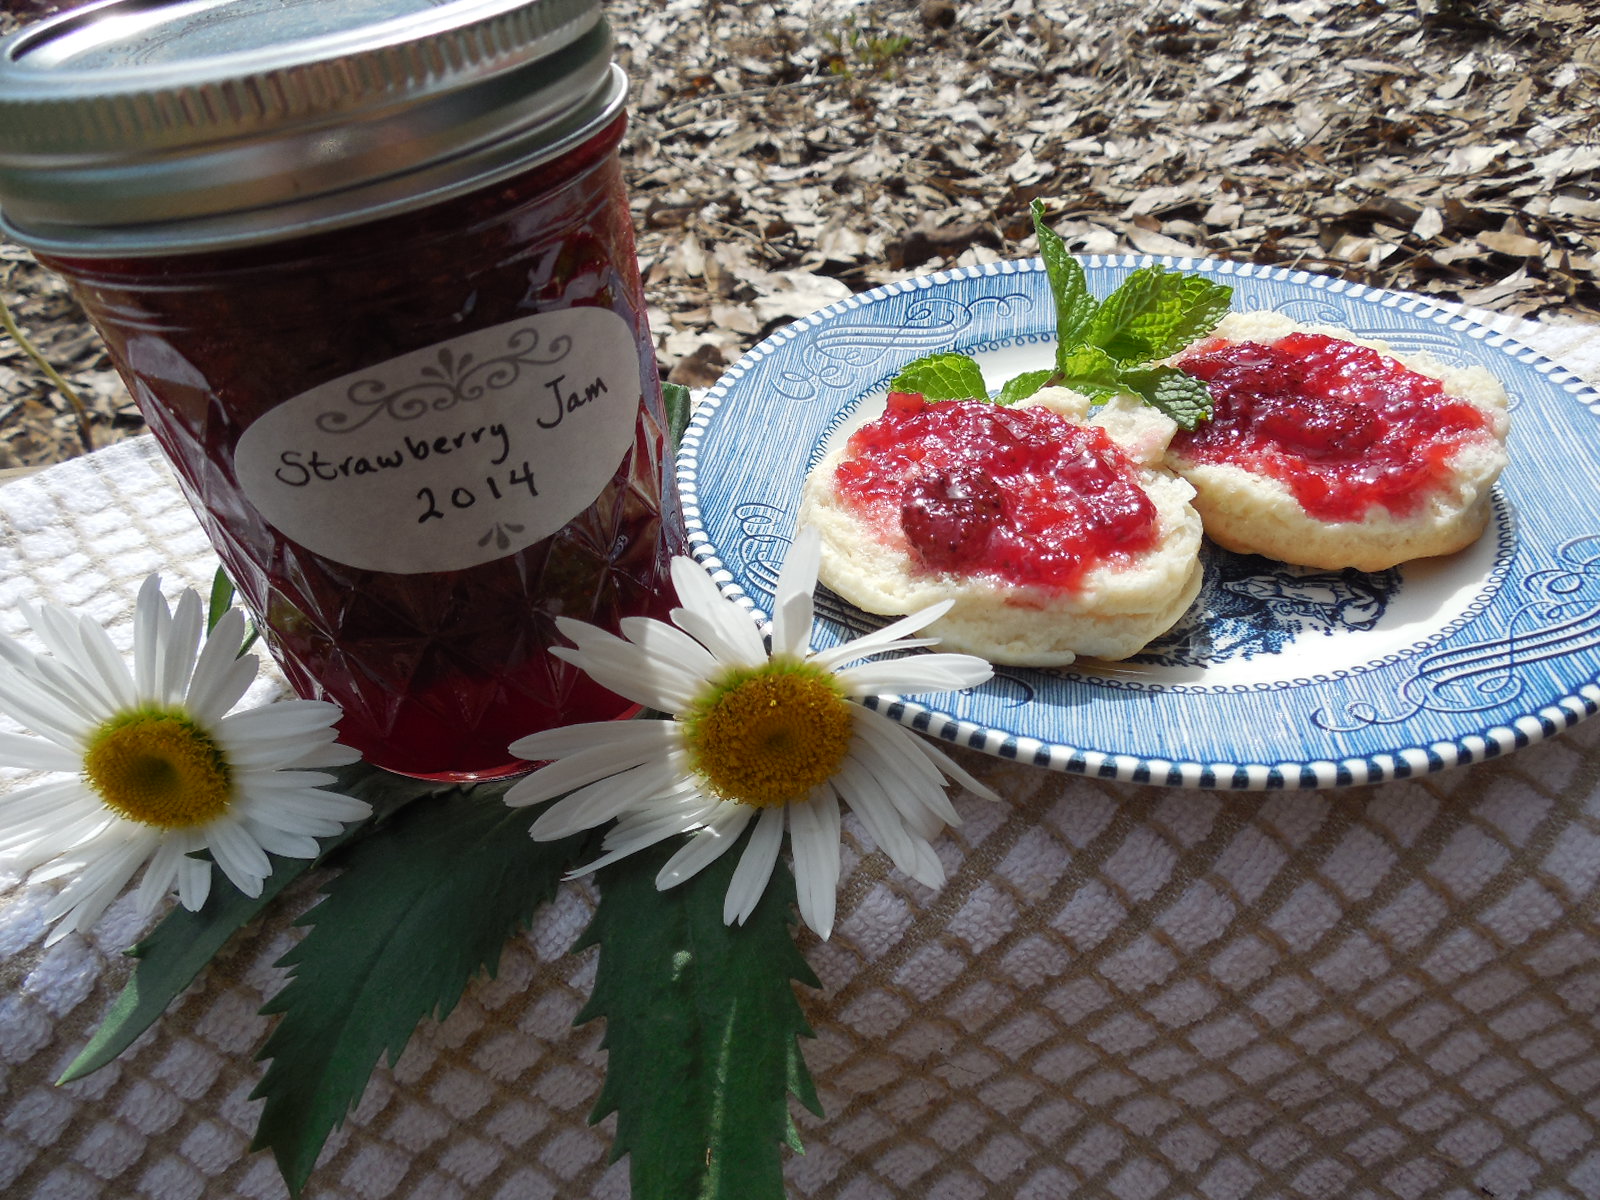
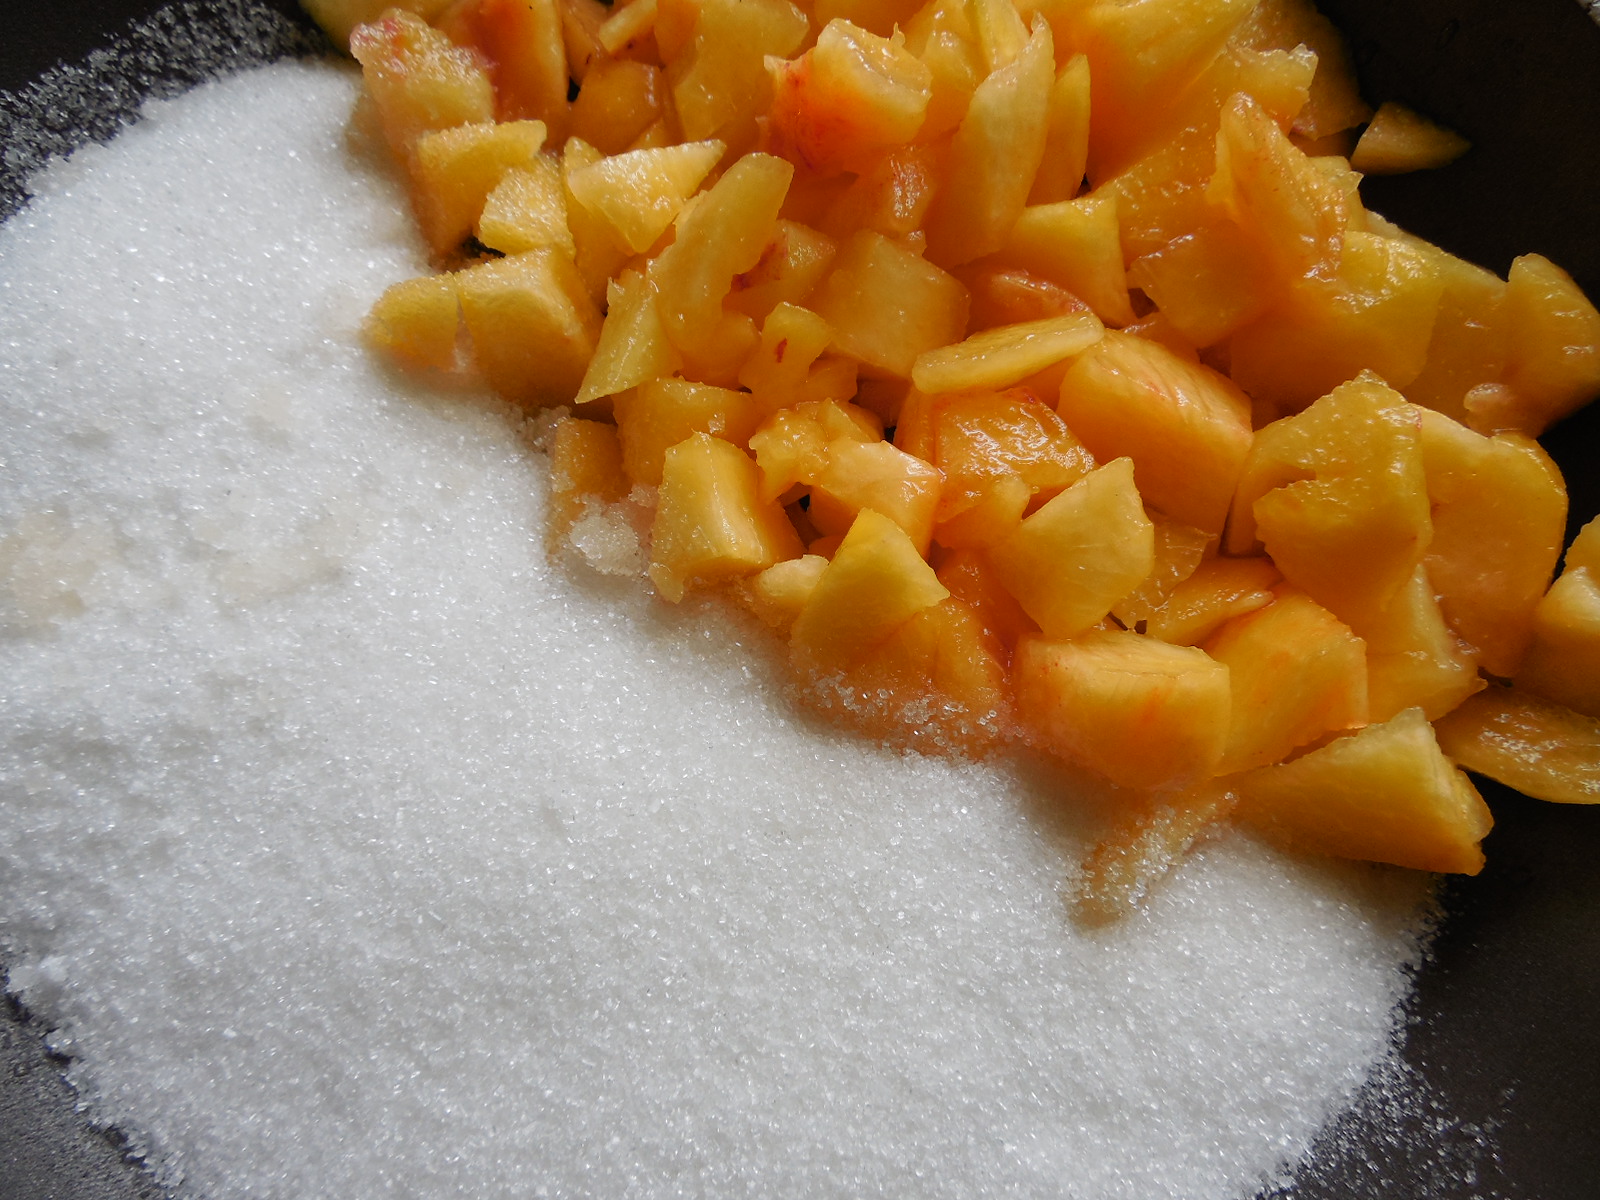
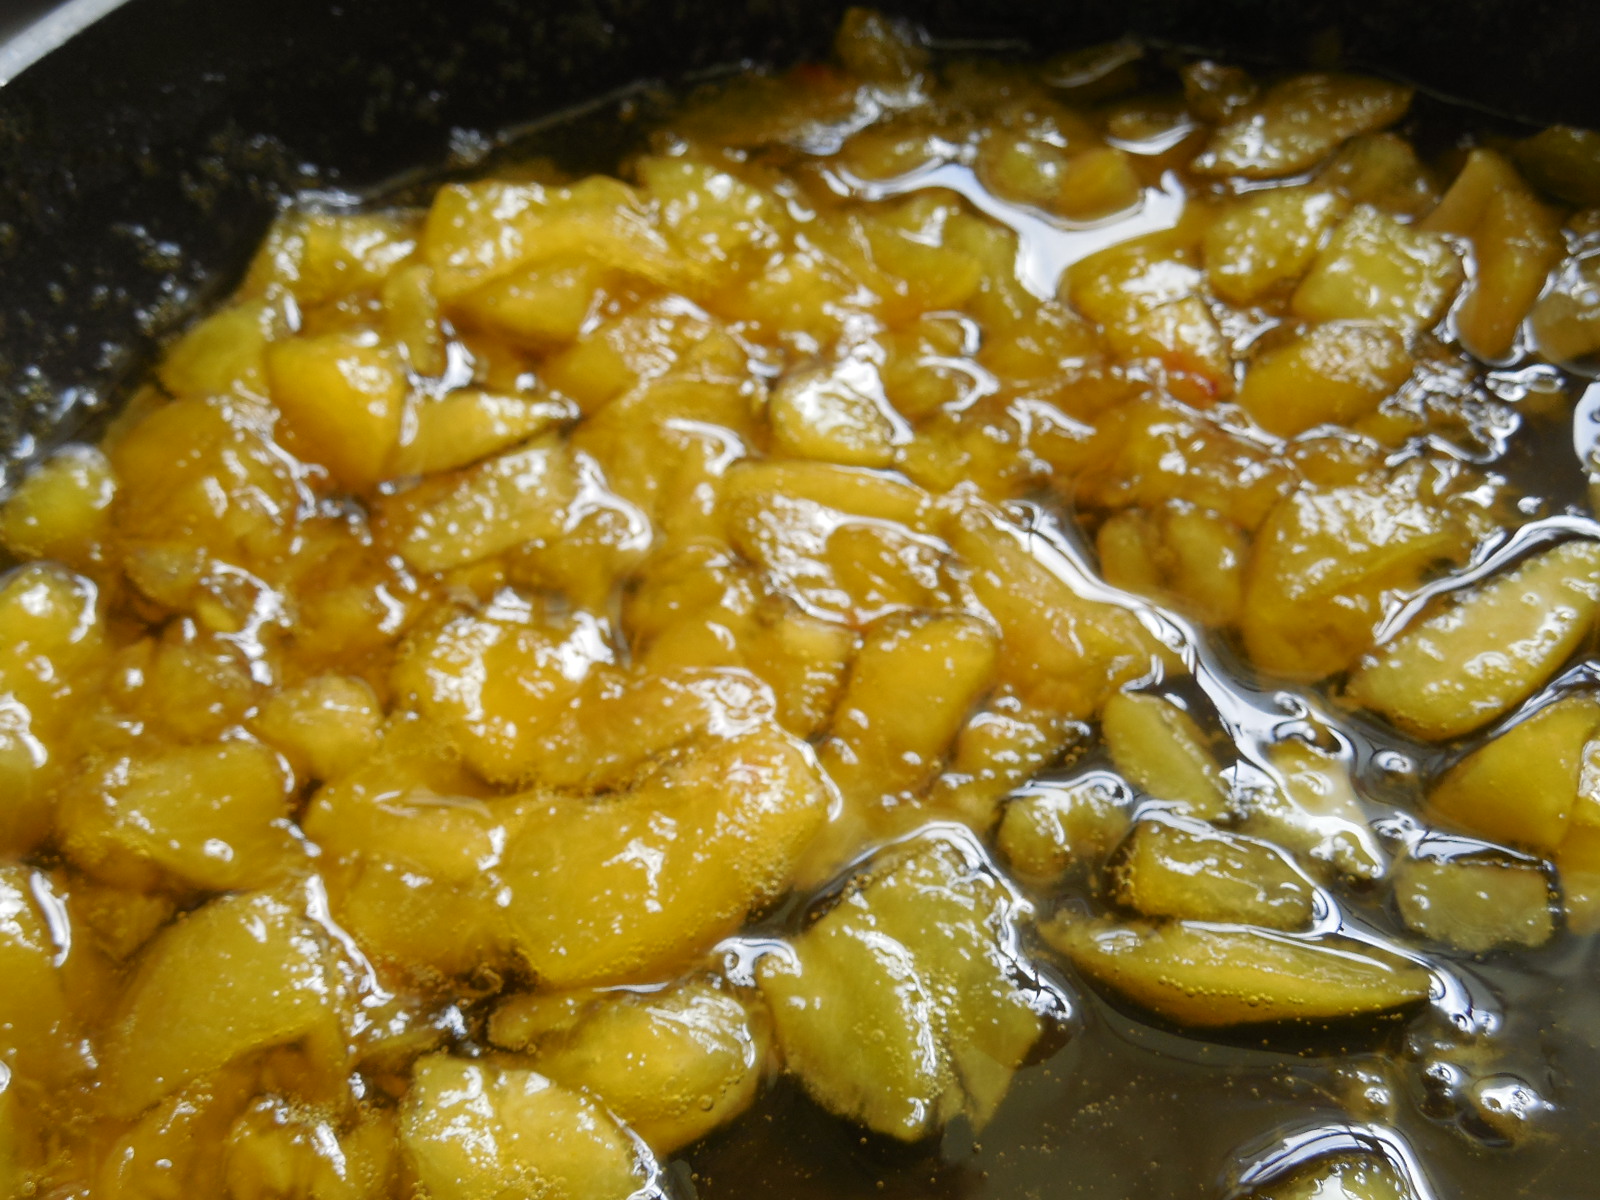
I have started to see the end of my homemade jam stash. I didn’t think we would go through so much jam, but when it tastes so good, you tend to try to think of excuses to eat your peach jam.

So, on to the apple butter.

Here’s what you need: approx 3 dozen apples, 1 T pumpkin pie spice or cinnamon, 3/4 cup brown sugar. Yield will depend upon how long you cook down the apple butter. You should get at least 6 half pints.

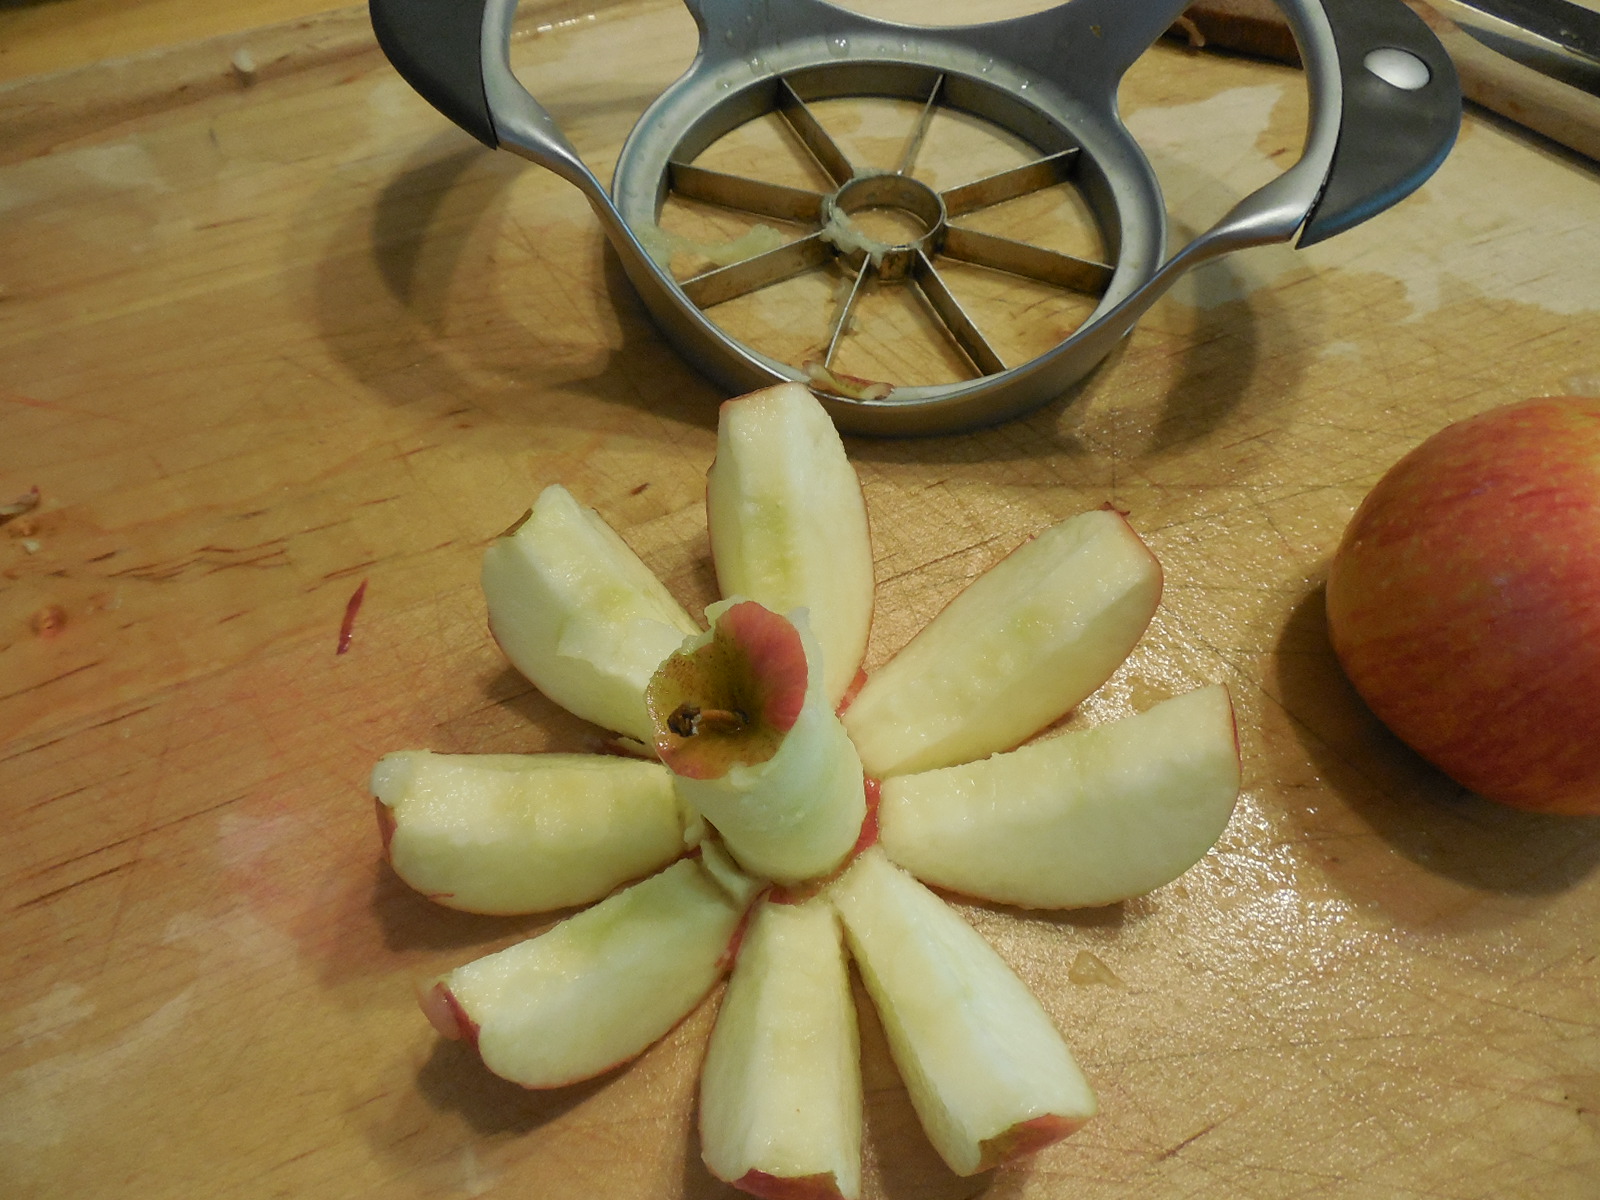
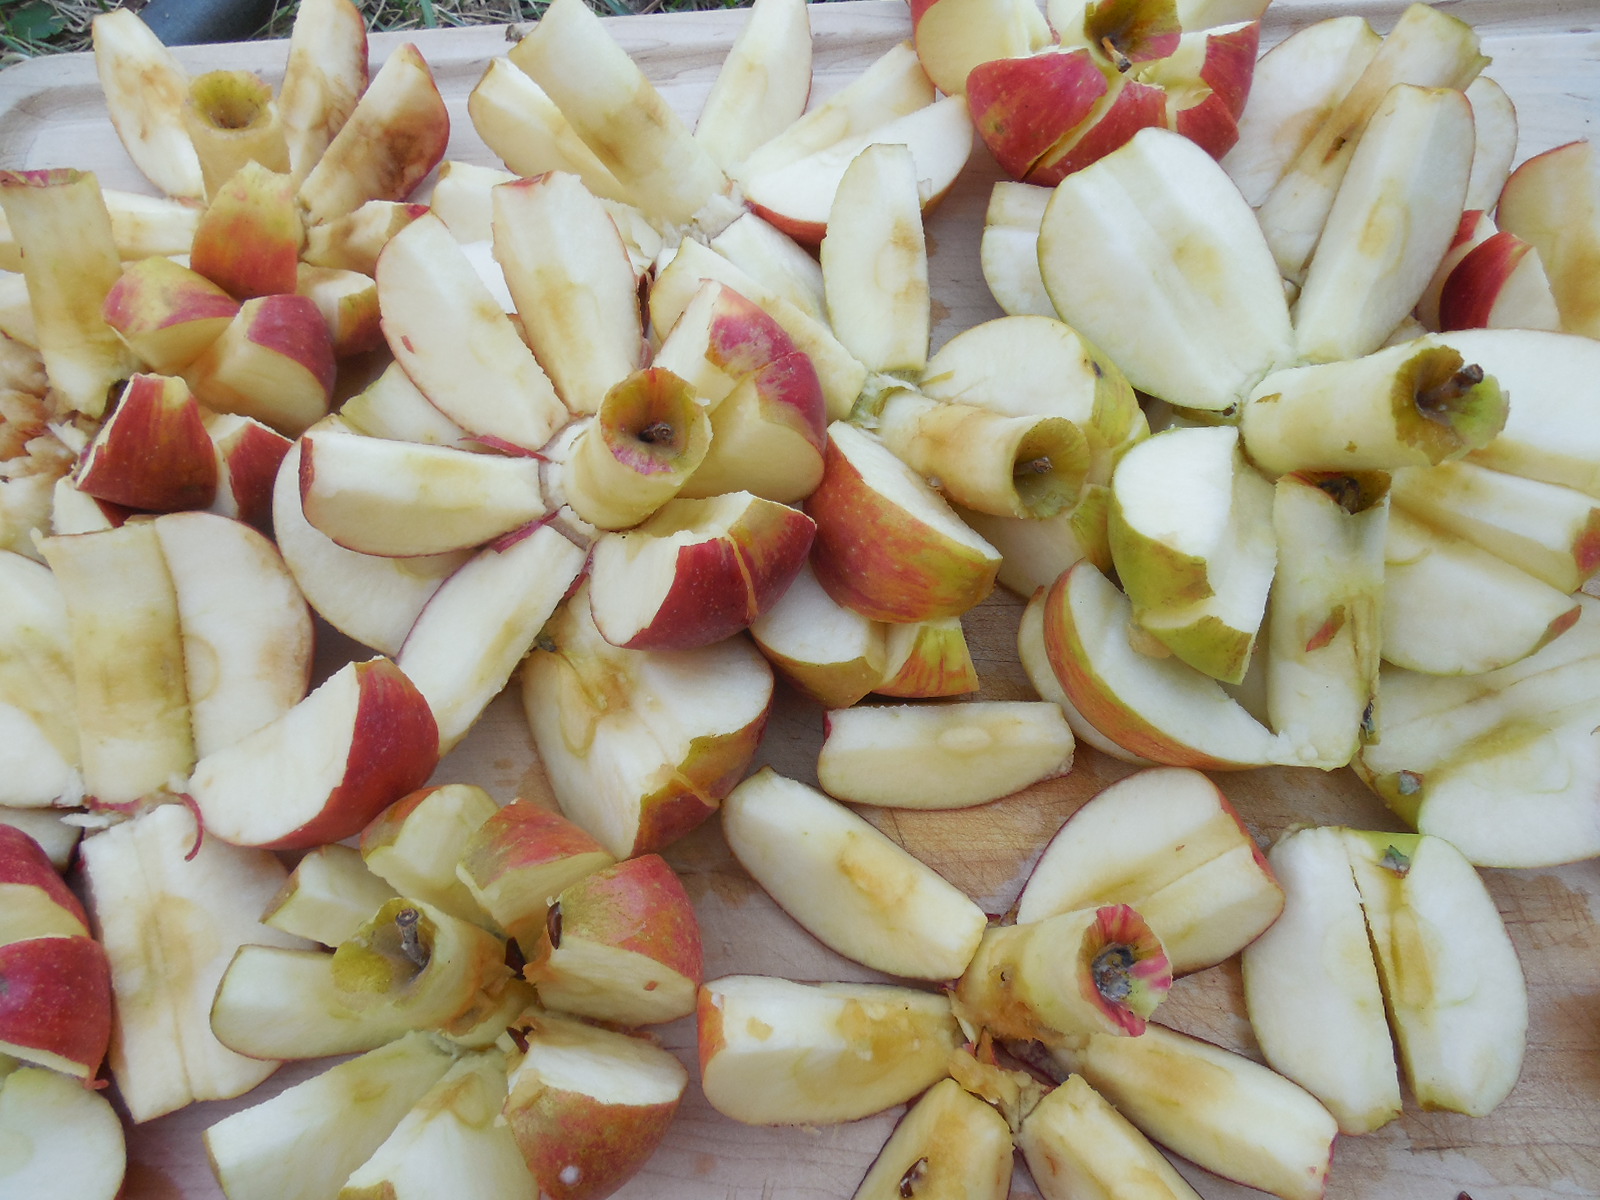
Here’s what makes this so easy (beside the Crock-pot)- no peeling! That’s right, with Jonathan apples you can skip the terribly tedious chore of peeling 36 apples.

DSCN5480

I just used this handy dandy apple corer/slicer. Remove the cores and save them for your favorite chickens.

DSCN5469

The hard work is done now. The Crock-pot does most of the work from here.

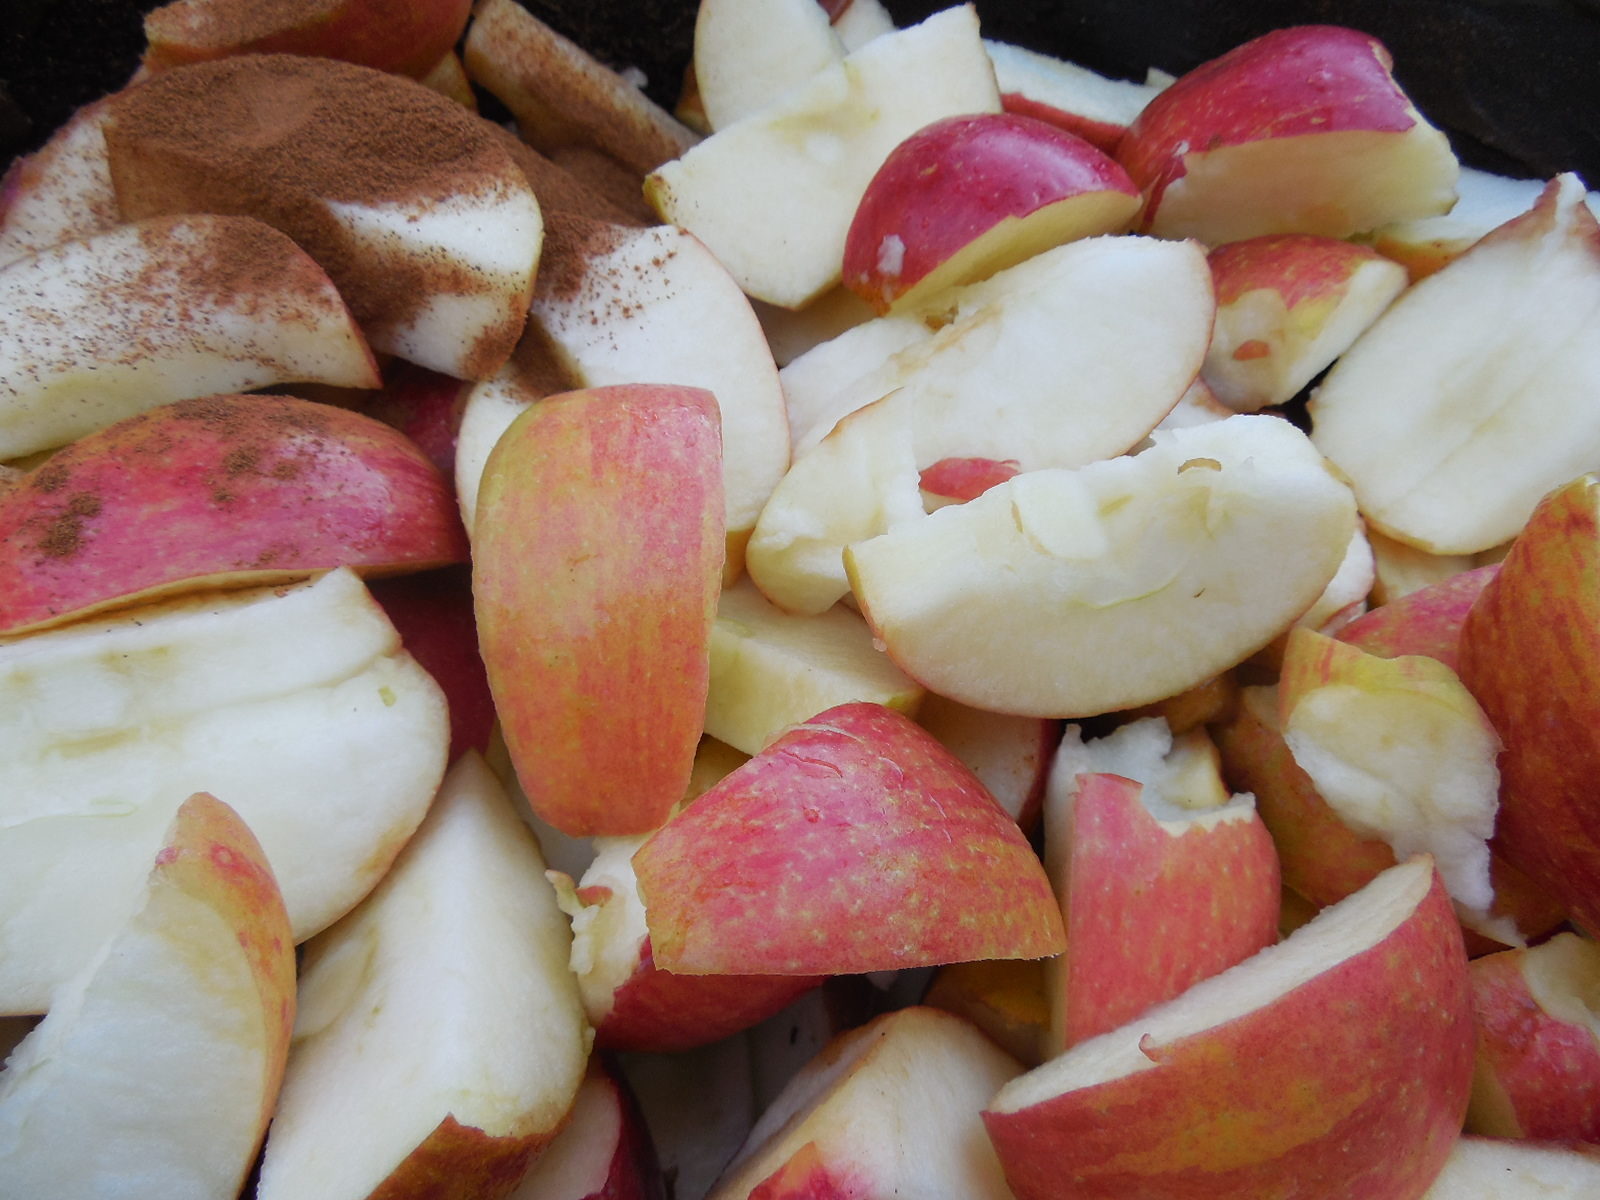
Place the apples and spices in the Crock-pot on high for 3 hours, then stir and cook on low for another 2 hours.

DSCN5481

By this point, the apples will be very soft and the peels will be disintegrating.

Puree it in a food processor (I used my Ninja-it’s great for helping separate lettuce seeds too!). It will probably still be a bit too thin for apple butter, so take the lid off and cook it on low for another 2 hours or so to evaporate extra moisture.

Your home will smell so wonderful. Much better than fake apple pie scented wax, for sure.

Now taste the apple butter. I did not have you add the sugar until now, because once they cook down you may realize that you do not need or want as much sugar. Add about 1/4 cup of sugar at a time to taste. I recommend tasting it on a fresh biscuit. 🙂

You can store it in the fridge for a few weeks. I recommend storing a few jars for yourself, then making some friends by handing out the rest.

DSCN5477

Who is that crazy lady eating it all now? Save some for Christmas gifts!!!

If you want to can it, now is a great time to do so. I canned mine in half pint jars for 15 minutes.

Maybe there will be some left by Christmas. I probably should just make another batch. I still have about a gazillion apples in my fridge, even after eating them fresh and making applesauce too.

Look for an easy applesauce recipe soon!

So, what should I make next? I hope you are able to take advantage of local deals on seasonal produce too.

Blueberry Peach Quick Jam (No Canning Required!)

Standard

I have been jamming like a crazy woman. Making fresh jam is so simple and a fast way to capture the intense flavors of summer. Blueberries and peaches combine wonderfully-they are  better together.

This is just the recipe for a single half pint jar, a great way to get your feet wet on the shores of Jamming. You may use the full batch recipe to make more jars, just keep in mind that smaller batches (say 6-8 jars) are easier to  work with and will help the jam set.

You will need: 1 cup finely chopped peeled peaches, 1/3 cup blueberries, and 1/2 cup sugar

Full batch: 6 cups finely chopped peeled peaches, 2 cups blueberries, 3 cups sugar ( makes about 6 half pint jars)

I found that I did not need pectin to make the jam set. You may increase the sugar if you like, but I like my jam a smidgen on the tart side and less sugary. I feel that this helps me to really capture genuine fruit taste in a jar.

Start with the peaches and sugar. Cook them over medium-high heat, stirring often, until the jam begins to thicken. Add the blueberries and mash them gently. Continue cooking until it has set according to the he cold plate test described in my Easy Two Ingredient Strawberry Jam Recipe.

DSCN4951 - Copy

See how the peaches have darkened a bit? You can taste the jam at this point to be sure that it is sweet enough for you. If you want to can it, process in a hot water bath for 10 minutes.

Canning is optional, though. Please don’t skip this recipe just because you may be intimidated by canning!  Can you imagine the wonderful feeling of opening a jar of summery jam in the middle of winter, when memories of  local strawberries, peaches,and blueberries  have faded, like summer’s tan lines? Canning really is quite simple, maybe I”ll write a tutorial one day.

You can store this in a pretty glass jar or just in a covered container in the refrigerator.

Blueberry Peach Quick Jam ( No Canning Required!)

Blueberry Peach Quick Jam ( No Canning Required!)

Isn’t that purple color so luscious? Time for some homemade bread!

Homemade bread is the only bread worthy of fresh jam. To put it on anything less keeps it from its full potential. Fellow jam makers, don’t  you agree?

Have you made fresh jam yet? I have several easy recipes for you: Easy Two Ingredient Strawberry, Blueberry, and Peach.

You are welcome to share these recipes and this site on Facebook. I’d love for you to come visit me on Pinterest and pin some Garden Tips and Recipes too!

Small Batch Fresh Peach Jam Recipe- No Canning Required! (Full Batch Instructions Included)

Standard

I think I could eat warm homemade bread slathered with this peach jam for breakfast every day for a week and still love it. Fresh peach jam bursts with intense flavor. Peaches are in season now in North Florida, and by using just a little sugar as I do in this recipe, you can really let the peaches be the star.

DSCN4945 - Copy

The ingredient list is simple: 1 1/3  cup of  peeled finely chopped peaches(about 5 medium), 1/2 cup sugar. This recipe will make one half pint (one cup) of jam.

NOTE: I just got 75 lbs of peaches, and will be making full batches with 8 cups of chopped peaches and 4 cups of sugar. Yield is approximately 6 half pints. If you want to can them, process in boiling water for 10 minutes. Don’t try to double a full batch, as trying to make too much jam at once or it may not set properly.

Cook the peaches and sugar over medium-high heat, stirring often.

DSCN4946 - Copy  DSCN4947 - Copy

Cook until the jam has jelled, using the cold plate test explained in my Easy Two Ingredient Strawberry Jam Recipe post. This will take 10-15 minutes. Stir occasionally.

You can see in the second picture how that it has become darker in color and how that the syrup looks thicker.

Time to put the yumminess into a jar!

Small Batch Fresh Peach Jam Recipe

Small Batch Fresh Peach Jam Recipe

Let it cool slightly, then cover and refrigerate. I just love looking at the pretty colors in this picture.

Making jam is so easy to do, and with so much fresh fruit in season, why don’t you try to make a small batch of jam? You may just impress yourself. 🙂

If you can make mac-n-cheese from a box, you can make this jam. You will love how easy it is and your family will love to eat it!

If you’re somehow one of those people that doesn’t like peaches, you can try my easy strawberry jam recipe or my quick blueberry jam. One of my favorites is my small batch blueberry peach jam. Those recipes are great for a beginner and are very good.

Be sure to check out my no-slime okra recipe!

Easy Two Ingredient Blueberry Jam Recipe (No Canning Required!)

Standard

After I picked so many blueberries at Blue Basket Farms, I was excited to make blueberry jam! Blueberry jam can be quite pricey, but I love it so much, and I think that it would make a fabulous gift.

Making jam is really quite easy. The two ingredients? Blueberries and sugar.

DSCN4802[1]

To make approximately 5 cups of jam, use 8 cups of blueberries and 4 cups of sugar. Try to have at least 1 cup of semi-ripe berries in the mix to help the jam set.

Mash the berries and cook over medium high heat until the jam seems to have thickened. To be sure that it has jelled, use the cold plate test that I described in my Easy Two Ingredient Strawberry Jam Recipe.

DSCN4810[1]

Pour into clean hot jars.

Let cool for about 30 minutes, then cover and refrigerate. Ta da! Done!

Easy Two Ingredient Blueberry Jam Recipe (No Canning Required!)

Easy Two Ingredient Blueberry Jam Recipe (No Canning Required!)

Wasn’t that simple? Mash, cook, cool, store. Homemade blueberry jam in about 15 minutes!

If you’re wondering, that flower is not a blueberry flower; it is from my prized blue vinca, but I thought it looked pretty there. 🙂

If you do wish to can the jam, process in hot water bath for 10 minutes immediately after pouring into the jars.

I really hope that you feel brave enough to make jam at least once this summer. The fresh fruit is so plentiful and I am loving all the jam! You can scale down the recipe to make just one jar. Use one cup of blueberries and 1/2 cup sugar. No canning jar needed, you can store this in a clean jar that you have saved or even store it in a Tupperware container. Try to eat refrigerator jam within a month. That’s not really a struggle in my house. 🙂

Time to make some homemade bread!

If you haven’t read my popular Easy Two Ingredient Strawberry Jam Recipe, I hope you will! Take advantage of the great fruit prices and can some jam! Preserving harvests is another way to save money in your garden. Another great recipe is my Blueberry Peach Quick Jam. Really good fresh flavor.

If you like this recipe but it is not blueberry season for you, pin this recipe so you can find it later!

Know someone up to their ears in blueberries? Share this recipe with them on Facebook!

Easy Two Ingredient Strawberry Jam (No Canning Required!)

Standard

Do you want fresh strawberry taste in a jar? For this recipe, you don’t need any special equipment. Canning is optional.

Image

I used the recipe from the Ball Complete Book of Home Preserving. I scaled down their recipe for the amount of strawberries that I got from my trip to Akers of Strawberries in Baker, FL. There are many other recipes on their site that require pectin, which will help your jam set.

However, there is a recipe on pickyourown.org that is similar to what I did.

Here’s the two ingredients: strawberries and sugar.

That’s it.

You can adjust the amount of sugar to taste. I  simply boiled the crushed fruit and  sugar together over medium-high heat until it gelled. I recommend starting with 6 cups of crushed berries and 3 cups of sugar.

If you want to test to see if it has gelled well, you can stick a plate in the freezer at the beginning of the process for testing. If you think the jam has thickened enough, take the pot off the heat and put about a teaspoonful on the plate, then stick it in the freezer for a few minutes. You are trying to see if it is jelly-like once it has cooled down for a bit.

If it has gelled, you can either process it in a hot- water bath for 10 minutes(pickyourown.org has lots of pictures of this process) or you can transfer it to clean jars and refrigerate.

So to review: crush fruit, boil until gelled, store by refrigeration or canning. Done.

This recipe should make about 4 half pints (cups) of jam.

This recipe is so easy, but it tastes like strawberries fresh from the farm.

I went to a blueberry farm-a post on that trip and a recipe for easy blueberry jam to follow soon. Yay for berry season!

Enjoy your jam on fresh homemade bread or biscuits. For an especially refreshing snack, enjoy it with some Mint Infused Sweet Tea!