Do you want fresh strawberry taste in a jar? For this recipe, you don’t need any special equipment. Canning is optional.
I used the recipe from the Ball Complete Book of Home Preserving. I scaled down their recipe for the amount of strawberries that I got from my trip to Akers of Strawberries in Baker, FL. There are many other recipes on their site that require pectin, which will help your jam set.
However, there is a recipe on pickyourown.org that is similar to what I did.
Here’s the two ingredients: strawberries and sugar.
That’s it.
You can adjust the amount of sugar to taste. I simply boiled the crushed fruit and sugar together over medium-high heat until it gelled. I recommend starting with 6 cups of crushed berries and 3 cups of sugar.
If you want to test to see if it has gelled well, you can stick a plate in the freezer at the beginning of the process for testing. If you think the jam has thickened enough, take the pot off the heat and put about a teaspoonful on the plate, then stick it in the freezer for a few minutes. You are trying to see if it is jelly-like once it has cooled down for a bit.
If it has gelled, you can either process it in a hot- water bath for 10 minutes(pickyourown.org has lots of pictures of this process) or you can transfer it to clean jars and refrigerate.
So to review: crush fruit, boil until gelled, store by refrigeration or canning. Done.
This recipe should make about 4 half pints (cups) of jam.
This recipe is so easy, but it tastes like strawberries fresh from the farm.
I went to a blueberry farm-a post on that trip and a recipe for easy blueberry jam to follow soon. Yay for berry season!
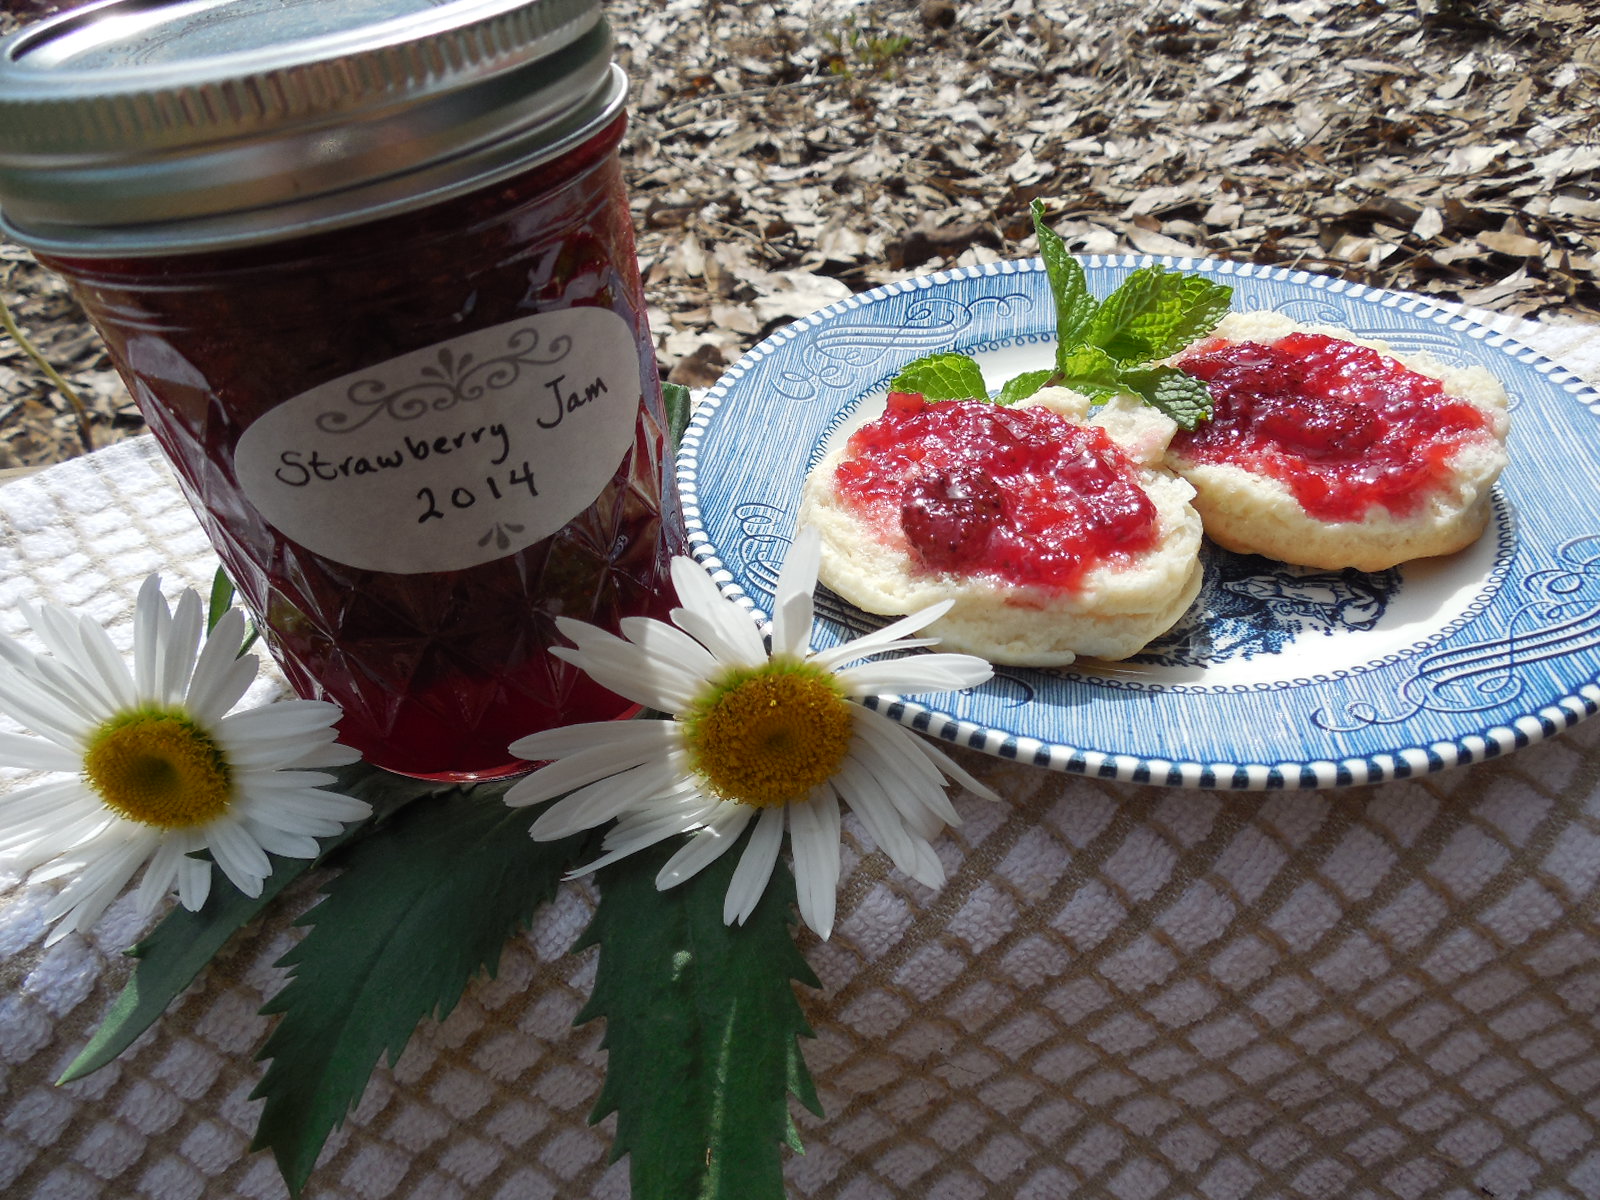
Enjoy your jam on fresh homemade bread or biscuits. For an especially refreshing snack, enjoy it with some Mint Infused Sweet Tea!

I am so lazy I just saw your message. You can reblog but I guess you have to do it through the WordPress reader because I don’t have a reblog button on my blog. If you have any problems please let me know! Cheers!
The strawberry Jam looks delicious!!!!
Thanks!The jam was so easy. Also, thanks for letting me share your recipe; I plan to do that in a few days. Many of my readers may be starting to wonder what to do with their squash and your recipe is a great way to use it!
Pingback: Akers of Strawberries | Coffee to Compost
Looks wonderful. I’ll have to try this recipe. Not using any sort of thickening agent would be nice.
You do have to be sure to evaporate the excess water and to watch for gelling, but the flavor is so fresh. You could even just try a tiny batch to taste it by using 2 cups crushed strawberries and 1 cup sugar. Add sugar to suit your tastes. I’ve seen how you have been canning crazy over on your blog-I’d love to hear your thoughts!
Pingback: Yummy Garden Succotash Recipe | Coffee to Compost
Pingback: July To-Do List | Coffee to Compost
Pingback: Blue Basket Farms- Blueberry Time! | Coffee to Compost
Pingback: Easy Two Ingredient Blueberry Jam Recipe (No Canning Required!) | Coffee to Compost
Pingback: 4th of July Shortcake! | Coffee to Compost
Pingback: Small Batch Fresh Peach Jam Recipe- No Canning Required! | Coffee to Compost
Pingback: Blueberry Peach Quick Jam (No Canning Required!) | Coffee to Compost
Pingback: How to Make Easy Biscuits using a KitchenAid | Coffee to Compost
Pingback: Pace Virtual Farmers Market | Coffee to Compost
Pingback: Sand Pear Recipe: Florida Pear Preserves with Pineapple | Coffee to Compost
Pingback: Kumquat Marmalade | Coffee to Compost
Pingback: Strawberry Kumquat Marmalade Recipe | Coffee to Compost