Category Archives: DIY Projects

How to Decorate a Buttercream Flower Cake with Russian Piping Tips

Standard

If you’ve been following my blog recently,  you know I recently got a very nice set of Russian piping tips. In my previous post, I shared some advice for using them, but here I’ll break down decorating that cake and tell you about the colors.

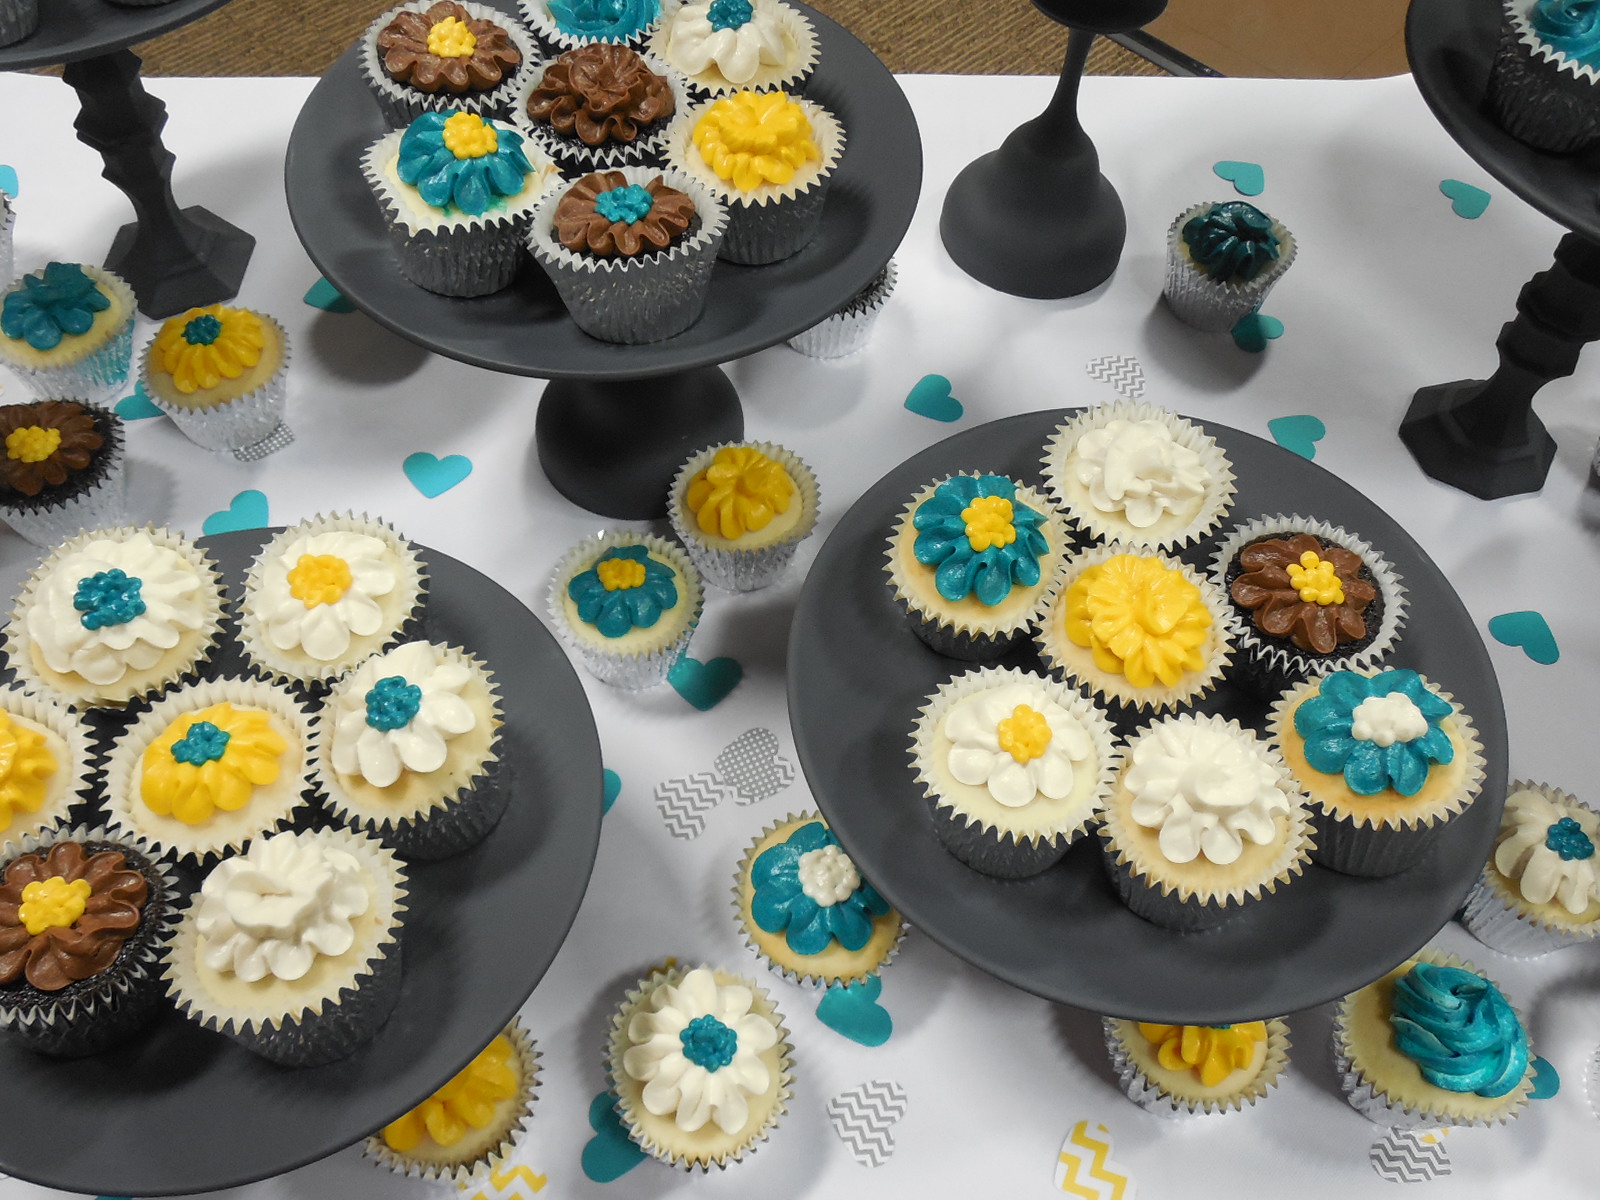
I decided to use shades of coral for this cake; I thought it would look nice against the brown mocha frosting.

I did a graduation cake  with coral peonies recently, and I loved the coral against the mocha.

I started with a bit of No-Taste Red and Golden Yellow and made the lightest colored flowers first, using a tulip tip.

Russian Piping tip

Then I darkened it a bit with more colors, and used the rose tip.

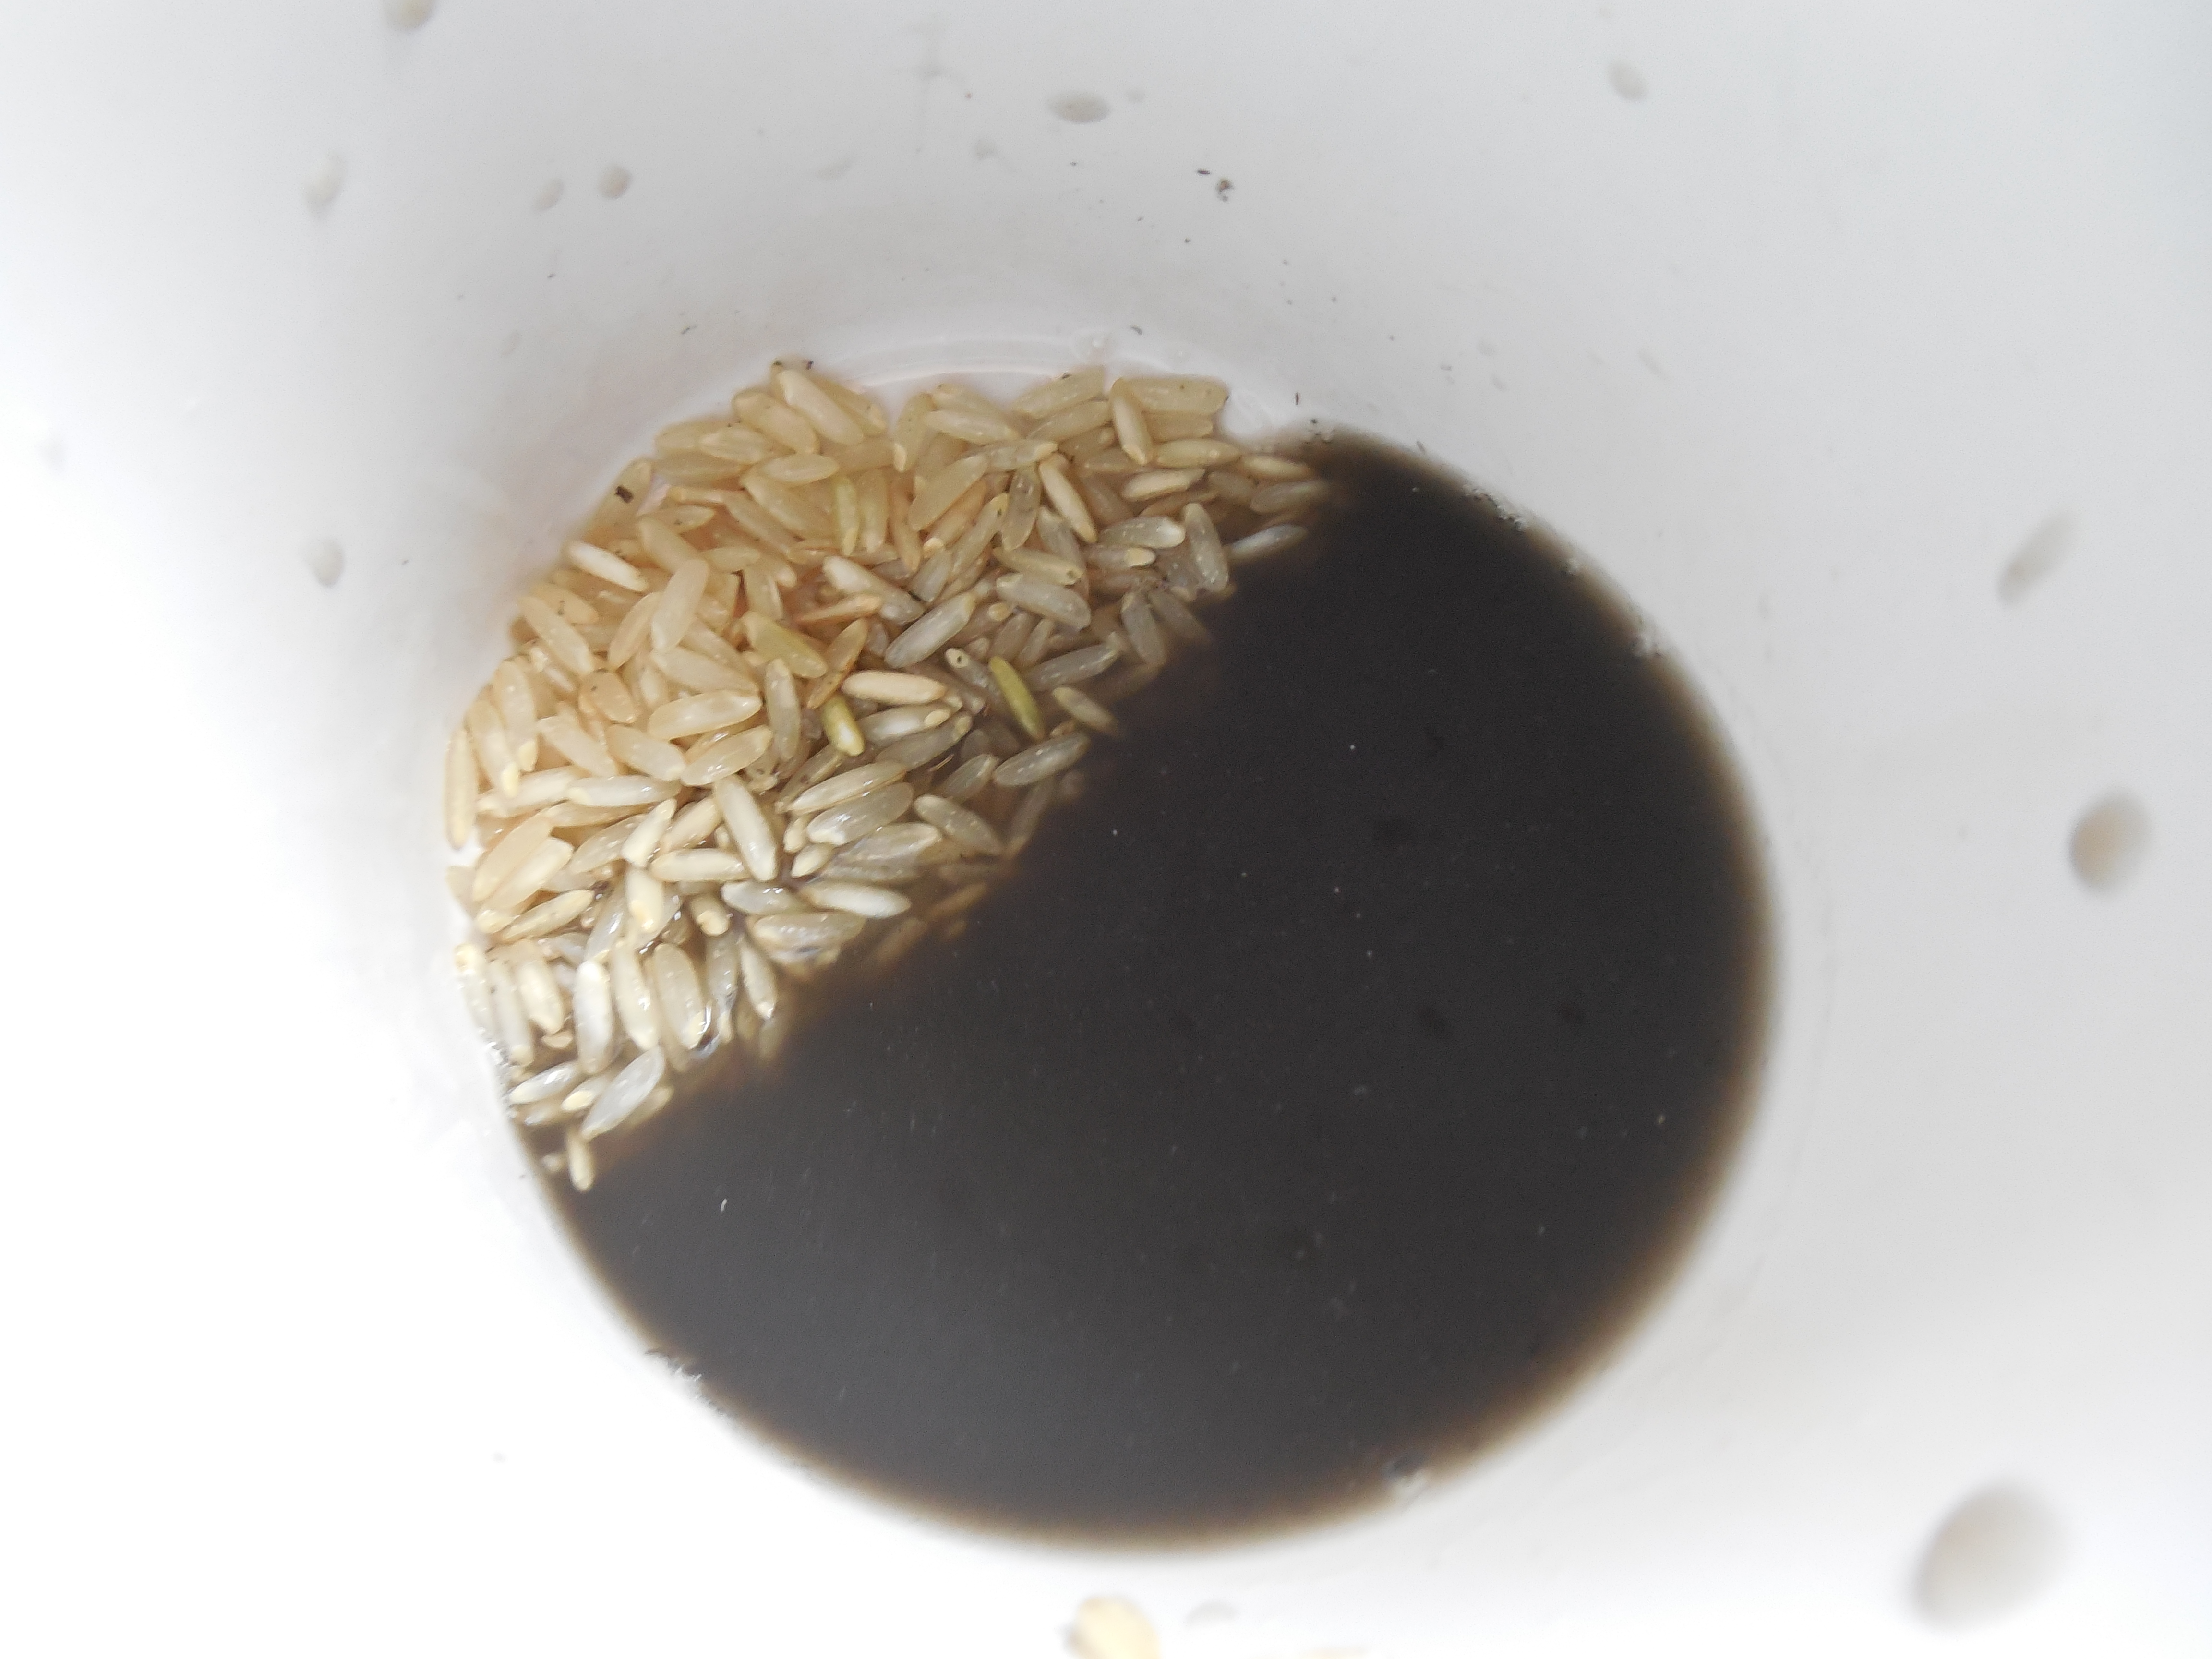
Can you tell I have an aversion to making lots of dishes? I just added more color and gave it a whirl in the mixer. 🙂

Russian Piping tip

Not sure what to call this last tip. Maybe another tulip? It makes pretty flowers though!

How to decorate a cake with Russian piping tips

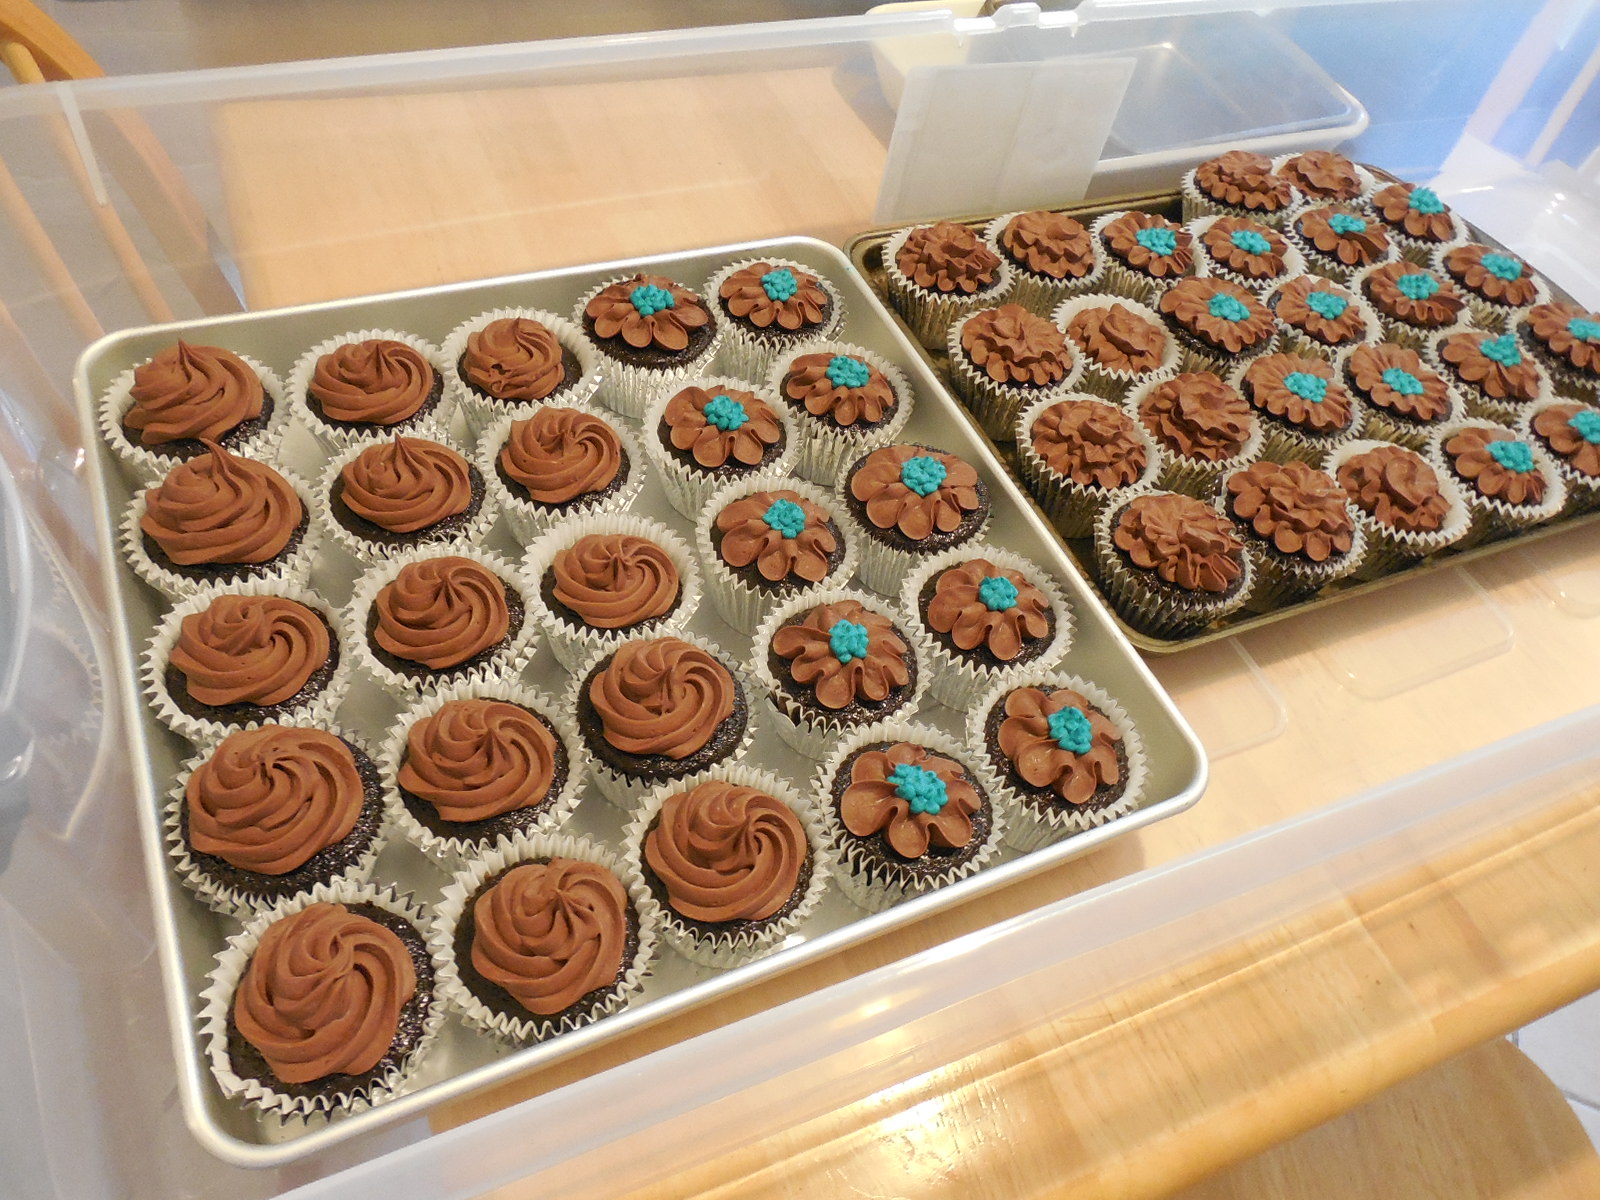
A Wilton tip #352  with some Moss Green color finished out the design.

Those leaves are such a wonderful finishing touch! Love them!

Do you have any Russian piping tips yet? If you like to decorate cakes with flowers, they will totally change how you decorate a cake.

If you’re new to the Russian piping tips, be sure to check out my 5 tips for using them!

What do you think of the cake? Any more color scheme ideas for chocolate or mocha frosting? Maybe I should try white and pale green next time? Tell me what you think, I’d love to hear your ideas!

Advertisement

5 Pointers For Using Russian Piping Tips 

Standard
5 Pointers For Using Russian Piping Tips 

So my husband surprised me by ordering a mega set of the Russian piping tips. I was so excited!

It even came with some of the Russian ball tips, which make ruffled cupcake tops easily. It also came with some basic tips, only in a larger size. The really big petal tips are fun too.

What was of most interest to me was the all in one flower tips. With just one tip, you can make a flower quickly, without a flower nail, without changing tips!

Here’s my 5 tips for using these great decorating tools.

1. Make plenty of frosting; the tips are huge! See how big they are compared to a typical Wilson tip. I used a large Ateco coupler for them.

Size of Russian piping tip

2. Make your frosting really stiff so the petals will hold their shape. I used a classic buttercream. 

3. Don’t be afraid to pack the flowers closely together. The smaller you make the spaces between the flowers, the better it will look at the end. 

4. When you start squeezing the frosting out, be sure the frosting is anchored to the cake before you really start squeezing out the flower and pulling up. Stop squeezing when it’s as tall as you want, and carefully lift the tip straight up off the flower.

5. Adding leaves at the end really pulls it all together. I love a Wilton tip #352 for leaves. I used Wilton’s Moss Green color for the cake above because I think it looks more natural.

How to use Russian Piping tips

I’ll be posting how I decorated this cake soon- so if you want or know what tips I used and what I mixed to get those shades, check back tomorrow!

Remember, you can like Coffee to Compost on Facebook or subscribe to me via email too. 🙂

Do you have these tips yet? What do you think of them?

One Minute No Sew Superhero Cape

Standard

Do you have some mini superheros running around your home? Then you know the basic issues with those capes.

You can improvise by tying a blanket around their neck.

Get ready to hear, “Mom, could you tie it again?”

You can splurge on Velcro-attached capes, or get crafty and sew one yourself.

Have fun pulling that Velcro off your laundry.

Here’s what I came up with this afternoon. All I needed was an old T-shirt and scissors.
DSCN7152

Cut from the bottom of the shirt up to the collar, forming a rough triangle.

no-sew cape

Carefully snip around the collar.

T-shirt cape

Done.

This is a cape that they can put on and take off by themselves, and has no special washing instructions.

I hacked up the front of the shirt to make cleaning rags, so this old T-shirt now has two uses.

Have fun and make one for yourself!

Woodland Themed Baby Shower Cake Tutorial

Standard

I love chocolate cake. When I was talking over cake ideas, the idea of a log cake for a woodland themed baby shower was tossed out for consideration. Gotta be chocolate.

Three cakes from Pinterest were sent to me as inspiration (this one, this one, and this one), and I started looking at cakes and sketching ideas.

DSCN7055

Woodland Themed Cake

I decided to to do a tall log on its side, and to do the outside log detail out of chocolate fudge frosting, and to fill it with mocha filling. The cake would be chocolate, of course!

DSCN7038.JPG

It was 6 layers tall, and so needed some simple engineering to keep it from collapsing from its own weight. I used dowel rods to support the top three layers on their board.

I kept the cake extremely cold or frozen during the stacking and crumb coat.

I used a small offset spatula to add the grooves in the bark, and added accents of light brown with remaining mocha frosting.

The top was the lighter brown mocha, with the rings added using small round tip, then smudged slightly.

DSCN7049

Woodland Cake Stand

A little green was spackled on too, to look like moss. Hunter green leaves (I used a Wilton #352 tip) added interest on the sides and fastened the toadstools on the cake.

Yep, that’s a real slice of wood as the cake stand! A piece of parchment paper protected the  cake (and eaters!) from splinters. 🙂

I made little toadstools out of marshmallow fondant, let the the caps and stems dry separately overnight, then painted the caps with Wilton red frosting color. Half of a toothpick helped support the toadstools, and white frosting glued them together and was piped on in polka dots. I really liked the color that they added.

DSCN7054

Woodland Cake Idea

Bunting(made by the crafty mommy) and a cute little fox garden pick completed the look.

The guest of honor was very happy  with the cake. 🙂

Chocolate and coffee- one of my favorite combinations!

How to Transport 150 Cupcakes

Standard

Random fact about me: sometimes I’m asked to make wedding cakes. It’s a fun hobby for me, and I don’t really advertise it; people hear about me, call me, and ask me to make their wedding cake / cupcakes.

teal and yellow wedding cake and cupcakes dessert table

A little while back, I was asked to make a small wedding cake and 150 cupcakes.

teal and yellow wedding cupcakes

The bride told me her color, specified the flavors, picked out some designs, and I started baking.

teal and yellow cupcake ideas

I started thinking though, how was I going to get a hundred fifty cupcakes over to the reception? I needed something or multiple somethings that were fairly large easy to carry and air tight.

how to transport 150 cupcakes

What about storage containers? At first, I was going to use some large storage totes. Then I realized that I already had the perfect solution – under bed storage containers! It is very easy to transport many cupcakes in these containers.

They’re light, lidded, and stackable. I know this blog is primarily about gardening, but if one of you is head of the PTA and needs to transport bunch of cupcakes, or you’re a hobbyist baker like me; transporting lots of cupcakes is easy if you use the right container.

I only wish I had made some extra chocolate cupcakes – for me!

How to Clean the Nasty Gunk out of Hummingbird Feeders

Standard

How long has it been since you cleaned out your hummingbird feeder?

DSCN6757

Does your nasty feeder have hummingbirds looking at it cockeyed with contempt? Time to clean it out!

DSCN6740

Let’s start by twisting off the bottom and cleaning the ports. Remember in elementary school when you saw the classic vinegar+ baking soda= volcano experiment?

Sprinkle some baking soda in the ports and then some vinegar (I used white, but apple cider vinegar would work fine too). Yuck! Look at all the gunk!

how to clean hummingbird feeder

Swish some hot water in there too.

clean hummingbird feeder

Use an old toothbrush (NOT your husband’s current one!) to scrub off stubborn gunk.

Now for the inside of the feeder.

how to clean out a hummingbird feeder

Get some uncooked rice. Yes, you read that right, rice. I have also read of people using gravel, but really, just something hard to agitate against the sides will work.

Add the rice and a bit of hot water and shake, shake, shake! This trick works great for the hard to reach spots.

DSCN6760

Ewww! Yuck! So gross.

If some nastiness is still in there, you can try to reach it with that old toothbrush.

DSCN6772

Rinse thoroughly, then fill with some homemade hummingbird nectar.

Now the hummingbirds can drink out of a clean feeder and I’m not grossed out by looking at it!

How long has it been since you last cleaned out your hummingbird feeders? How do you clean yours?

So… I washed my husband’s silk tie.

Standard

I entertained a moment of panic pulling the laundry from the washer to the dryer. My husband’s new silk tie was tangled up in the wet laundry. He had worn it exactly once.

DSCN6697

My first thought was, “I really wish that he had taken his tie off before he put his clothes in the laundry.” Then I remembered, “Oh yeah, I’m the one who pulled it out of his sports bag and put it in the laundry basket myself. Bummer.”

DSCN6699

Then I wondered, maybe I could salvage it somehow? Maybe I could iron it? Hey, I had nothing to lose. It was already ruined anyway. So I pulled out the iron.

Hey, I really liked this tie, OK?

DSCN6701

At first, I tried ironing it on the silk setting, with a thick cloth between it and the iron. That proved to be inefficient at removing the wrinkles, so I removed the cloth, and worked on the wrinkles with the iron set on low.

DSCN6703

Within a few minutes, the wrinkles were gone and the tie was straight. It was still a bit damp, so I hung up to dry. I wonder if he’ll notice? It looks pretty good to me.

Honey, are you reading this? Did you notice?? Worked out pretty good, didn’t it? 🙂 Remember the Pilot G2 pen that fell apart in the wash? This tie was from that same load, but I’m glad the ink cartridge didn’t open. ALL the clothes would’ve been doomed then. Sigh.

Readers, have you ever washed a tie before? What did you do?

Peach Syrup for Sweet Tea

Standard

DSCN6543

Peaches and summer just go together. When I canned peach slices, I kept the syrup for making this tea, but you can make your own without canning.

To make 2 pints of peach syrup you will need: 4 cups water, 2.5 cups sugar, and 5 very ripe diced peaches.

Put all ingredients in heavy pot and simmer for 20 minutes, squishing the peaches to remove juice.

At this point you could cool and strain it, but I let mine cool, then set overnight in the fridge.

I simmered it again (can you tell I wanted a really peachy syrup?), strained it, then put it in the fridge.

Don’t toss the strained peach bits, you can stir them into plain yogurt or add them to a smoothie.

DSCN6547

To make a really good peach tea, add this syrup to unsweeted tea. I like a 1:4 ratio of syrup to tea.

I suppose I could get really fancy and freeze it as cubes.

Any other ideas? Do you like the idea of peach tea or are you a purist? Or are you maybe completely confused because “tea” is only a hot beverage to you?

How to Prevent Nasty Rusted Canning Lids

Standard

It is quite disconcerting to open a jar of your homemade preserves, only to find nastified rust and junk under the lid.

DSCN6520

Acidic foods have a way of destroying lids and make you wonder about the contents of your jar.

DSCN6521

Recently, I was opening a jar of homemade something or other from the fridge and saw the nastiness.

Then I noticed some Classico pasta sauce lids that I had been saving. They have a nice waterproof coating in the interior and they fit my regular mouth canning jars!

DSCN6519

No more gross stuff at the top of the jars!

I shared this (new to me information) with a friend of mine, who then informed me that mayo jar lids fit too. Now I’m going to be saving those too. These reused lids don’t look as nice as the canning lids, but the results are certainly much better.

Please note: I do not use these lids for the actual canning process, I only use these after canned goods are opened for use.

DSCN6517

Do you know of any other lids that fit regular mouth canning jars? What about lids for wide mouth canning jars? I’d love to hear what you do to prevent nasty canning lids !

75 Pounds of Peaches

Standard

I’m finally staring at the bottom of my last box of peaches.

peaches

So far I have made peach jam, blueberry peach jam, and peach pie filling. On the to-do list for today is plain canned peaches, more delicious peach jam, and freezing those peaches in need of emergency attention. If I still have some left, I hope to make some syrup for sweetening iced tea, and maybe a batch of spiced peach butter. I’ve already posted recipes for the peach jam and the blueberry peach jam, but I plan on posting a recipe for the peach pie filling soon; it’s really tasty! Also, I’ll let you know how the peach syrup turns out. If it turns out as good as it sounds in my head, it should be a really really good summer beverage.

What would you do with 75 pounds of peaches? Did I miss one of your favorite recipes? Let me know!

Oh, and I have my first ever video in the works! Stay tuned!