Potato Volunteering in My Compost

Standard

If you have ever had a compost pile, you have probably been pleasantly surprised by a plant that “volunteered”, or grew without any help from you. I saw this healthy potato plant growing between the slats of my compost bin.

Image

compost volunteer

It looked so happy growing there, but I figured that it would be a pain to dig potatoes there and I really didn’t want it to grow there. When I removed it, I was surprised by how little of a potato piece was needed to start a plant.

Image

See that sliver of potato there? And the two cute baby potatoes? I replanted it in a better spot. If the potatoes grow, that will be a pleasant return on investment.

I have a tomato plant that has volunteered too. I know that it could be a random mutant, but I have an empty spot for it. For now, it shall live. I have a terrible time beheading healthy tomato plants.

Have you ever had something volunteer for you? If so, how did it turn out?

Sharing Oregano With My Brother

Standard

My kid brother is living proof that garden hose water contains nutrients vital to bone and muscle development.

The two of us had quite a few fights while growing up together. I remember my mom saying, “Why can’t you kids just get along?!”

Either he’s gotten mature or I’ve gotten mellow, but now he grows cilantro for his sweet wife and I share my oregano with him. Maybe we’ve both gotten mature and mellow.

He asked me recently for some basil and oregano seeds. If you’ve grown basil, you know that it will grow pretty quickly from seed. I had oregano seeds to share too, but in a burst of big-sisterly kindness, I decided to just divide my established oregano plant with him.

See how bushy it is? The roots go all over the place, so dividing this type of plant is easy.

DSCN4178

I just removed it from its pot and sliced through the roots with my large scary knife.

DSCN4180

Then I  put his in a pot, put mine back, and filled in any gaps in the pots with my handy-dandy compost that I made using the process outlined in this post.

It feels so good to share, doesn’t it?

See Mom? I’m being nice to my little brother!

Now, if he starts whining about how my plant is bigger than his plant, I may just have to dust off those big sister torture tactics.


A Garden Tip For All My Prepper Friends

Standard

Sketching out your garden plan for the zombie apocalypse? Don’t forget the rutabagas!

Yes, they may be a random obscure vegetable with an funny-sounding name, but you won’t care about all that when you are fighting for survival.

DSCN4081       DSCN4086

Rutabagas are an efficient use of space as the entire plant is edible- root and leaves. They store well and can grow during the fall and winter in north Florida, providing valuable calories during that time.

DSCN4095      DSCN4091

I like to boil the peeled rutabaga root and mash them like potatoes.

The chopped greens are quite tasty and nutritious when sauteed in a little olive oil with minced garlic.

Two side dishes from one plant- what a great multitasker!
DSCN4097

If you want to try the mashed rutabagas, the roots are sometimes sold near the carrots in the produce section. The farmer’s market in downtown Pensacola may have some of these as well.

Preppers, remember to include rutabagas in your survival garden!

Note: I do not live in fear of zombies; I just like rutabagas. However, I will eat a dandelion salad if needed. 🙂

Kale Chip Recipe

Standard

Kale is my favorite green so far. I love it sauteed, but I decided that I would try to make some kale chips with the yummy kale that is growing in my Florida backyard garden.

DSCN4169
Let’s keep this simple, shall we? After all, we’re starting with 3 simple ingredients: kale, olive oil, and kosher salt.

Wash kale, rip kale off the main rib into chip-size pieces, toss with a drizzle of olive oil on a cookie sheet, sprinkle with salt, and bake at 350 degrees for about 14 minutes. Keep an eye on them; you want them to be dark green and crispy, not brown.
DSCN4170
Wash, rip, drizzle, sprinkle, bake, eat.
DSCN4172
Simple to make and only three ingredients. Healthy too, if you care about that kind of stuff. 🙂 I personally feel better about serving this to my family than potato chips. Yikes!! Potato chips have lots of fat and empty calories.

Do you add anything to your kale chips instead of or in addition to the salt? I’d love to hear about it in the comments! Growing kale in Florida is fun and it’s good for you too!

Florida Raised Bed Gardening Update

Standard

If you have been following the raised bed gardening saga, you know that the garden has been built, filled and planted with transplants and seeds.

Thanks to God’s warm weather and gentle showers, the bush green beans are up!
DSCN4164
It’s so exciting to hide a small, hard seed in the ground and see a lively green plant emerge.
DSCN4165
I spotted this amazing display of color the same day. I love the color combination. I love the pink snapdragons with the yellow and purple pansies. I must plant some snapdragons next year-those are so beautiful!

Gardening is so exciting-and you get to eat the results too! Speaking of eating, have you tried my favorite kale recipe yet? It’s so delicious and good for you!

How to Make Hummingbird Nectar

Standard

Hummingbirds are commonly seen during the spring and fall in North Florida. Do you have your feeders filled with hummingbird nectar? You don’t have to buy a mix; you can make your own!
DSCN6757

I have a whole new respect for all those perfect hummingbird pictures that are out there. I stalked my feeder trying to get a decent photo. Maybe later in the season I’ll have a gorgeous photo of a hummingbird mid-flight, hovering near my feeder, but for now that’s what I’ve got.

I was really excited to see the first hummingbirds of the spring and so I made some yummy juice for them.

When I make my hummingbird nectar, I dissolve 1/4 cup sugar into 1 cup water. If your feeder is not red like mine, you can add a few drops of red food coloring to attract them, then omit the coloring once the birds have located your feeder. (UPDATE: according to reader Marion, you don’t actually have to add the red coloring to attract them, they’ll find you anyway.)

Try to change out the food at least every other week, especially as it gets warmer.

Hummingbirds seem to like red and purple best; I have trumpet-shaped Mexican bluebells(they actually look purplish) planted under the feeder. My back flowerbed was pretty popular last year; the hummingbirds liked the feeder and the bluebells, and the butterflies liked the zinnias. I love to see all the fluttering!

Do you have any hummingbirds that visit you? How do you attract them? I have enjoyed watching the hummingbirds so much that I’m thinking of either buying or making another feeder. Got any great DIY hummingbird feeder ideas?

Be sure to check out my post on How to Clean the Nasty Gunk out of Hummingbird Feeders!

My Favorite Kale Recipe

Standard

The first kale that I ever ate came from my backyard garden. I read that it would grow in Florida during the fall and winter, and so I decided to grow it and hope that I liked it. 🙂

I absolutely love it! I think that it is my favorite green. This is my favorite way to eat kale; this recipe works well as a hearty breakfast or yummy brunch.

Image

You just need a few ingredients; feel free to substitute or omit based on personal taste. I’m one of those cooks that seldom follows a recipe. I tend to get the general idea but substitute and omit and embellish quite freely. Feel free to do the same, and if you come up with another killer combination, let me know-I may want to try it too!

Image

Wash the kale and tear it into pieces about the size of an egg. Saute the onions in some olive oil (or butter, if you want it to be really amazing), then wilt the kale and add the tomatoes. Sprinkle with a dash of kosher salt.

You could simply add the eggs at this point and cook it all together for a kind of easy omelet, but I like to scramble some eggs separately.

Image

Layer the eggs, sauteed veggies, diced ham, and shredded cheddar. Let the cheese melt on low heat.

I love how the cheese melts into everything and binds it together a little. So yummy!

Image

This is such a great way to start the day!

This week I also want to try making kale chips. Anybody have a favorite way to make them? I’d love to hear about it in the comments!

Yay for nutritious kale! How do you like to eat kale?


Florida Raised Bed Gardening (Part 2)

Standard

If you are going to plant spring vegetables in Florida, the time to do so is now. Did you read about starting a raised bed in my earlier post? If not, go ahead and read Part 1 and then come back. 🙂

Look at this beautiful compost that they had for their raised bed! They employed the easy method of making compost. Over about 10 years, they kept adding kitchen scraps and yard waste to a pile and let the worms do the work. 🙂

Image

After the raised bed is assembled and filled with compost, it is time to plan and plant.

Image

I just took a trowel and sketched out the spacing before we planted to be sure that everything would fit and that the spacing would work.

This couple wanted vegetables, herbs, and flowers. We planned out the placement of the vegetables, putting the tall tomatoes in the back (north) of the bed. Peppers and basil went in front of the tomatoes. Yellow squash and bush beans were in front.

Some take string and carefully measure out their square feet and plant according to this guide, but we treated the square as a whole unit, not as individual squares.


Image

In the picture above, the couple is planting their bush bean seeds in rows. They have such great compost to plant in and I am sure their plants will just love their home.

Cilantro, basil, and yellow squash were also planted from seeds. They planted tomatoes and pepper plants as young transplants rather than seeds.

With all the warm weather and spring showers that we have been getting, the seeds should be coming up soon.

Image

A few marigold plants were placed in the raised bed. These will attract pollinators and look pretty.

It is really amazing how much can be crammed into a small but carefully maintained space. In a month, this Florida raised bed will be full of young plants. Little fertilizer will be needed because of the great compost. What a great use of space!

If you want to learn more about making your own compost, you should read my post about how to make compost.

Hopefully soon I will posting about little sproutlings in this garden!

How is your garden doing? Have you planted yet or are you expecting snow in your area?

April To-Do List

Standard

Have you ever planted pole beans around a teepee? It is a neat gardening project for kids and a fun way to add structural interest to a garden. That is just one of my projects for this month.

April is a wonderful time to plant vegetables and herbs in Florida. I have completed most of the items from last month’s to-do list, and am working on some new projects in my backyard garden.

20140404_120848

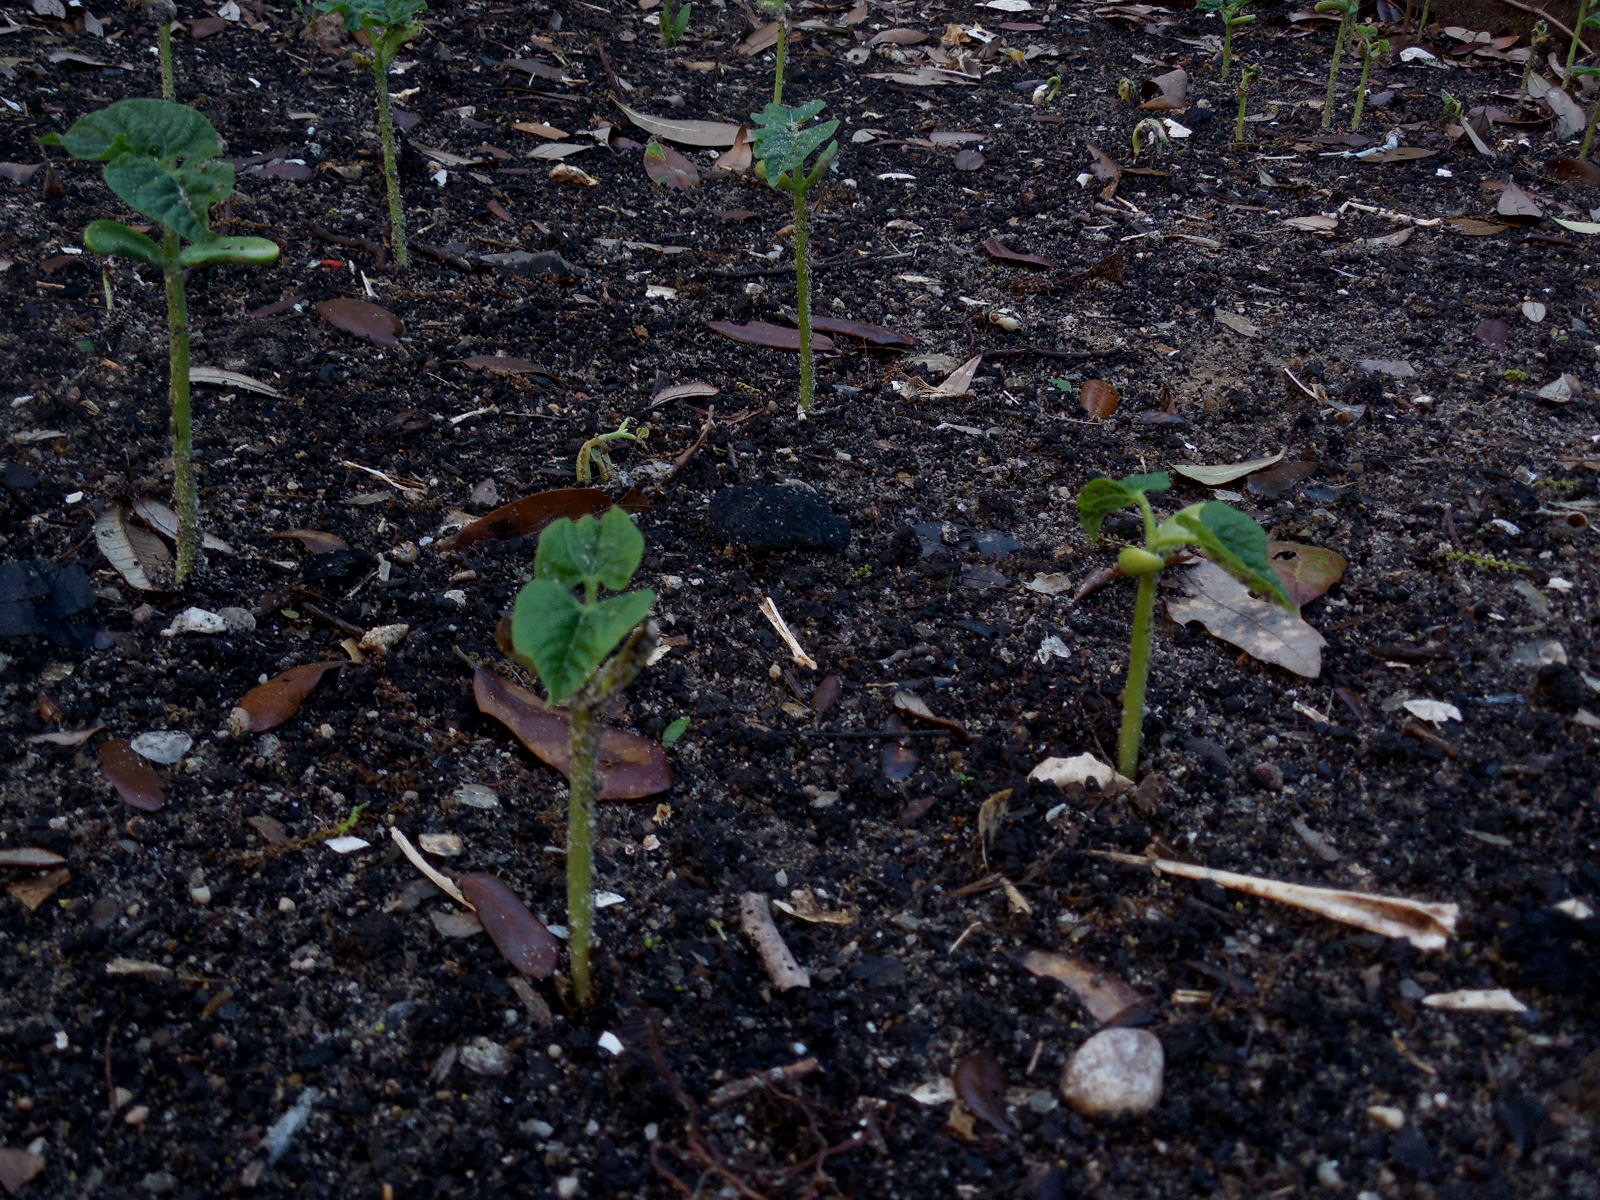
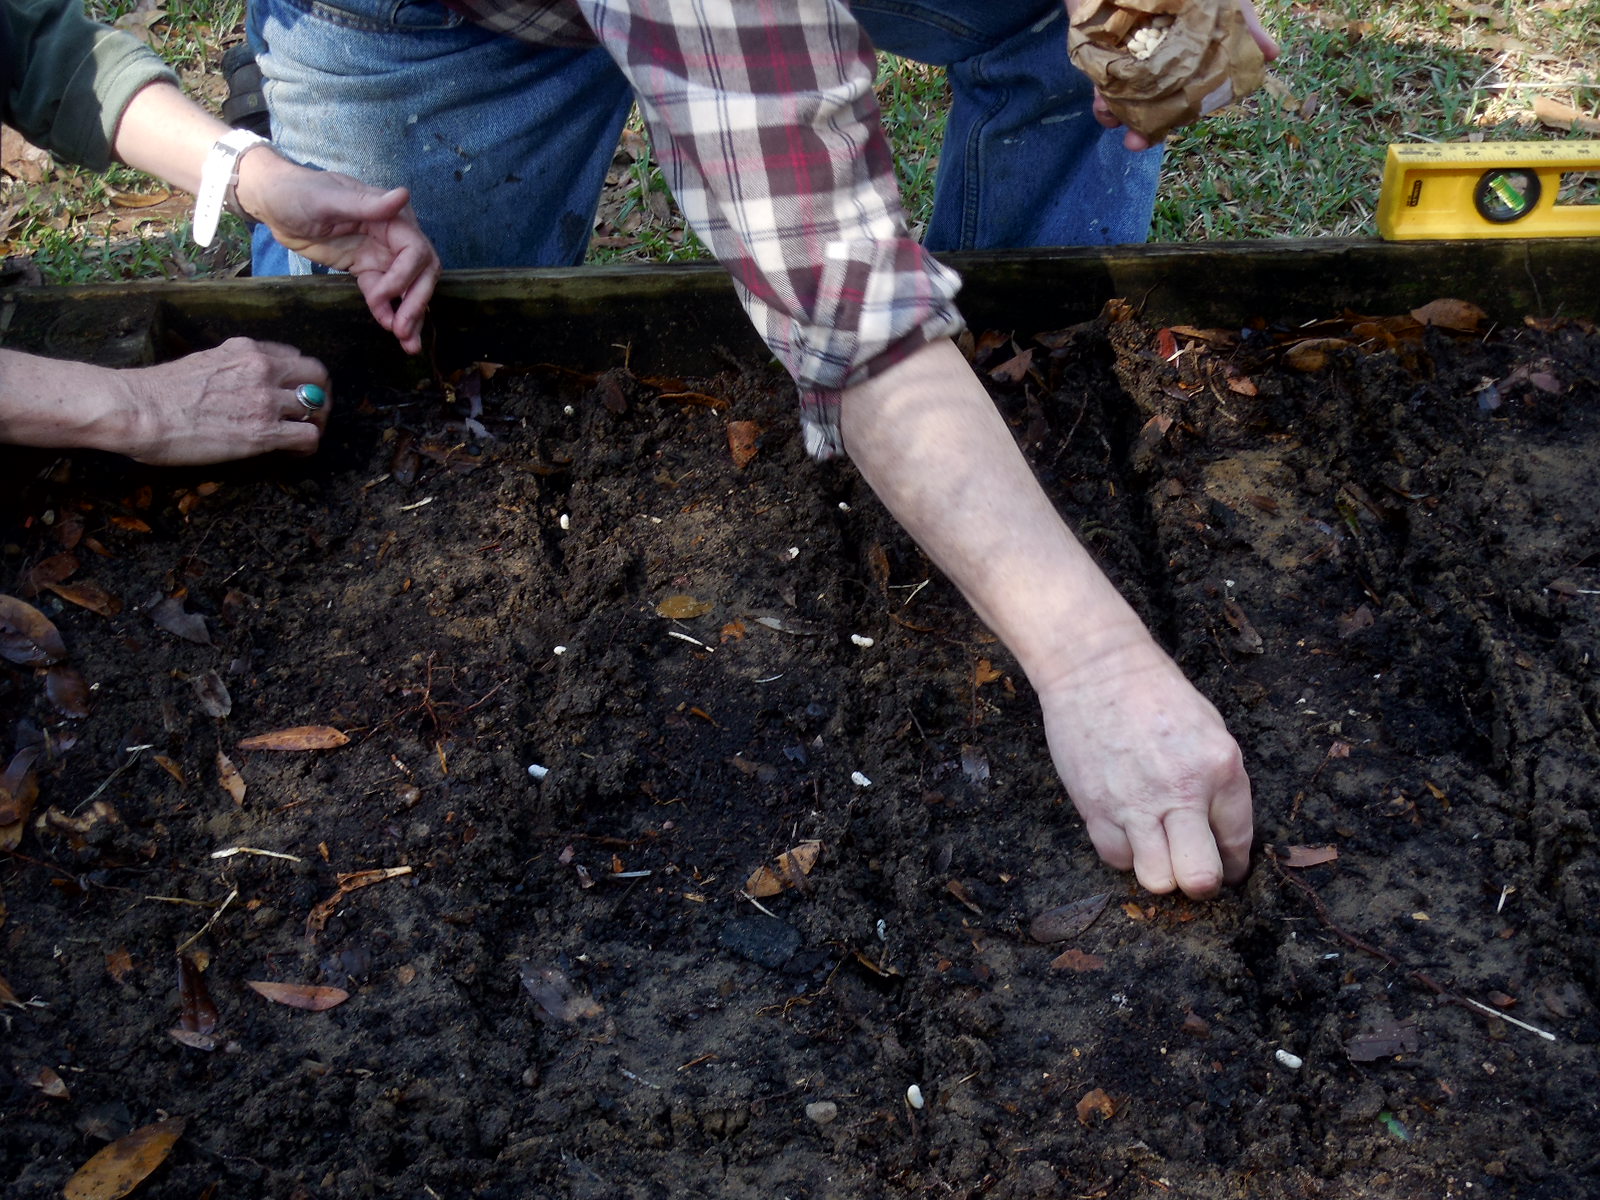
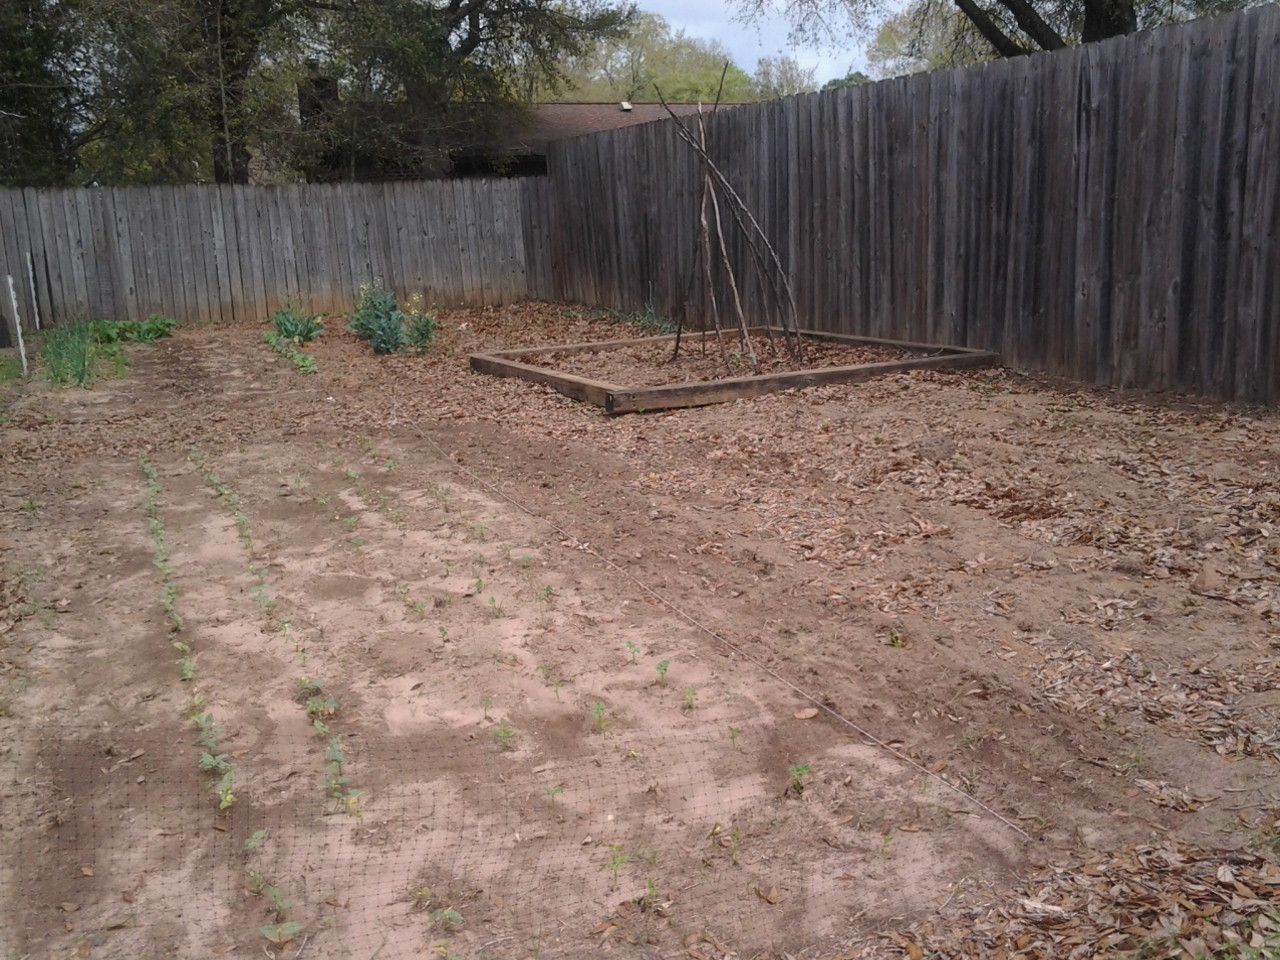
My large garden addition has been planted with tomatoes, bell peppers, green beans, 3 types of squash, eggplant, onions, basil, and dill. The beans are starting to grow, can you see the two rows? They don’t look like much now, but a month will make a huge difference.

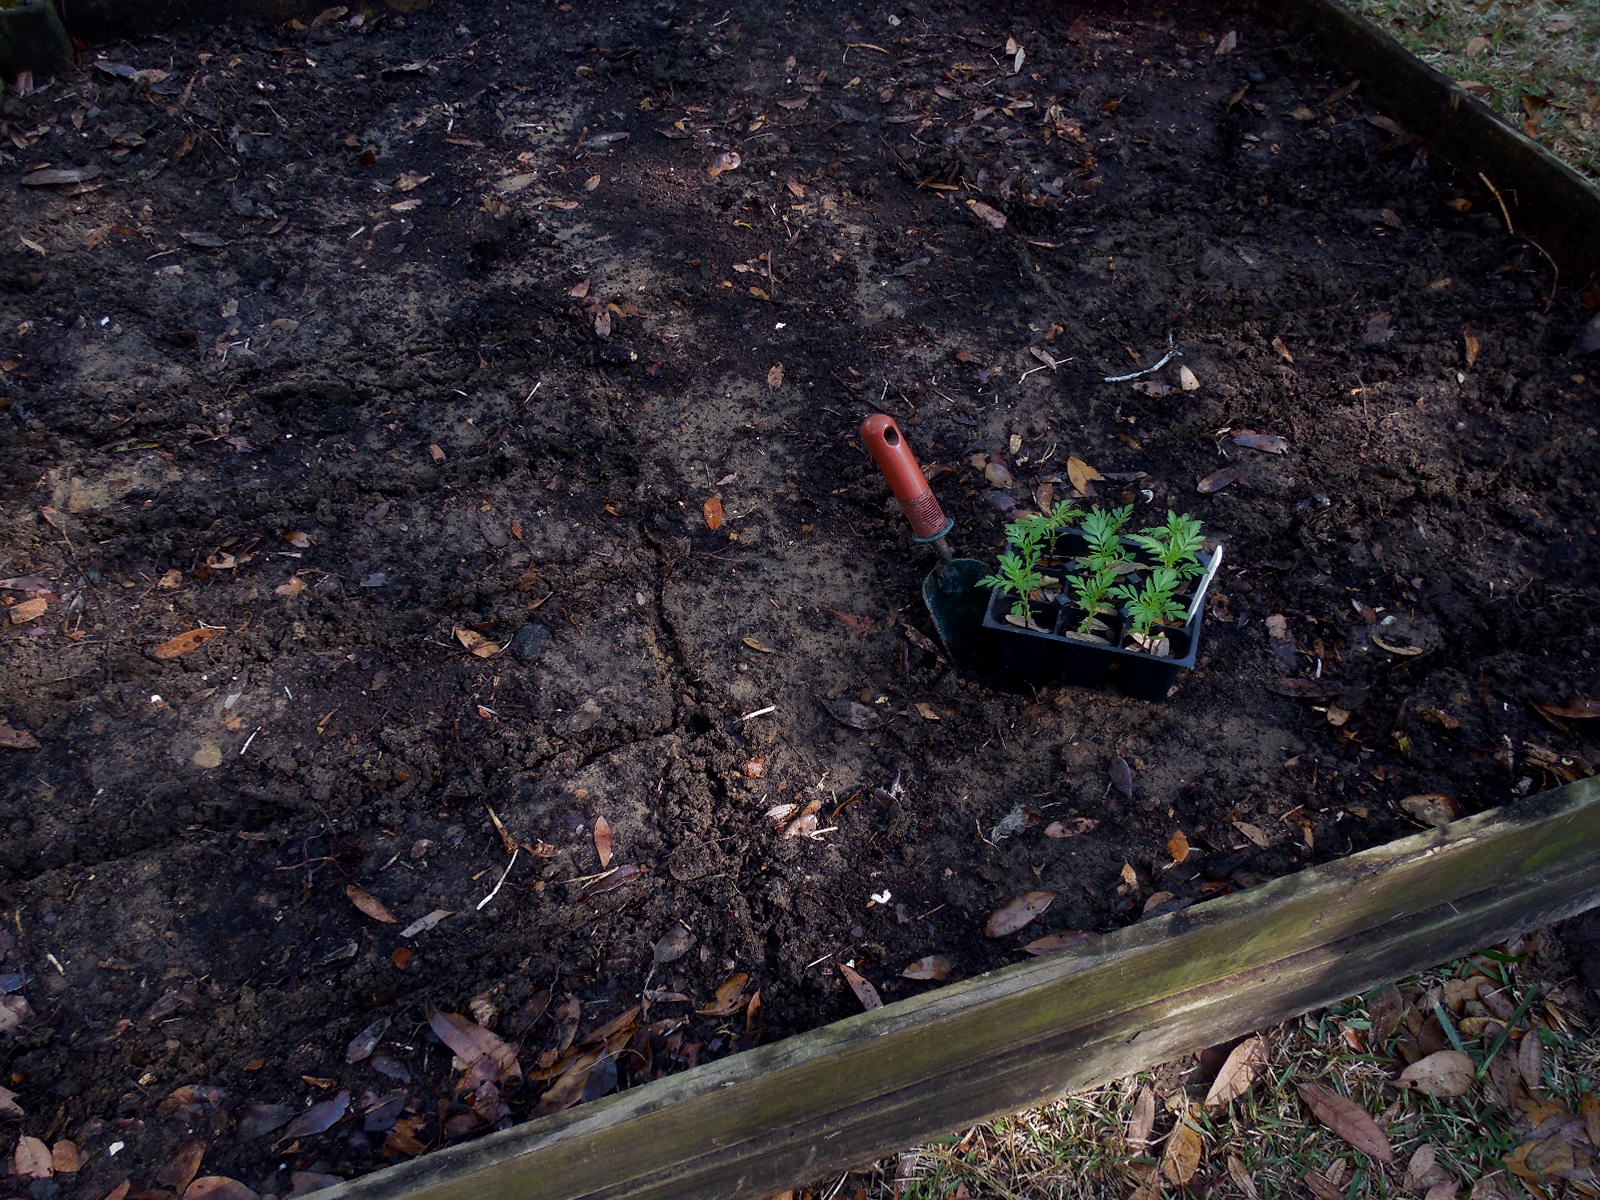
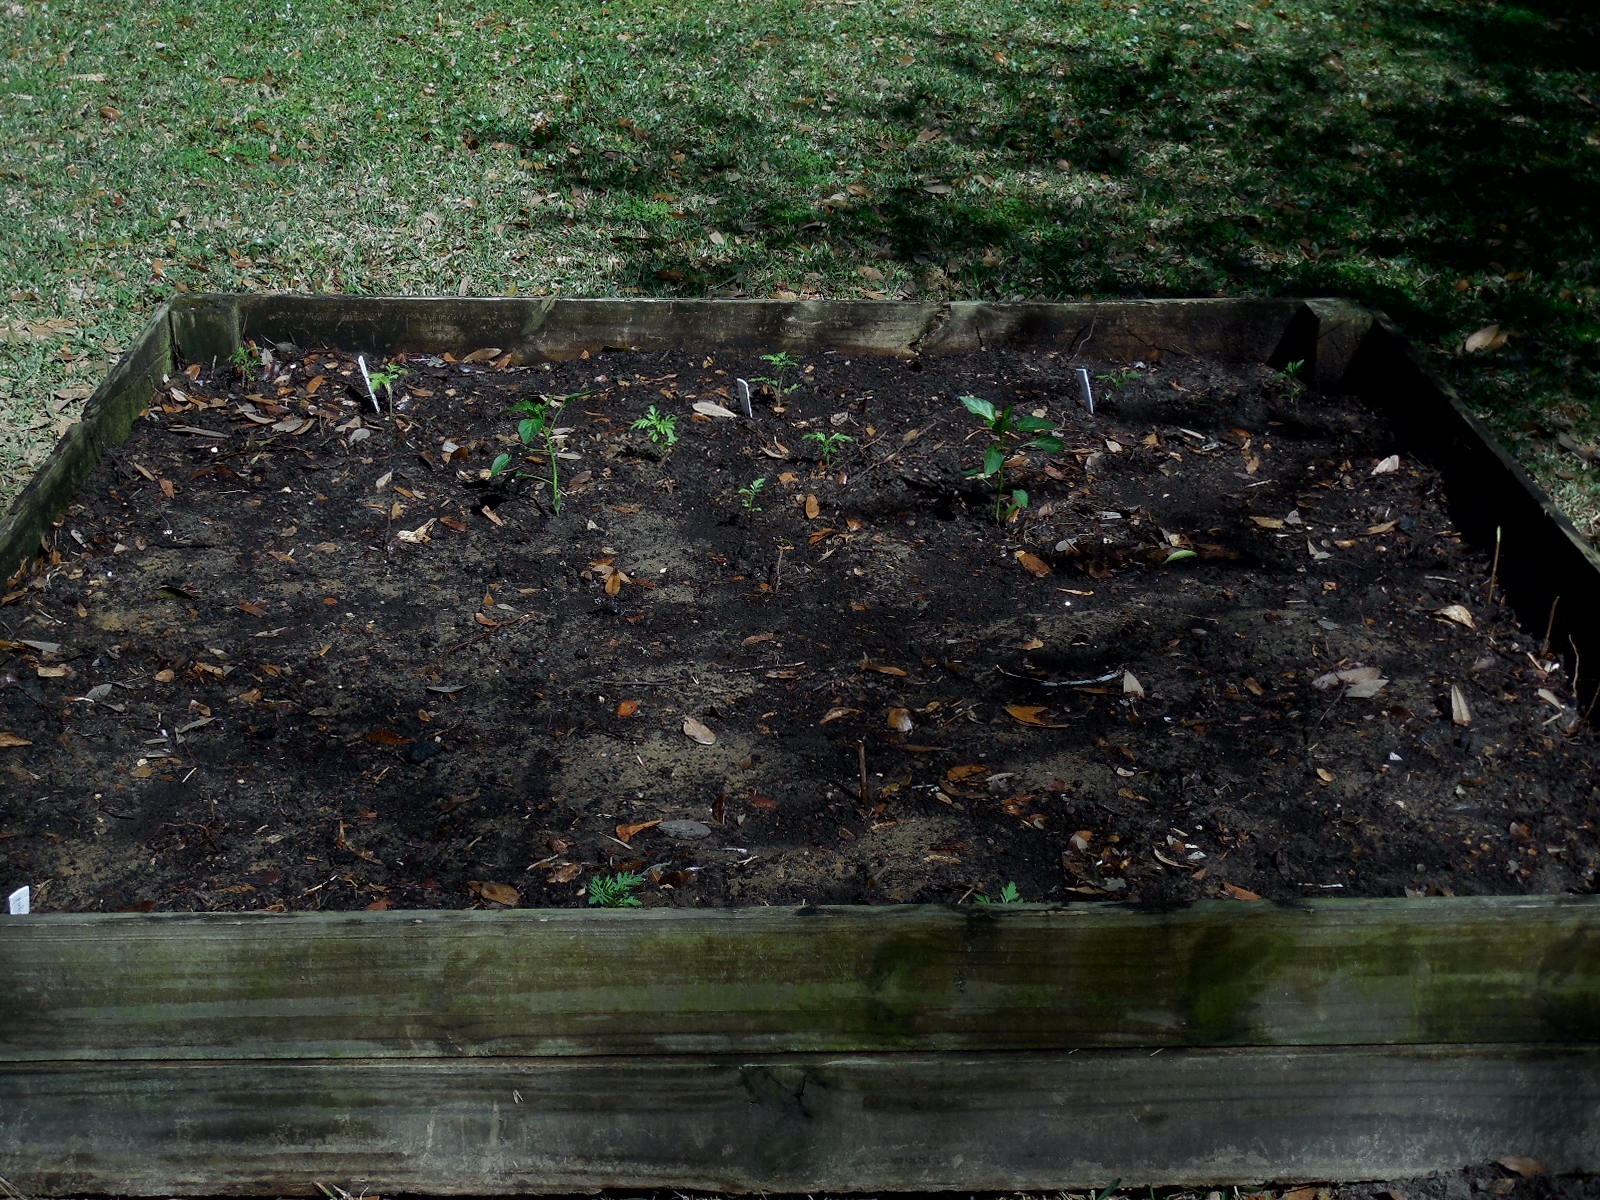
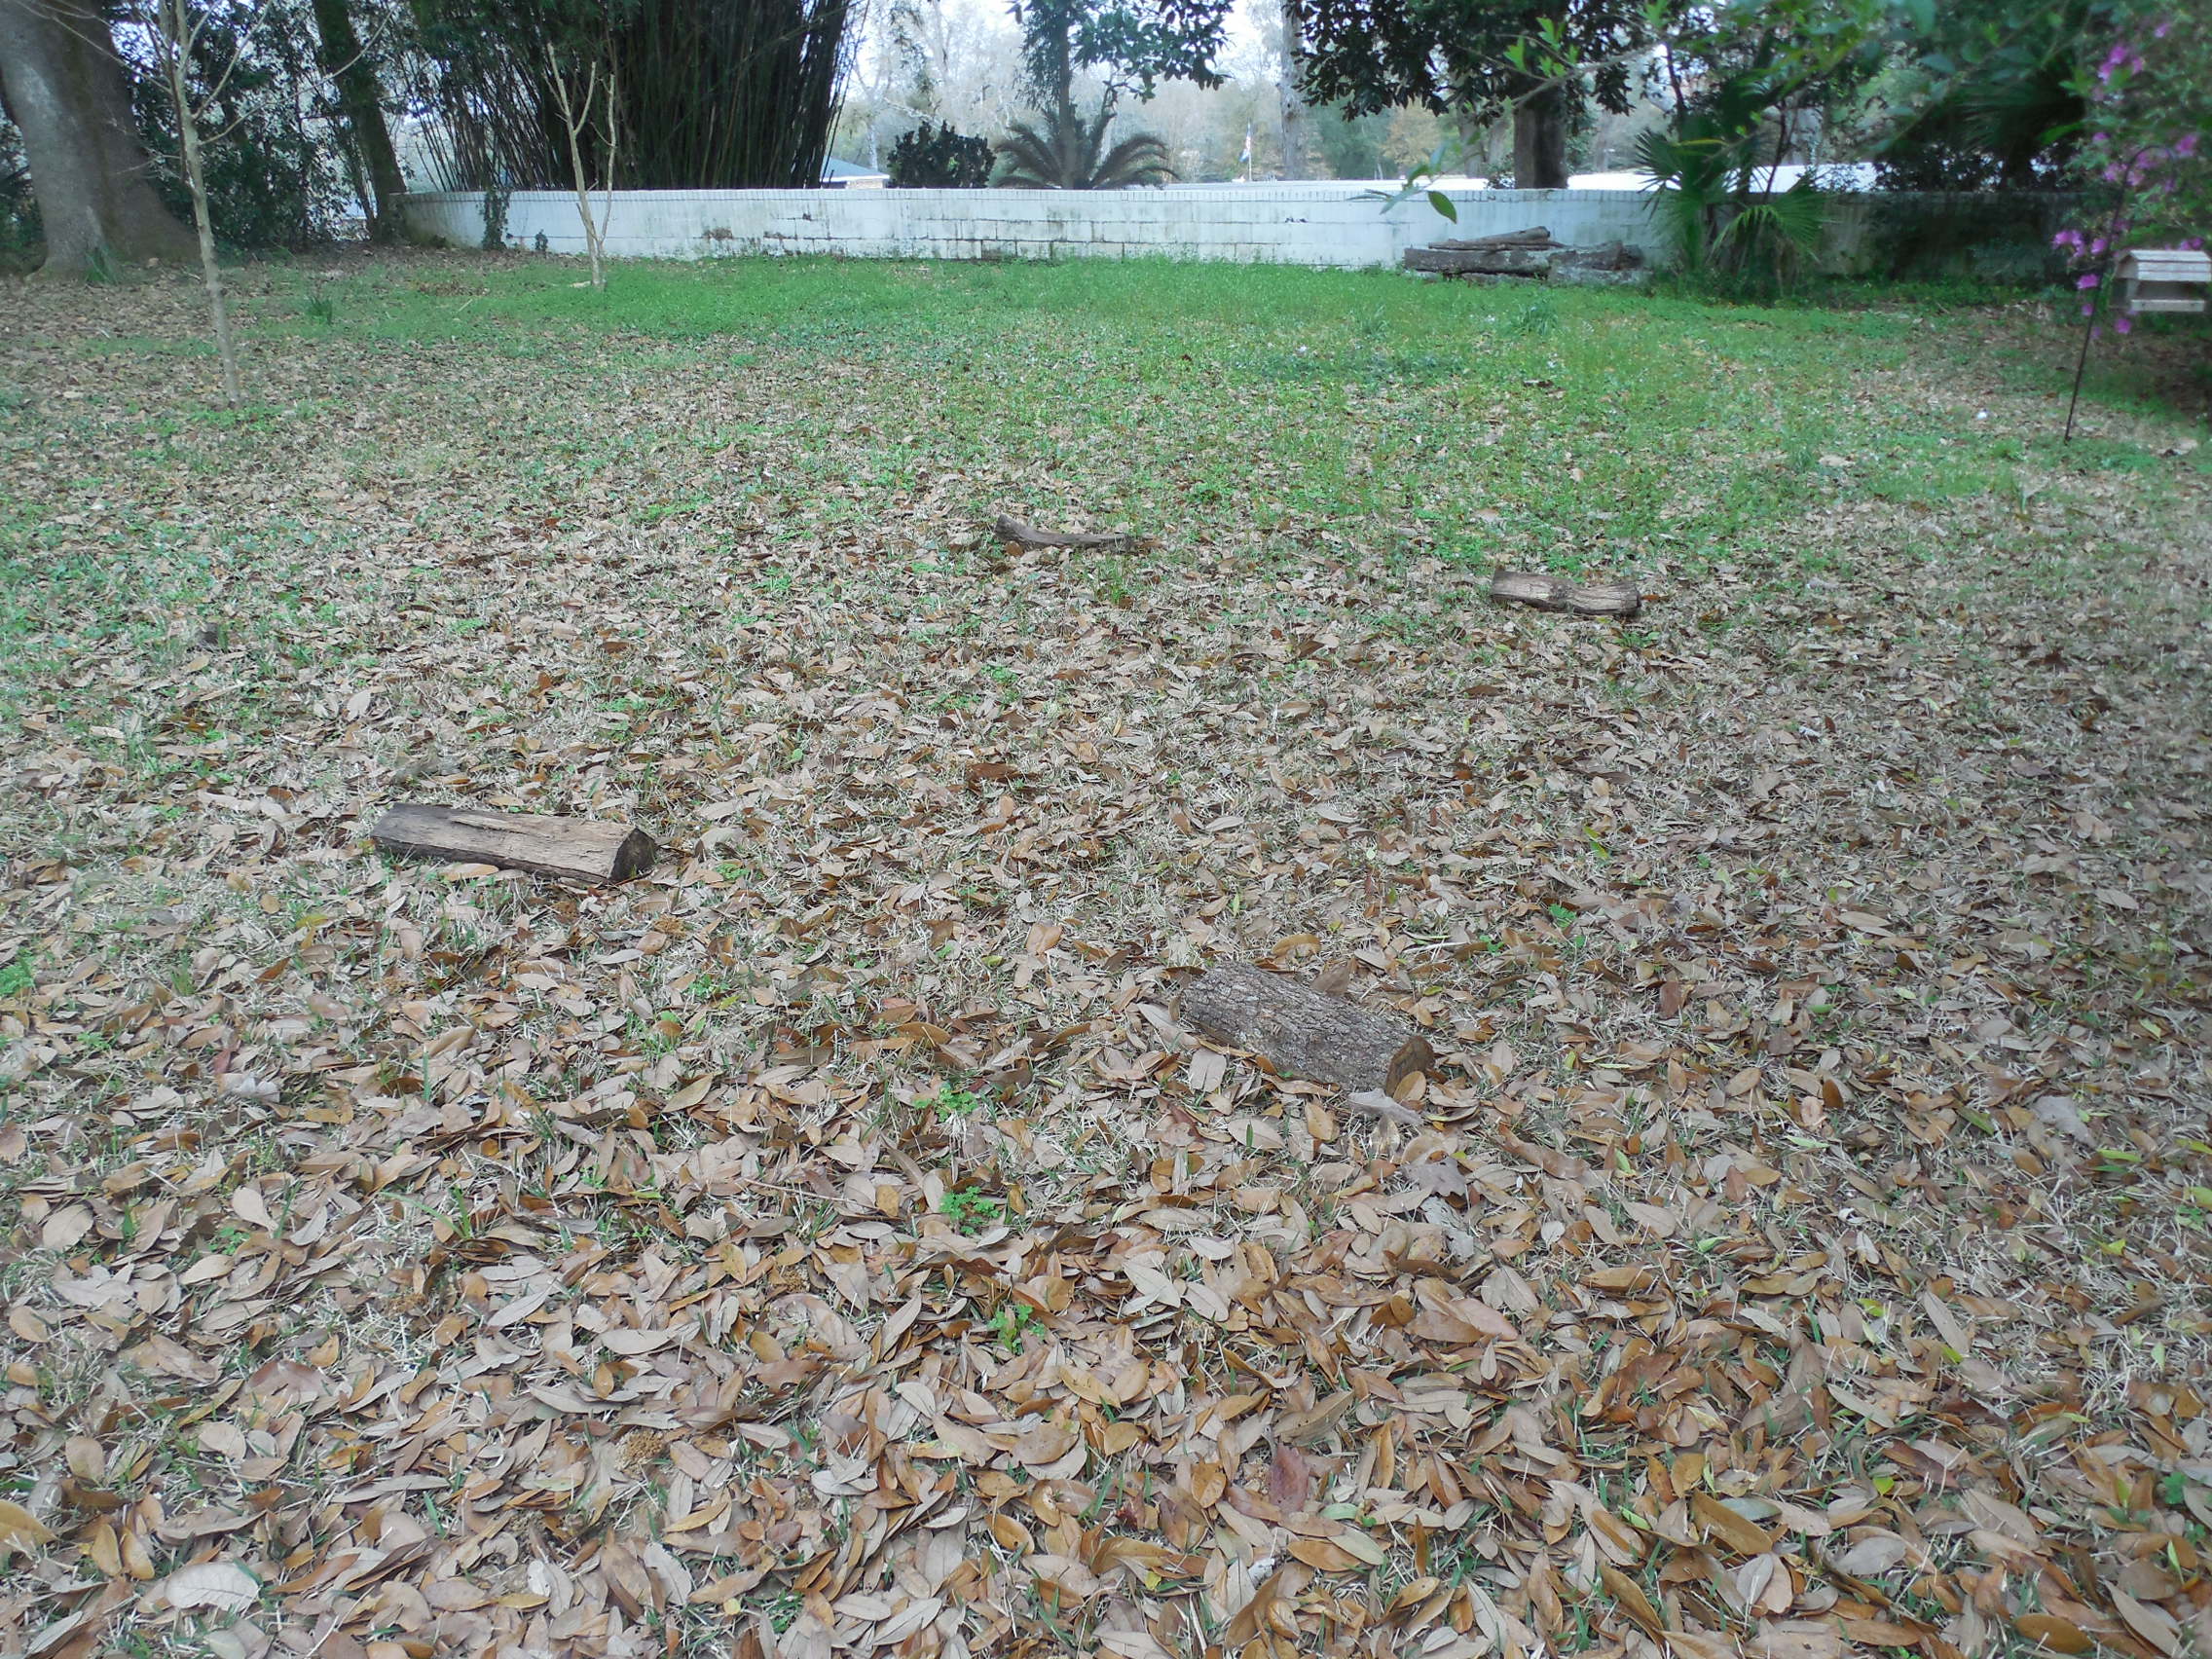
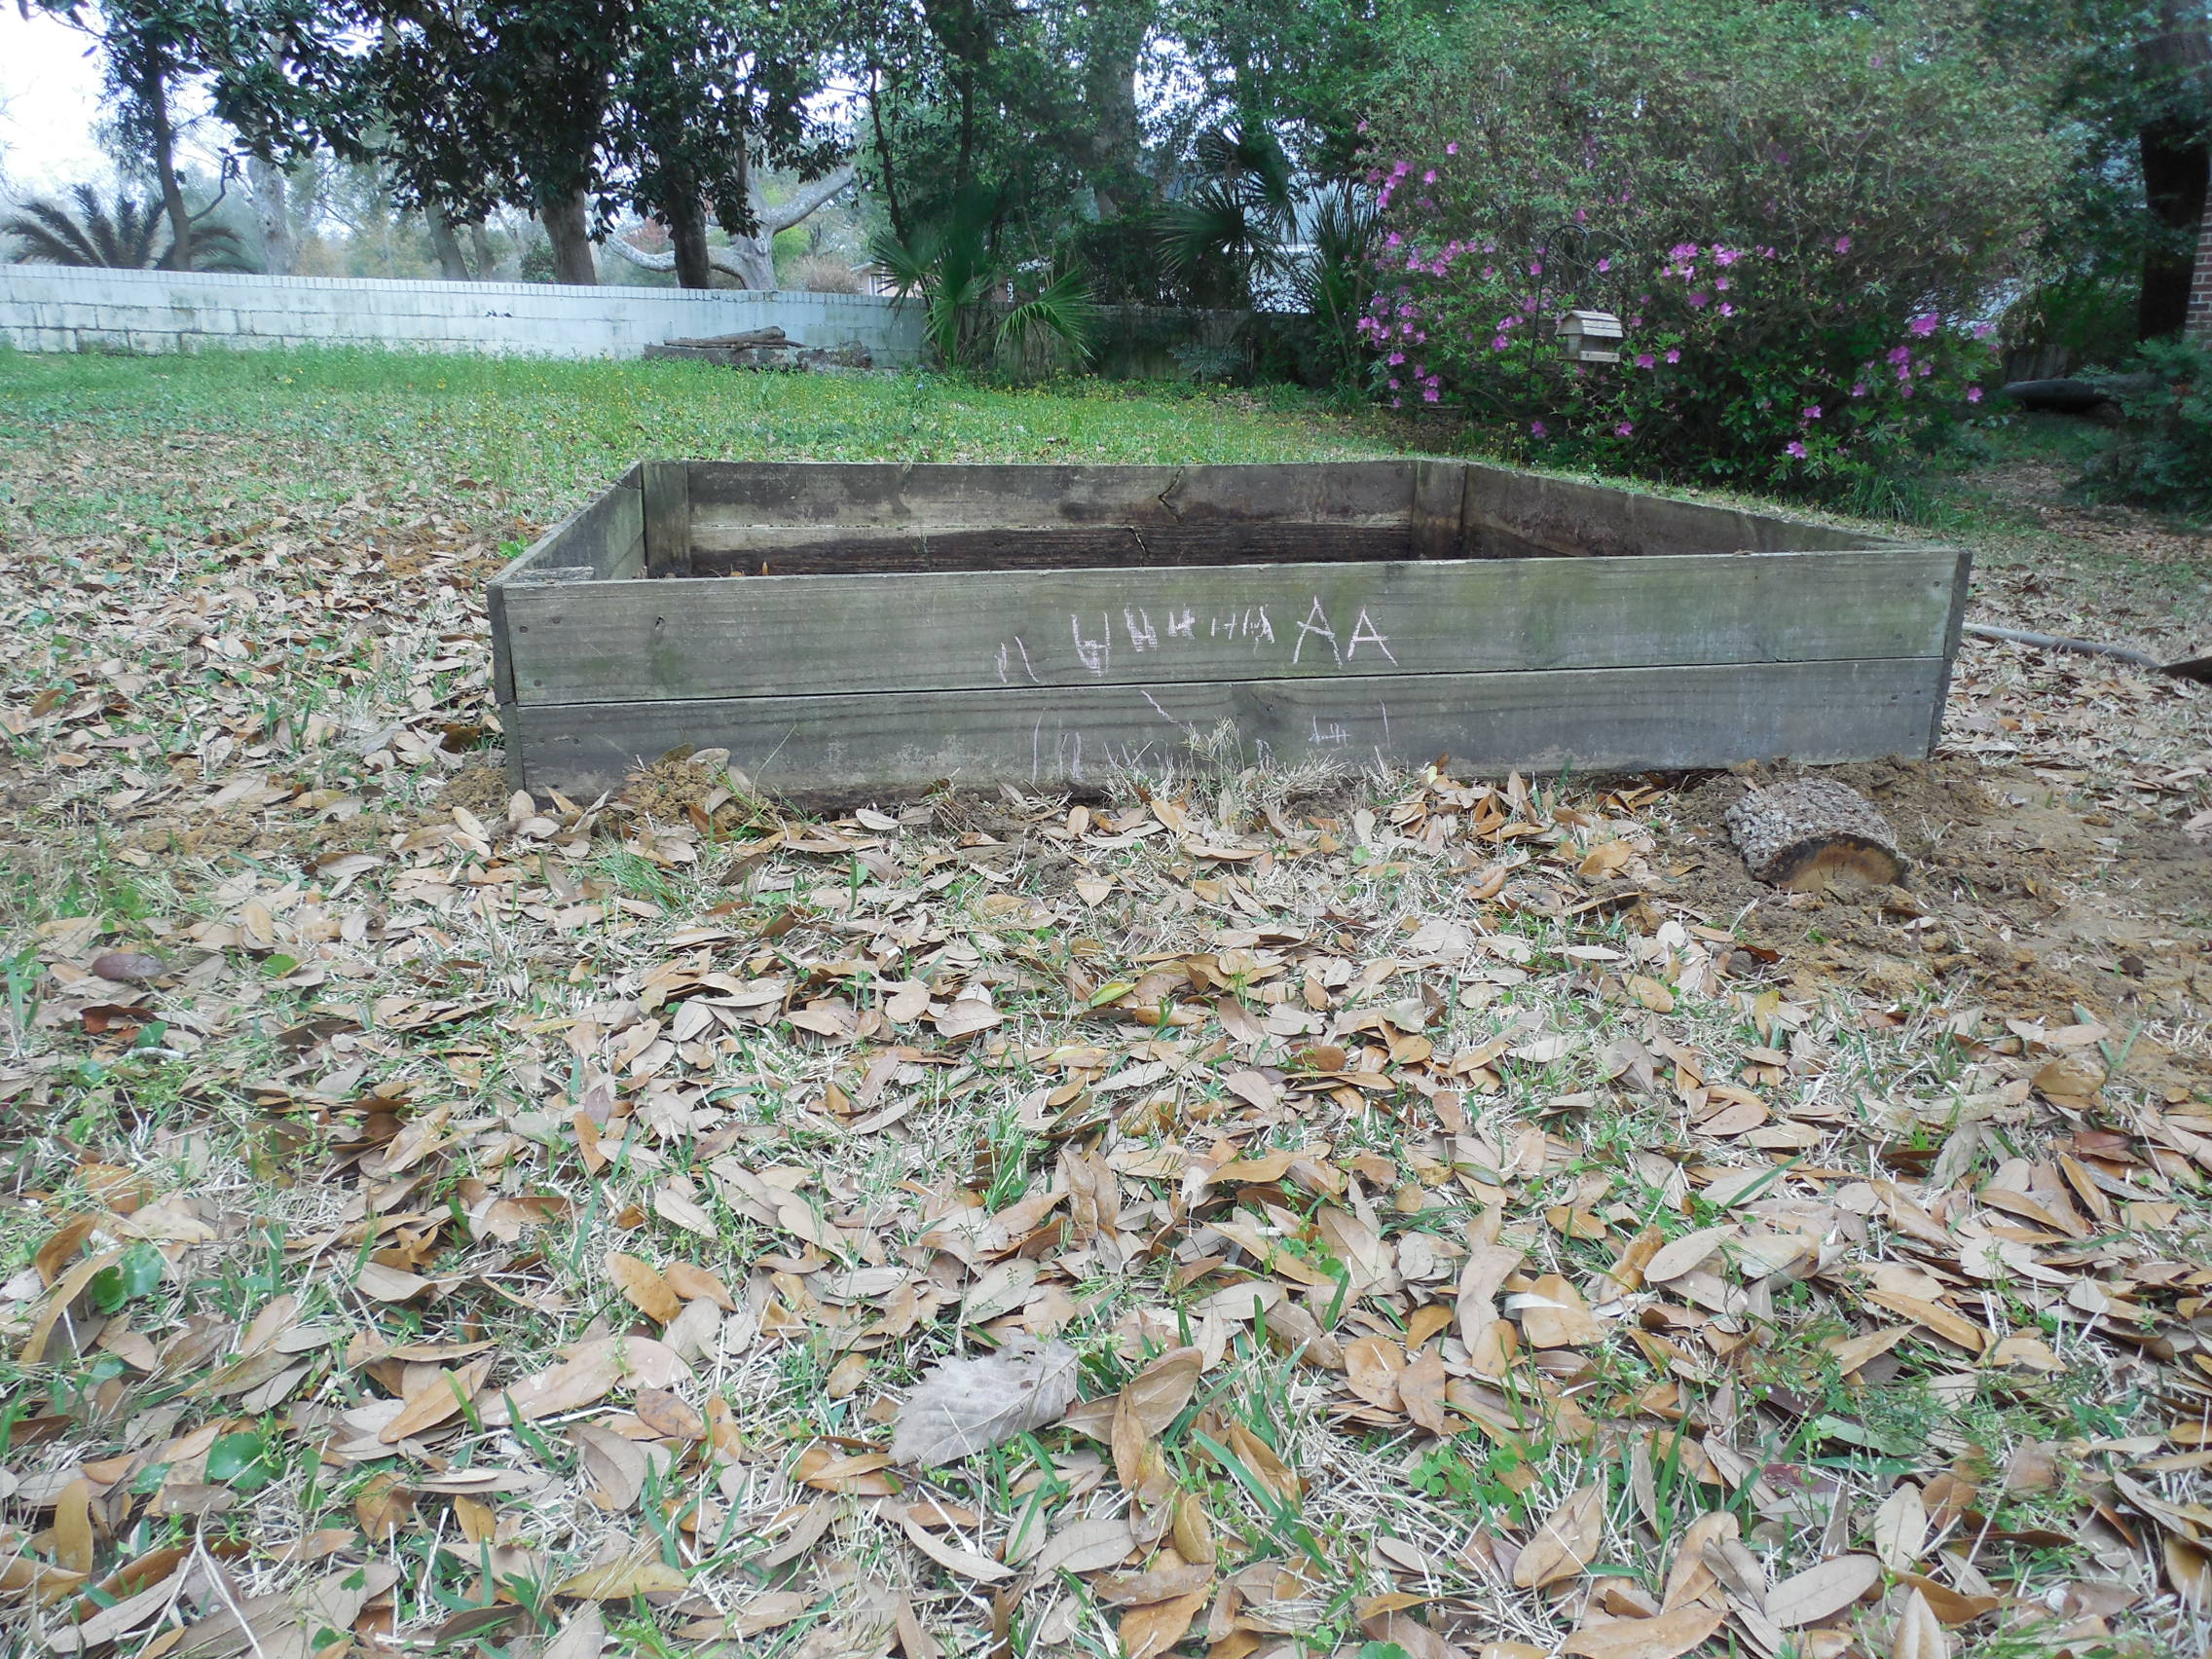
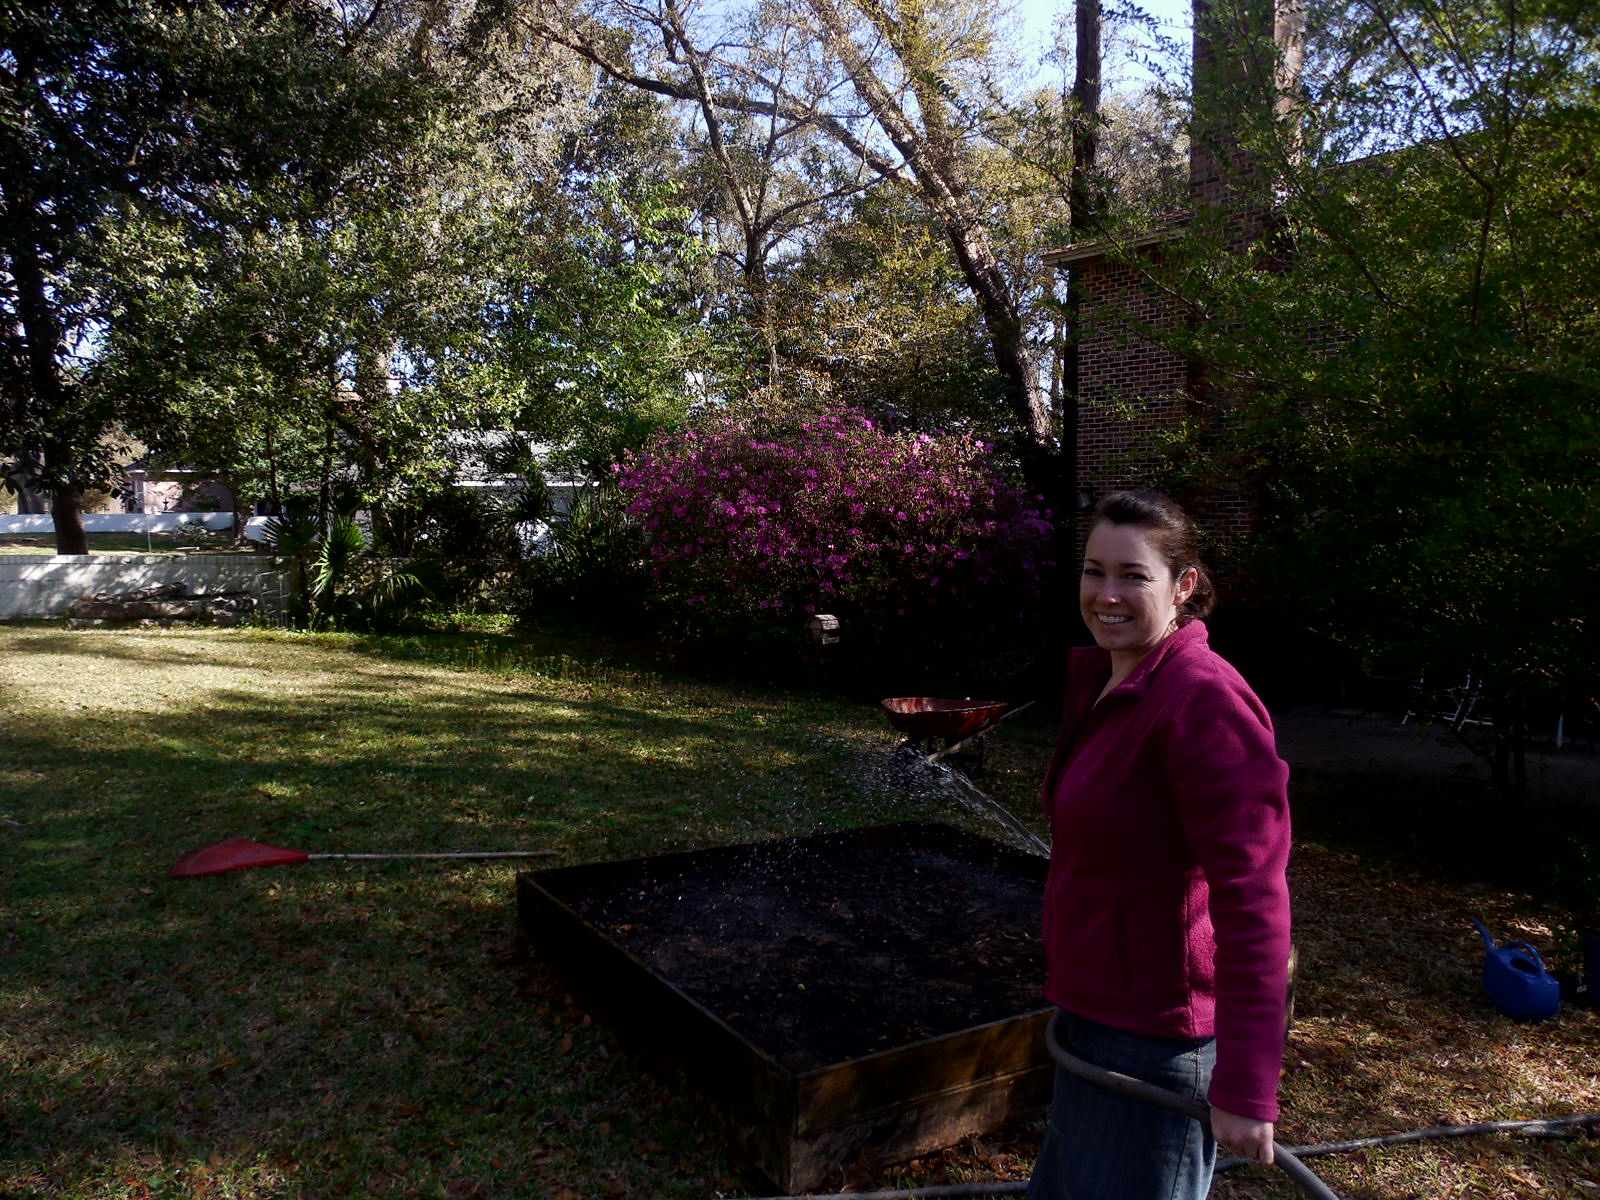
Just 2 months ago, this was part of our backyard. Now, it is tilled and planted with seeds and baby tomato transplants. I can’t wait to see it in another 2 months! If all goes well, I will be eating fresh green beans! 😀

I can’t wait to see the teepee covered in pole beans! This is a great project for gardening with kids. I planted Rattlesnake beans and purple-podded pole beans. The purple ones are a beautiful royal purple color and are fun to show kids.

20140404_120800

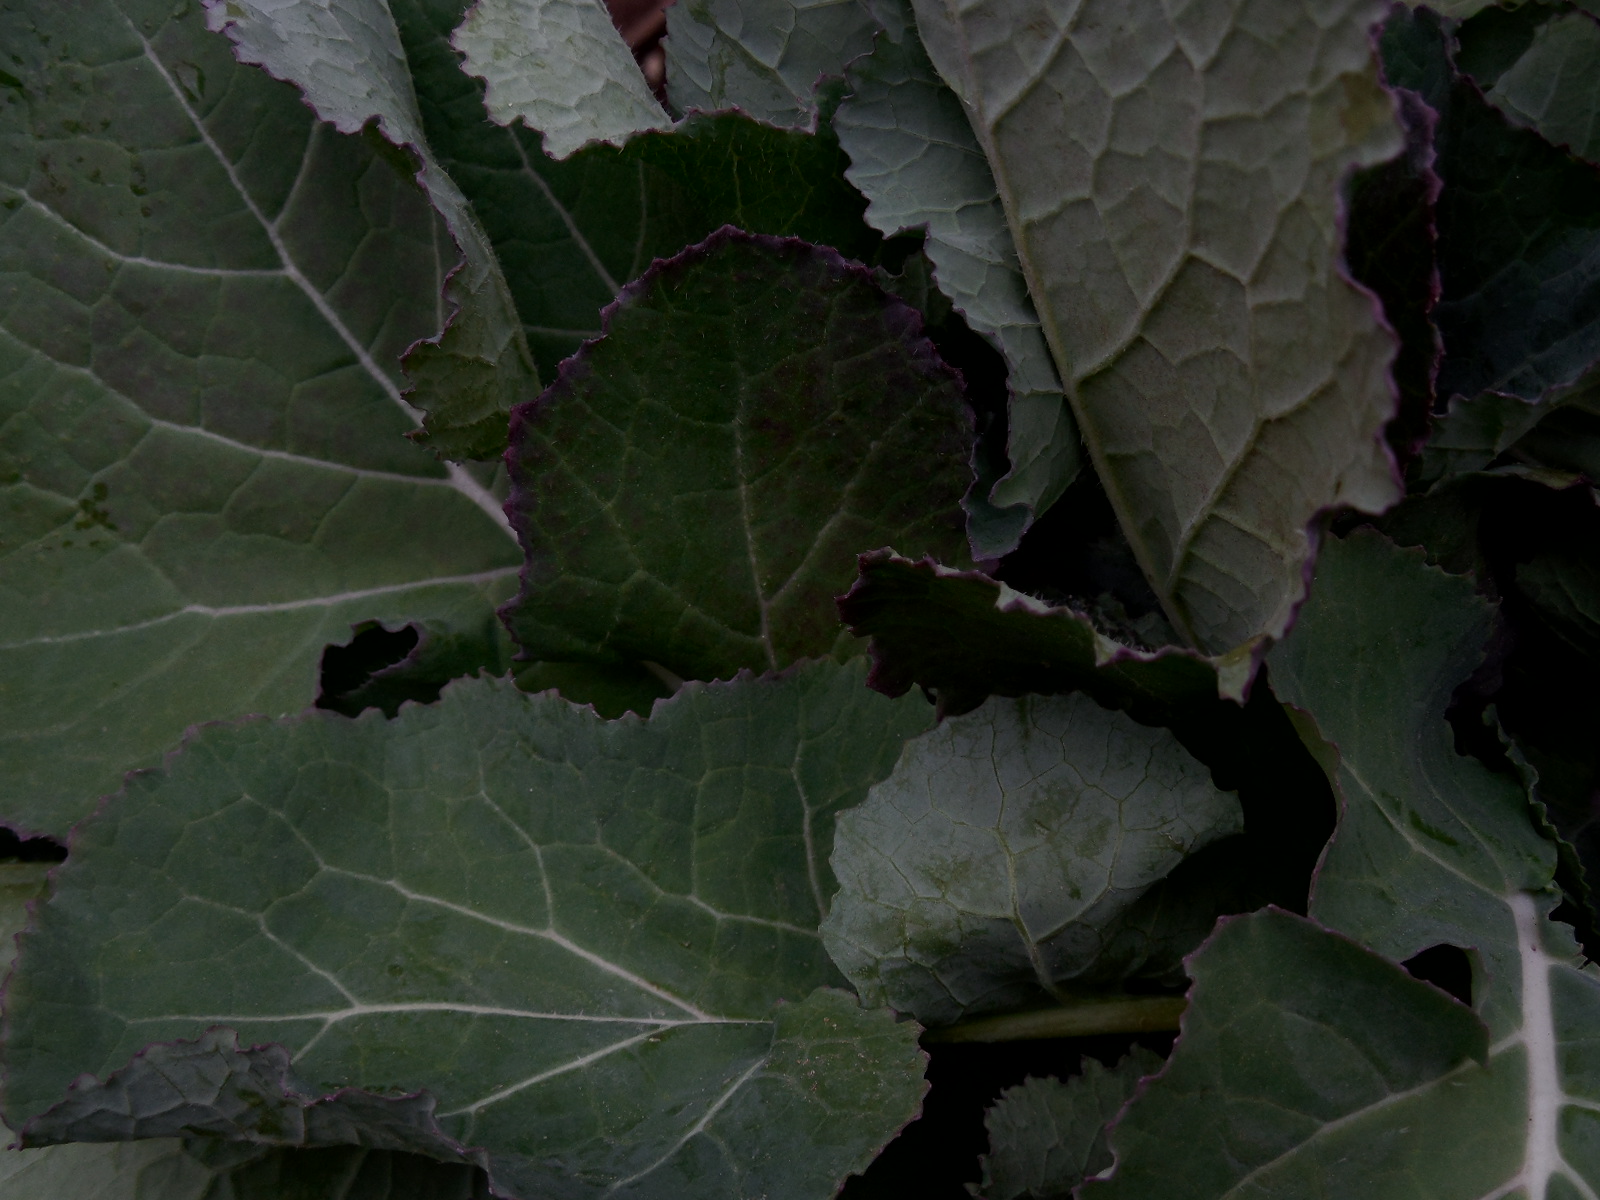
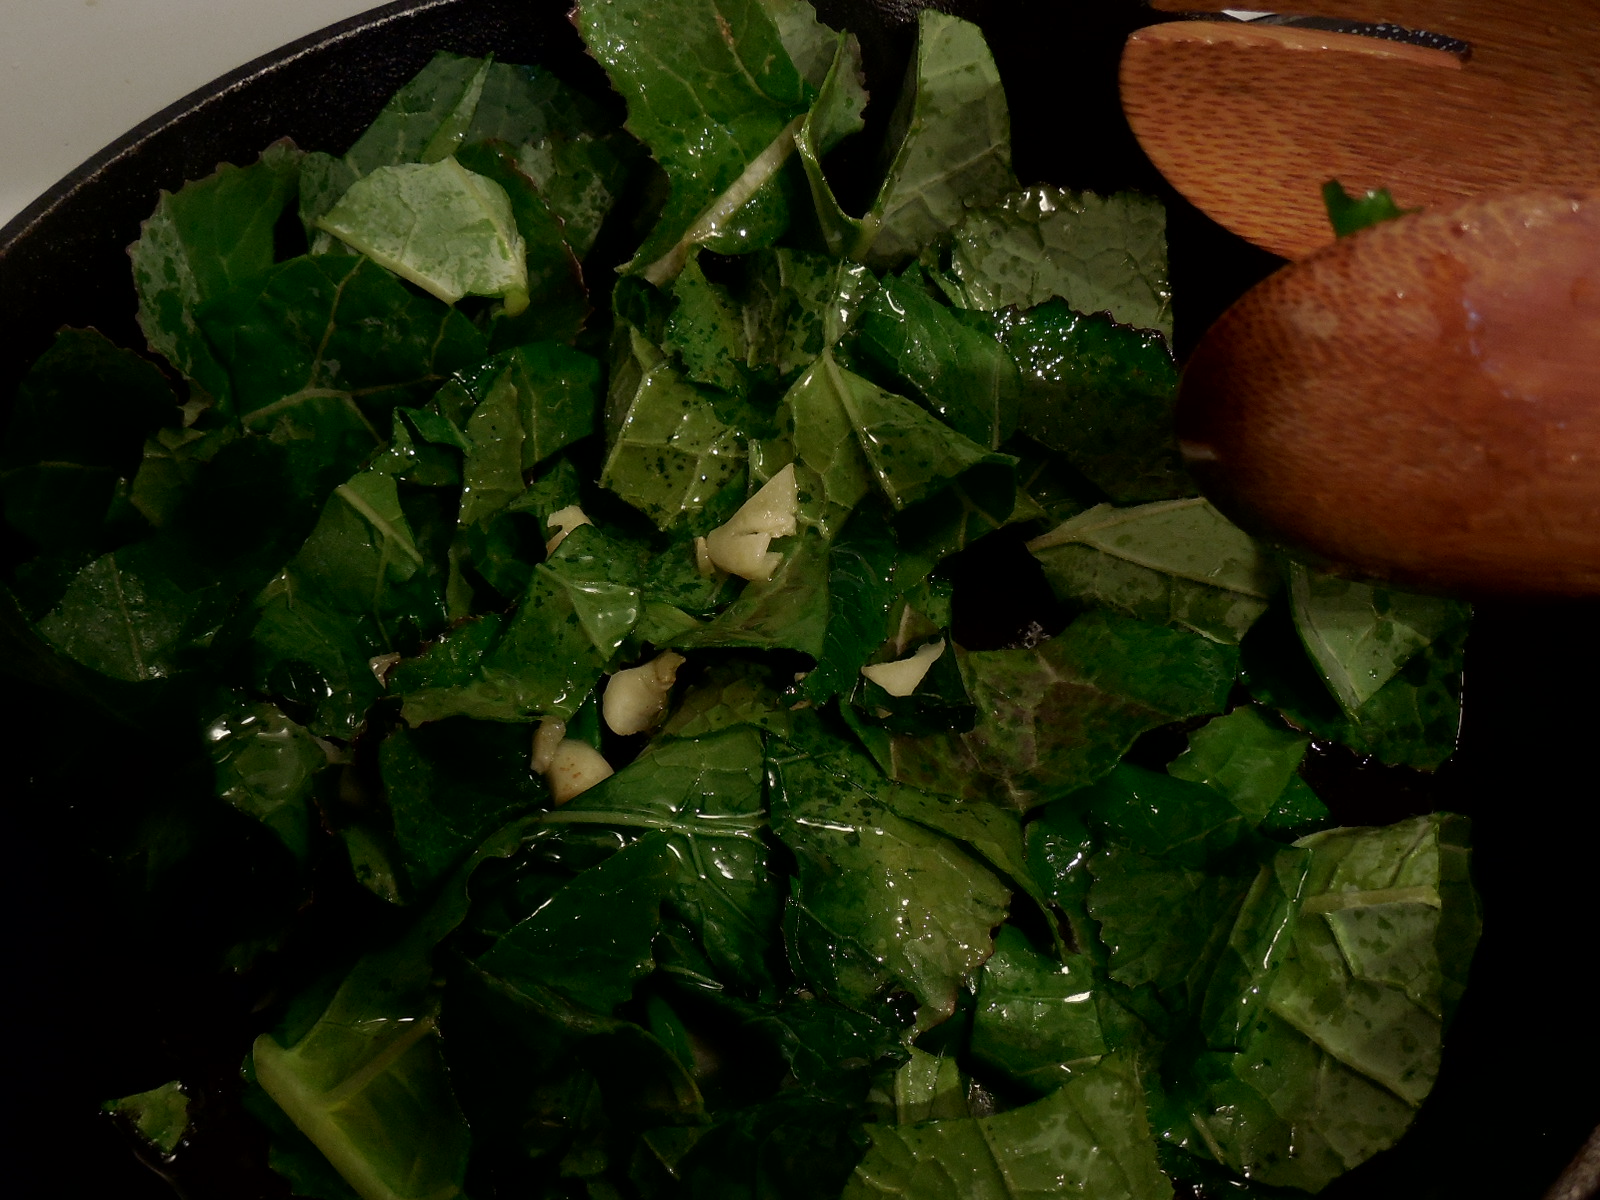
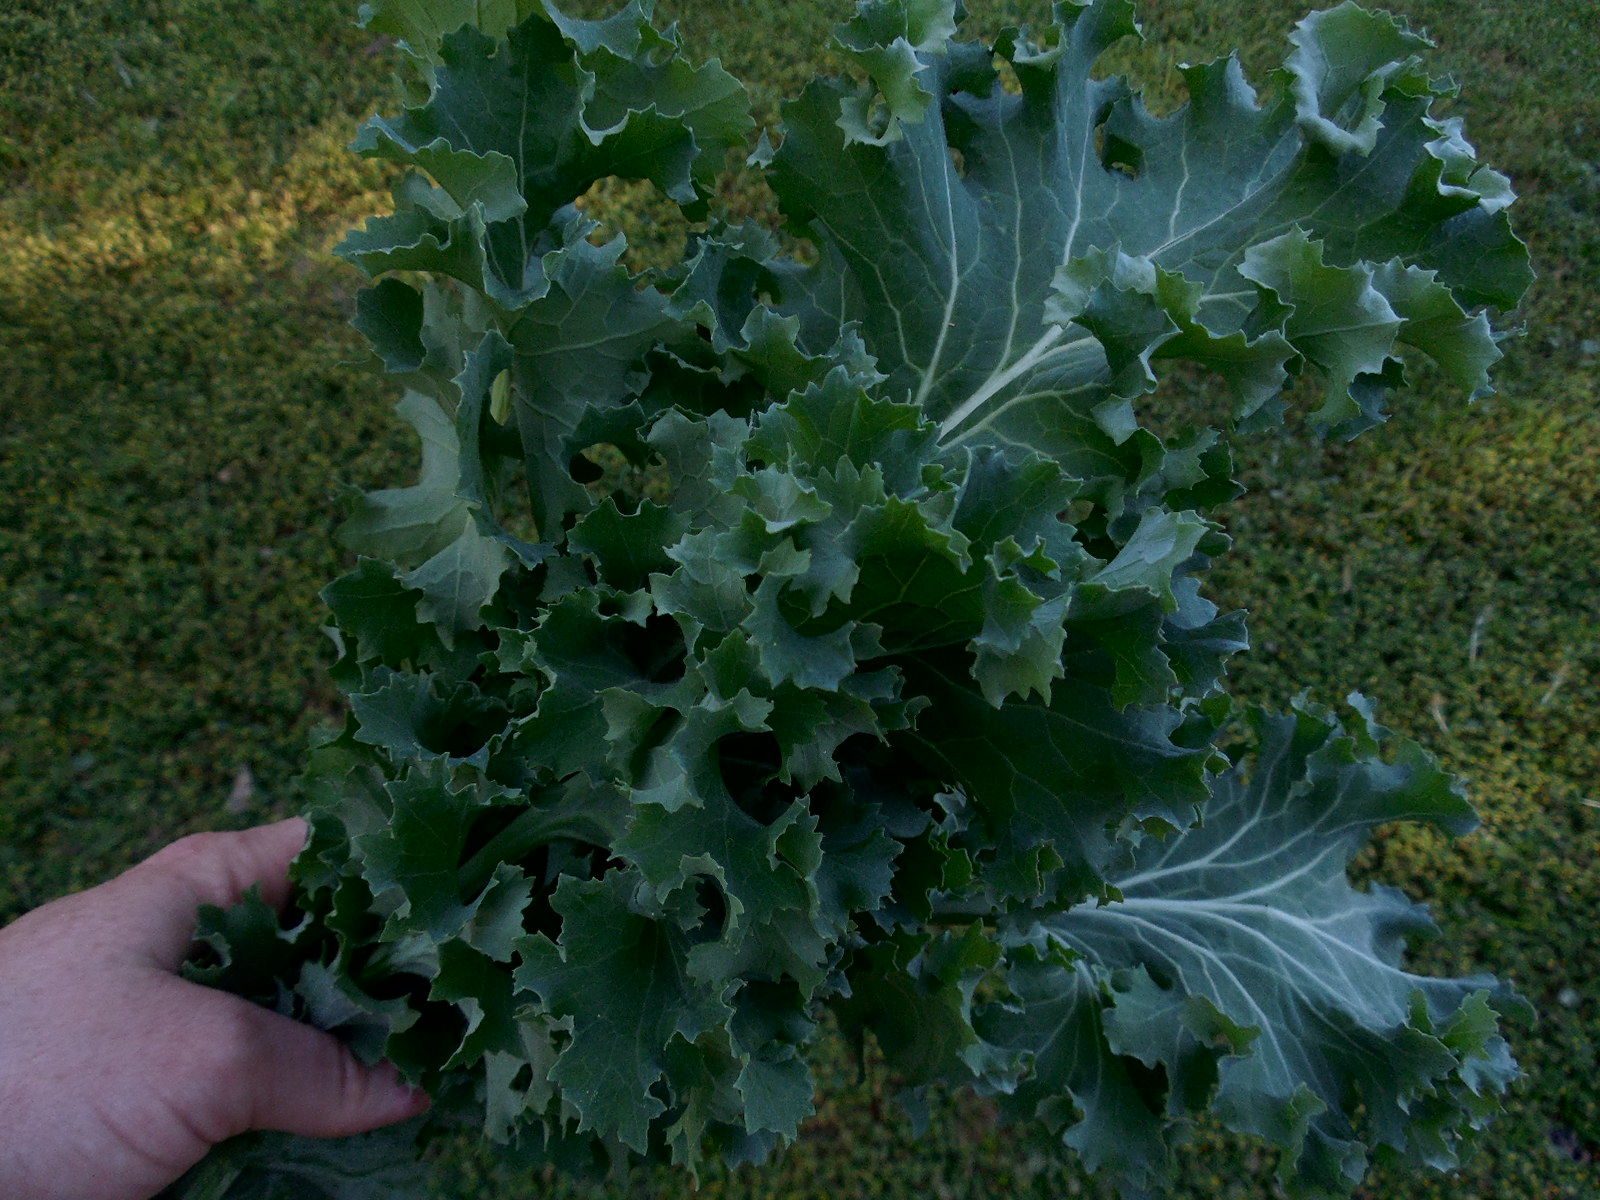
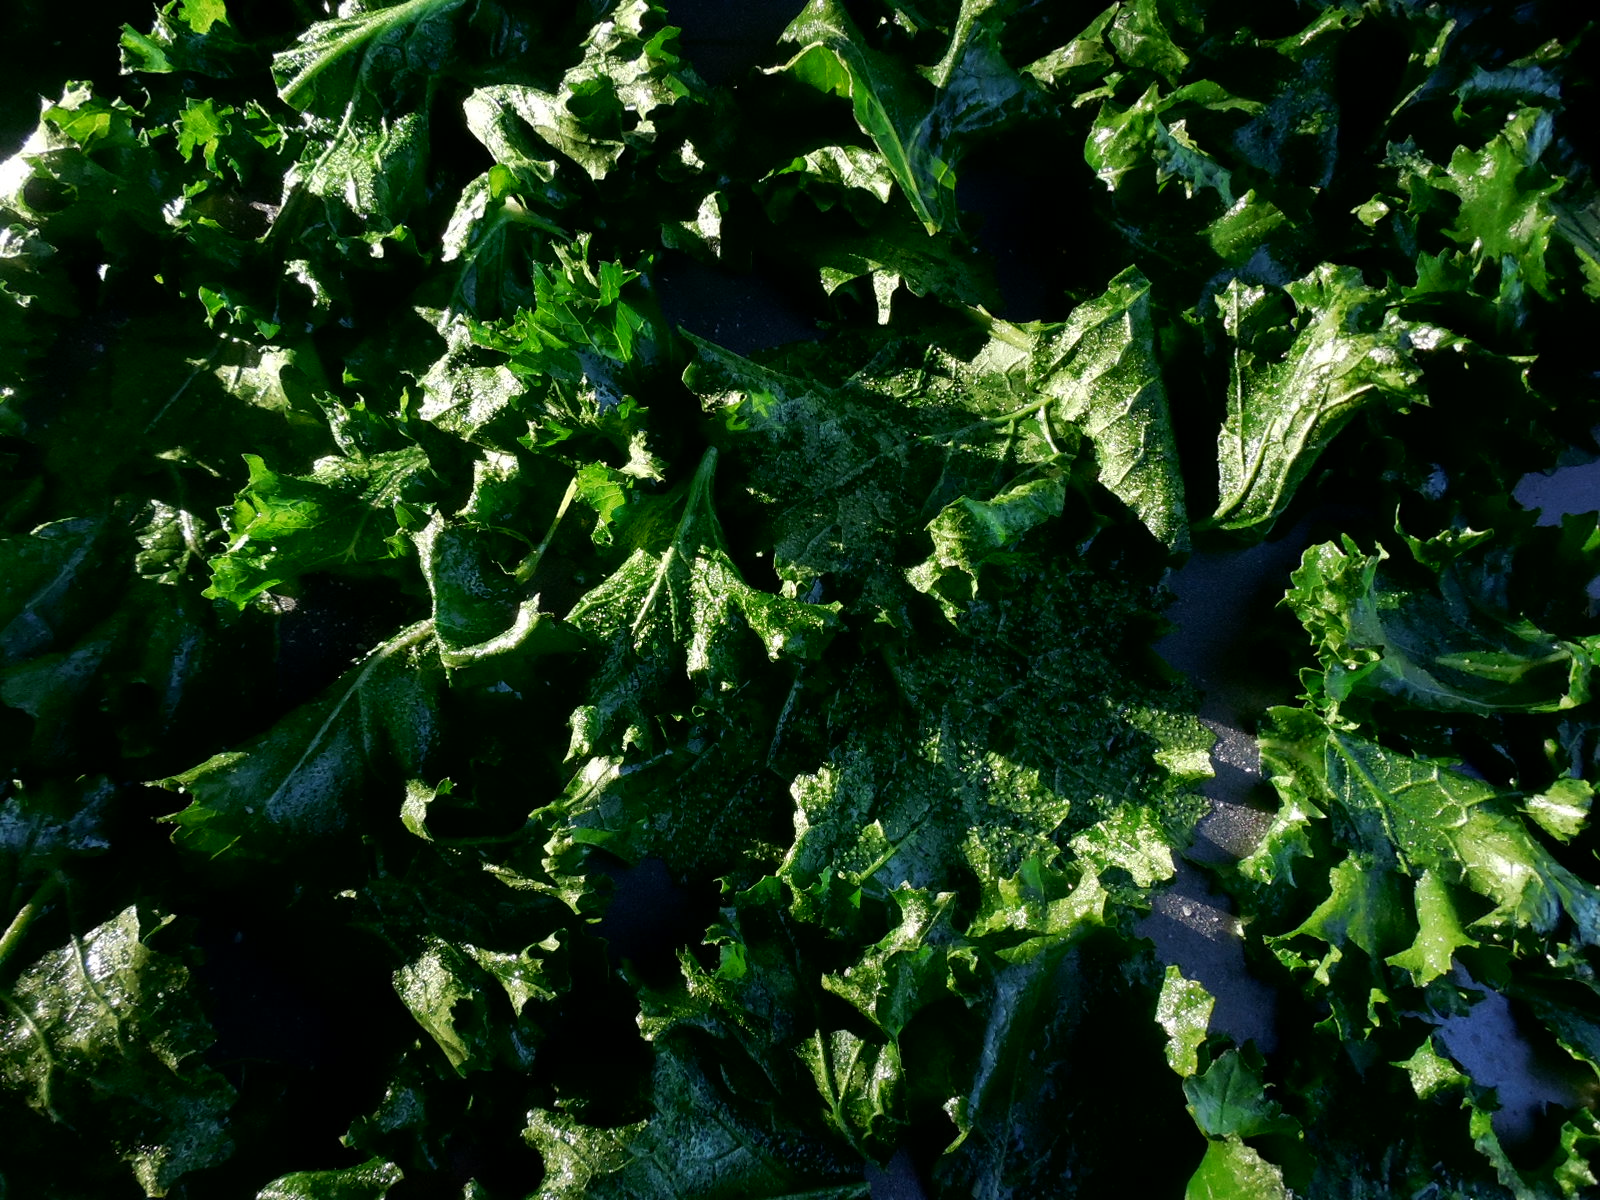
My garden by the shed is very pretty now, as the broccoli, collards, and radishes are flowering. I plan to let these crops be as the flowers are attracting pollinators and I am still harvesting plenty of kale and collards.

My to-do list for the month:

1. Finish planting the square bed. Pole beans around the teepee, cantaloupe and watermelon outside of the teepee, and flowers and herbs around the perimeter. (Mostly done now, started the melons in pots for transplant later. Sunflowers and zinnias at entrance of teepee. Marigolds, basil, Swiss chard, and dill transplants around perimeter.)

I hope it turns out as neat as I am imagining! 🙂

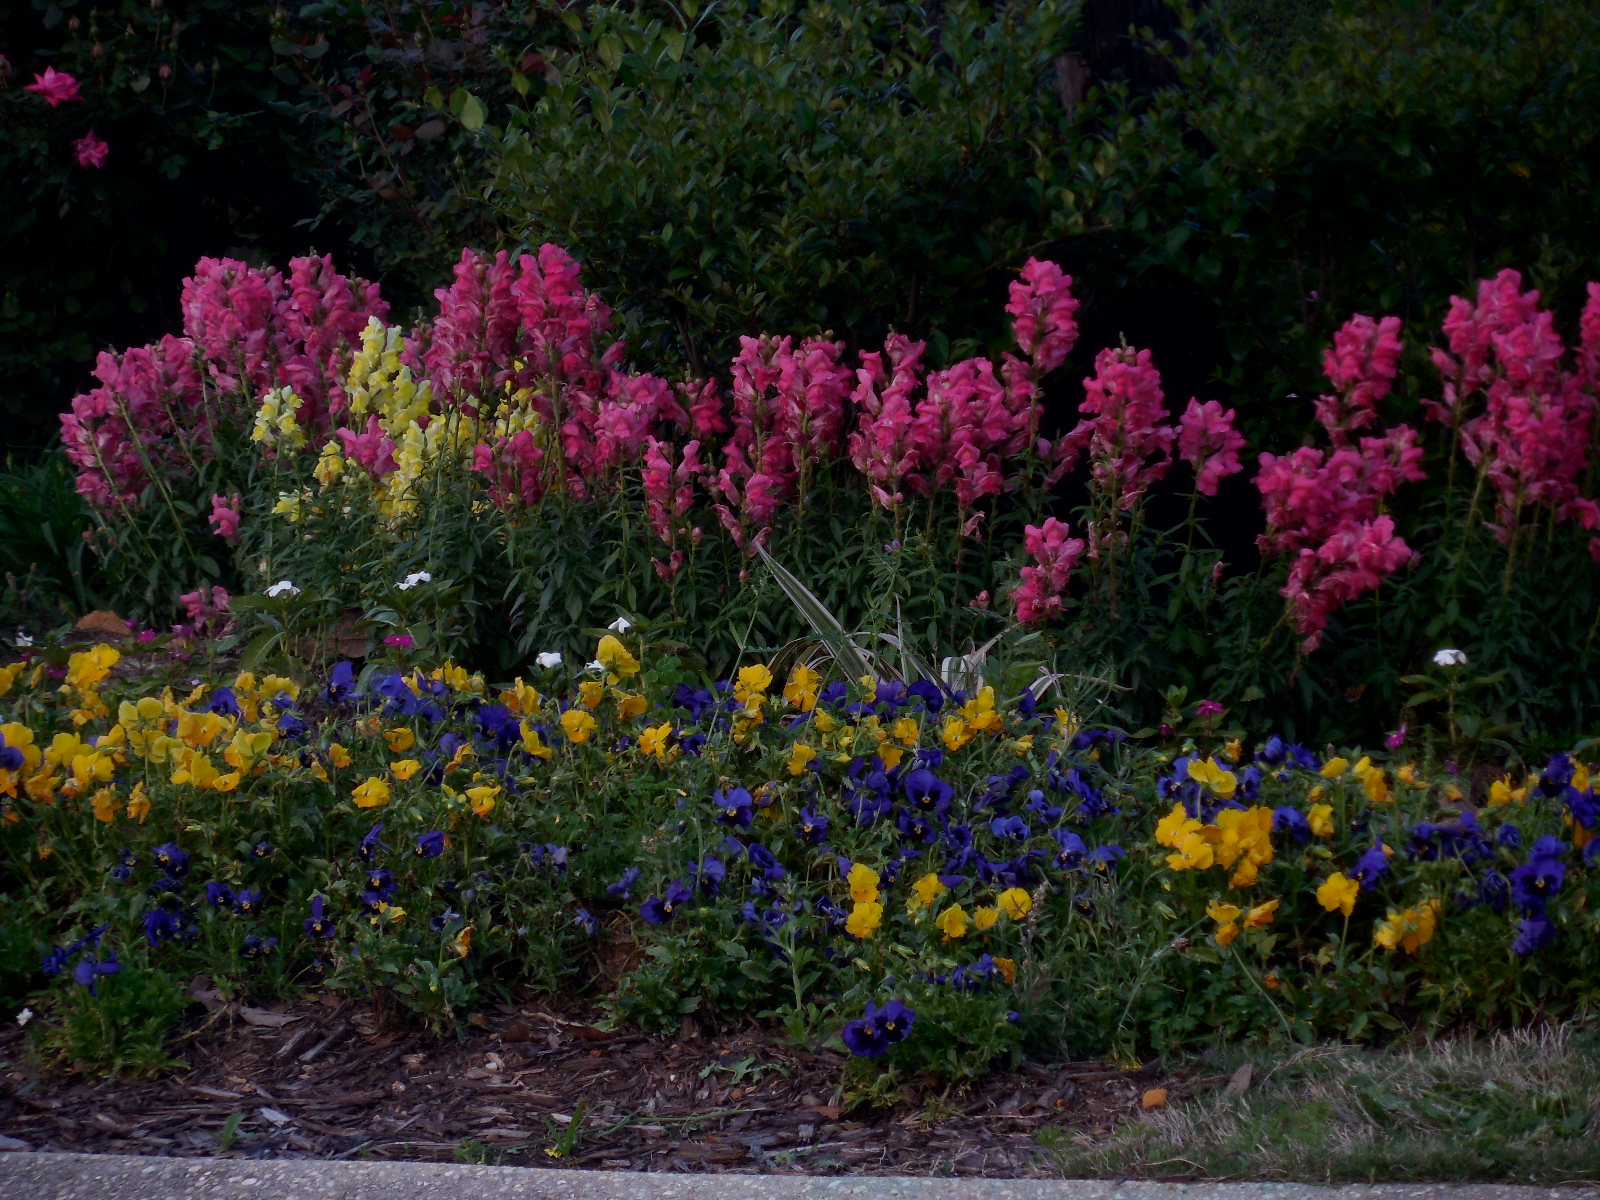
2. Sow marigolds along the garden path. (Done! I love marigolds!)

3.Set up trellis for cucumbers on the fence. (Not done yet, I’m in no rush as they are just starting to grow their true leaves.)

4. Hang baskets of ferns and flowers on front and back porches. (Done, and I love how my porch looks now!)

5. Mulch around bush green beans when they are a bit taller. (Check! Either you mulch or you weed. I mulch 🙂 )

6. Start ground cherry seeds. I only have 10 seeds, and I really want to try some of these this year.

7. Stake the tomatoes and peppers.

That’s what I would like to get done this month. How about you? Are you going to plant anything this spring? Maybe you could try to plant a bean teepee with your children. Gardening with children is a great way to get them outside and interested in their vegetables.

Florida Raised Bed Gardening (Part 1)

Standard

Thinking about starting a garden this year? Gardening in Florida is such a worthwhile endeavor. You can get fresh air, gentle exercise, and fresh vegetables!

I have been helping a retired couple set up a raised bed in their backyard. A raised bed is a great way to start gardening.

Many like the raised bed system of gardening because they have more control over the soil. In Florida, that is important because our natural ground is so sandy.

Also, many who have raised beds use the square foot method of gardening, as developed by Mel Bartholomew (see his blog here).

The first step is to select a site. You need between 4-6 hours of sun, really 6 hours or more is best. If some afternoon shade is available, your plants will appreciate the break from our blistering Florida sun.

They selected a site in their backyard that seemed to get the most sun.

DSCN3979

The next step is to assemble the raised bed. Be sure to use quality wood, but be careful of using wood that has been treated with chemicals-remember, your food will be growing in this box!

DSCN3980

This one was made by cutting a 4×4 into 4 equal lengths for the corners, then screwing 4x1x6 boards to the corner posts.

This  raised bed framework was built years ago and was used as a compost bin until they decided to use it for a garden.

DSCN3981

Next, lay a layer of  cardboard or thick newspaper to smother the grass. Poke a few holes for drainage, then add a thick layer of leaves. The leaves will also help to smother weeds and will provide more organic material as they decompose.

DSCN4105

Finally, add a thick layer of compost, at least 6 inches. This couple had been making compost using kitchen and yard scraps and had plenty of this rich material to use. For my tutorial on how to make compost, read this post.

DSCN4107

Florida Raised Bed Garden

Water the garden thoroughly to settle the soil and to be sure that it is level. Water will settle in any low spots.

The next post about raised bed gardening will cover how to plan and plant your Florida raised bed garden. This couple really wants tomatoes and herbs; see what they plant in Florida Raised Bed Gardening Part 2.