Author Archives: Sarah

Chunky Spiced Applesauce in the Crock-pot

Standard

Do you enjoy a delicious bowl of hearty applesauce? This is the best way to make applesauce that I know. I have made applesauce over the stove and in the Crock-pot, and the Crock-pot method works out better for me. It splits up the actual hands on time nicely.
 

First, take approximately 12 apples that have been cored and sliced, 1.5 teaspoon cinnamon, a dash of water in the bottom to prevent sticking, and cook the apples on high for 3 hours, stirring occasionally.

image

Your house will smell so nice!

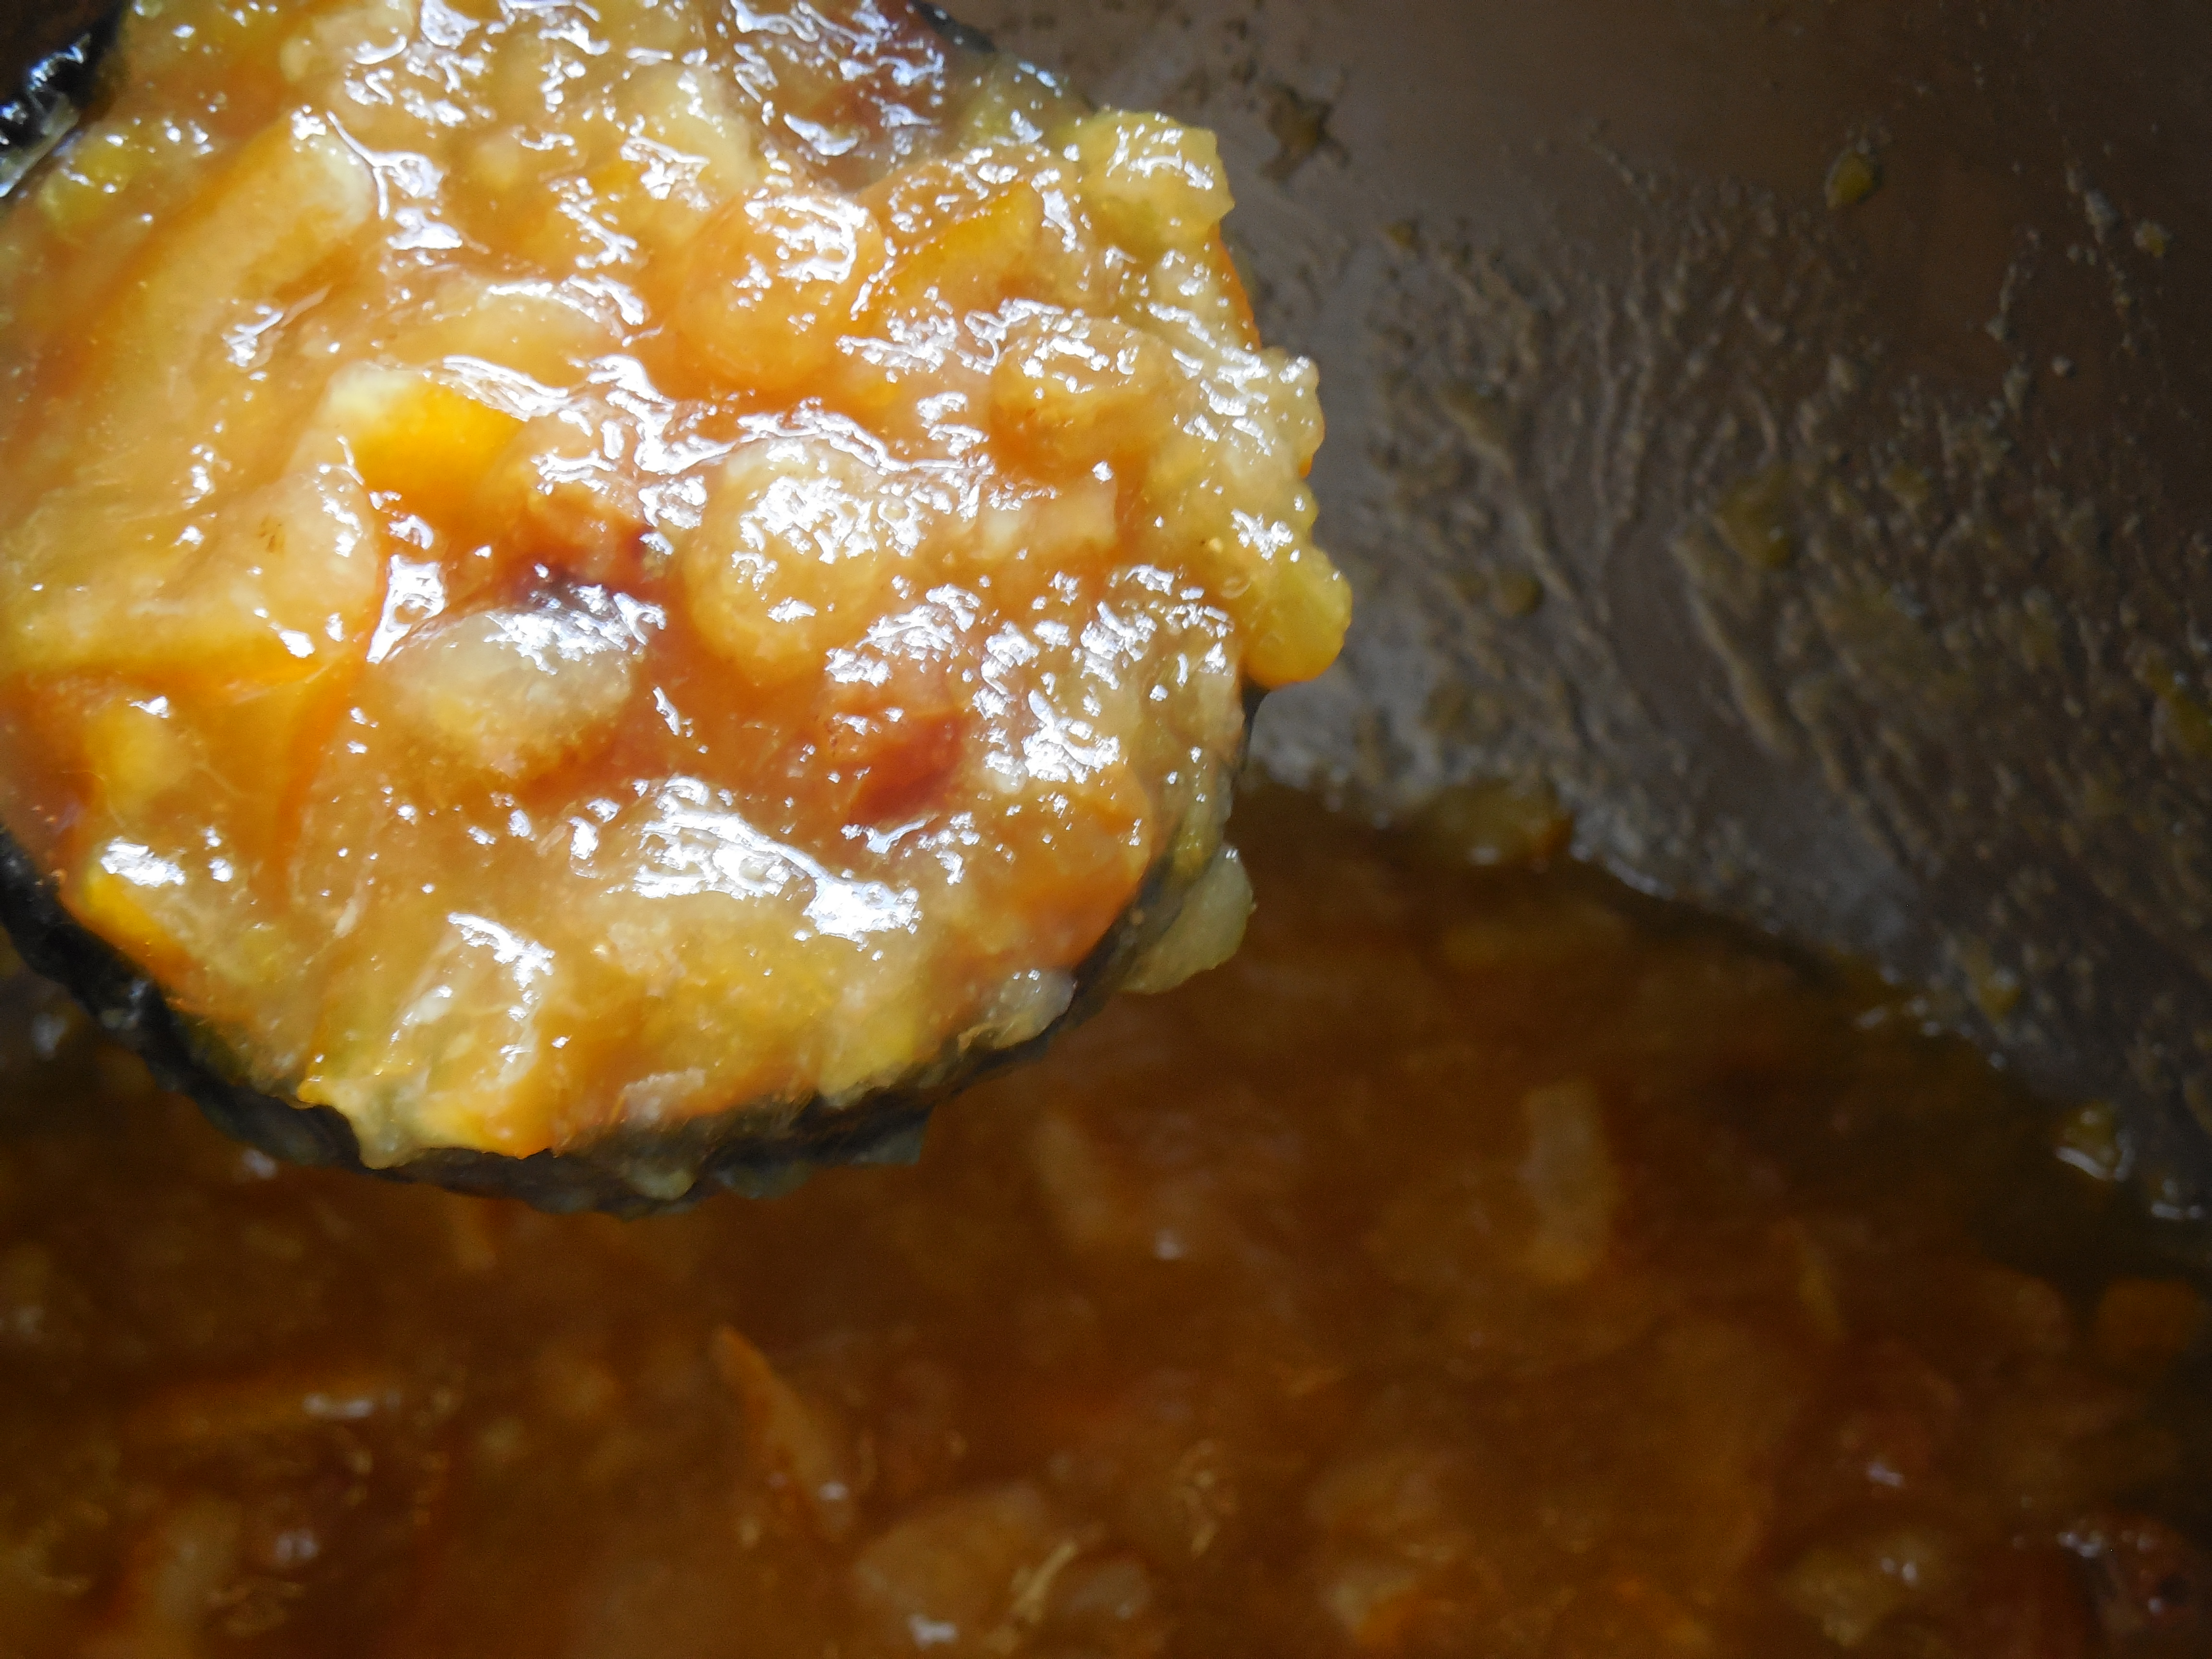
At the end of the time, the apples will have broken down so much that you may not even need to process them if you want chunky sauce.

If you prefer a finer sauce, or if you left the peels on ( I used Jonagold apples, which have fairly thin skins, but they still needed a bit of processing) this is the time to give them a whirl with a food processor or immersion blender.

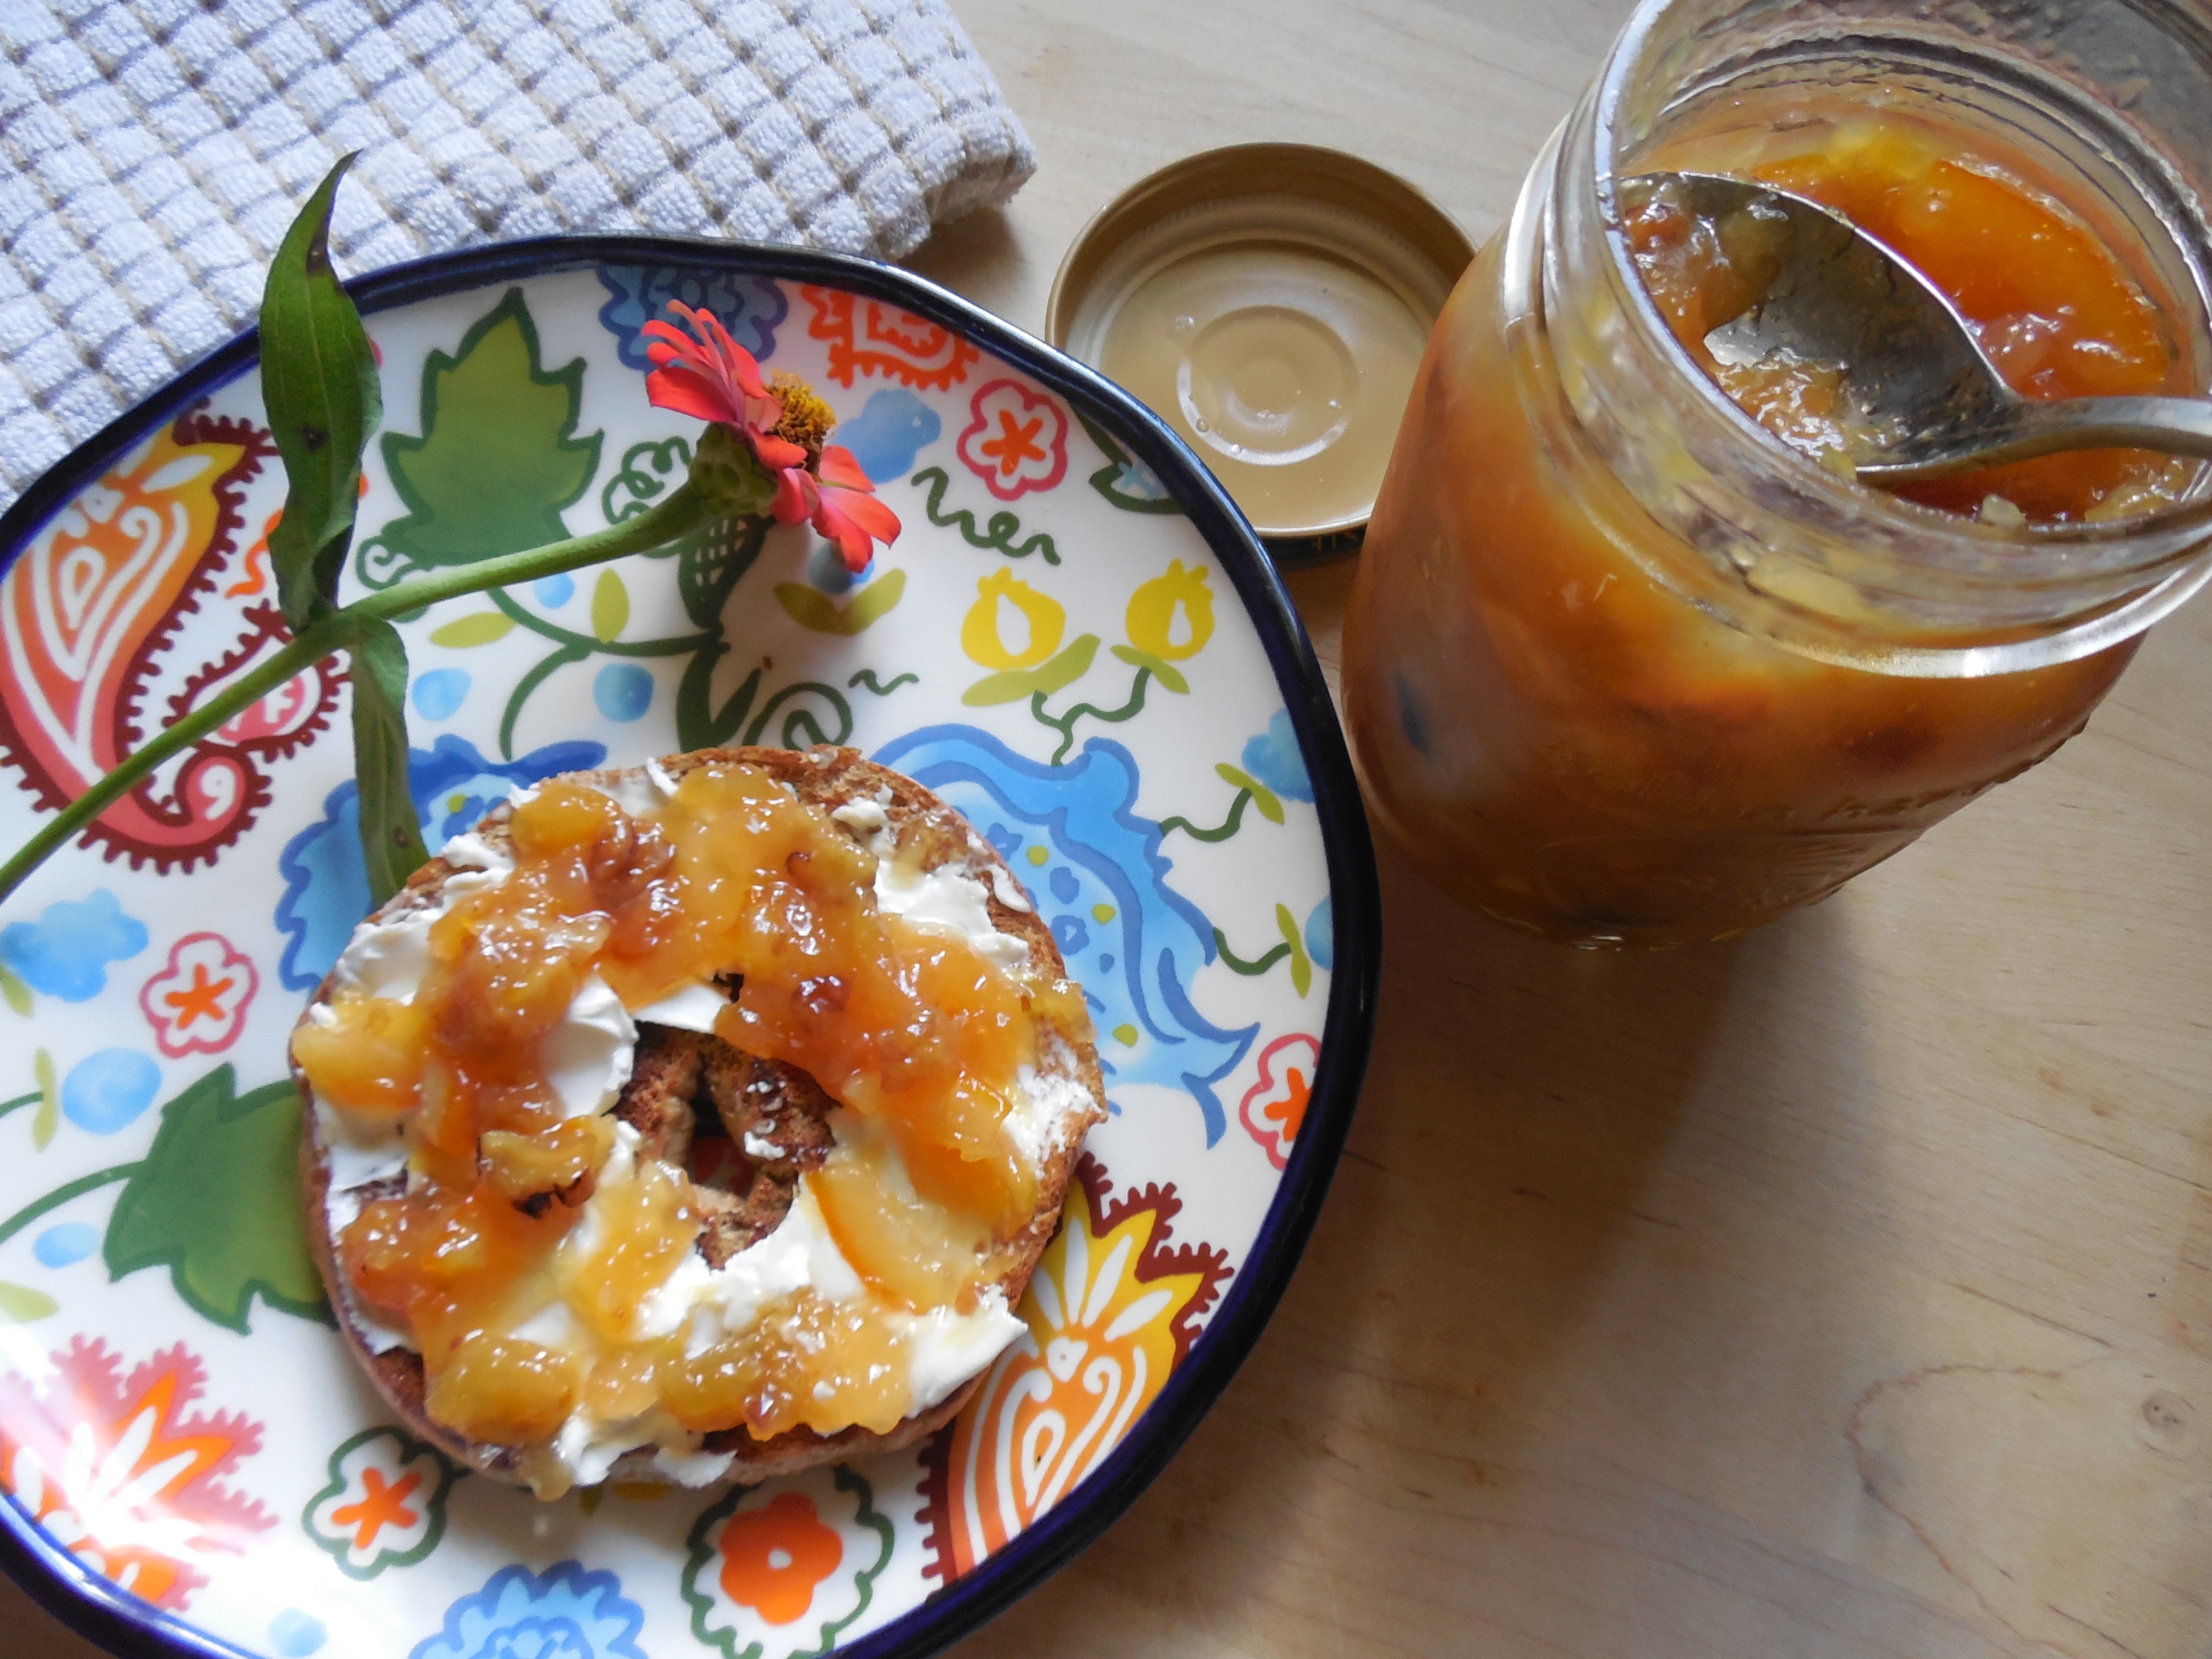
If you want to add sugar, add it to taste. The cooking concentrates the sweetness, so I started with 1/4 cup, and ended up adding a total of 3/4 cup.

image

Yield is approximately 4 pints, depending on how many quality control specialists get involved. 🙂

Either refrigerate the applesauce, or can the pints or quarts for 20 minutes, leaving 1/2 inch headspace.

I like how using the Crock-pot splits up the time. It takes me about 5 minutes to wash and slice the apples and put them in to cook. Then, if needed, I can just leave them on the warm setting until I have the time free to can them.

So, yummy applesauce in the Crock-pot, what do you think? Have you ever made it this way?

image

I’m working my way through 160 lbs of delicious apples, so be on the lookout for more apple recipes!
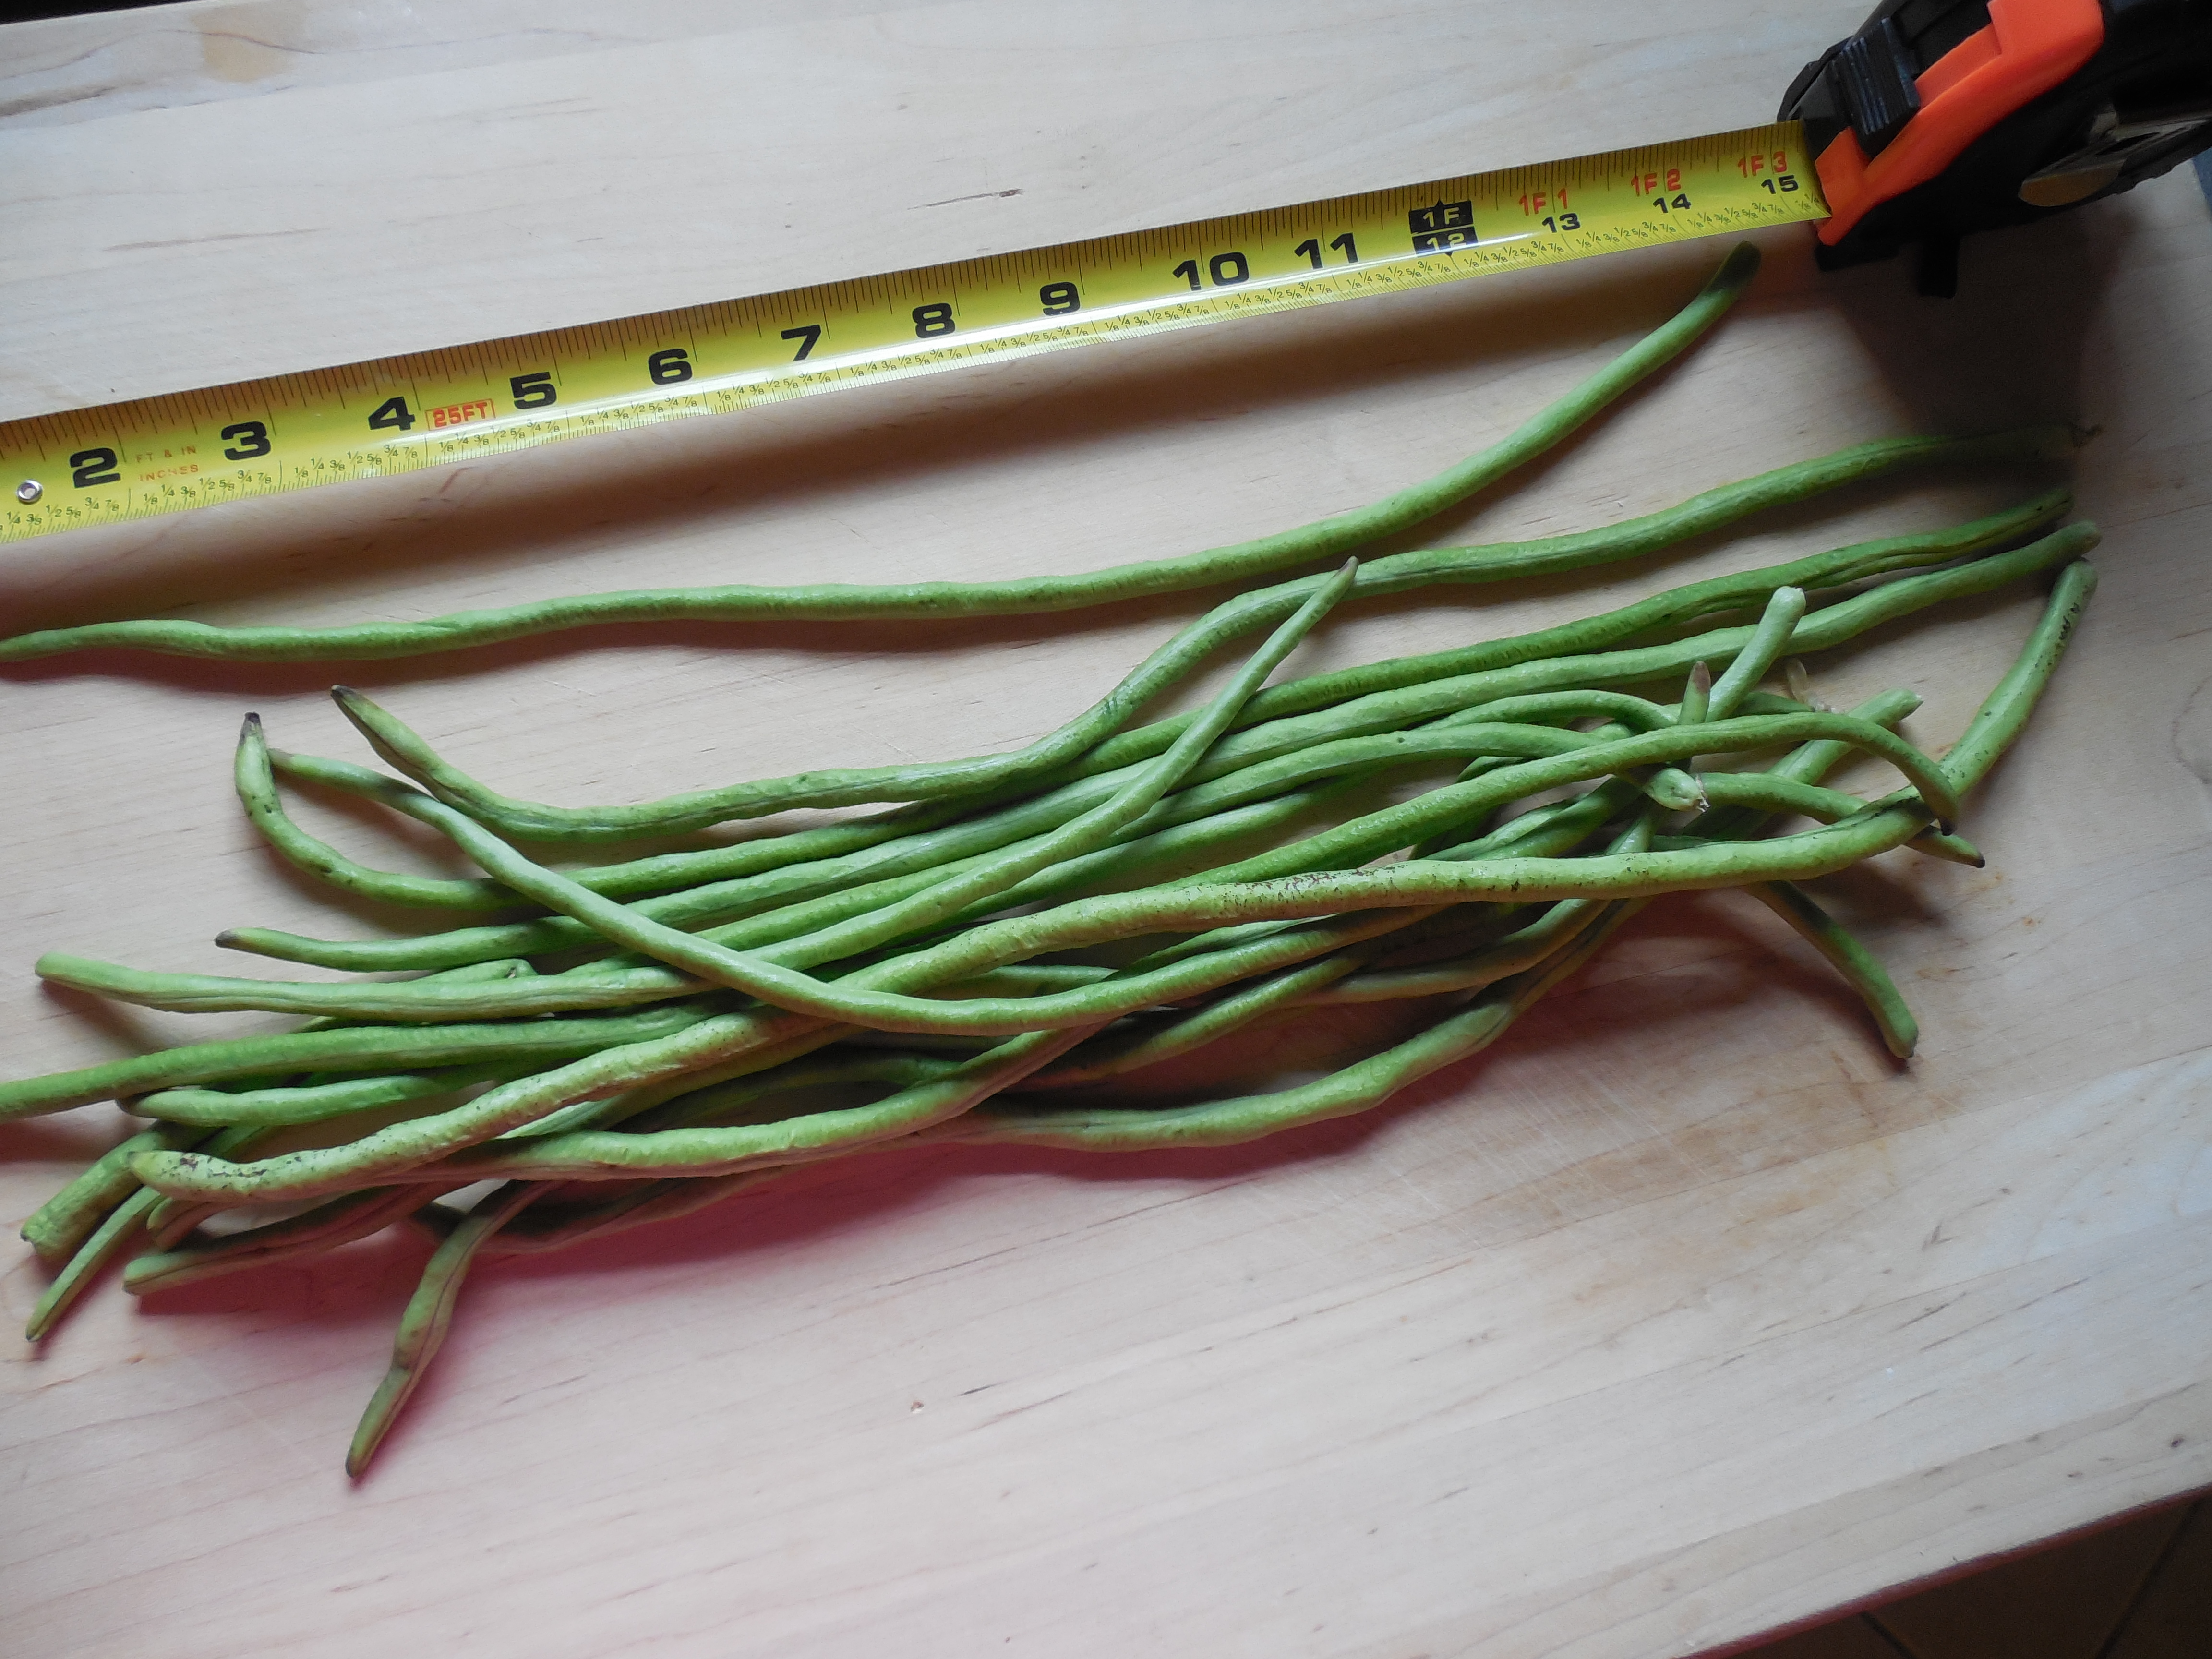
It’s Too Pretty Outside To Do My Ironing

Standard

I really do have a ton of laundry to iron, but it is so beautiful outside. A little shade, a little breeze, and a little drop in the temperatures makes for a perfect fall gardening weather.

Read the rest of this entry

Time-saving Dinner Prep Tip

Standard

At my house, dinner needs to go from ingredients to plate in 30 minutes. I like to cook, but my evenings don’t always allow for a lengthy dinner prep. Sometimes, I need a really quick dinner.

My go-to super quick dinner is spaghetti with meat sauce.

I also like to make chili in the crockpot. It just takes a few minutes to throw some ingredients in the Crock-pot and then it will be ready by dinner time.DSCN6584

Tacos are another quick dinner option.

Dinners like these come together very quickly, especially if the meat is already cooked and ready to go. I like to buy my ground beef for the next few weeks, cook it, saute some onions and maybe some bell peppers in it; and then stick it in the fridge if I’m going to use it in the next few days, or store it in the freezer.

What is your quickest homemade dinner?

How do you expedite dinner prep in your home? I’m always looking for ways to make a yummy dinner quickly!

Easy Bread Dipping Oil with Fresh Basil

Standard

Do you love the smell of fresh basil? Do you enjoy pesto? This dipping sauce combines all the fresh flavors of basil, garlic, and olive oil to create a delicious dipping sauce.

First, start off with some delicious fresh pesto. You can use my recipe, or create your own with whatever fresh herbs you have on hand. I love fresh basil and so I use that as my main herb.

bread dipping oil
Dollop a tablespoon or so onto a plate, add some chopped toasted walnuts, Parmesan cheese, drizzle with olive oil, and sprinkle with a little kosher salt.

DSCN6738
Homemade bread is especially good dipped in it. So yummy!

bread dipping oil with walnuts

Have you ever made your own dipping sauce before? How was it?

My basil going to seed now, it’s almost time to harvest those seeds and to save basil seeds for next year!

Yard Long Bean Recipe: Roasted Knots

Standard
Yard Long Bean Recipe: Roasted Knots

If you had beans that grew as long as your forearm, why would you just chop them up to make them look like ordinary green beans?

Why not do something interesting?

I thought about this for a while, and this is what I came up with one evening. Roasted Yard Long Bean Knots is quite a mouthful to say, but it is a literally delicious mouthful.


DSCN6810

Take your beans, wash and trim off the tough stem end.

DSCN6812

Blanch for a few minutes to make them pliable.

DSCN6813

Tie them into knots ( I got two from each bean), then snip with scissors or cut with a knife to separate.

DSCN6817

Place on cookie sheet, drizzle with olive oil, and roast at 425 degrees for approximately 20 minutes, turning halfway through.

Pretty neat presentation!

If you’ve never grown these beans, you can check out my post about them.

If they are a favorite of yours, how do you like to eat them?

How to Grow Yard Long Beans (aka Asparagus Beans) (aka Snake Beans) (aka Noodle Beans)

Standard
How to Grow Yard Long Beans (aka Asparagus Beans) (aka Snake Beans) (aka Noodle Beans)

If you want to grow traditional green beans in North Florida, you get planting times in the spring and fall, but the summer can be a bit tricky for fresh garden produce.

Enter… yard long beans! They are related to the southern peas that do so well in the heat, only they grow longer and stay tender.

If you were not familiar with yard long beans, I could show you my incredibly long green beans, and then sell you whatever brand of fertilizer I wanted.

Speaking of fertilizer…

It was David from www.thesurvivalgardener.com who first got me started with this great crop. He has an entertaining post about these beans as well as an efficient (albeit dubious)method of fertilizing plants.

yard long bean plants

I had a few precious seeds saved from last year, and so I rationed some out into flats to be sure of optimum survival rates. I planted them about 1/2 inch deep, gave them water, and exposed them to the blistering heat of summer.

DSCN6534

They twine like typical pole beans, but did not complain about my netting. I think they would grow 50 feet long if I let them.

I have to admit that they did not get much care from me. My garden is a pretty dismal sight in summer and so it kinda depresses me to go out there too much. I tend to stay inside and make yummy stuff like peach jam and sand pear butter. Gotta work on the summer gardening a bit more.

Okra grows well for me. Maybe I’ll divide the garden among these beans, sweet potatoes (grown mostly for the greens), and okra. Sounds like a good plan.

Anyway…

growing yard long beans

The vines took a while to get flowers, but then the beans started growing.

Pretty neat, huh?

yard long beans

I think I may just skip regular green beans next year and plant these starting in the spring. If I can get these vines to grow from April to October, I may not even have room for ice cubes in my freezer!

Have you ever had yard long beans? Would you grow them?

I have this really neat recipe for Yard Long Bean Knots that I’m going to share. I wanted to do something to showcase them in an interesting way, and I thought it turned out pretty well.

Nana Clement’s Sand Pear Conserve

Standard
Nana Clement’s Sand Pear Conserve

It is always special when something is passed from generation to generation. Some pass down fine china, antique furniture, jewelry, or books; some pass down treasured recipes for others to enjoy.

I was honored to be given a special family recipe for a conserve. For those not familiar with conserves, they are a thick fruit spread similar to a jam also containing dried fruit and nuts.


The original recipe reads as follows:

Pear Conserve from Nana Clement

Cut up 5 lbs. pears. Cover with 5 lbs. of sugar, stand overnight. Next morning add juice AND rind of 3 oranges and juice of 2 lemons. 1 lb. raisins. Boil slowly 2 hours or until thick. Just before taking off heat add 1/2 lb. walnut meats. Pour in hot, sterilized jars, add lids and cover with towels to let cool slowly.

I made some alterations to account for current canning safety guidelines and personal taste.

DSCN6726

Here’s what I used: 10 cups diced sand pears, 4 cups sugar, 1 cup golden raisins, 1 cup chopped walnuts, 1 lemon, 3 oranges,  5 tablespoons bottled lemon juice

DSCN6783

Start by mixing your diced pears, sugar, and bottled lemon juice. Cover and let stand overnight in the refrigerator.

Thinly slice the entire lemon and  whole oranges into thin rounds, removing seeds as you go.

DSCN6729

I roughly quartered my slices, but you can leave them larger or chop them smaller, depending on what you prefer to see on your toast.

Add pears with juice, lemon, oranges, and raisins to a large stockpot.

DSCN6789

Cook over medium high heat for 2 hours, being sure to stir regularly and to watch for scorching.

The chewy raisins will get nice and plump.

I didn’t even bother checking for the gel point, as I could tell already that it was pretty thick.

DSCN6787

I toasted the walnuts at 400 degrees for about 5 minutes, turning after about 3 minutes.

My reason for toasting the walnuts was twofold: flavor and texture. Toasting brings out the flavor of the nuts, and I was also hoping to preserve as much of the crunchy texture as possible.

Stir the walnuts in just before ladling the hot conserve into hot jars for canning.

Process half pints in boiling water bath for 15 minutes.

My yield was approximately 8 half pints.

DSCN6792

This conserve is delicious on a hearty bagel. I really like the addition of the walnuts to a fruit spread. Now I’m thinking about adding nuts to other jams; how does an apple pie jam with walnuts sound? Or maybe carrot cake jam with pecans?

Sand Pear Conserve

Have you ever eaten conserve before? How do you like to eat it? On a English muffin? Maybe with cheese and crackers?

Family recipes are wonderful! Do you have a top-secret family recipe?

How to Transport 150 Cupcakes

Standard

Random fact about me: sometimes I’m asked to make wedding cakes. It’s a fun hobby for me, and I don’t really advertise it; people hear about me, call me, and ask me to make their wedding cake / cupcakes.

teal and yellow wedding cake and cupcakes dessert table

A little while back, I was asked to make a small wedding cake and 150 cupcakes.

teal and yellow wedding cupcakes

The bride told me her color, specified the flavors, picked out some designs, and I started baking.

teal and yellow cupcake ideas

I started thinking though, how was I going to get a hundred fifty cupcakes over to the reception? I needed something or multiple somethings that were fairly large easy to carry and air tight.

how to transport 150 cupcakes

What about storage containers? At first, I was going to use some large storage totes. Then I realized that I already had the perfect solution – under bed storage containers! It is very easy to transport many cupcakes in these containers.

They’re light, lidded, and stackable. I know this blog is primarily about gardening, but if one of you is head of the PTA and needs to transport bunch of cupcakes, or you’re a hobbyist baker like me; transporting lots of cupcakes is easy if you use the right container.

I only wish I had made some extra chocolate cupcakes – for me!

French Toast Casserole with Nutmeg

Standard

Some people just know how to find the free stuff. My mom has access to day old Panera Bread, and so I’m the recipient often of some yummy bagels and sometimes bread past its prime. So what should you do with old bread?

french toast casserole

Make some French toast! What’s nice about this casserole is that you can make it the night ahead, pop it in the oven early in the morning, brew your coffee, get dressed, and by then breakfast is ready!

DSCN6569

This casserole is really easy. First, cut up the bread. If you do larger chunks like me, you will get some soft pieces and some chewy crust pieces. I like the variety, and I don’t want to spend my life trimming crusts, so I did larger pieces and left the crusts. 🙂

how to make french toast casserole

Here’s what you need: 8 cups diced bread cubes, 3 eggs, 2 cups milk, 1 tablespoon vanilla, 1/4 teaspoon nutmeg, 1/4 cup brown sugar.

Preheat your oven to 400, then generously grease a 9×13 pan with cooking spray or butter. Put your bread in the pan.

DSCN6571

Whisk together the eggs, brown sugar, nutmeg, and vanilla. Add the milk to the egg mixture, then pour over the bread cubes. At first, it will seem like a lot of liquid, but it will begin to soak into the bread. If you are going to bake it right away, be sure to toss the bread cubes in any remaining liquid one last time before putting in the oven.

If your bread is extra dry, drizzle some more milk over the top. Cover with foil.

If you plan to bake it the next day, pop it in the refrigerator. I baked mine later, and I let my glass dish set on the counter for a few minutes before putting it into the hot oven.

easy french toast casserole recipe

Bake at 400 degrees for approximately 30 minutes. I baked mine with a foil cover on, and when I opened up it was nice and steamy.

Serve with butter and syrup.

Yum! Time for coffee!

How to Clean the Nasty Gunk out of Hummingbird Feeders

Standard

How long has it been since you cleaned out your hummingbird feeder?

DSCN6757

Does your nasty feeder have hummingbirds looking at it cockeyed with contempt? Time to clean it out!

DSCN6740

Let’s start by twisting off the bottom and cleaning the ports. Remember in elementary school when you saw the classic vinegar+ baking soda= volcano experiment?

Sprinkle some baking soda in the ports and then some vinegar (I used white, but apple cider vinegar would work fine too). Yuck! Look at all the gunk!

how to clean hummingbird feeder

Swish some hot water in there too.

clean hummingbird feeder

Use an old toothbrush (NOT your husband’s current one!) to scrub off stubborn gunk.

Now for the inside of the feeder.

how to clean out a hummingbird feeder

Get some uncooked rice. Yes, you read that right, rice. I have also read of people using gravel, but really, just something hard to agitate against the sides will work.

Add the rice and a bit of hot water and shake, shake, shake! This trick works great for the hard to reach spots.

DSCN6760

Ewww! Yuck! So gross.

If some nastiness is still in there, you can try to reach it with that old toothbrush.

DSCN6772

Rinse thoroughly, then fill with some homemade hummingbird nectar.

Now the hummingbirds can drink out of a clean feeder and I’m not grossed out by looking at it!

How long has it been since you last cleaned out your hummingbird feeders? How do you clean yours?