Coffee Filter Germination Test

Standard

Have you ever found some old seeds and thought,”I wonder if these will still grow?” Maybe you have some seeds that seem to be a bit iffy about germinating and you are wondering if you got a bad batch of seeds. Maybe you are impatient for your seeds to grow and dig around in your little pots, looking for sprouts. This method is for all 3 cases.

I have been having some difficulty with my pepper seeds germinating and I wanted to see if I had bad seeds. I also recently collected tomatillo seeds and wanted to see if they were viable before storing them. You can see how to collect your own by checking out this post.

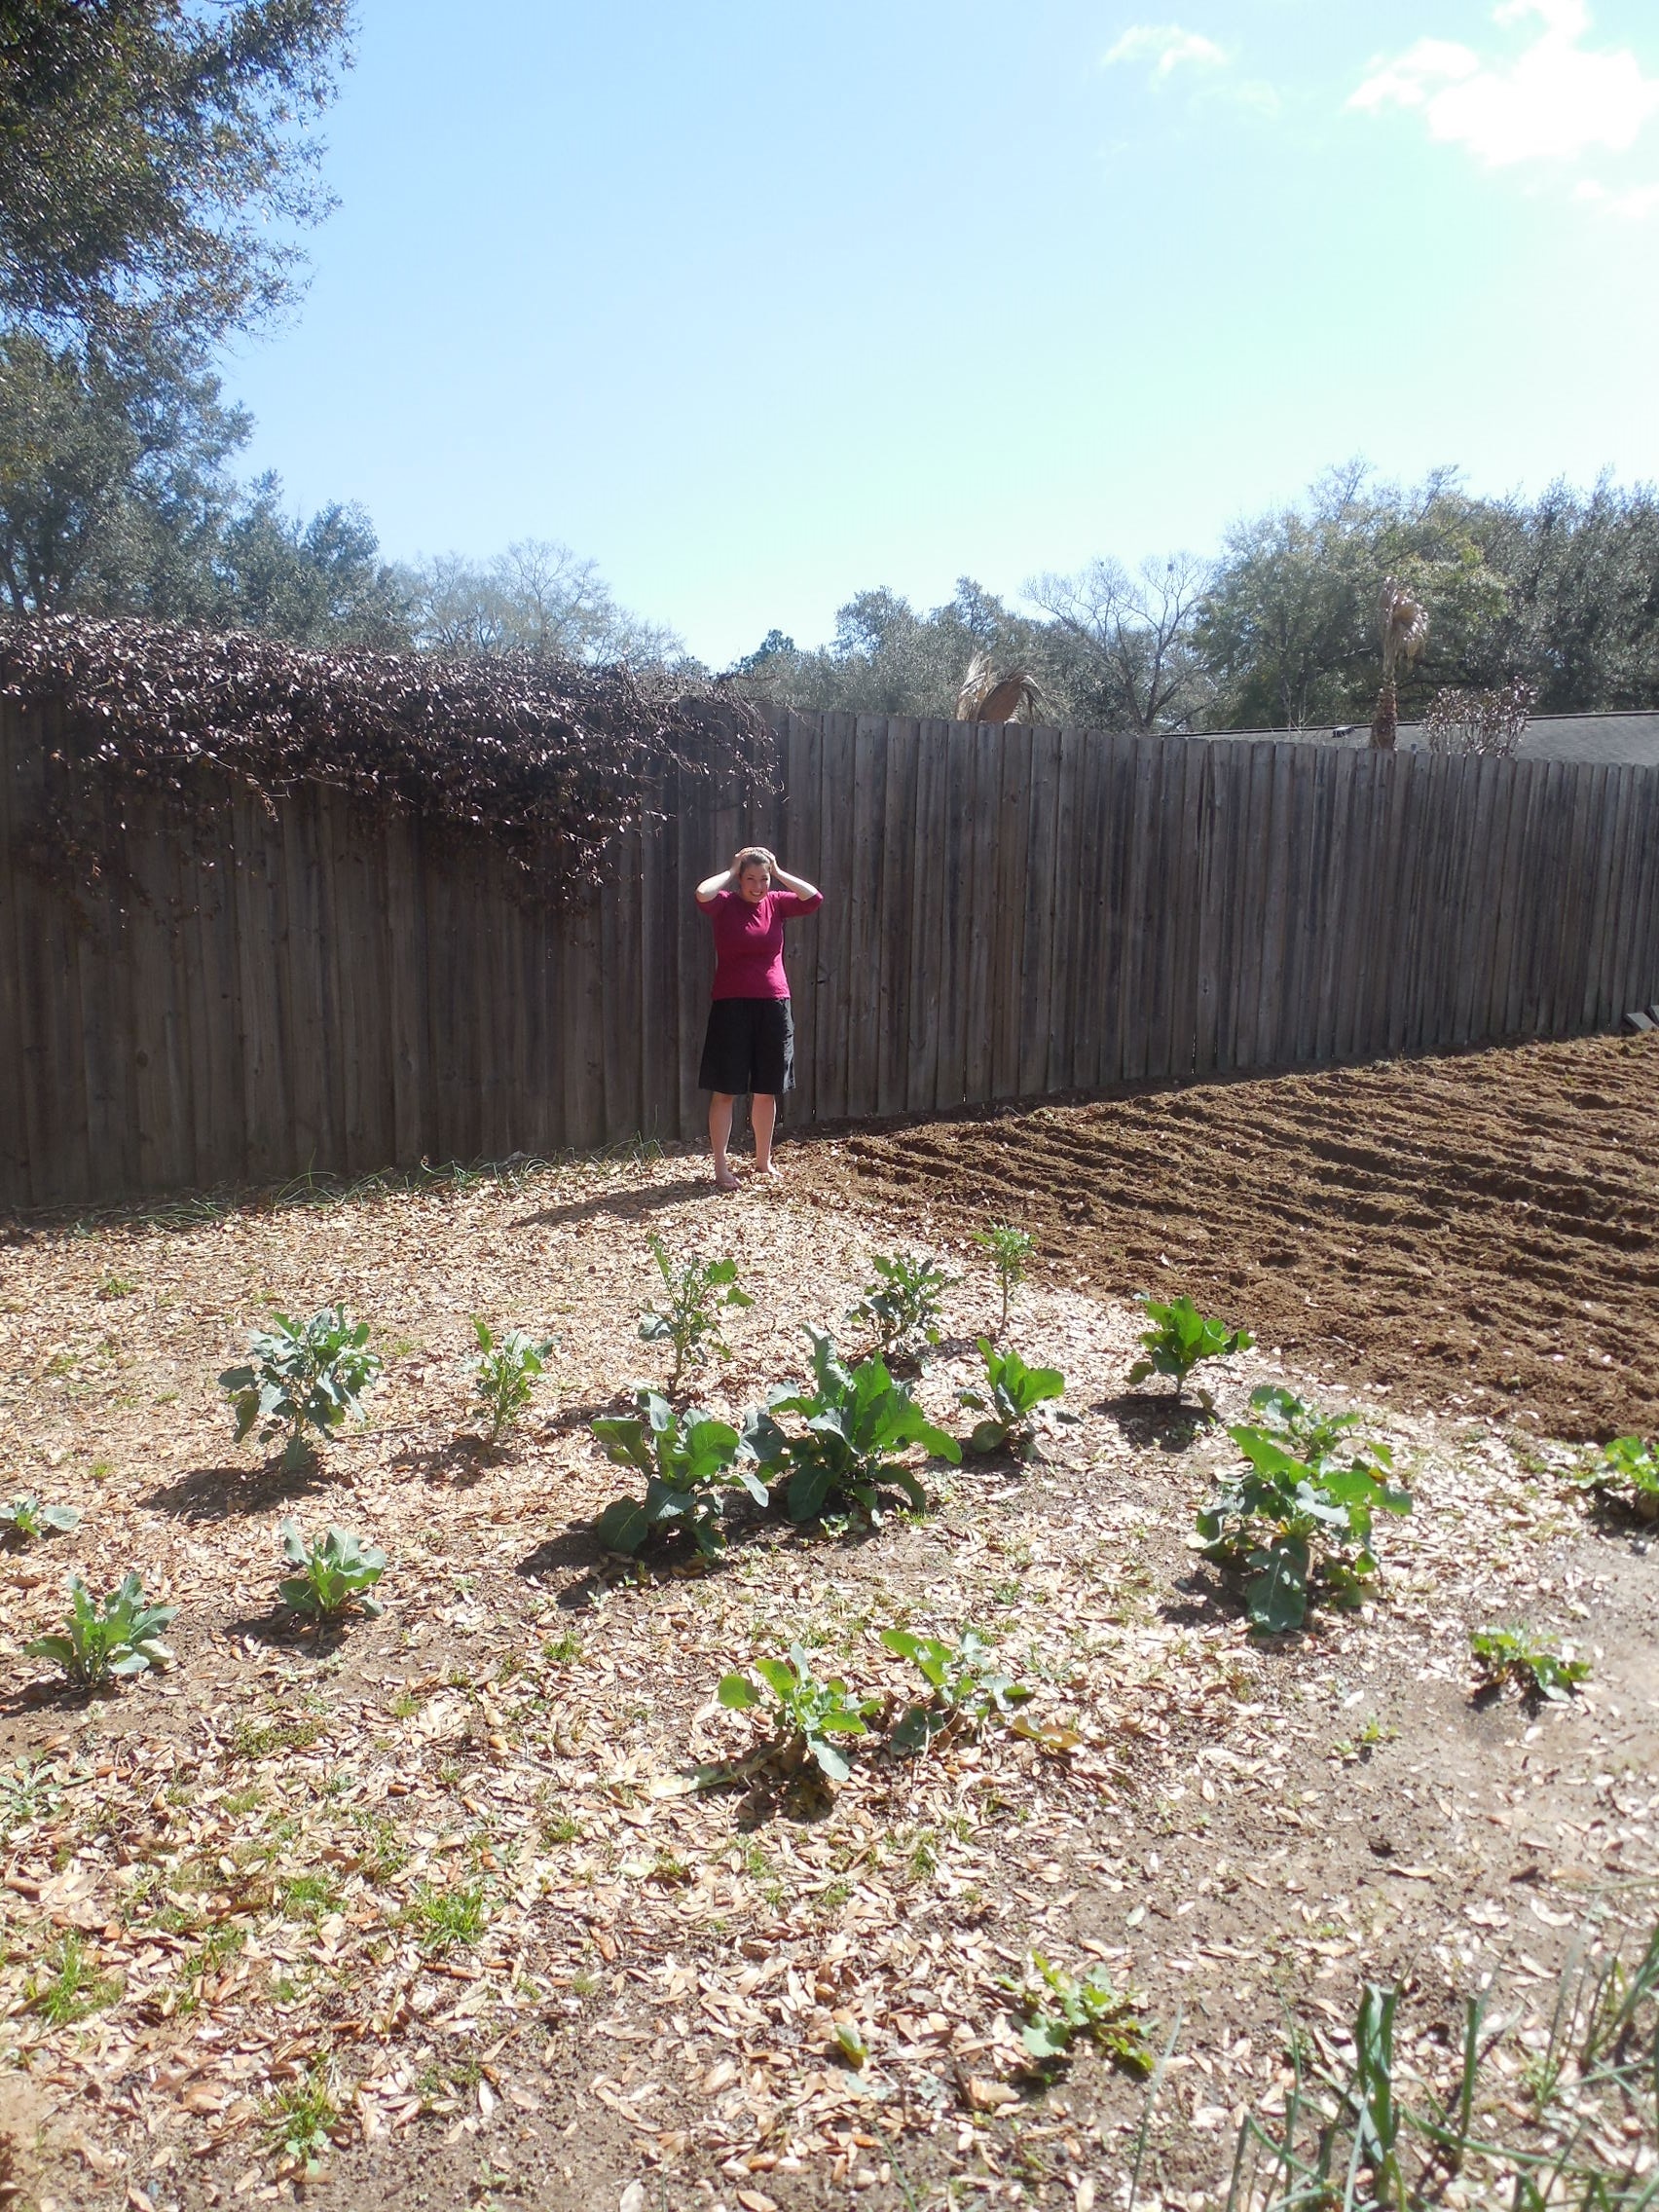
I also admit to a bit of impatience. If I don’t get peppers started soon, I may have to buy seedlings.

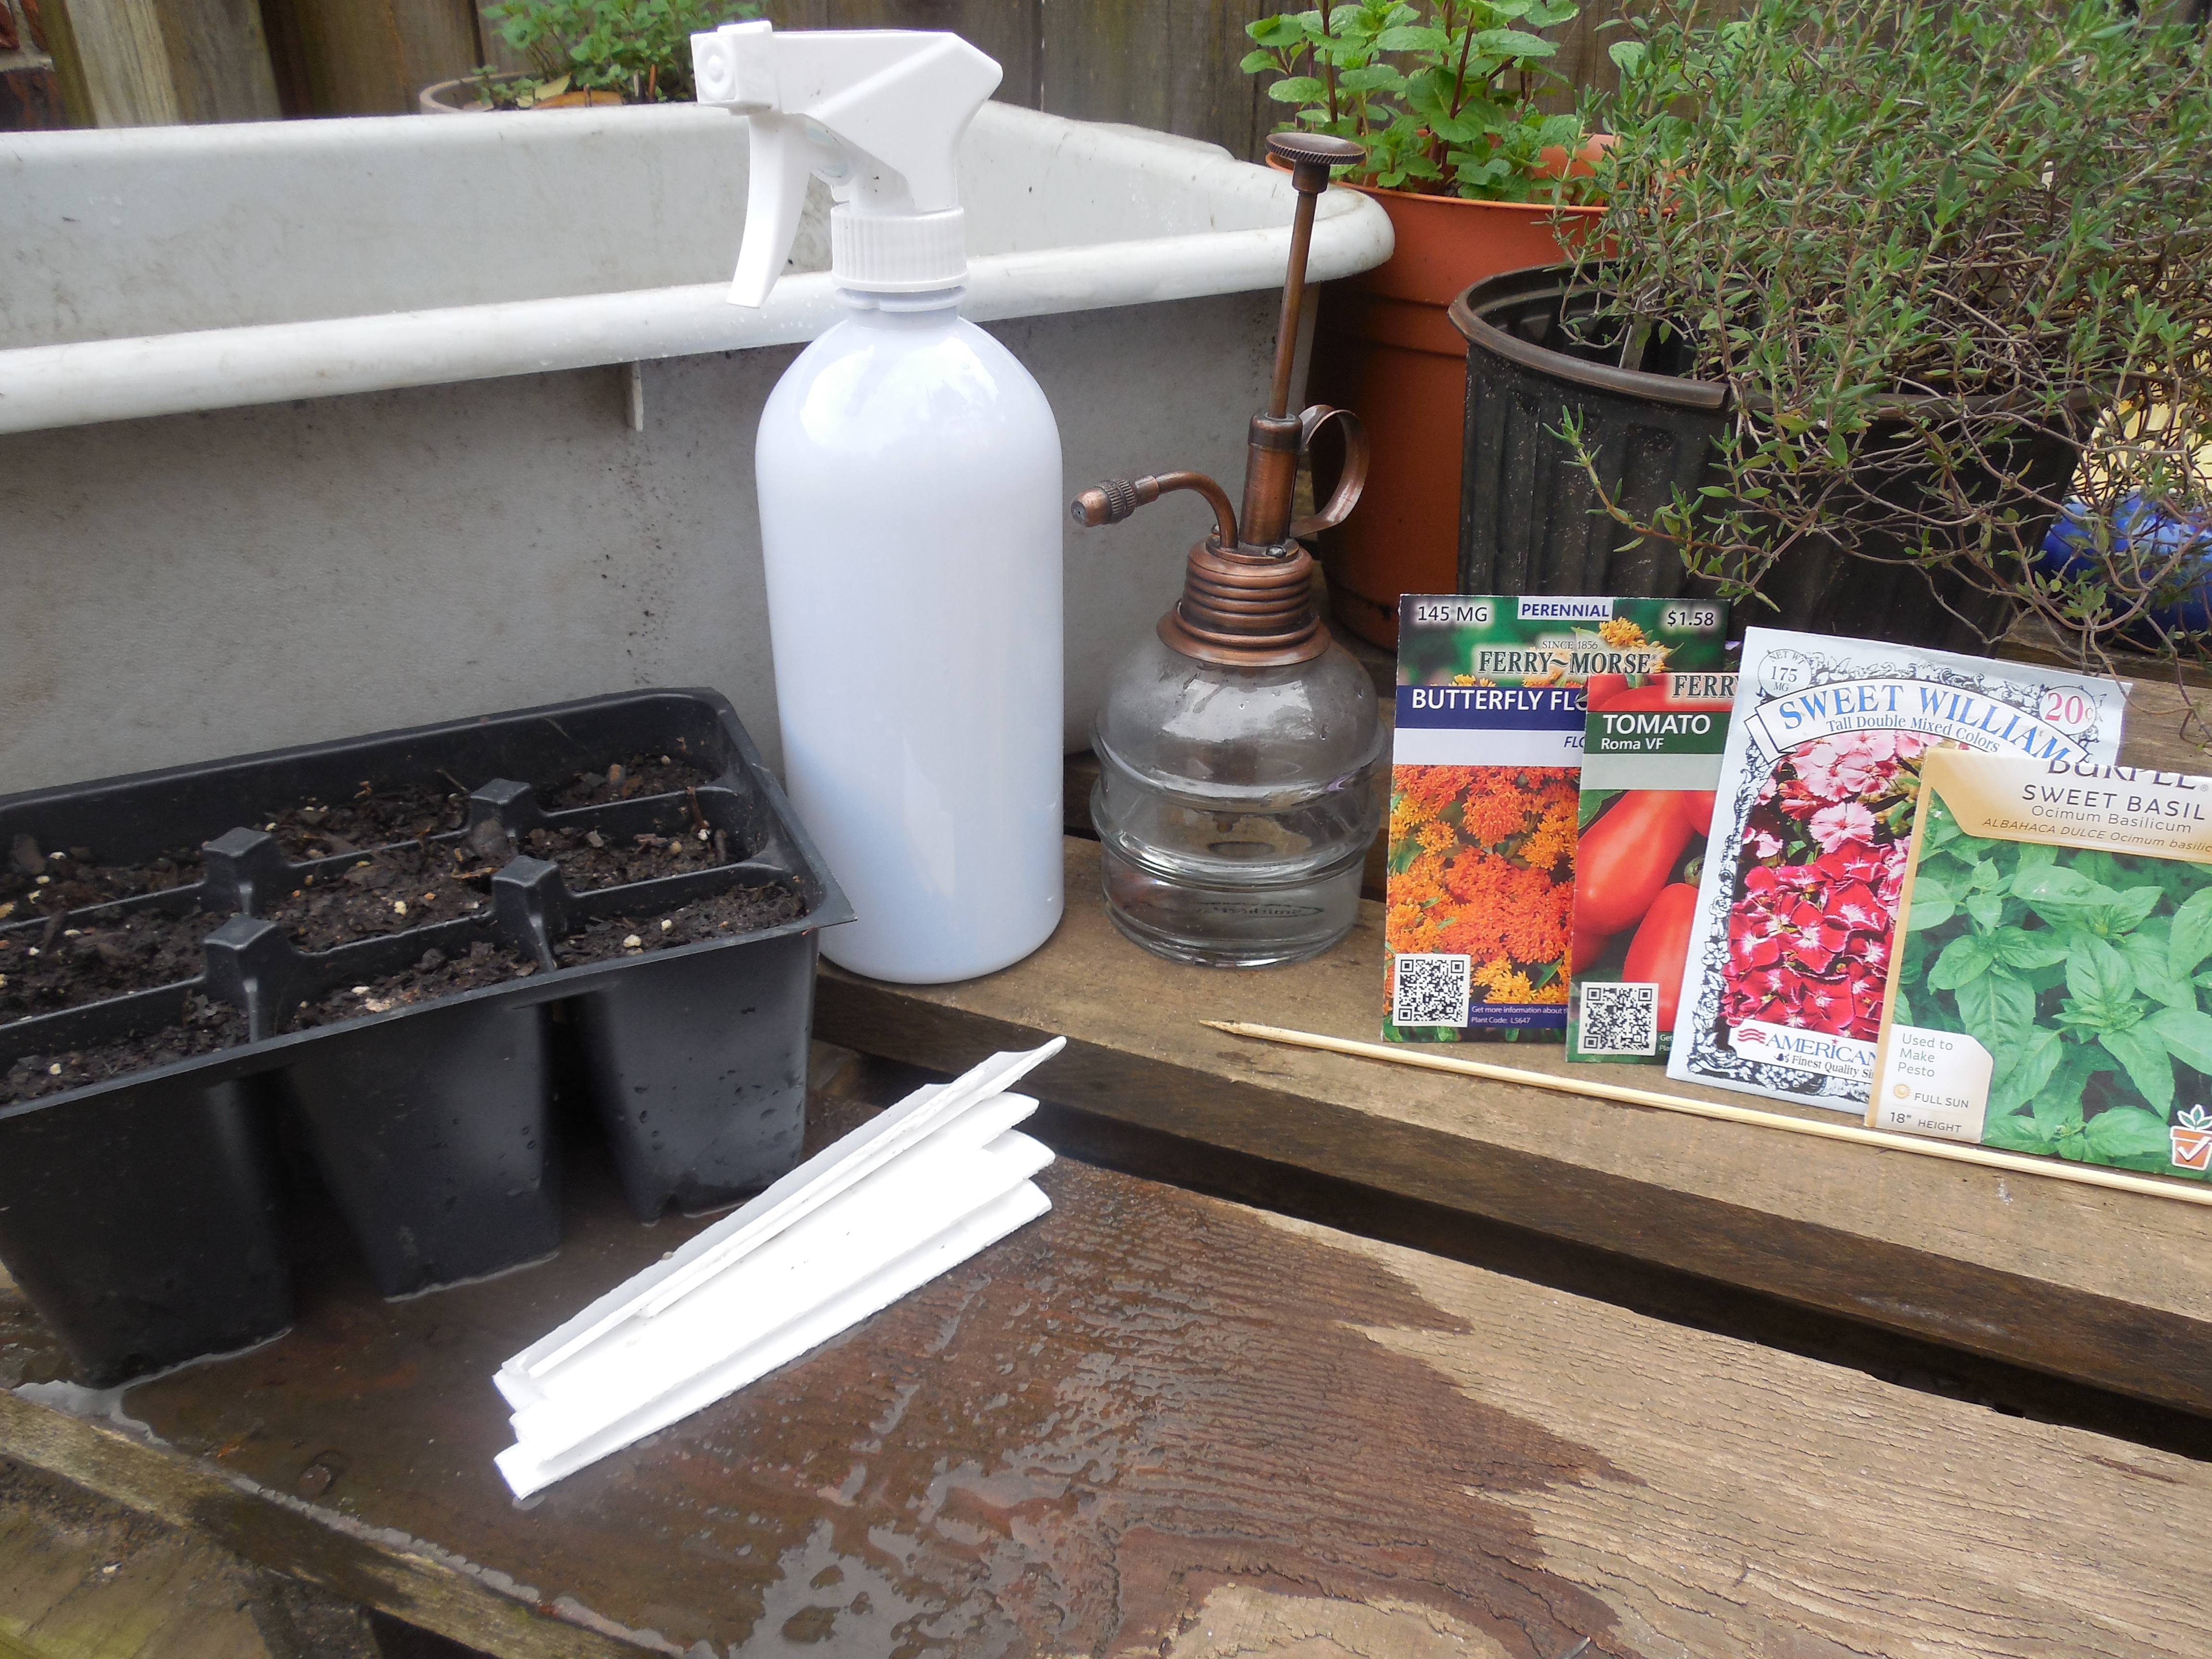
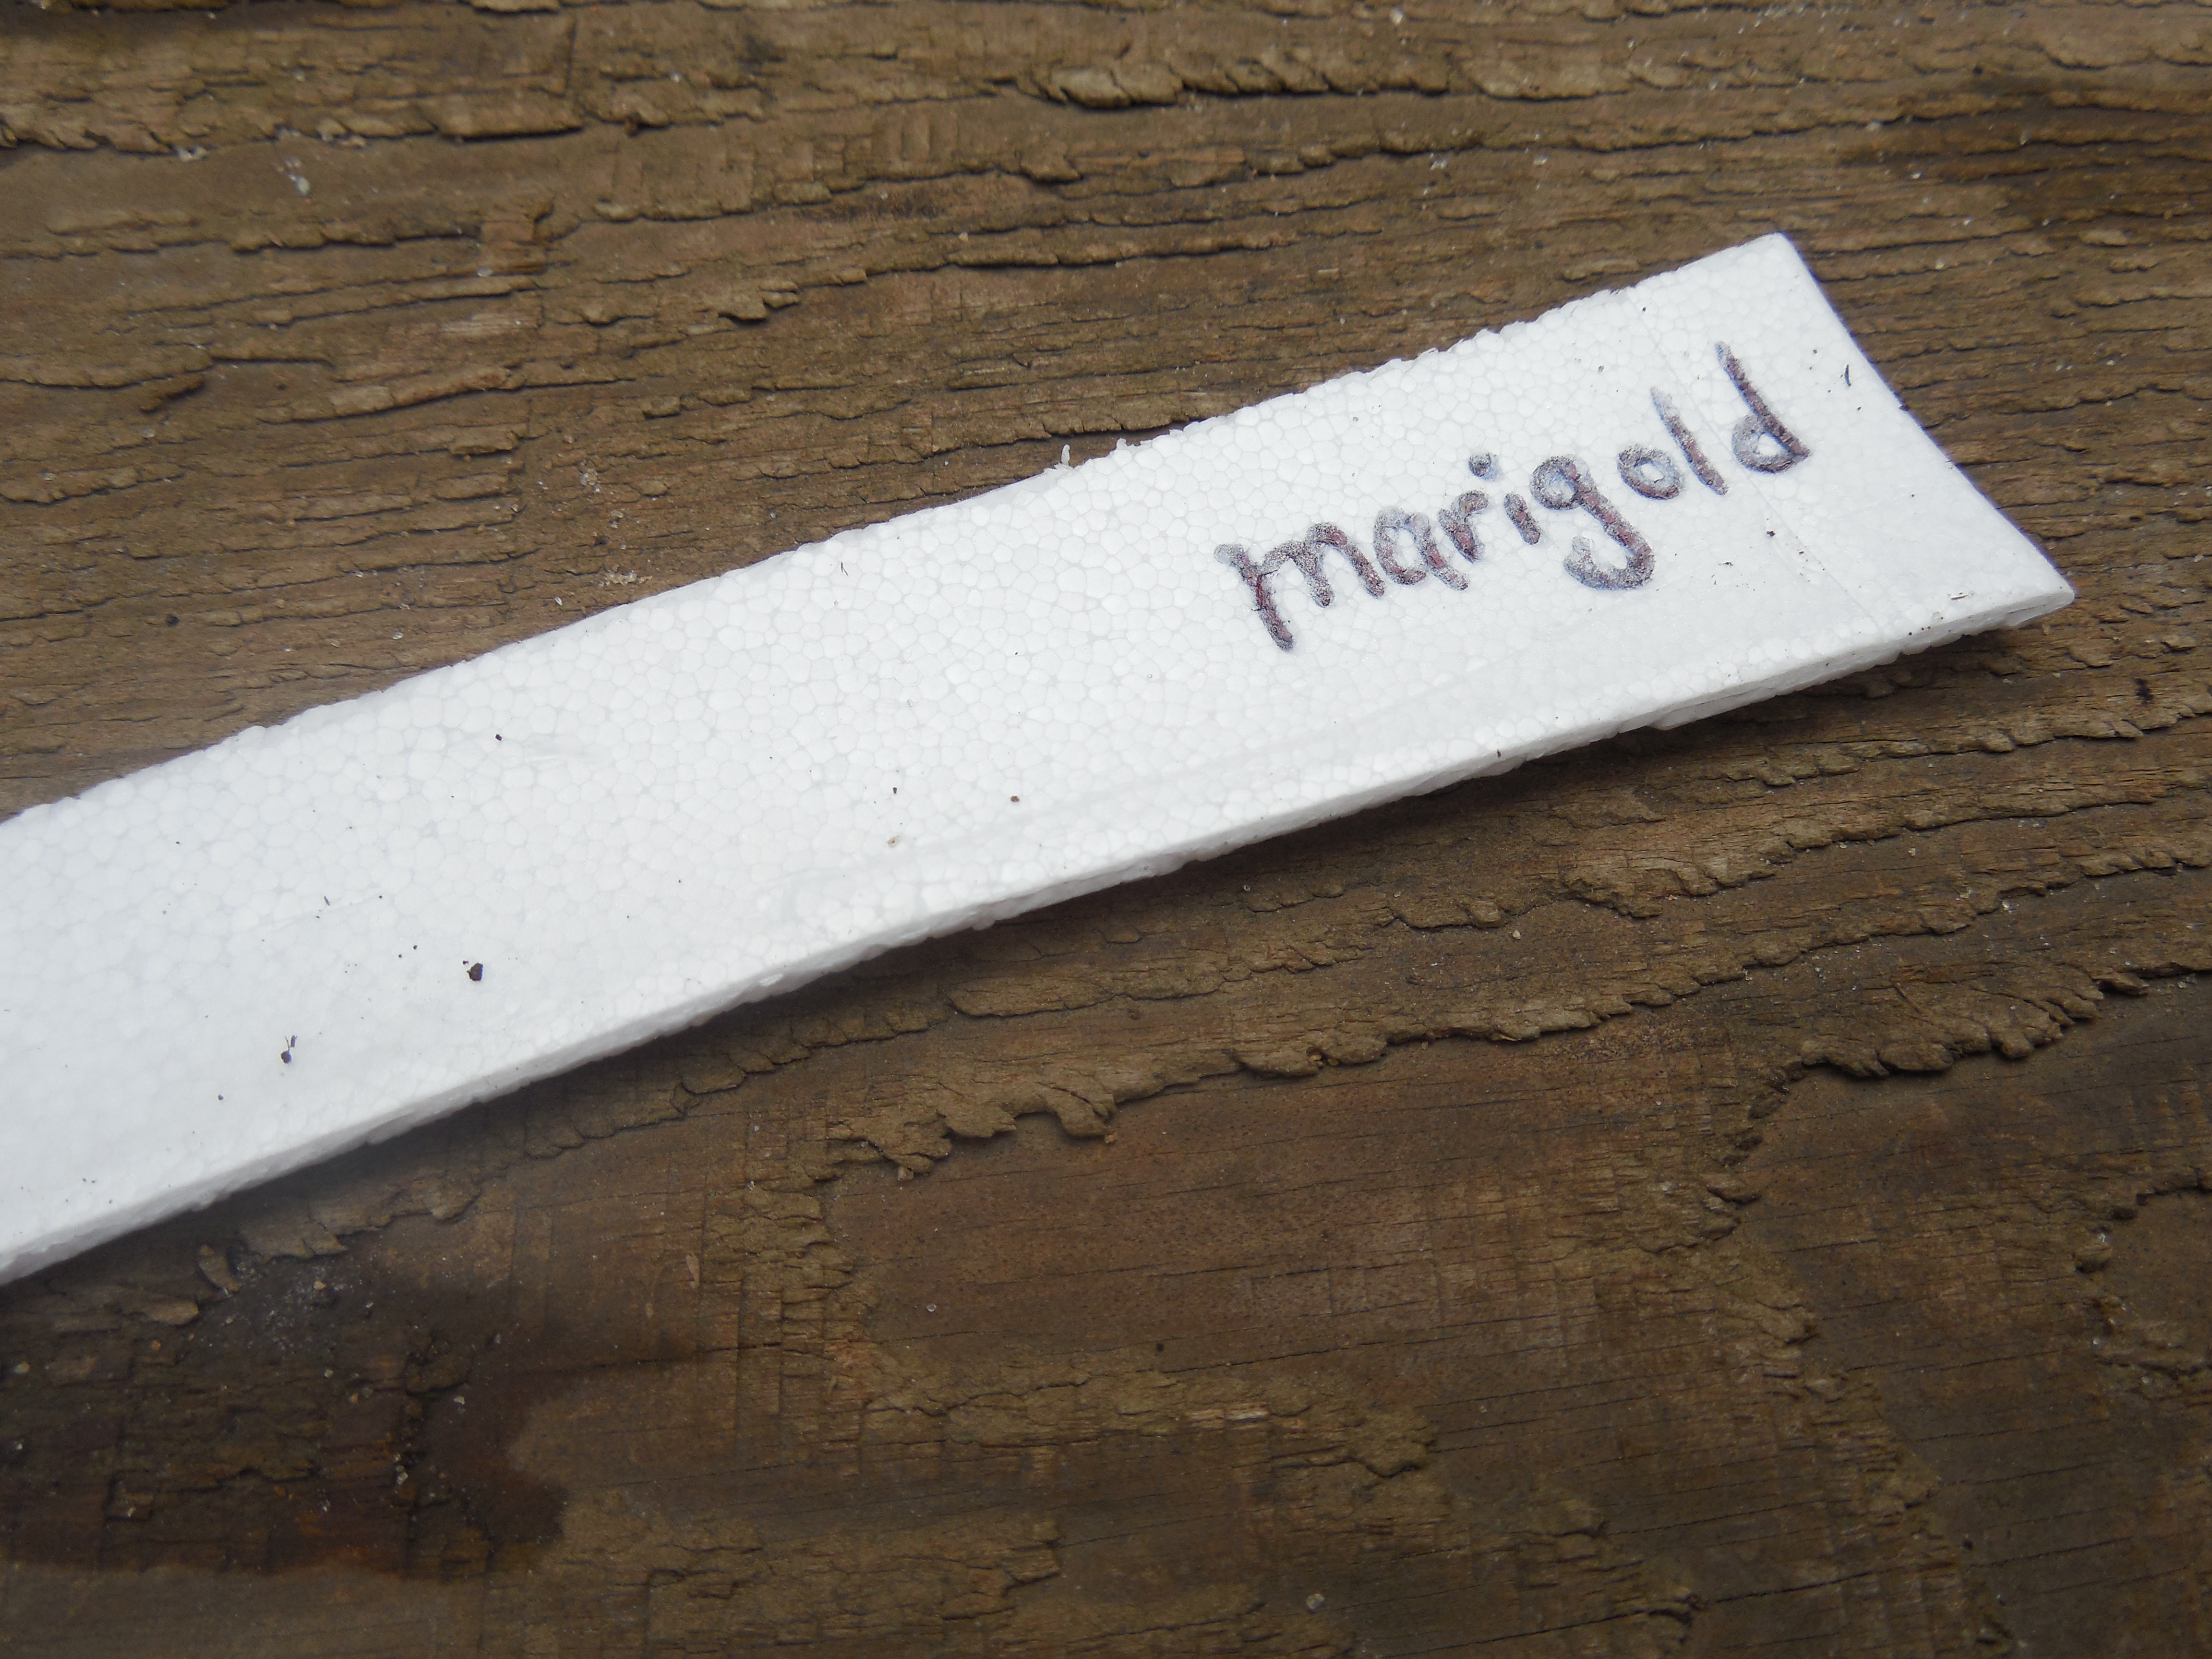
A germination test that I like to do requires only a coffee filter, a baggie, and a ballpoint pen.
DSCN3871
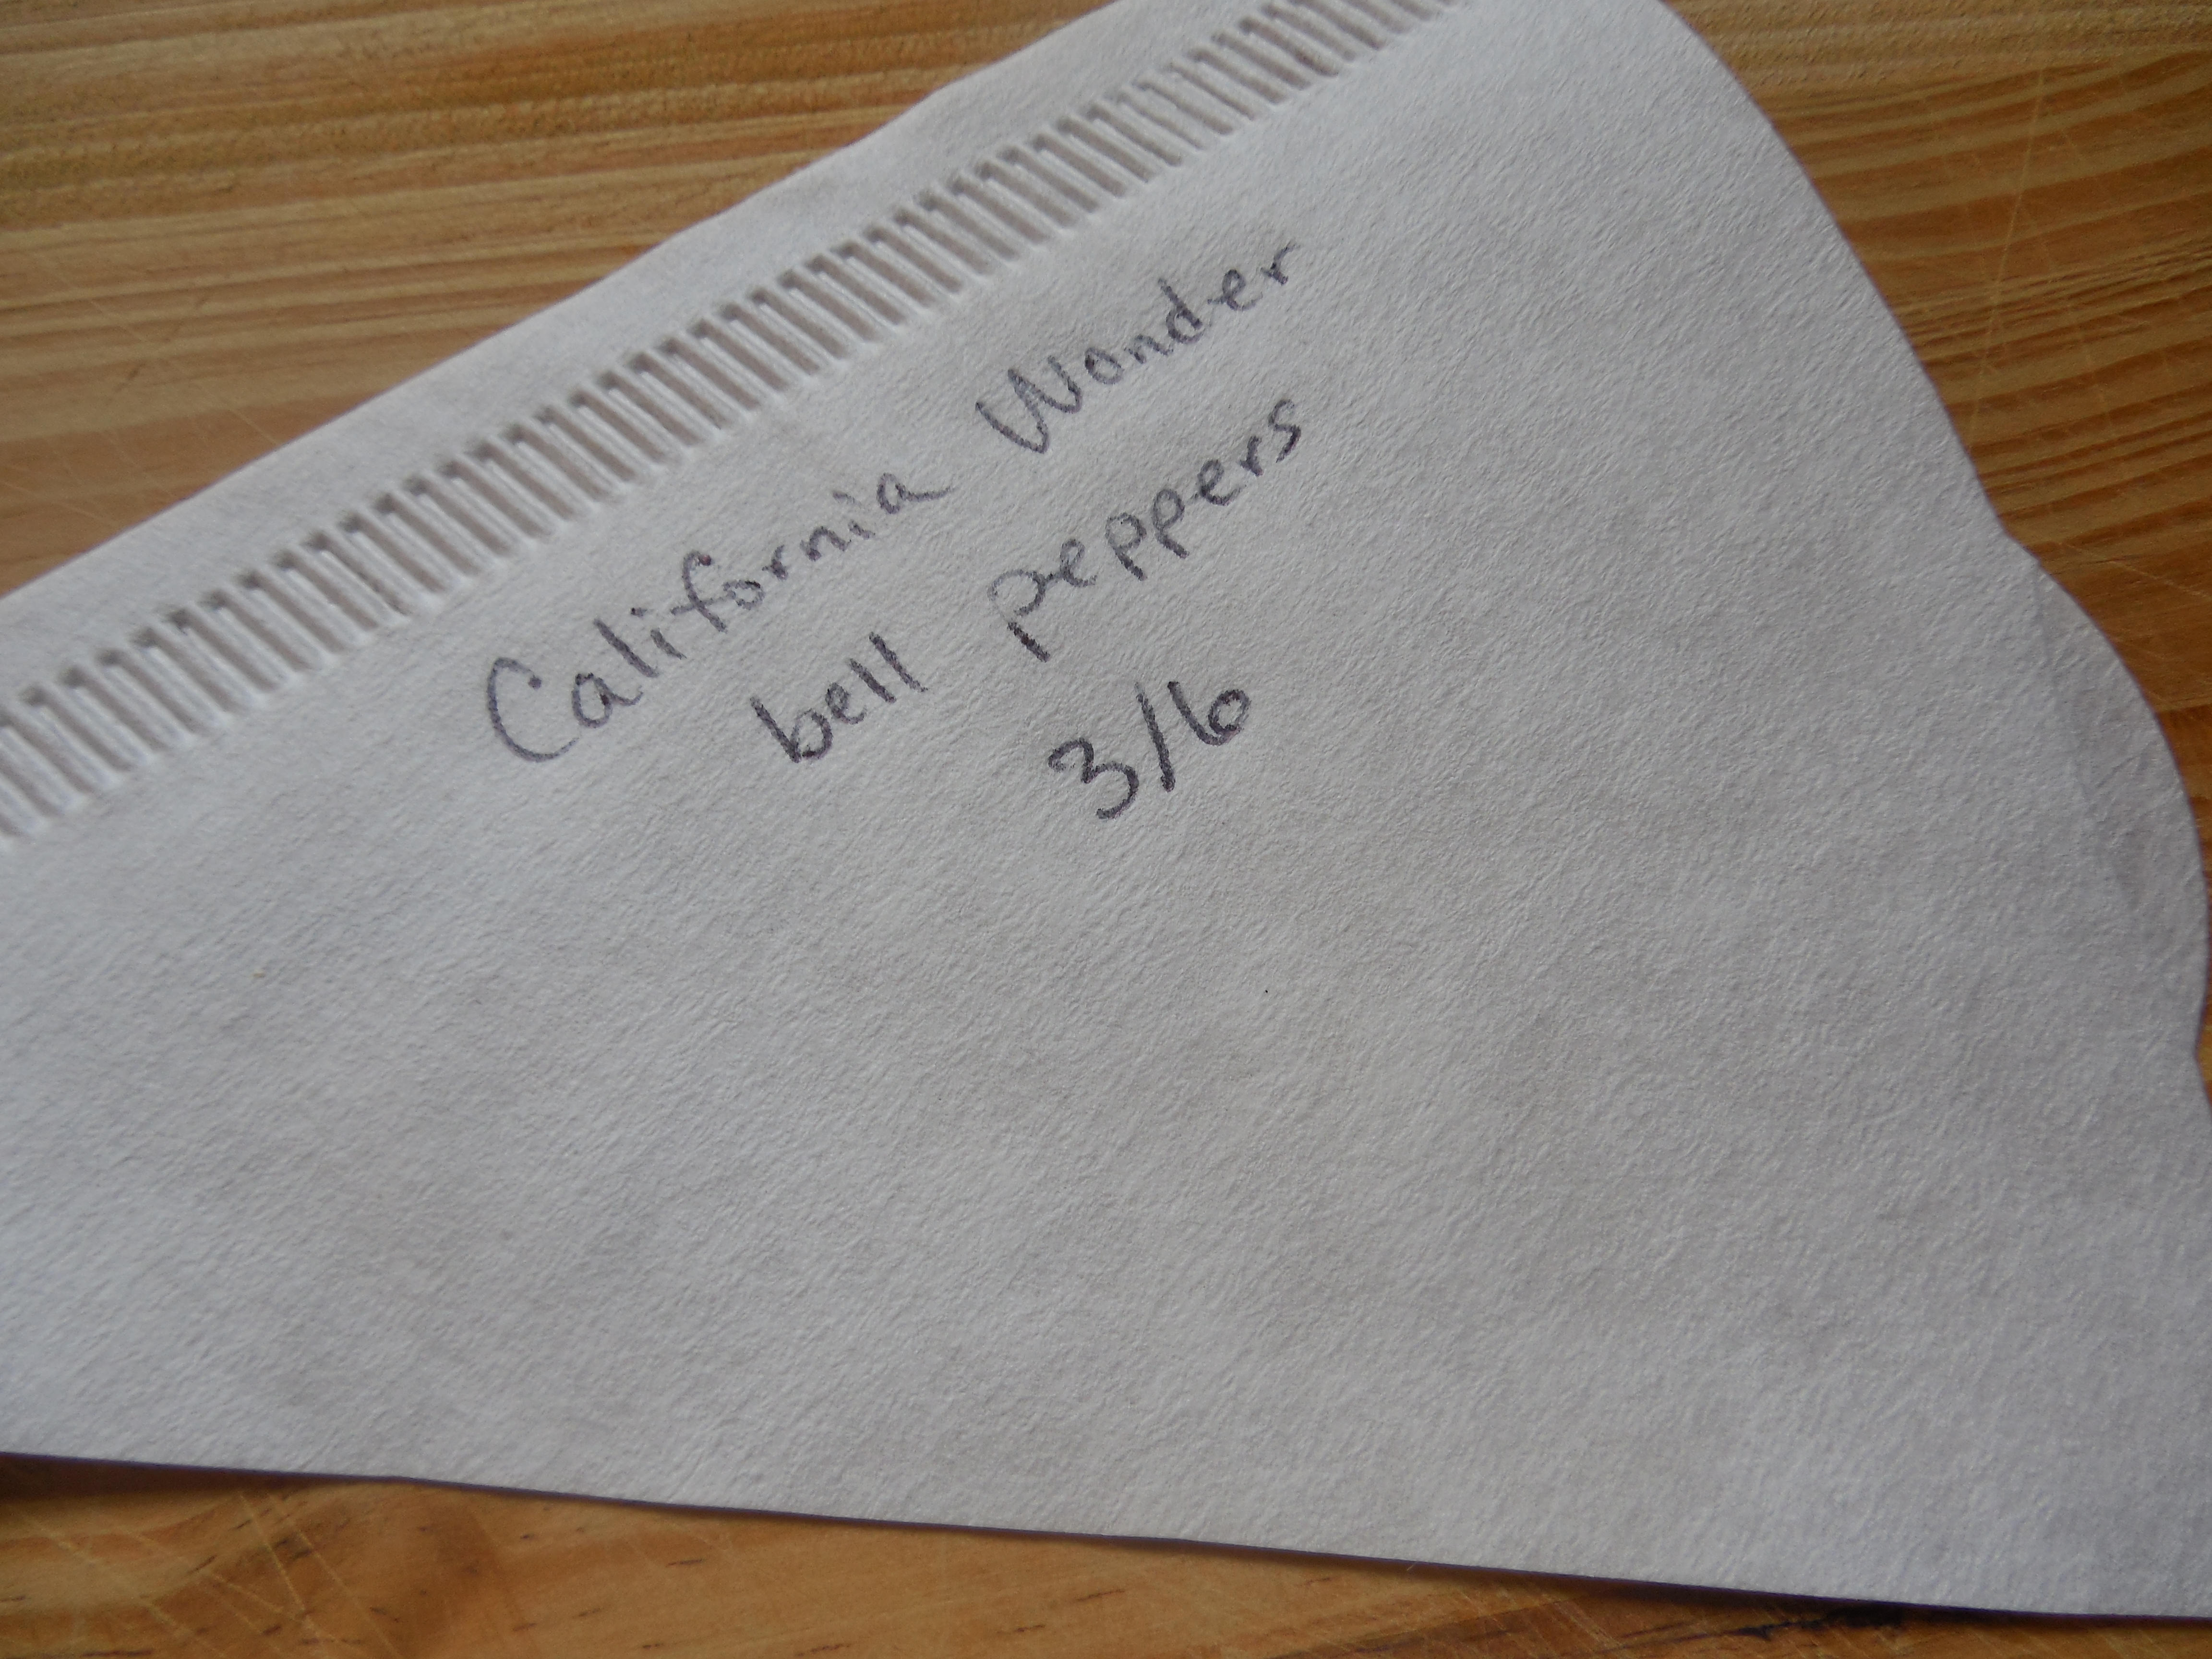
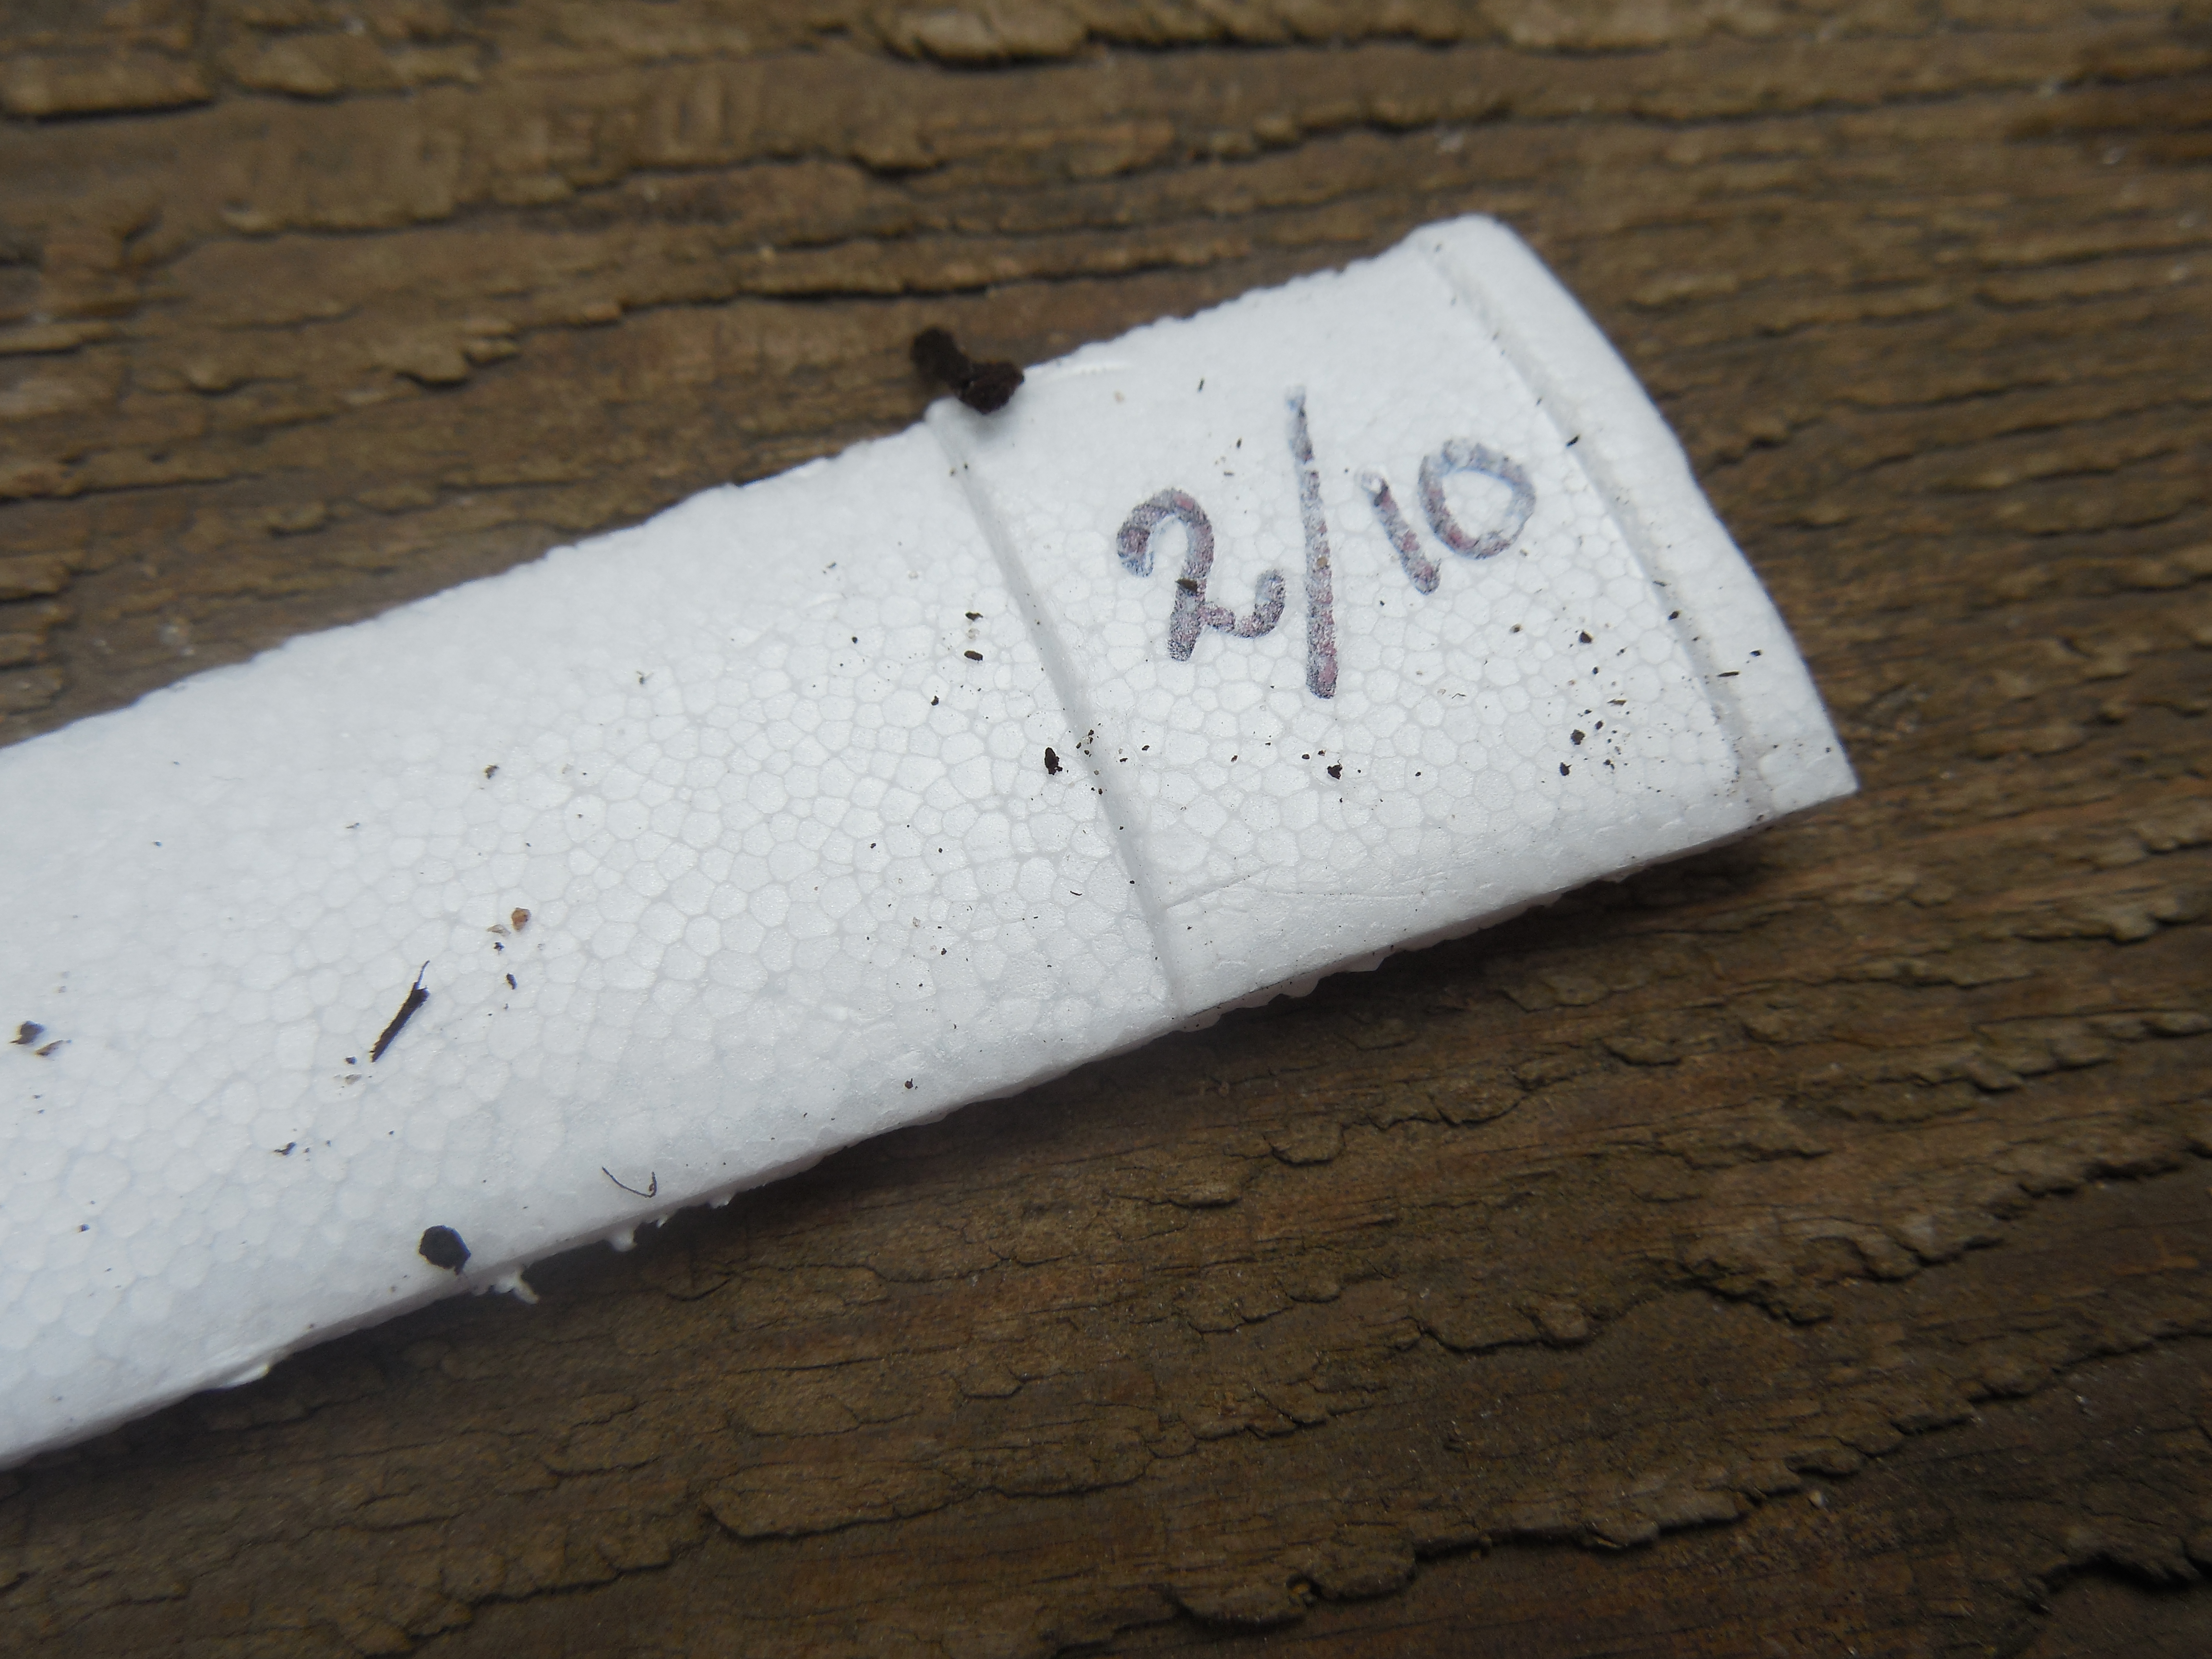
First, cut the filter in half and label it with the variety and date. You want to know what you have in there, especially if you are testing many types of seeds. Also, the date will help you keep track of how long it has been in there.

DSCN3872

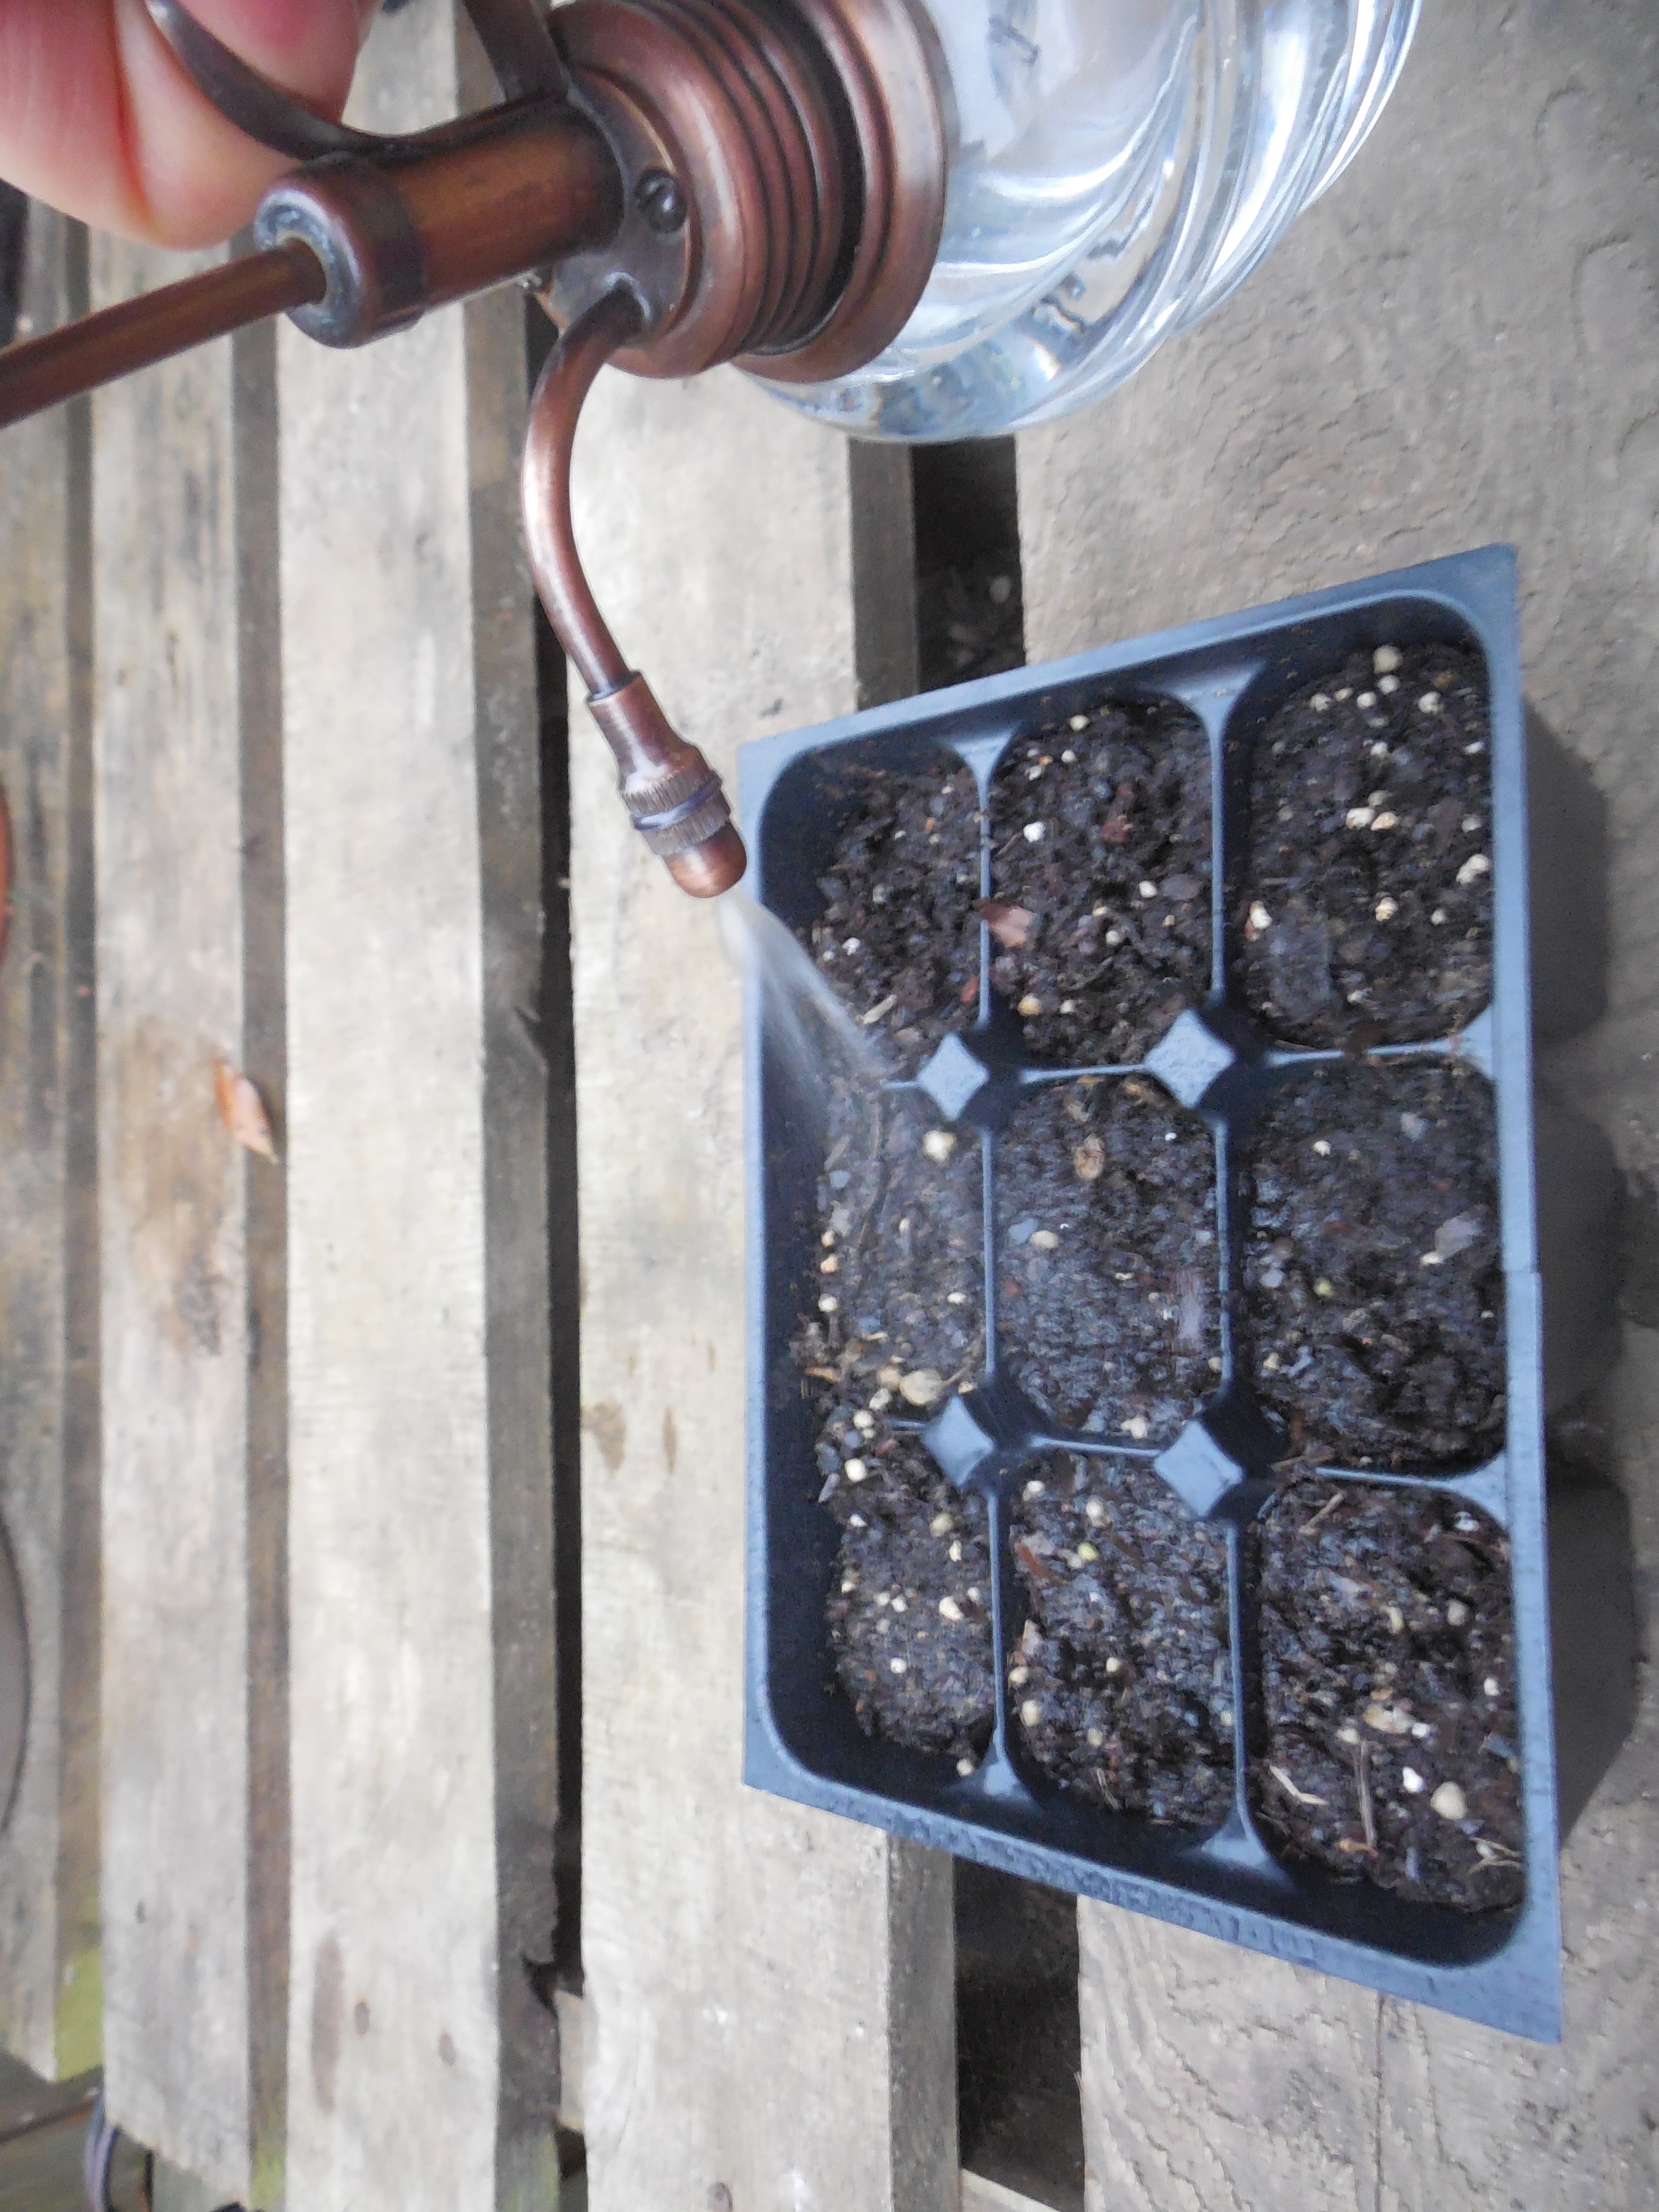
Open the filter, wet it slightly, and place the seeds on the wet filter. Close the filter and slide it into a plastic baggie. Put the baggie in a warm place. I put mine on the top shelf of my little greenhouse.

I tested ‘California Wonder’ pepper, jalepeno, and tomatillo seeds.

DSCN3900

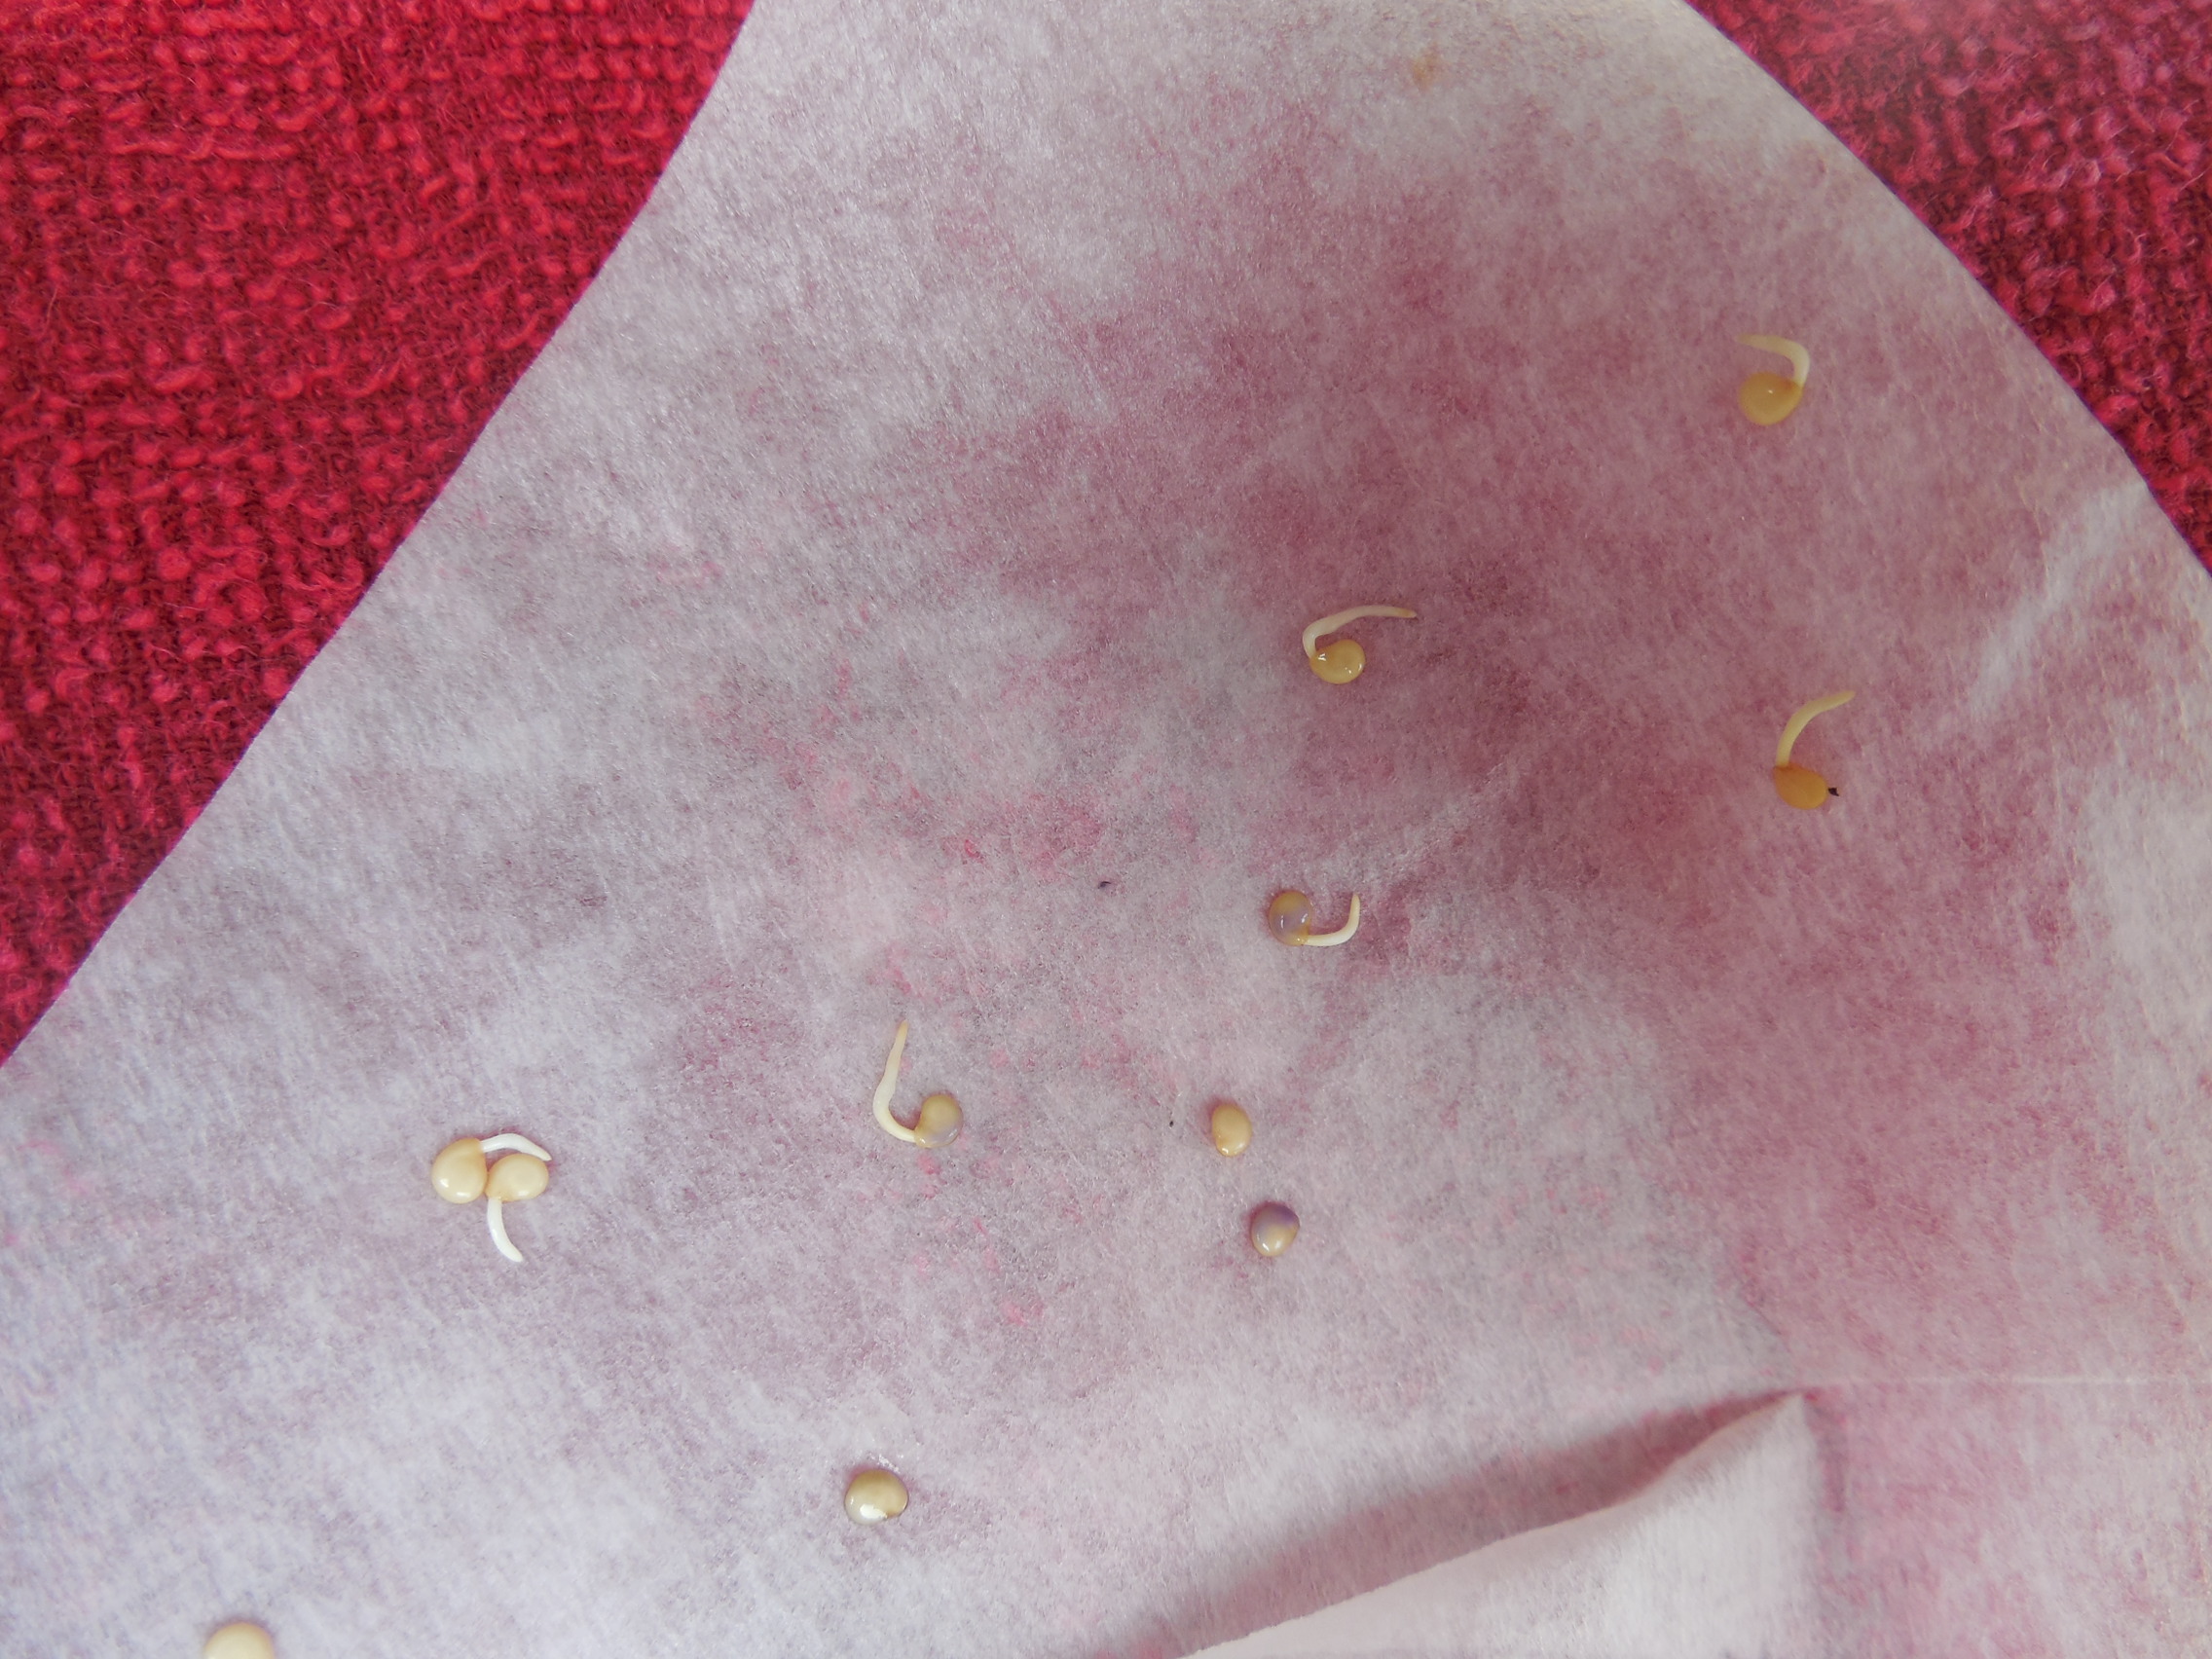
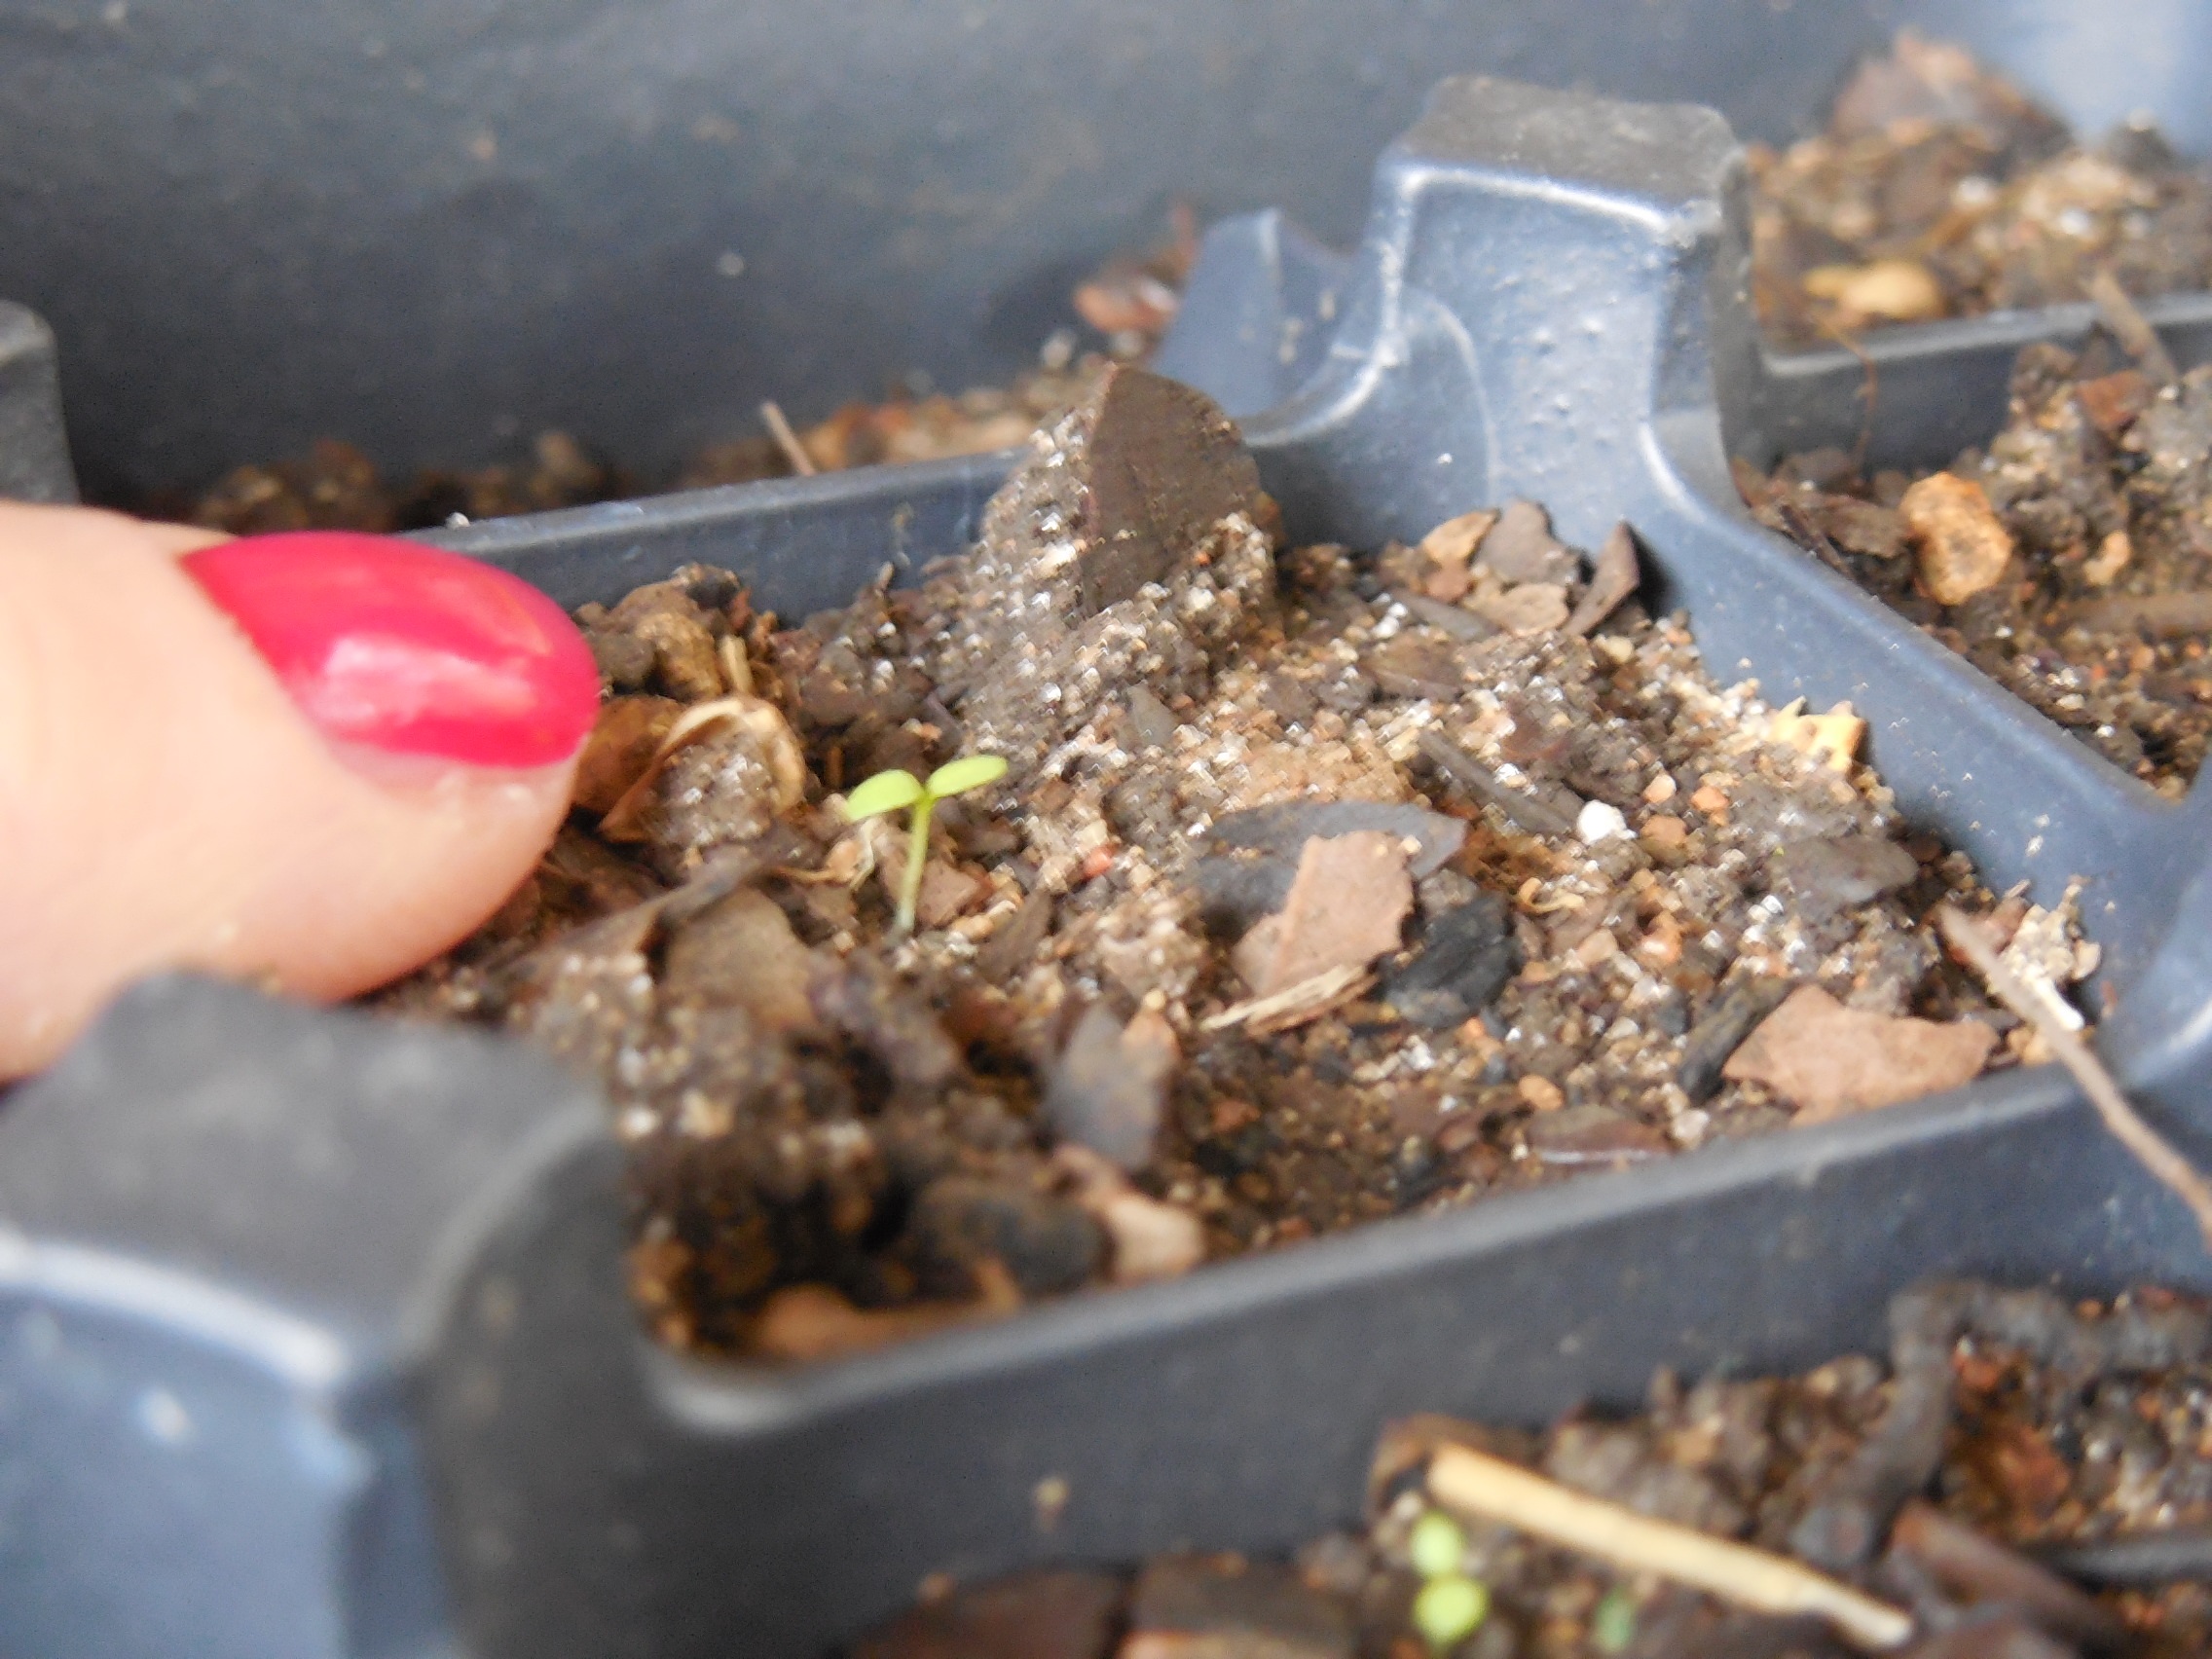
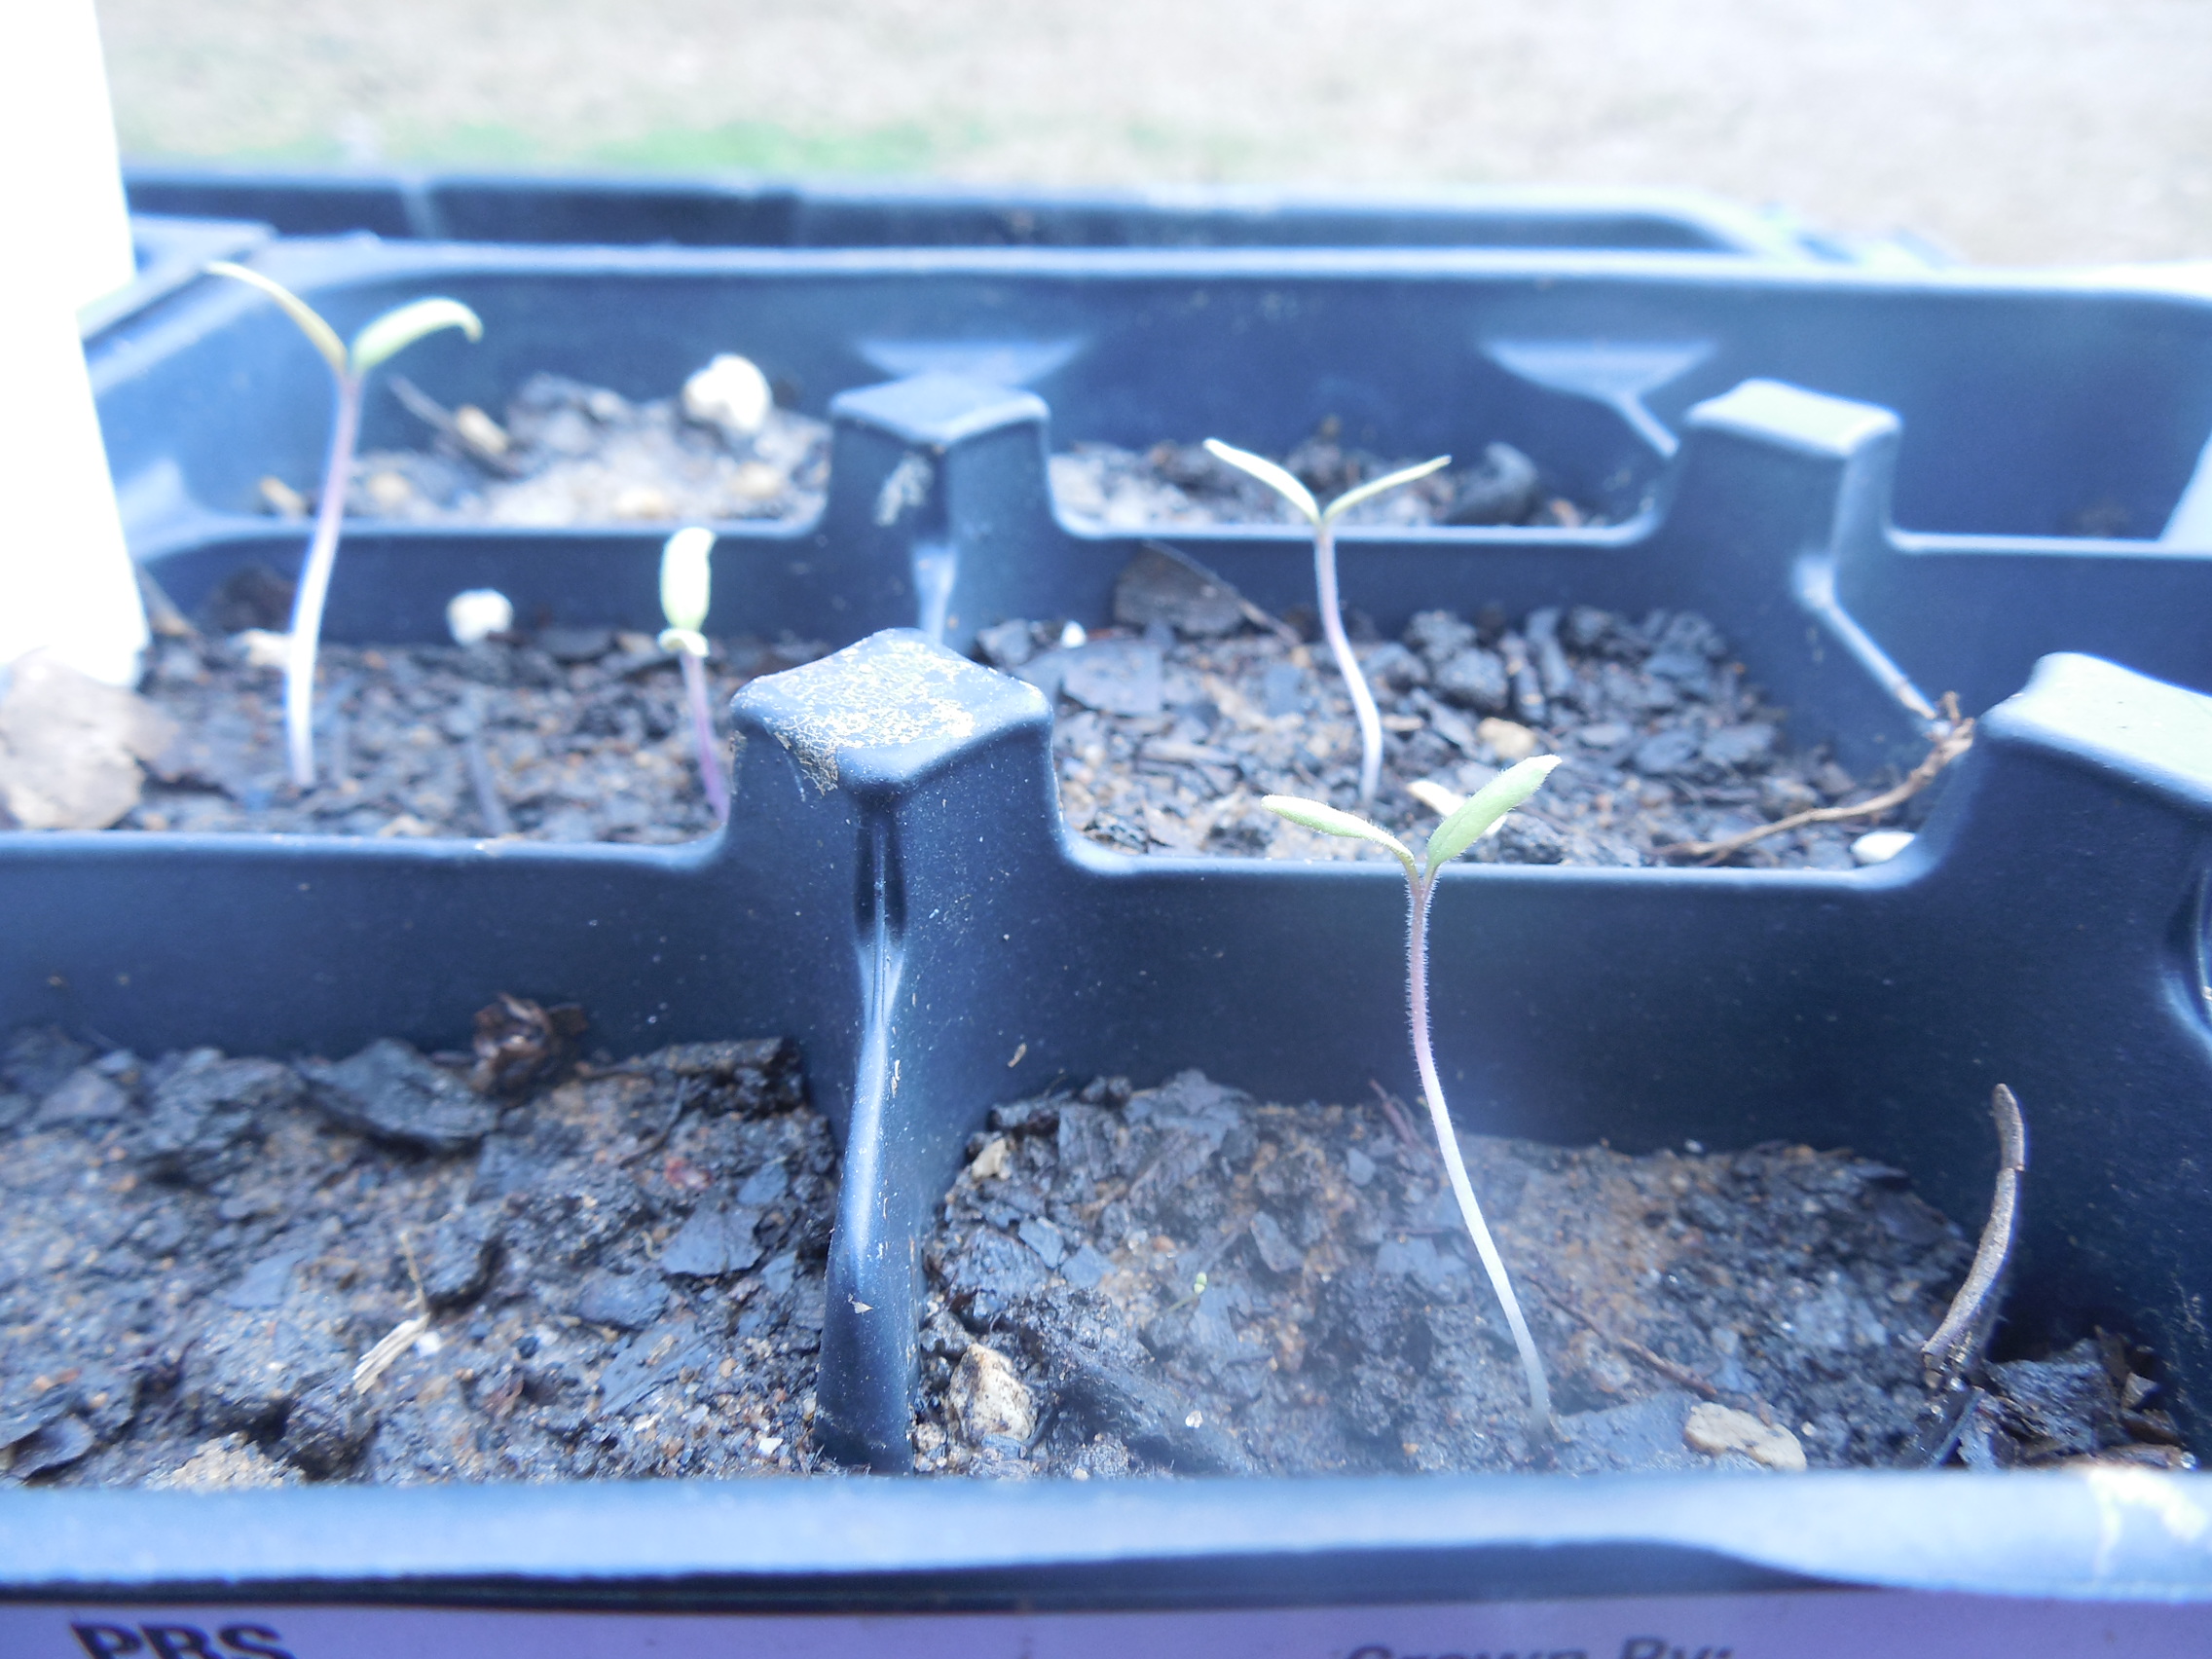
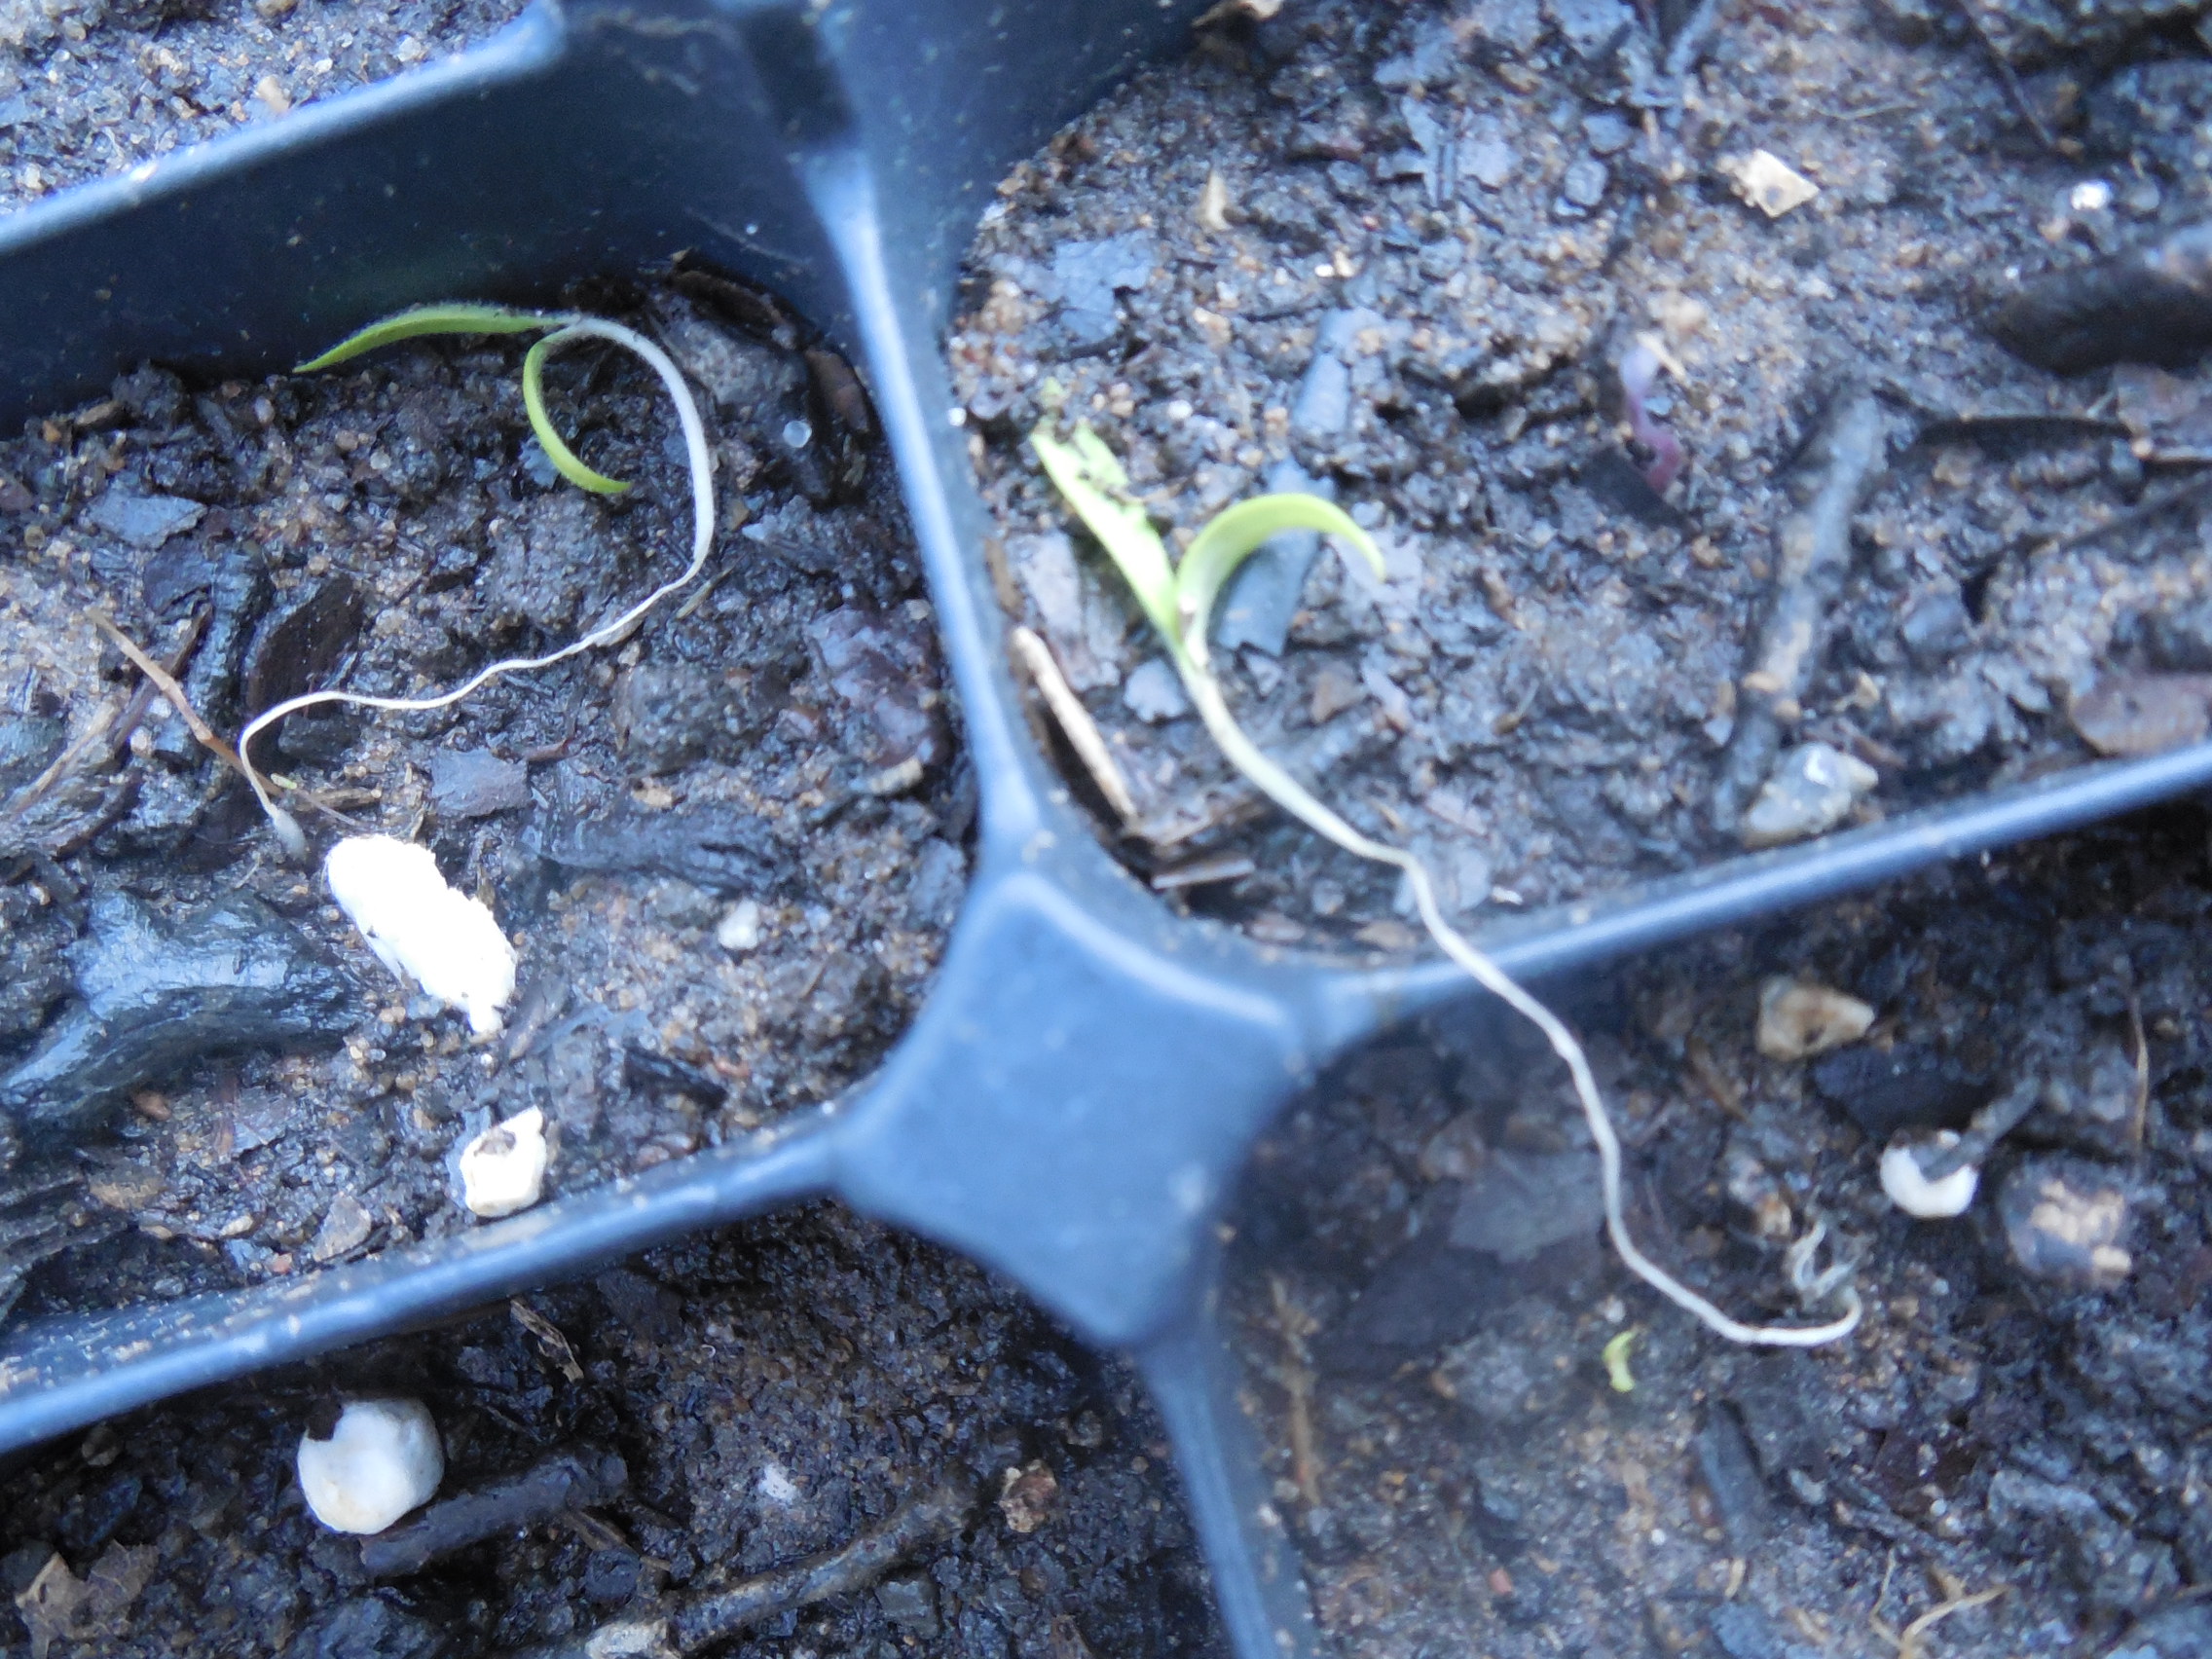
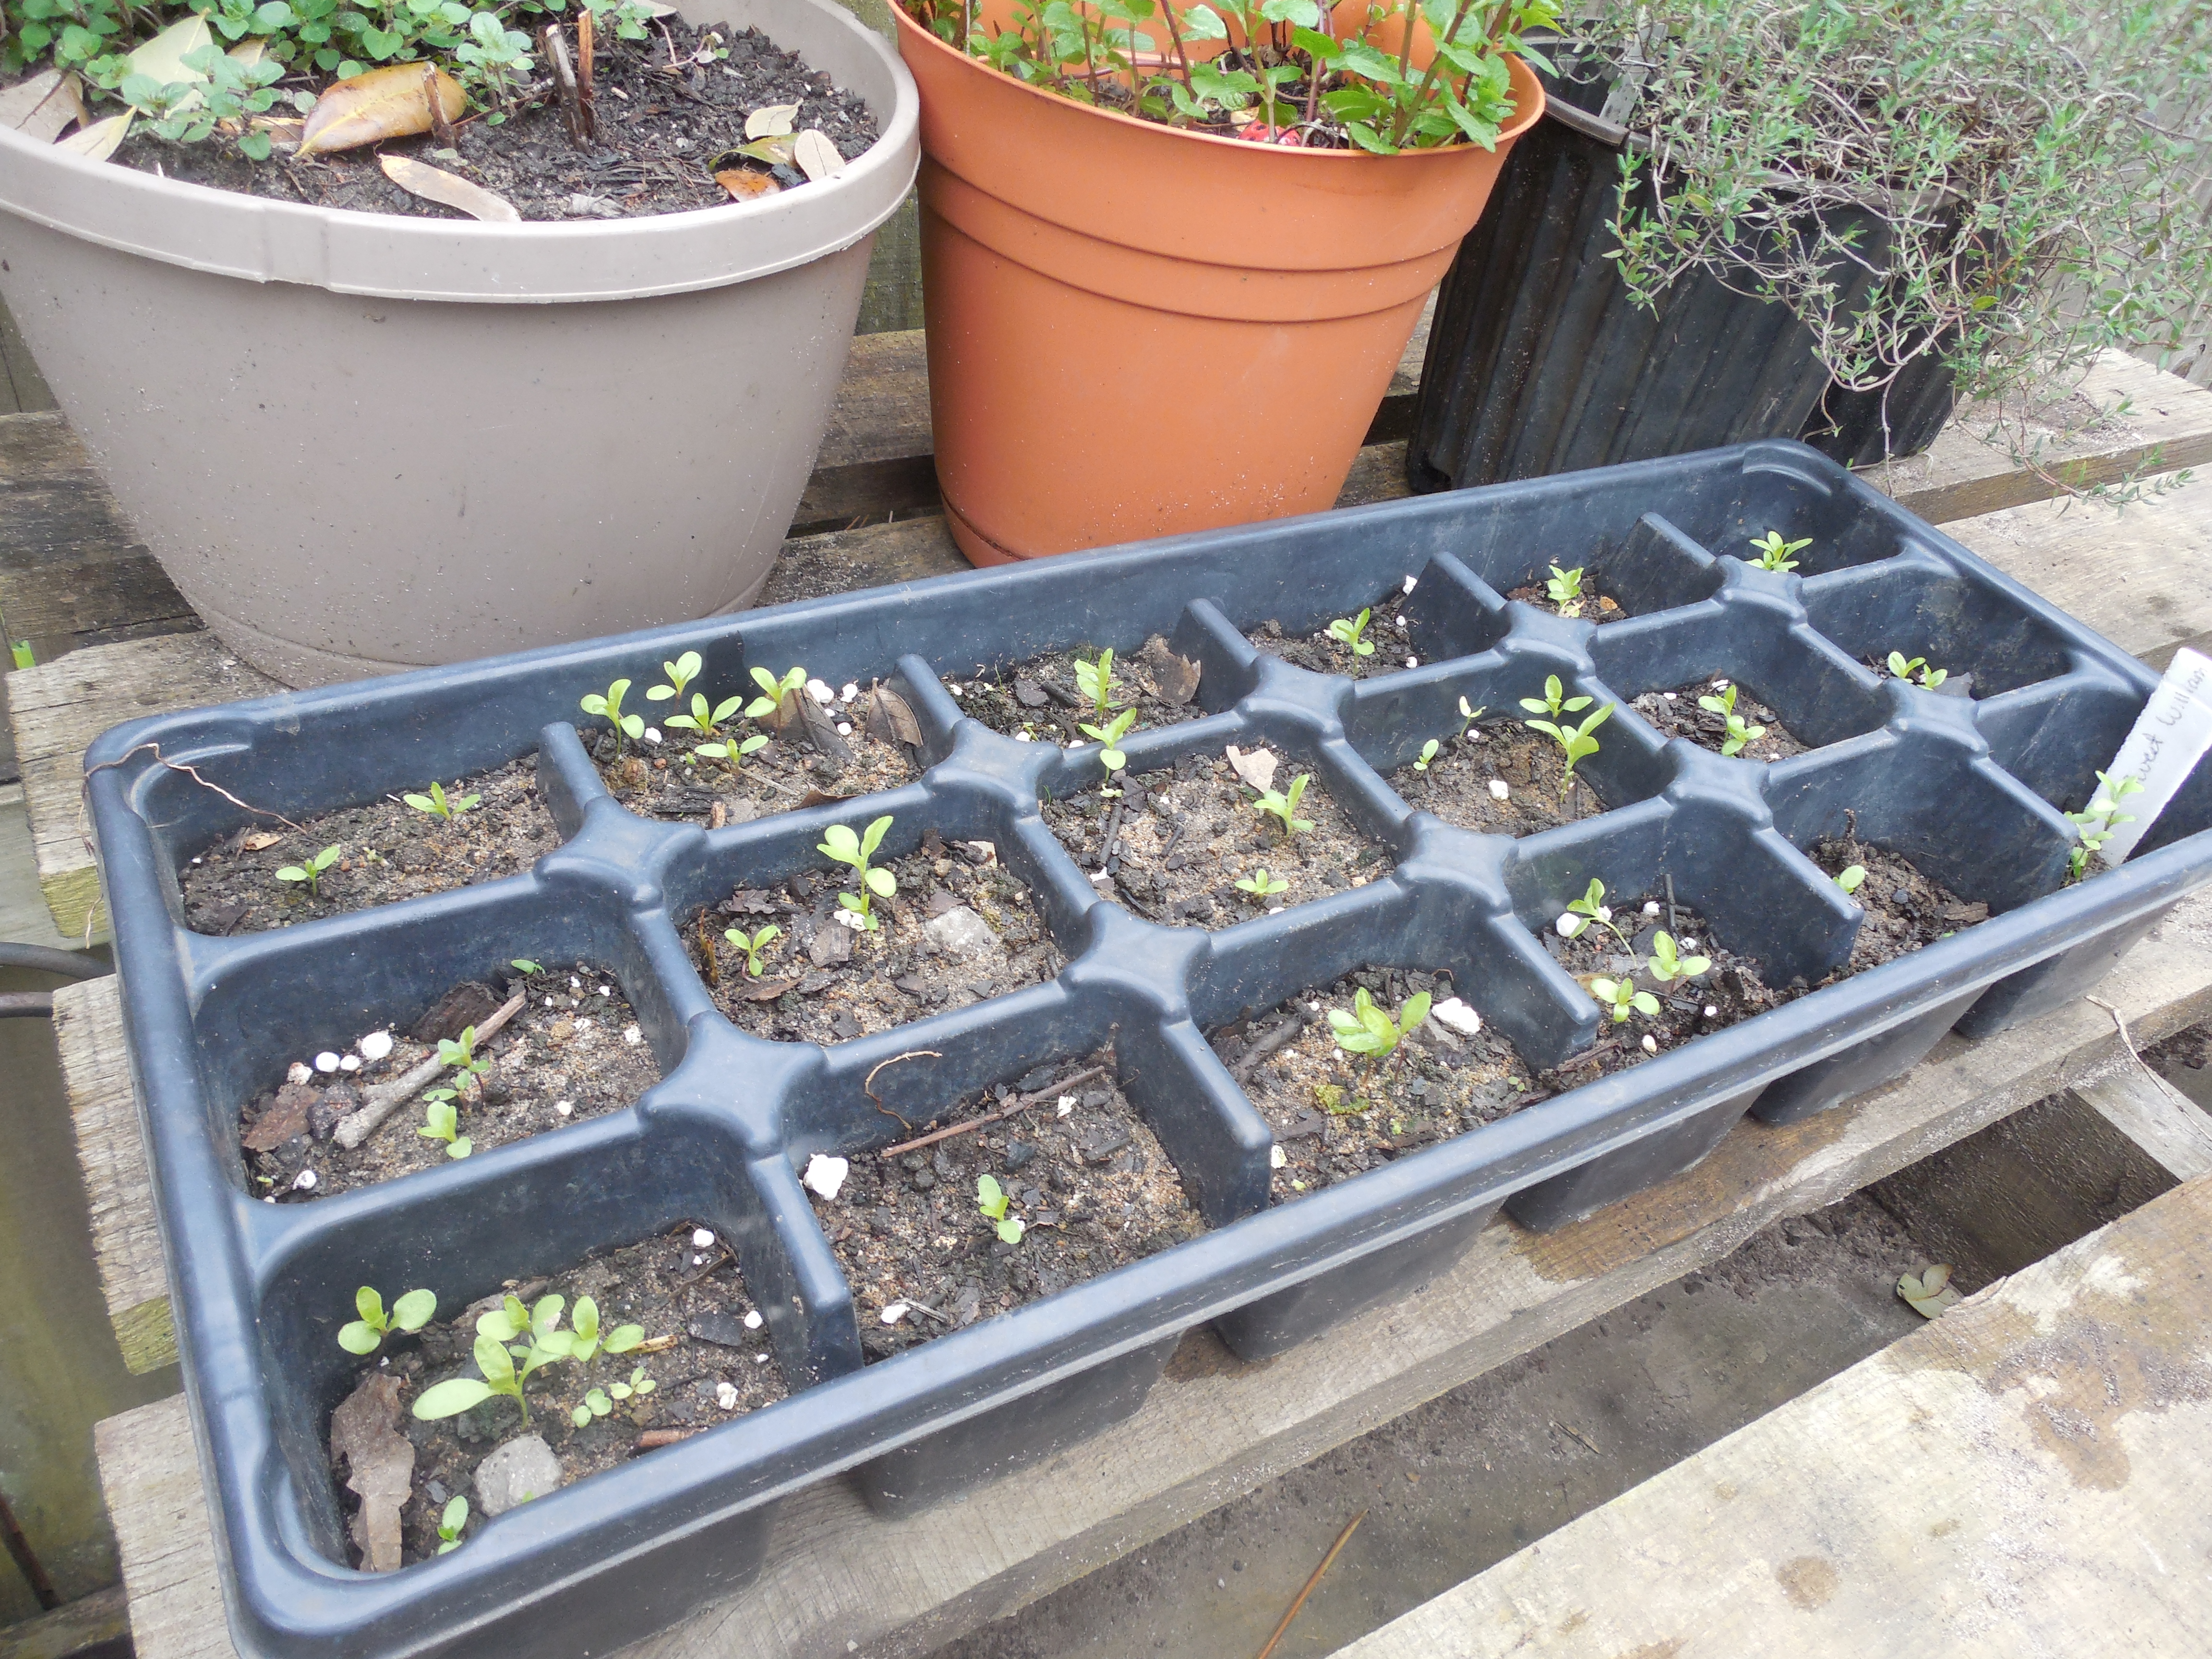
In 5 days, many of the fresh tomatillo seeds were sprouting, and some of the peppers. The impatient gardener in me likes this method of germinating seeds. I can check on them frequently without digging them up and I can see quickly what is growing.

DSCN3901

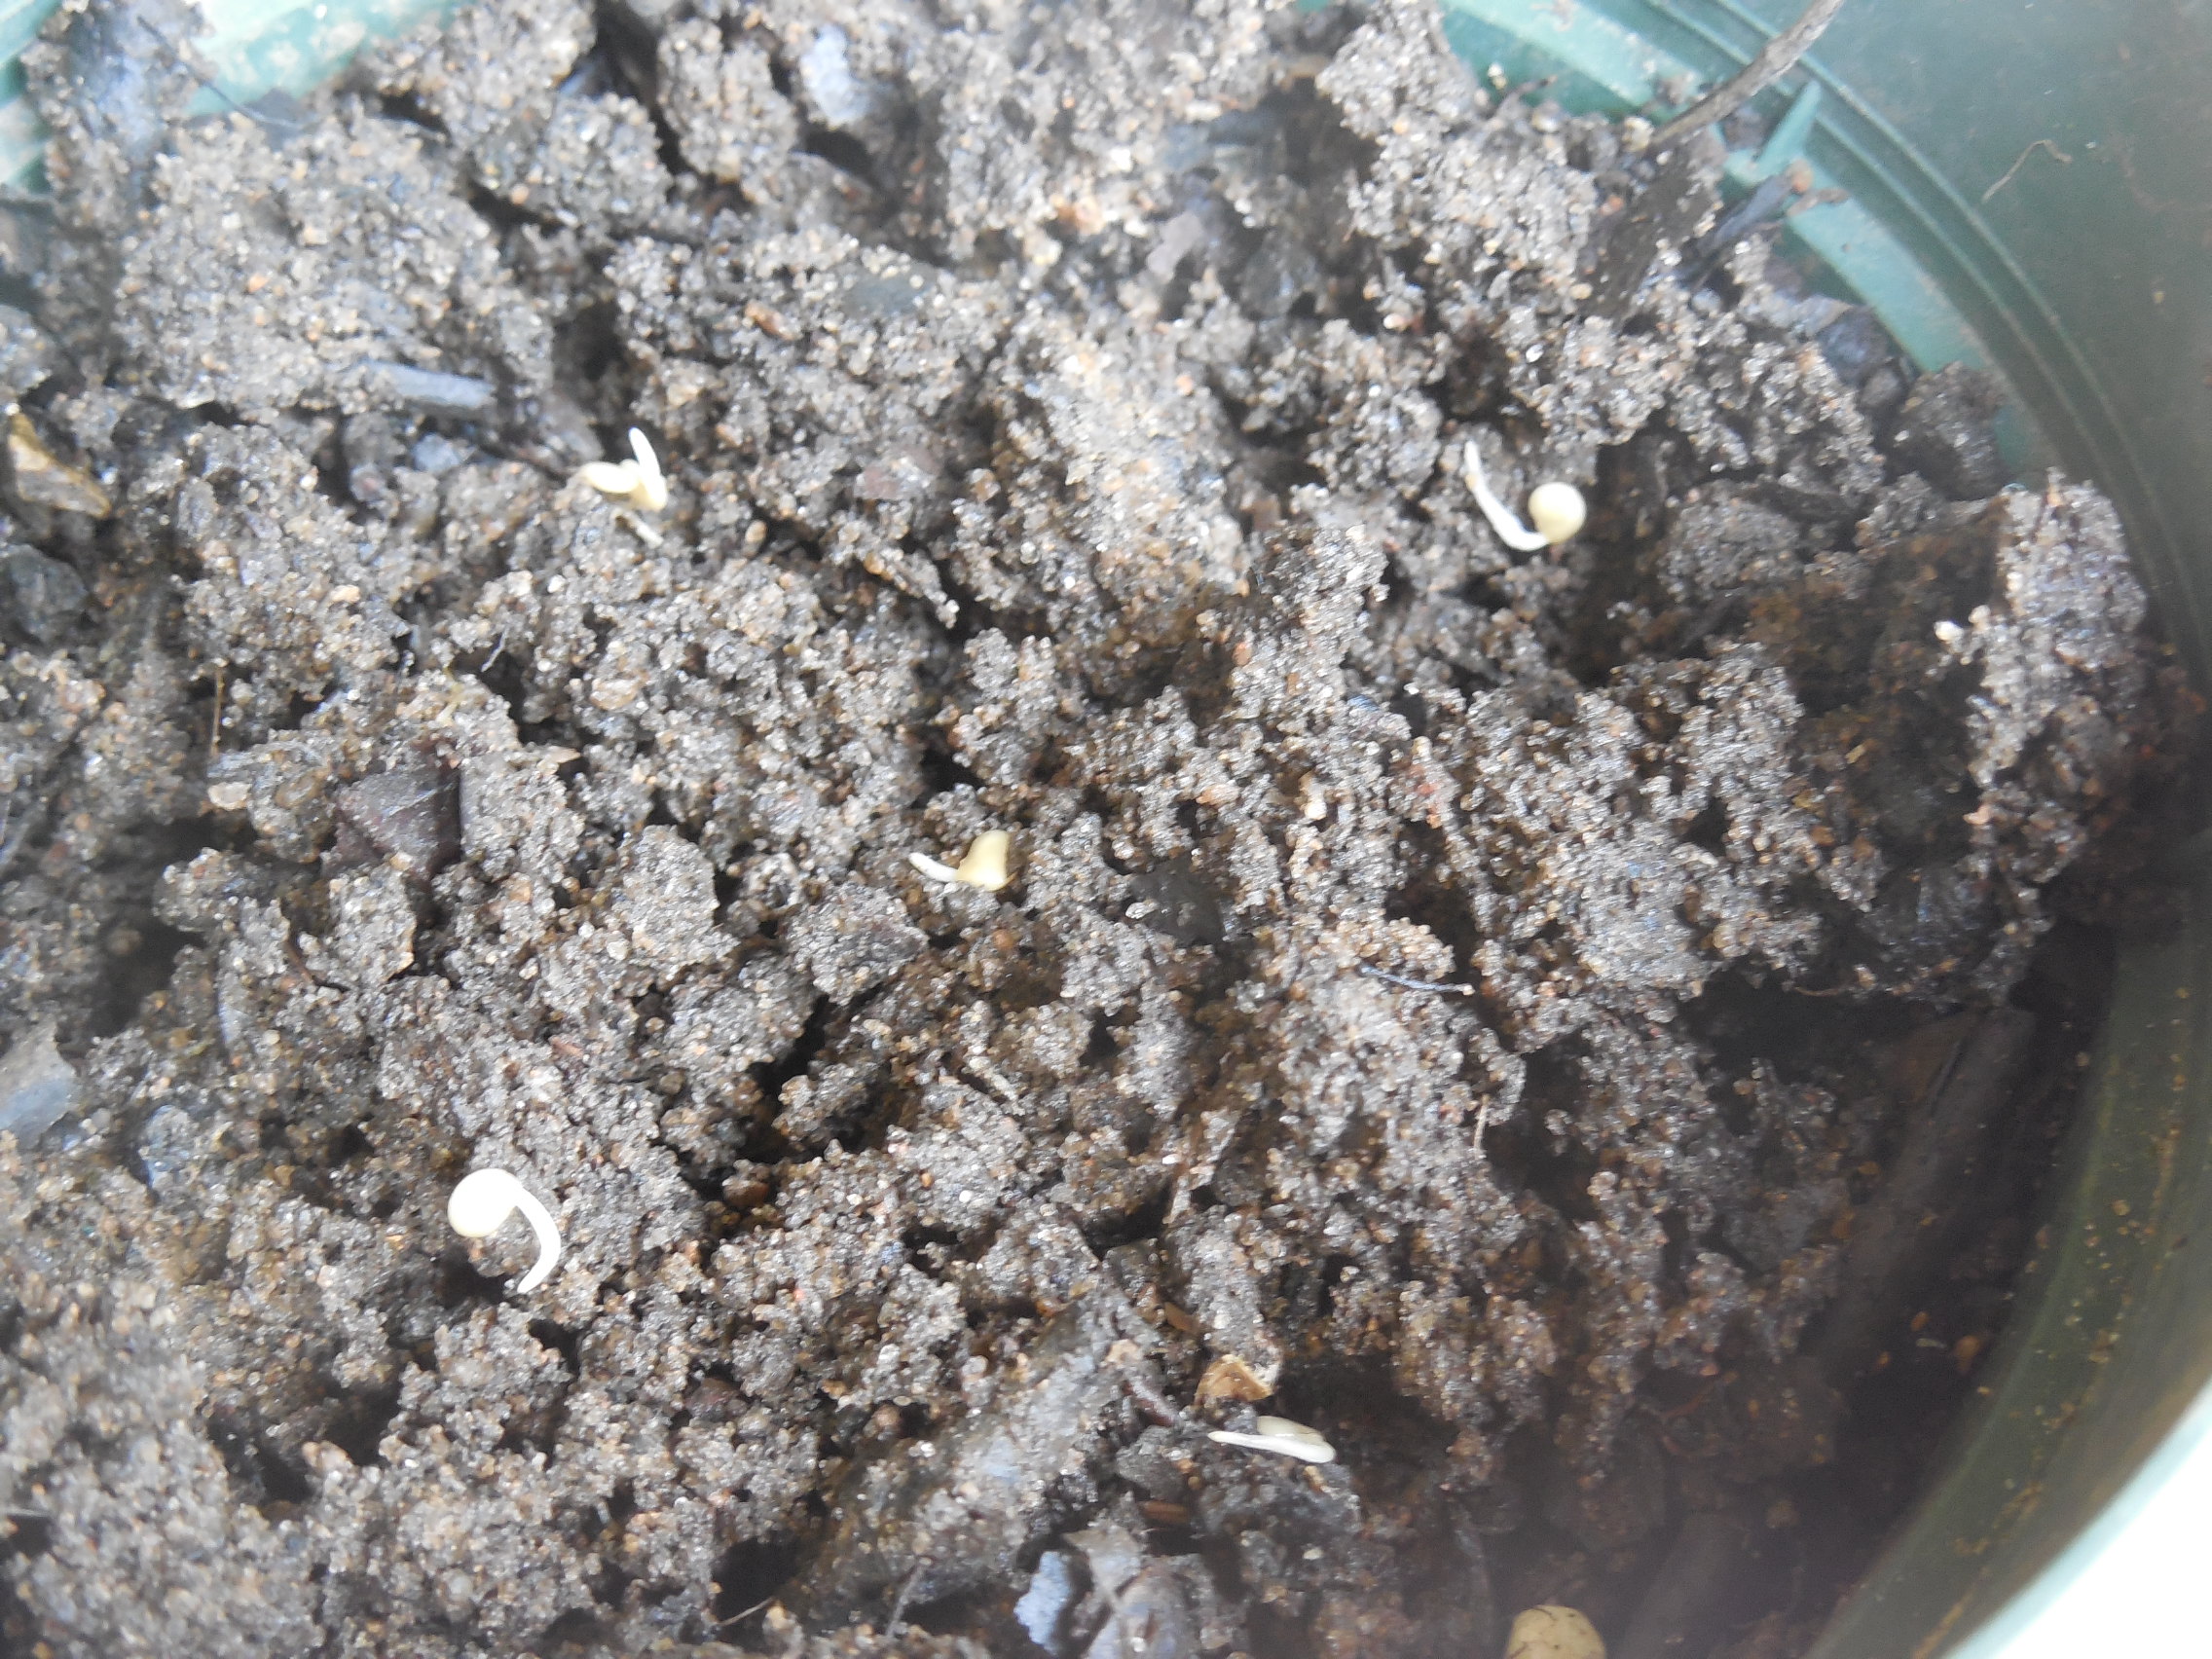
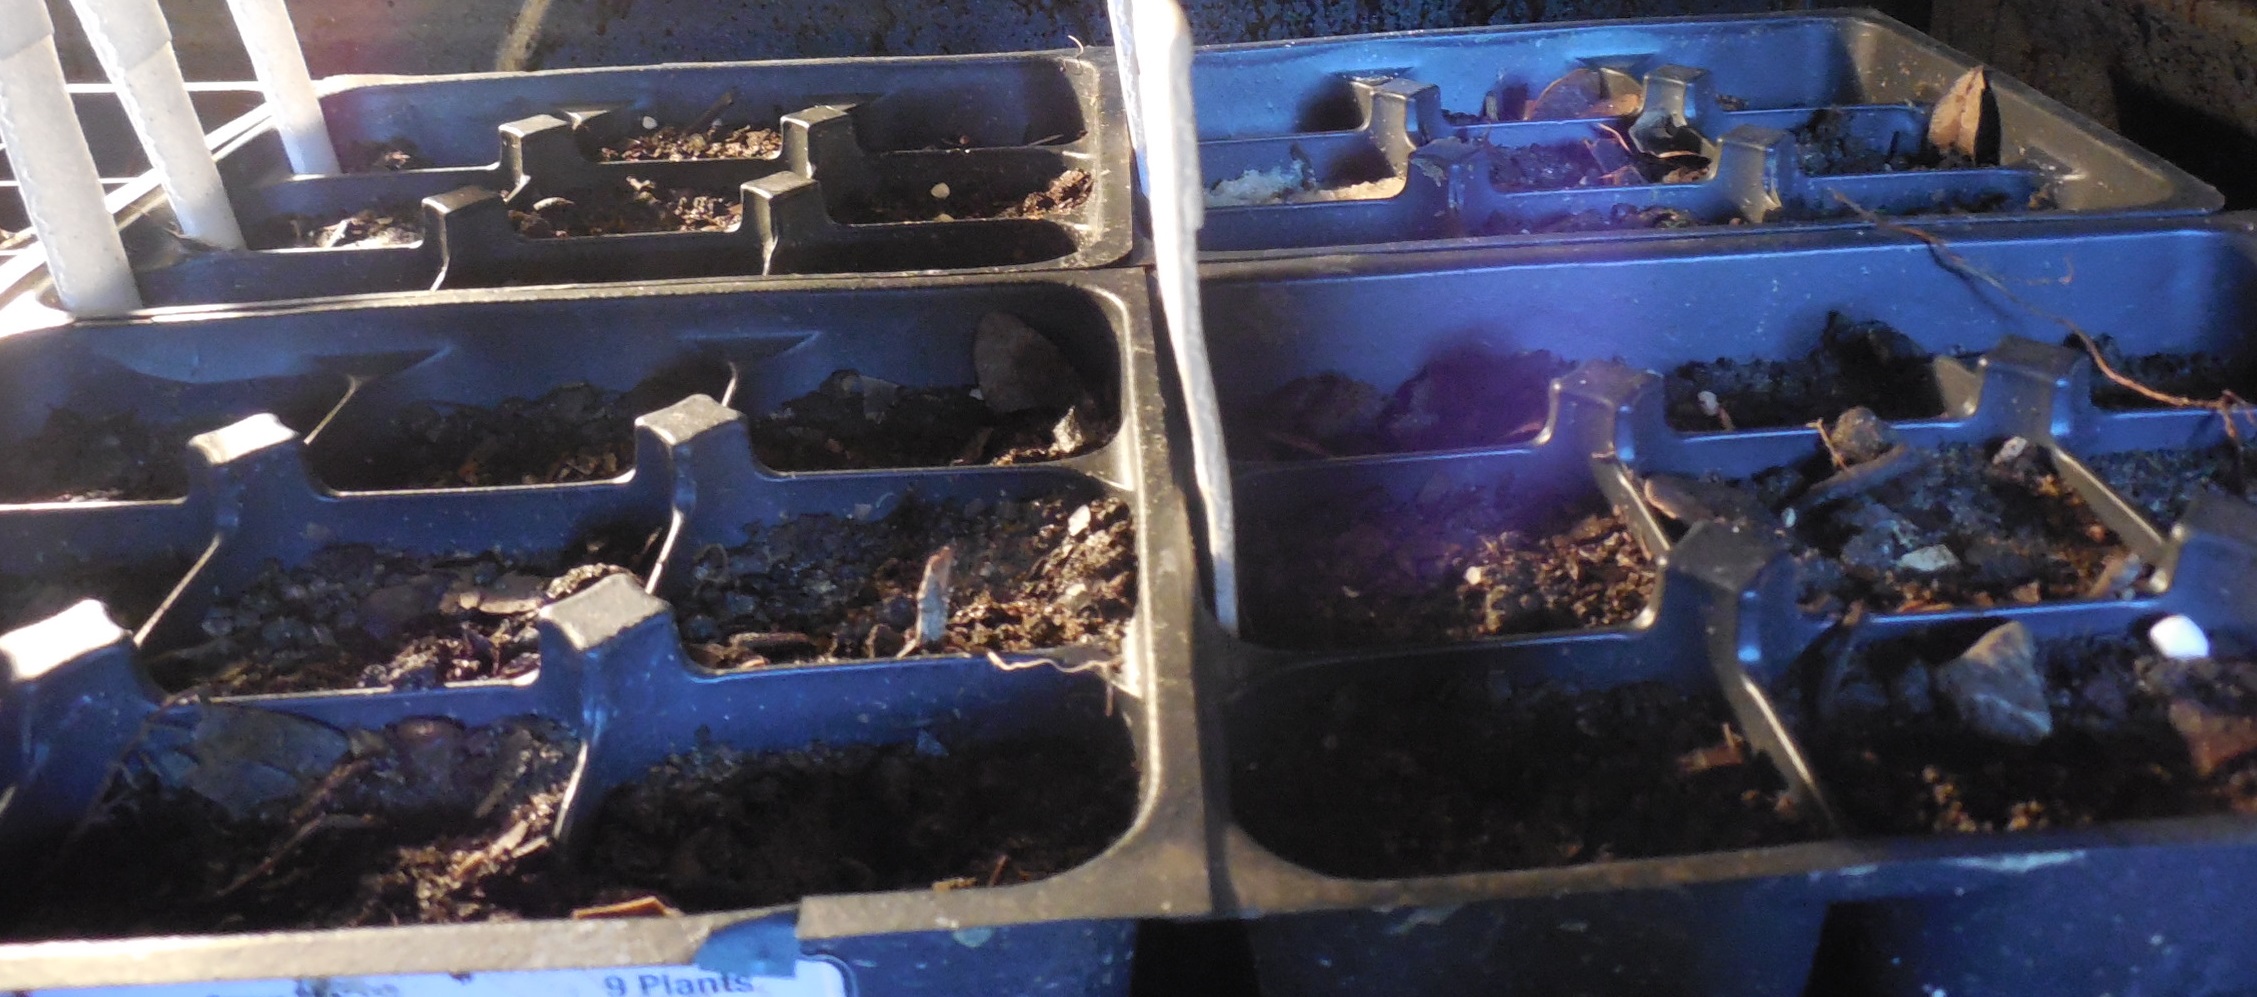
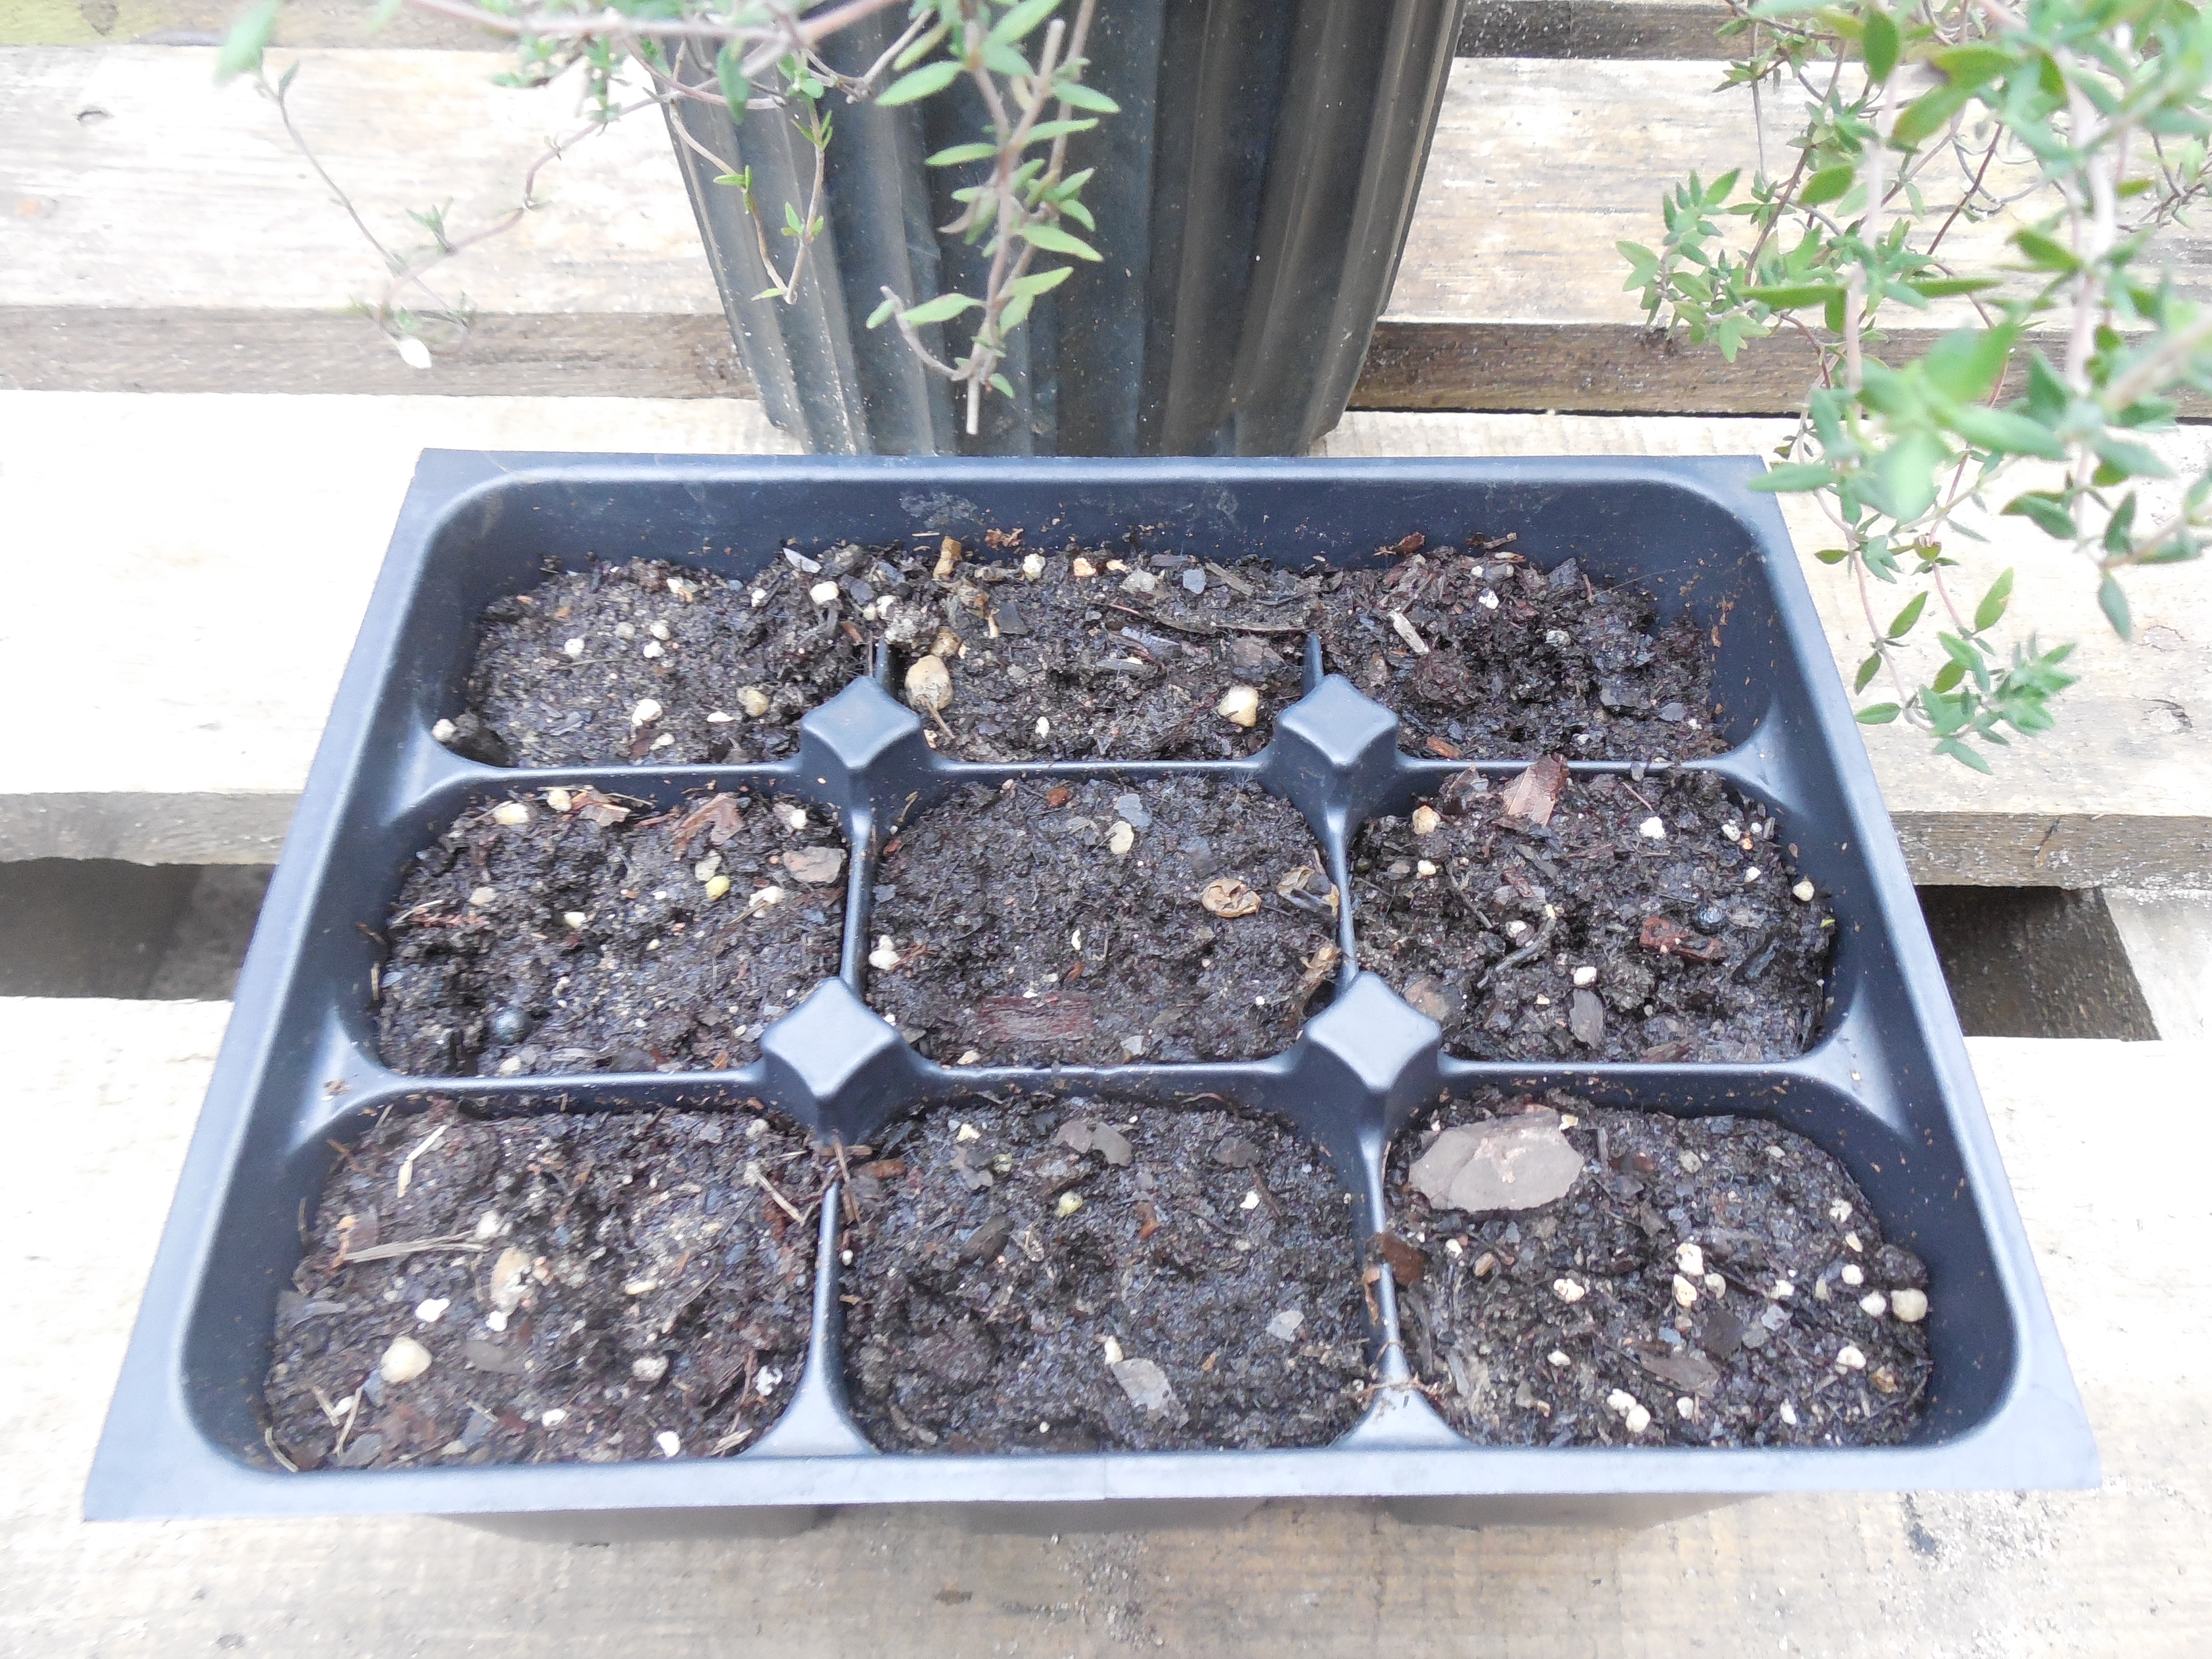
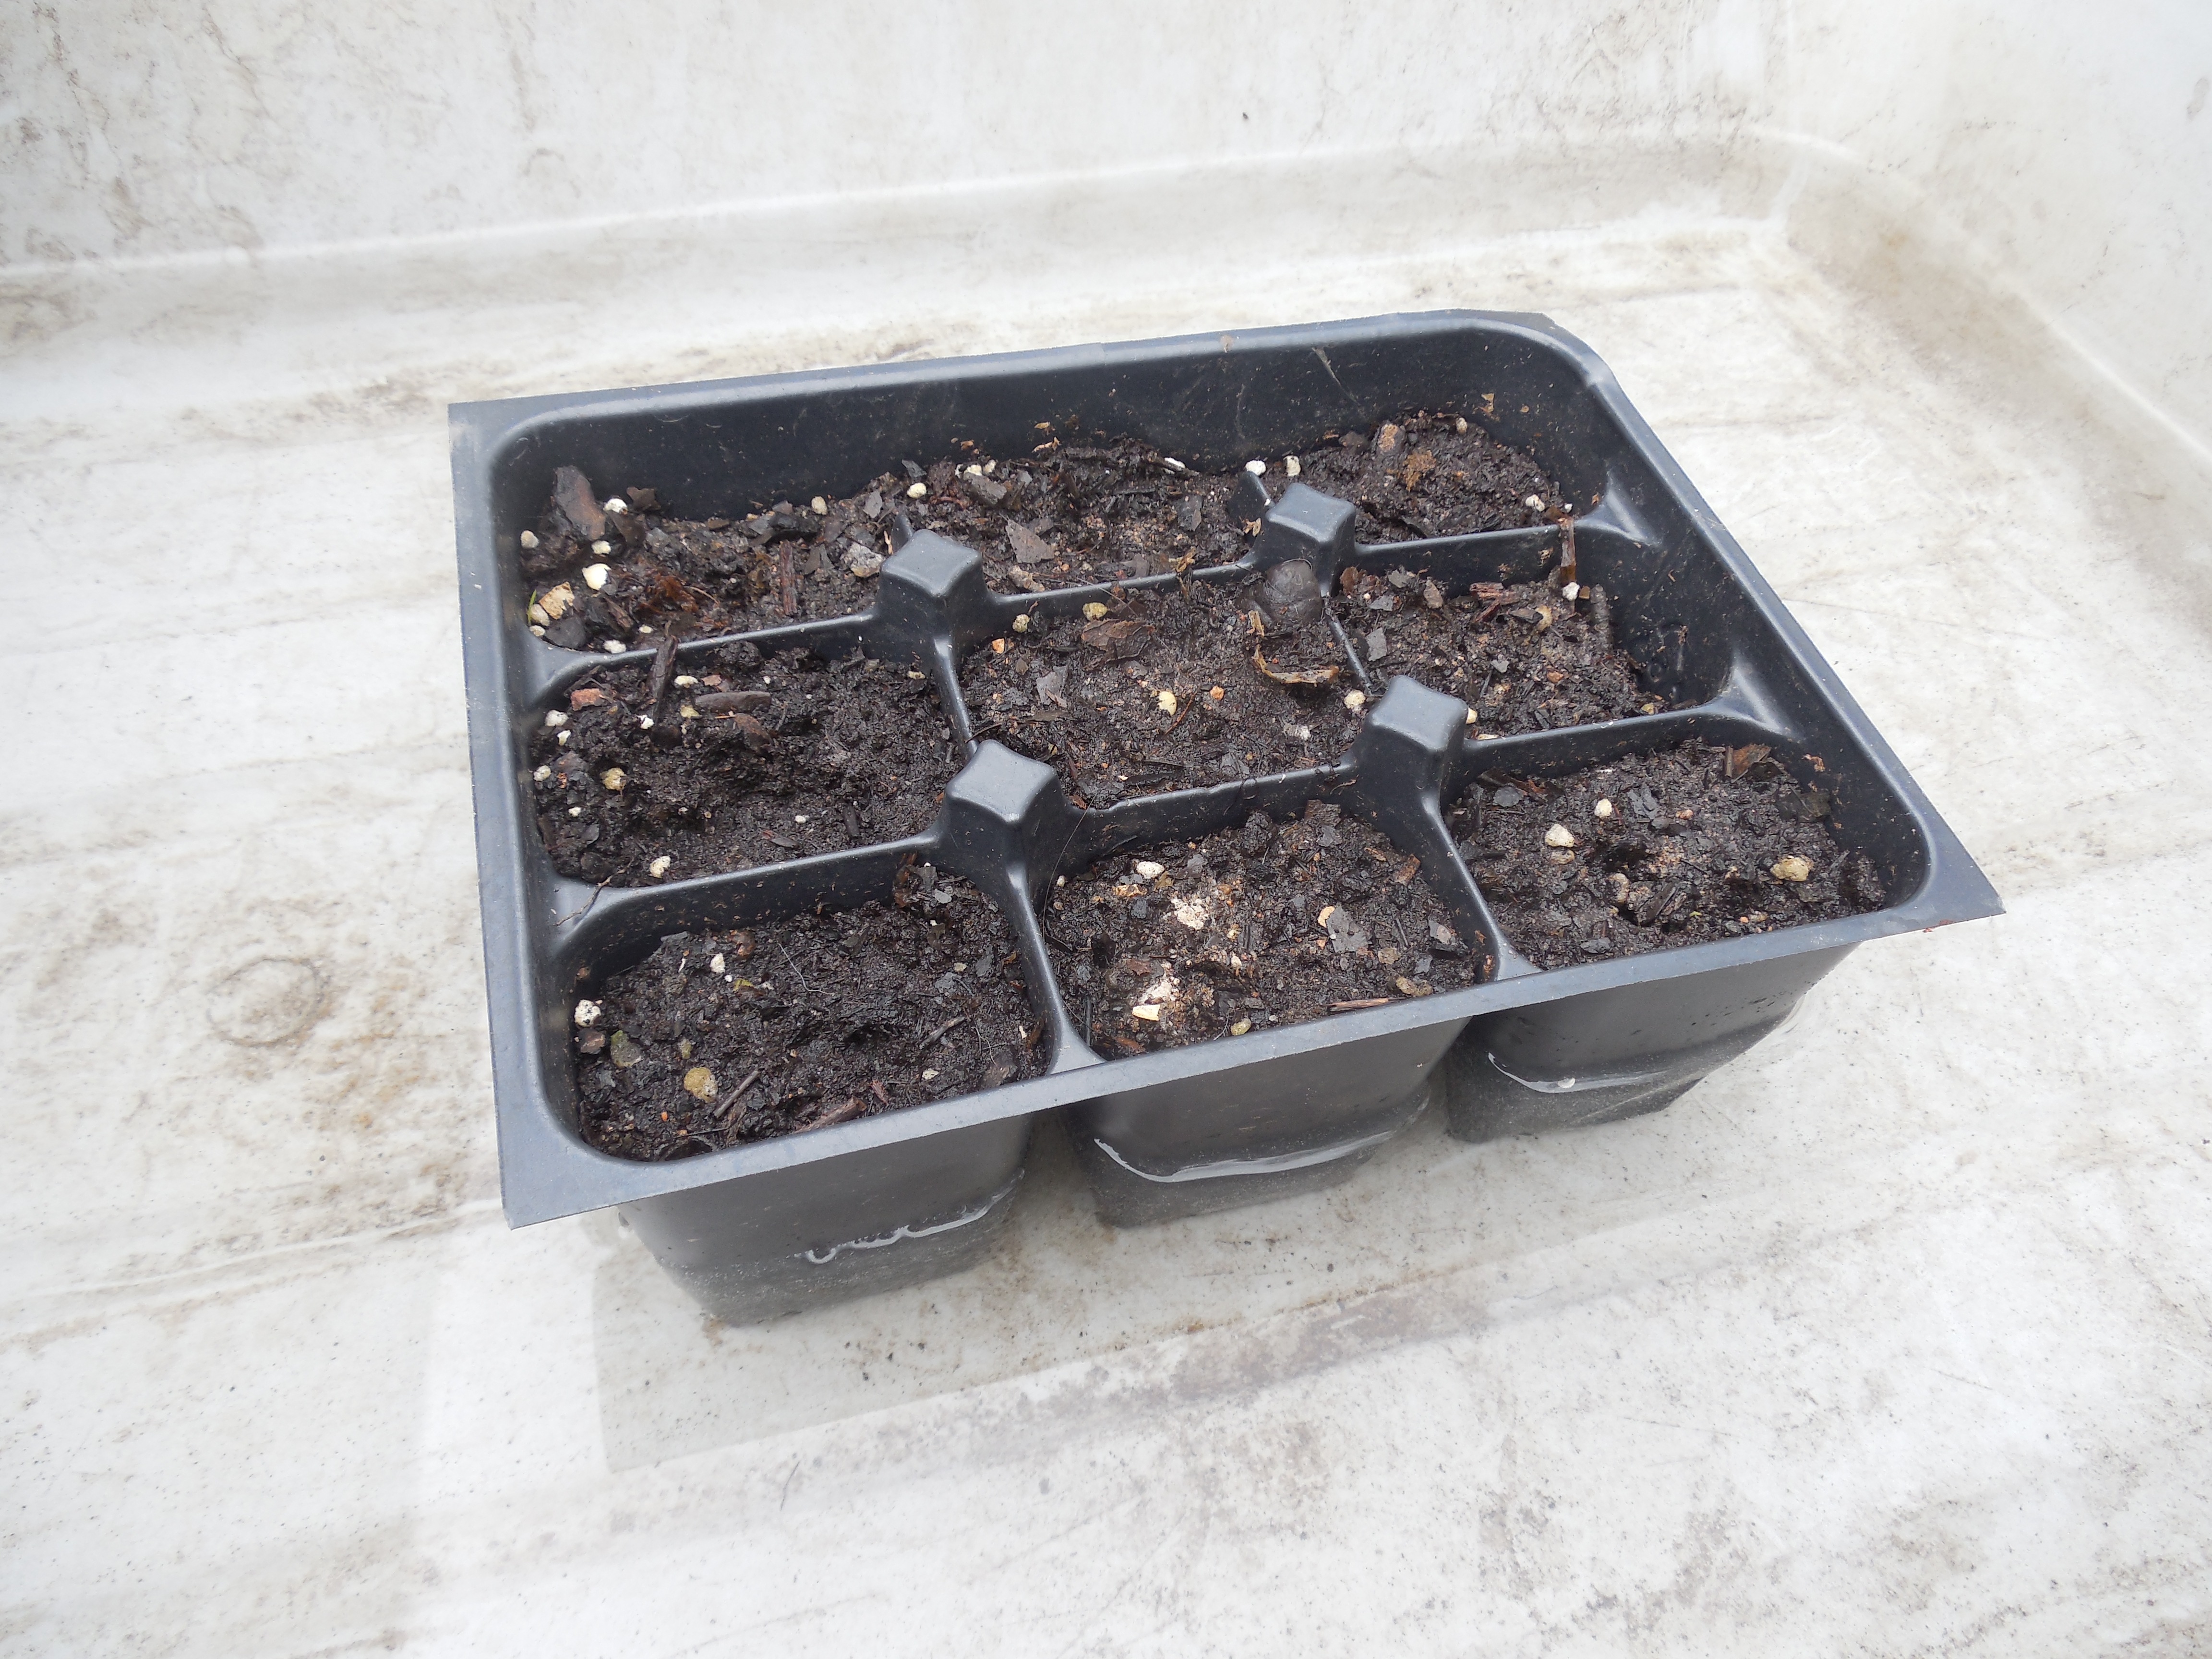
I took the sproutlings off and planted them. I used a spray bottle to lightly water them into the soil. I can thin them later if needed, but now I know that those pesky pepper seeds have only about a 40% germination rate and that I will probably have far more tomatillo plants than I need!

Maybe I should just buy a red pepper from the grocery store and collect some seeds from it. 🙂 It’s getting close to spring planting time, though. I have wanted to try ‘Marconi’ peppers, maybe I will try some this year.

Coffee filters- good for more than just brewing coffee!

Saving Seeds From Grocery Store Tomatillo

Standard

I love the fresh taste of homemade salsa, and I am planning to make buckets of it this summer once those tomatoes are ready.

There is also salsa verde, made with tomatillos. I want to try growing some of them this year. Ripe tomatillos are sold at grocery stores, so I thought I’d try to get seeds there first.

DSCN3873
Typically, when selecting tomatillos, you should look for green fruit with the husk still attached. I wanted mine to be as ripe as possible so the seeds would hopefully be mature. I selected this sad specimen.

DSCN3874

I peeled it to reveal a spongy interior studded with little tan seeds.

DSCN3875

Then I chunked the tomatillo and squeezed the seeds and some of the pulp into water. Repeatedly rinsing and pouring off the pulp and “floaters”(I assumed the floating seeds were not viable) left me with clean seeds at the bottom.The picture above was taken about halfway through the rinsing process.

DSCN3878

After pouring off most of the water, I poured the seeds onto a napkin to dry. When they are completely dry (a day or so) I can store them!

Seems like it is time to make some of my pretty seed packets-tutorial coming soon!

Also, I guess I’d better check the germination on these little seeds. See how I do this using a coffee filter in my post here.

Have you ever grown anything from grocery store produce?

Why I Mulch

Standard

I’ve discovered that you must either mulch, or you must weed. I mulch because I hate weeding.

Thickly applied mulch shades out the weeds that may need sun to germinate. Others that manage to germinate will grow weak and spindly reaching up through the mulch to the light, making them easy to pull.

If mulch’s only function was to  curtail the growth of weeds, it would be enough to recommend it to me. However, mulch can also shade the roots of plants, supply organic material to enrich sandy soil, and help to create an uniform appearance.

DSCN3918

Some good kinds of mulch are wood chips, pine straw, straw, dried leaves, and compost. I use dried leaves because I can get them for free. I was out in my yard this afternoon in my trusty garden shoes, raking leaves, trying to discourage the weed seeds that may be enjoying the warmer temperatures and light showers.

This is a great time of year in north Florida to find leaves bagged by the side of the road or to rake them from your own yard. Mulch now for less weeding later!


Resources for North Florida Gardeners

Standard

Did you know that Florida has 4 gardening zones? This climate diversity and the variable weather makes planting times incredibly important. If you plant too early, your plants will have trouble germinating. Those that do germinate will struggle along until the warmth comes. Plant too late, and your plants might be unable to handle the heat, humidity, and pests. It is important to know your gardening zone and to plan your garden accordingly. If you are used to gardening in the northern United States, you will find that many of your typical spring crops are planted in the fall here in northwest Florida.

DSCN3103

It can be confusing to read gardening books and to follow them, only to have your crops struggle because of our climate. Vegetables can be grown all year here, but there are many differences to note about gardening in Florida. You cannot follow the planting times and guidelines from many of the excellent gardening books because of how much our climate varies. Here, if you wait until Mother’s Day to plant tomatoes, you have planted seedlings when local gardeners may be waiting for theirs to ripen.

I have spent much time searching the Internet, reading books, and talking to gardeners while trying to learn how to garden here. I have put together a list of resources that have helped me figure out how to garden in zone 8b.

First, you can find your zone on this site. Seed catalogs, books  and  websites will refer to zone numbers often, so it is helpful to know your zone.

Second, I use the University of Florida’s planting calendar. If you stray too far from their planting times, you do so at great risk. Use common sense when determining when to plant, too. For example, according to their calendar, I can start planting beans in March. Because I know that beans need warmth to germinate, and that our winter has been quite cold, I am waiting until the end of March to  plant them. Their website is also an incredible resource, full of information about all kinds of agriculture: lawns, flowers, square foot gardens, and fruit trees.

Also, check with your local Extension Office. They may provide soil testing and other services.

I have found the forums on gardenweb.com to be so helpful. They have a Florida gardening forum that is quite active (remember, we can garden year-round here), a seed-starting forum, and forums for many specific flowers and vegetables.

There are also some sites and blogs that I have enjoyed reading. For us in north Florida, I have found a really good blog, The Front Yard Farmer, who grows vegetables in Niceville, Florida. He has information archived by month, so it is a good practice to check his site to see what he has done in past years. I have learned so much from reading his blog.

There are two blogs based out of central Florida that are also neat to read. Gardening in Central Florida is a blog that chronicles a garden’s progress. He is a month or so ahead of us because of his location, but whatever he is doing in the garden is typically something that we can be preparing to do in our gardens.

Another good resource from central Florida is Central Florida Gardener. She has an interesting post on how to attract butterflies to your garden and other neat posts. Her pictures are beautiful too!

There are some books that I have found very helpful for gardening in Florida. My favorite is  Month-by-Month Gardening in Florida (Tom MacCubbin), which details what to do month-by-month for all types of plants. Some of the topics covered are citrus, perennials, vegetables, bulbs, annuals, and palms. Second, I like Florida Gardener’s Resource ( Tom MacCubbin and Georgia B. Tasker). This book gives planting information about many of the plants that grow well in Florida, as well as brief month-by-month instructions. Vegetable Gardening in Florida (James M. Stephens) is another great book.  I recently discovered Organic Methods for Vegetable Gardening in Florida (Ginny Stibolt and Melissa Contreras). Even if you are not an organic gardener, this book covers many basic gardening principles that anyone can use. Check your local library to see if they have them available or buy a copy to keep for personal reference.

My favorite gardening resource is my gardening friends. The love of gardening crosses generation gaps and social classes. Once you start talking about gardening, you will be surprised at how many people are like you and love to grow plants. Some exert great effort to grow the first tomato of the season, others concentrate on growing vibrant herbs, and many grow flowers for the butterflies. We all can learn from each other.

DSCN3805

I have found gardeners to be among the most generous people I know; they are always ready to share tips, seeds, and even the harvest. Seeds and plants given to me by my garden friends seem to do so well and I have found many new favorites because of their recommendations and gifts. When I see the plant thriving in my backyard garden, it brings special memories of the giver.

I hope also that you will find this site to be a valuable resource as you garden in this wonderful state. It is my goal with coffeetocompost.com to teach you what I have learned and to show you what I am growing at a given time.

If you know of any other great resources, feel free to mention them in the comments.


Are Those Plants in There?!

Standard

My husband, so tolerant of my backyard gardening, came home to an interesting sight one evening.

Image

Can you tell where these flats are?

Here are a few hints: enclosed area, bad lighting, mild warmth.

Yep, the oven!

The tomatoes were in there because of the petunias.

You see, the tomato and flower seeds sowed on the 1st hadn’t germinated yet; and weren’t likely to germinate anytime soon, thanks to the cool temperatures. With many nights reaching freezing temperatures, the flats were coming in and out, depending on the weather forecast.

Image

After one night in my laundry room, I had petunia sprouts!

So I reasoned with myself, “If a little warmth is good, more warmth must be even better!”

So on the 11th of February, I decided to try the oven trick, which is when you put your seeds in the oven with just the light on – NO OTHER HEAT!

This is when my dear husband noticed them. 🙂 He got over his shock quickly, which probably only makes you wonder what other crazy things I’ve done for my plants…

Anyway, back to this story. I was so eager to check them the next morning. Can you believe that the little oven light had produced enough heat that I was seeing germination overnight! I was so excited!

Image

Here are some brand new tomato seedlings.This oven method is wonderful for the seeds that need warmth to germinate, like peppers and eggplants.

Just be sure that you get them under a bright light source THAT DAY. I knew that I should get them under light, but didn’t. As a result,a few seedlings were sacrificed on the altar of experience.

Image

If you do not get the newly germinated plants under strong light, they reach so hard for the oven light or for the light from a distant window that they grow leggy, flop over, and die.

Tragic, yes, I know. But I still had plenty of tomato seedlings and a valuable lesson had been learned. I have 8 varieties of tomatoes that I will be growing this year and they are all growing well and should be ready for transplant soon.

Now hopefully I won’t turn the oven on and bake my ‘California Wonder’ bell pepper seeds that are in there today. My husband has enough stories. 🙂

What’s the craziest thing you’ve done for the love of gardening?

March Garden To-Do List

Standard

Spring should be here very soon! March is an exciting month for gardening in the Florida panhandle. It’s time to get new plants established and weeds under control before the intense heat arrives. Here’s my to-do list for the month.

1. Till Garden Expansion 2014. DONE! See the whole addition here.

Image

2. Mulch the new garden ASAP! If you see a wild-eyed lady with a crazy ponytail picking up bags of leaves, it’s probably me. I’m going to continue to use leaves as mulch in my gardens.

3. Extend fence. I will post a tutorial on how to make your own soon. My fence costs very little, keeps the dog out, lets precious sunlight through, and requires no digging.

4. Assemble raised bed for pole beans and melons. I’m really excited about this addition. I’m planning to trellis the pole beans on a teepee for vertical interest and to add some flowers for color.

5. Plant seeds of green beans, cucumbers, squash, and melons directly in the garden. I will plant these in late March, after it warms up a bit. If you put seeds into the ground too early, germination will be poor and your little plants will struggle. If you could ask my poor little green beans from last year, they would tell you all about that story. 😦

I’ve already started tomatoes, peppers, and eggplants. They should be ready to go into the ground late March too. If you want to start your own, you can see how to start seeds here. Here in zone 8b, seed starting should be done right away (if you haven’t done so already) or you can buy transplants later. For an exhaustive list of when to plant various crops, visit the University of Florida’s planting calendar.

6. Mulch front flower beds with cypress mulch. I like the looks of cypress mulch, so I use that in the front. I want to put a thick layer on before all the weeds start growing.

7. Put ponytails on the cauliflower. DONE! 

Image

Aren’t they cute? This is called “blanching” and it keeps the sun off of the little cauliflowers. Because of the little ponytails, they will be white rather than yellow when it is time to harvest. They’ll be edible either way, but I prefer for them to be a crisp white.  I used rubber bands, but you could also use twine to accomplish the same purpose. Just be sure that it’s not too tight.

I think that’s it for now.  Did I forget anything? What are you planning to get done this month?

Pumpkin Oatmeal Chocolate Chip Cranberry Walnut Cookies

Standard

Image

Sometimes ingredients just beg to be together. These three have been in my pantry, asking to be made into a cookie.

Chocolate chips, dried cranberries, and walnuts-what a great combination! Mr. Quaker Oats wanted to be in on the fun too, so I took the recipe for Vanishing Oatmeal Raisin Cookies from the lid of my Quaker Oats canister and modified it a bit. Well,  maybe I took quite a few liberties with what is already a yummy classic.

They were fabulous! Creamy chocolate, sweet-with-a-bit-of-tang cranberries and toasted walnuts make every bite of these cookies delicious. Oh yes, and pumpkin spice too! There’s  different textures too- soft chocolate, chewy cranberries, and crunchy walnuts, all in one cookie.

You will need:

1/2 cup + 6 Tablespoons of softened butter, 3/4 cup firmly packed brown sugar, 1/2 cup granulated sugar, 2 eggs, 1 teaspoon vanilla, 1/2 cup pumpkin puree, 1 1/2 cups all-purpose flour, 1 teaspoon baking soda, 1/2 teaspoon salt, 1 1/2 teaspoon cinnamon, 1/2 teaspoon pumpkin pie spice, 2 1/2 cups Quaker Oats (quick or old fashioned, uncooked), 1 cup chocolate chips, 1 cup dried cranberries, and 1/2 cup of walnuts.

So much yumminess!!

Preheat oven to 350 degrees F. Beat sugars and butter until creamy. Add the eggs and vanilla, mix well. Add the pumpkin puree. Wisk the flour, baking soda, salt, and spices together, then add to the batter.

By this point, your oven is probably preheated and you have to get the cookie sheets out anyway, so why not toast those walnuts? Put them on the cookie sheet and set the timer at 3 minutes. Mine took 4 minutes to get a light brown color, but definitely check on them after 3 minutes. You want them toasted, not roasted.

Image

See how they are light brown? Take them off the cookie sheet to cool while you mix the chocolate chips and dried cranberries into the dough.

I had 2 bags of white chocolate chips with little random amounts left. They were bugging me. What can you do with a random amount (1/2 cup) of white chocolate chips? Toss them in too, of course!

Image

Wow, these are going to be spectacular. Better get a glass of milk into the freezer now!

Mix in the cooled walnuts and place by rounded tablespoonfuls (or use a cookie dough scoop) on an ungreased cookie sheet.

Image

Hmmm, better smush those down a bit, these cookies are stuffed with mix-ins. Bake from 8-10 minutes. I like my chocolate chip cookies to be pretty soft, but with these I waited until the centers weren’t glossy before I took them out of the oven.

Cool on tray for a minute, then transfer to wire rack. Put your second batch in, set the timer, grab that glass of milk from the freezer, and enjoy some spectacular cookies!

Image

This is supposed to make 4 dozen. This number is highly variable, depending on how big you tend to make your cookie dough scoops. My scoops are pretty big, so I just made 3 dozen.

These are just the thing to make your house smell homey and warm and to chase away the winter blues! Spring is coming!

What do you think-can I eat these for breakfast too?

Basics of Starting Seeds

Standard

When all the seed catalogs start arriving, I feel like a little kid with a toy advertisement- I just sit there and circle away. I realize that there is no way that I would be able to fit everything in my yard, much less take care of it all; but it is so fun to look at all the new varieties and plan the garden. However, I can try many varieties at a good price if I start some of my plants from seed.

For example, I really wanted some Sweet William for my flower bed this year. A landscaper’s flat of 18 would cost me around $10. A packet of seeds usually is less than $2.

DSCN3859

I planted this flat and easily have enough seeds to sow 2 more like this from just one packet of seeds. By the time that it is warm enough to plant them in the ground, they should have their second set of true leaves.

If Sweet William was the only type of flower that I wanted for this year, I probably would’ve just paid the 10 bucks for someone else to grow them for me.

However, I also wanted 27 marigolds (at least!), zinnias, blanket flower, sunflowers, petunias, salvia, milkweed (for the butterflies), black-eyed Susans, dill, basil, cilantro, chives, 8 types of tomatoes, bell peppers, eggplants, and more!

Some of the varieties I wanted I haven’t seen offered as plants; I’d have to start them myself anyway. Why pay someone else to start them for me when I love planting and am suffering from spring fever anyway?

I was able to plant all of these seeds for a small fraction of the cost of buying plants. Starting these seeds also helped me get my “gardening fix” when I couldn’t really do anything else outside.

Many seeds are easy to start, and now is a good time to start vegetable and flower seeds for this year.

DSCN3857

All you need are some pots or flats filled with seed-starting mix, seeds, a spray bottle of water, a stick for making planting holes, and plant labels (see how to make some here). For bottom-watering, you will also need a container large enough for the pots or flats.

Fill the pots with the seed-starting mix.

DSCN3827

I often use my own compost, but I have to know what the seedlings look like because sometimes there are weed seeds or even tomato seeds that have survived the composting process.  If you use regular soil from your garden, you will have the weed possibility and perhaps drainage issues too.

Wet the seed-starting mix completely either by using your spray bottle or by setting the pots in the container filled with a few inches of water.

DSCN3856

The container doesn’t have to be pretty, just able to hold water. 🙂

Then make a little hole for the seed.You can use a bamboo skewer like the one pictured, or you can use a twig, pencil or even just use your finger. Generally,  you should have shallow holes for little seeds, deeper holes for large seeds like sunflowers and beans. I usually put the seed in a hole twice as deep as it is wide. I sprinkle teeny-tiny seeds (like petunia seeds) on top of the soil.

Label your pots with the name of the plant and the date sowed.

DSCN3831

Cover gently and spray the surface until it is completely wet. Be sure to not let the seeds dry out once they have been planted.

I like using a spray bottle for light watering before the seeds sprout. Once the seeds have germinated, it is better to water from the bottom.

To water them from the bottom, place them in a container filled with a few inches of water. The water will be absorbed and will move up to saturate the soil. Be sure that you remove them after a minute so they don’t drown.

DSCN3818

Soon you will have plenty of seedlings and probably will have seeds left over for next year!

I usually transplant my little plants  when their roots begin to show out of the bottom or when they have their second set of true leaves.

March is a great month to start flowers and vegetables and to really get ready for spring. My March To-Do List will be posted soon.

It’s pretty cold out there (for Florida), maybe a Pumpkin Oatmeal Chocolate Chip Cranberry Walnut cookie would help. 🙂

Stay warm and protect your little seedlings!

Note: For an update on the Sweet William seedlings, including pictures, click here.

DIY Plant Labels

Standard

I love to start plants from seeds, like my beautiful zinnias from last year. The butterflies loved them!
1045097_270647036410494_1604609450_n

When I start my own seeds, I usually start a zillion different varieties. I can typically recognize the plants when they get their true leaves(second set), but until then I need a way to see what I planted and when I planted. With some vegetables like tomatoes, the plants will look the same for weeks. If I really want my ‘Super Sweet 100’ cherry tomatoes to be planted near my back porch, how will I tell them apart from my ‘Mortgage Lifter’ tomatoes when it’s time to transplant?

Although there are many pretty labels available for purchase, I don’t typically need to keep the labels forever, I just need to know what seeds are coming up, what may need to be replanted, and when I sowed the seeds.
DSCN3821
I’ve tried popsicle sticks; they’ve gotten moldy and tend to deteriorate quickly. Last year I tried making my own from milk jugs; the permanent marker faded into nothingness.

Earlier this year, when I began to feel spring fever and wanted to start some seeds, I thought about the label dilemma again.

How could I label a zillion plants without paying for a zillion labels that I would only use for a little while?
DSCN3813
Enter the lowly styrofoam cup!

To make some simple labels you only need a styrofoam cup, scissors, and a ballpoint pen. You could even reuse your coffee cup from work this morning, the plants won’t mind. 🙂
DSCN3814
Cut the cup from the rim to close to the bottom.
DSCN3815
Cut around the bottom to separate the labels.
DSCN3816

DSCN3817
Ta-da! Now you have lots of labels with very little time or money invested. Now you can write the name of the plant (there’s plenty of room for long names) and the date sowed.
DSCN3818
So if you too are suffering from a touch of spring fever, you can get those seeds out and start making labels. Here in zone 8b, you should start vegetables like tomatoes, peppers, and eggplants ASAP. It’s also a good time to start some flowers if you haven’t already done so. I love having marigolds in with my vegetables.

I will be posting about how to start seeds soon. If you want to get your supplies ready here’s what you will need: pots or plastic plant cells(pictured above), seed starting mix, seeds, and of course labels!

How do you label your little seedlings?

What Have I Done?!

Standard

Last year, I remember thinking “What have I done?!” as I watched my husband till the ground for this corner garden.

Image

Pretty big, right? Approximately 21’x23′ as of yesterday. This garden (which is finishing up its fall and winter crops) and the “shed bed” kept us in fresh vegetables for much of the summer.

This spring, I have even more ambitious goals. I want to produce most of our vegetables this year in our backyard. With that in mind, I planned this garden expansion. I hope to can homemade spaghetti sauce and salsa, and to freeze some of those fresh green beans for later.

Image

So, we rented a tiller again.

I wanted it to be an even 50 feet long so…

Image

Yikes! Look at all that! That garden MORE THAN DOUBLED today!!

I had the same thought today as I did last year, “What have I done?!”

My dog, Leif, is probably wondering about my sanity.

Don’t worry- I have a plan. I have seedlings of tomatoes(8 varieties), eggplants, and marigolds. I have plenty of seeds for green beans (I’m going to be planting at least 5 varieties), pickling cucumbers, cantaloupe, ‘Sugar Baby’ watermelon, and squash(zucchini, acorn,white pattypan, and yellow squash). I will have plenty of ‘California Wonder’ bell peppers too, if all goes well.

I want to try a new fruit too, the ground cherry. It supposedly grows like a tomato, grows its fruit in a husk like a tomatillo, and tastes like a pineapple. Sounds interesting!

DSCN3775

So what do you think? Am I missing anything? My marbles, perhaps?