Tag Archives: Florida gardening

Sharing Oregano With My Brother

Standard

My kid brother is living proof that garden hose water contains nutrients vital to bone and muscle development.

The two of us had quite a few fights while growing up together. I remember my mom saying, “Why can’t you kids just get along?!”

Either he’s gotten mature or I’ve gotten mellow, but now he grows cilantro for his sweet wife and I share my oregano with him. Maybe we’ve both gotten mature and mellow.

He asked me recently for some basil and oregano seeds. If you’ve grown basil, you know that it will grow pretty quickly from seed. I had oregano seeds to share too, but in a burst of big-sisterly kindness, I decided to just divide my established oregano plant with him.

See how bushy it is? The roots go all over the place, so dividing this type of plant is easy.

DSCN4178

I just removed it from its pot and sliced through the roots with my large scary knife.

DSCN4180

Then I  put his in a pot, put mine back, and filled in any gaps in the pots with my handy-dandy compost that I made using the process outlined in this post.

It feels so good to share, doesn’t it?

See Mom? I’m being nice to my little brother!

Now, if he starts whining about how my plant is bigger than his plant, I may just have to dust off those big sister torture tactics.


Florida Raised Bed Gardening (Part 2)

Standard

If you are going to plant spring vegetables in Florida, the time to do so is now. Did you read about starting a raised bed in my earlier post? If not, go ahead and read Part 1 and then come back. 🙂

Look at this beautiful compost that they had for their raised bed! They employed the easy method of making compost. Over about 10 years, they kept adding kitchen scraps and yard waste to a pile and let the worms do the work. 🙂

Image

After the raised bed is assembled and filled with compost, it is time to plan and plant.

Image

I just took a trowel and sketched out the spacing before we planted to be sure that everything would fit and that the spacing would work.

This couple wanted vegetables, herbs, and flowers. We planned out the placement of the vegetables, putting the tall tomatoes in the back (north) of the bed. Peppers and basil went in front of the tomatoes. Yellow squash and bush beans were in front.

Some take string and carefully measure out their square feet and plant according to this guide, but we treated the square as a whole unit, not as individual squares.


Image

In the picture above, the couple is planting their bush bean seeds in rows. They have such great compost to plant in and I am sure their plants will just love their home.

Cilantro, basil, and yellow squash were also planted from seeds. They planted tomatoes and pepper plants as young transplants rather than seeds.

With all the warm weather and spring showers that we have been getting, the seeds should be coming up soon.

Image

A few marigold plants were placed in the raised bed. These will attract pollinators and look pretty.

It is really amazing how much can be crammed into a small but carefully maintained space. In a month, this Florida raised bed will be full of young plants. Little fertilizer will be needed because of the great compost. What a great use of space!

If you want to learn more about making your own compost, you should read my post about how to make compost.

Hopefully soon I will posting about little sproutlings in this garden!

How is your garden doing? Have you planted yet or are you expecting snow in your area?

Florida Raised Bed Gardening (Part 1)

Standard

Thinking about starting a garden this year? Gardening in Florida is such a worthwhile endeavor. You can get fresh air, gentle exercise, and fresh vegetables!

I have been helping a retired couple set up a raised bed in their backyard. A raised bed is a great way to start gardening.

Many like the raised bed system of gardening because they have more control over the soil. In Florida, that is important because our natural ground is so sandy.

Also, many who have raised beds use the square foot method of gardening, as developed by Mel Bartholomew (see his blog here).

The first step is to select a site. You need between 4-6 hours of sun, really 6 hours or more is best. If some afternoon shade is available, your plants will appreciate the break from our blistering Florida sun.

They selected a site in their backyard that seemed to get the most sun.

DSCN3979

The next step is to assemble the raised bed. Be sure to use quality wood, but be careful of using wood that has been treated with chemicals-remember, your food will be growing in this box!

DSCN3980

This one was made by cutting a 4×4 into 4 equal lengths for the corners, then screwing 4x1x6 boards to the corner posts.

This  raised bed framework was built years ago and was used as a compost bin until they decided to use it for a garden.

DSCN3981

Next, lay a layer of  cardboard or thick newspaper to smother the grass. Poke a few holes for drainage, then add a thick layer of leaves. The leaves will also help to smother weeds and will provide more organic material as they decompose.

DSCN4105

Finally, add a thick layer of compost, at least 6 inches. This couple had been making compost using kitchen and yard scraps and had plenty of this rich material to use. For my tutorial on how to make compost, read this post.

DSCN4107

Florida Raised Bed Garden

Water the garden thoroughly to settle the soil and to be sure that it is level. Water will settle in any low spots.

The next post about raised bed gardening will cover how to plan and plant your Florida raised bed garden. This couple really wants tomatoes and herbs; see what they plant in Florida Raised Bed Gardening Part 2.


‘Fess Up- Are You a Digger Too?

Standard

I was planting ‘Bush Blue Lake’ green beans this morning and just had to see if the beans that I planted last Saturday had started to grow yet. No signs of green stems yet above the ground so…

Image

I dug one up!! Look at that! It’s starting to grow! See the little root?? It’s alive!

Spring is sooo exciting!

So, tell me-am I the only one who digs up seeds? ‘Fess up!

Basics of Starting Seeds

Standard

When all the seed catalogs start arriving, I feel like a little kid with a toy advertisement- I just sit there and circle away. I realize that there is no way that I would be able to fit everything in my yard, much less take care of it all; but it is so fun to look at all the new varieties and plan the garden. However, I can try many varieties at a good price if I start some of my plants from seed.

For example, I really wanted some Sweet William for my flower bed this year. A landscaper’s flat of 18 would cost me around $10. A packet of seeds usually is less than $2.

DSCN3859

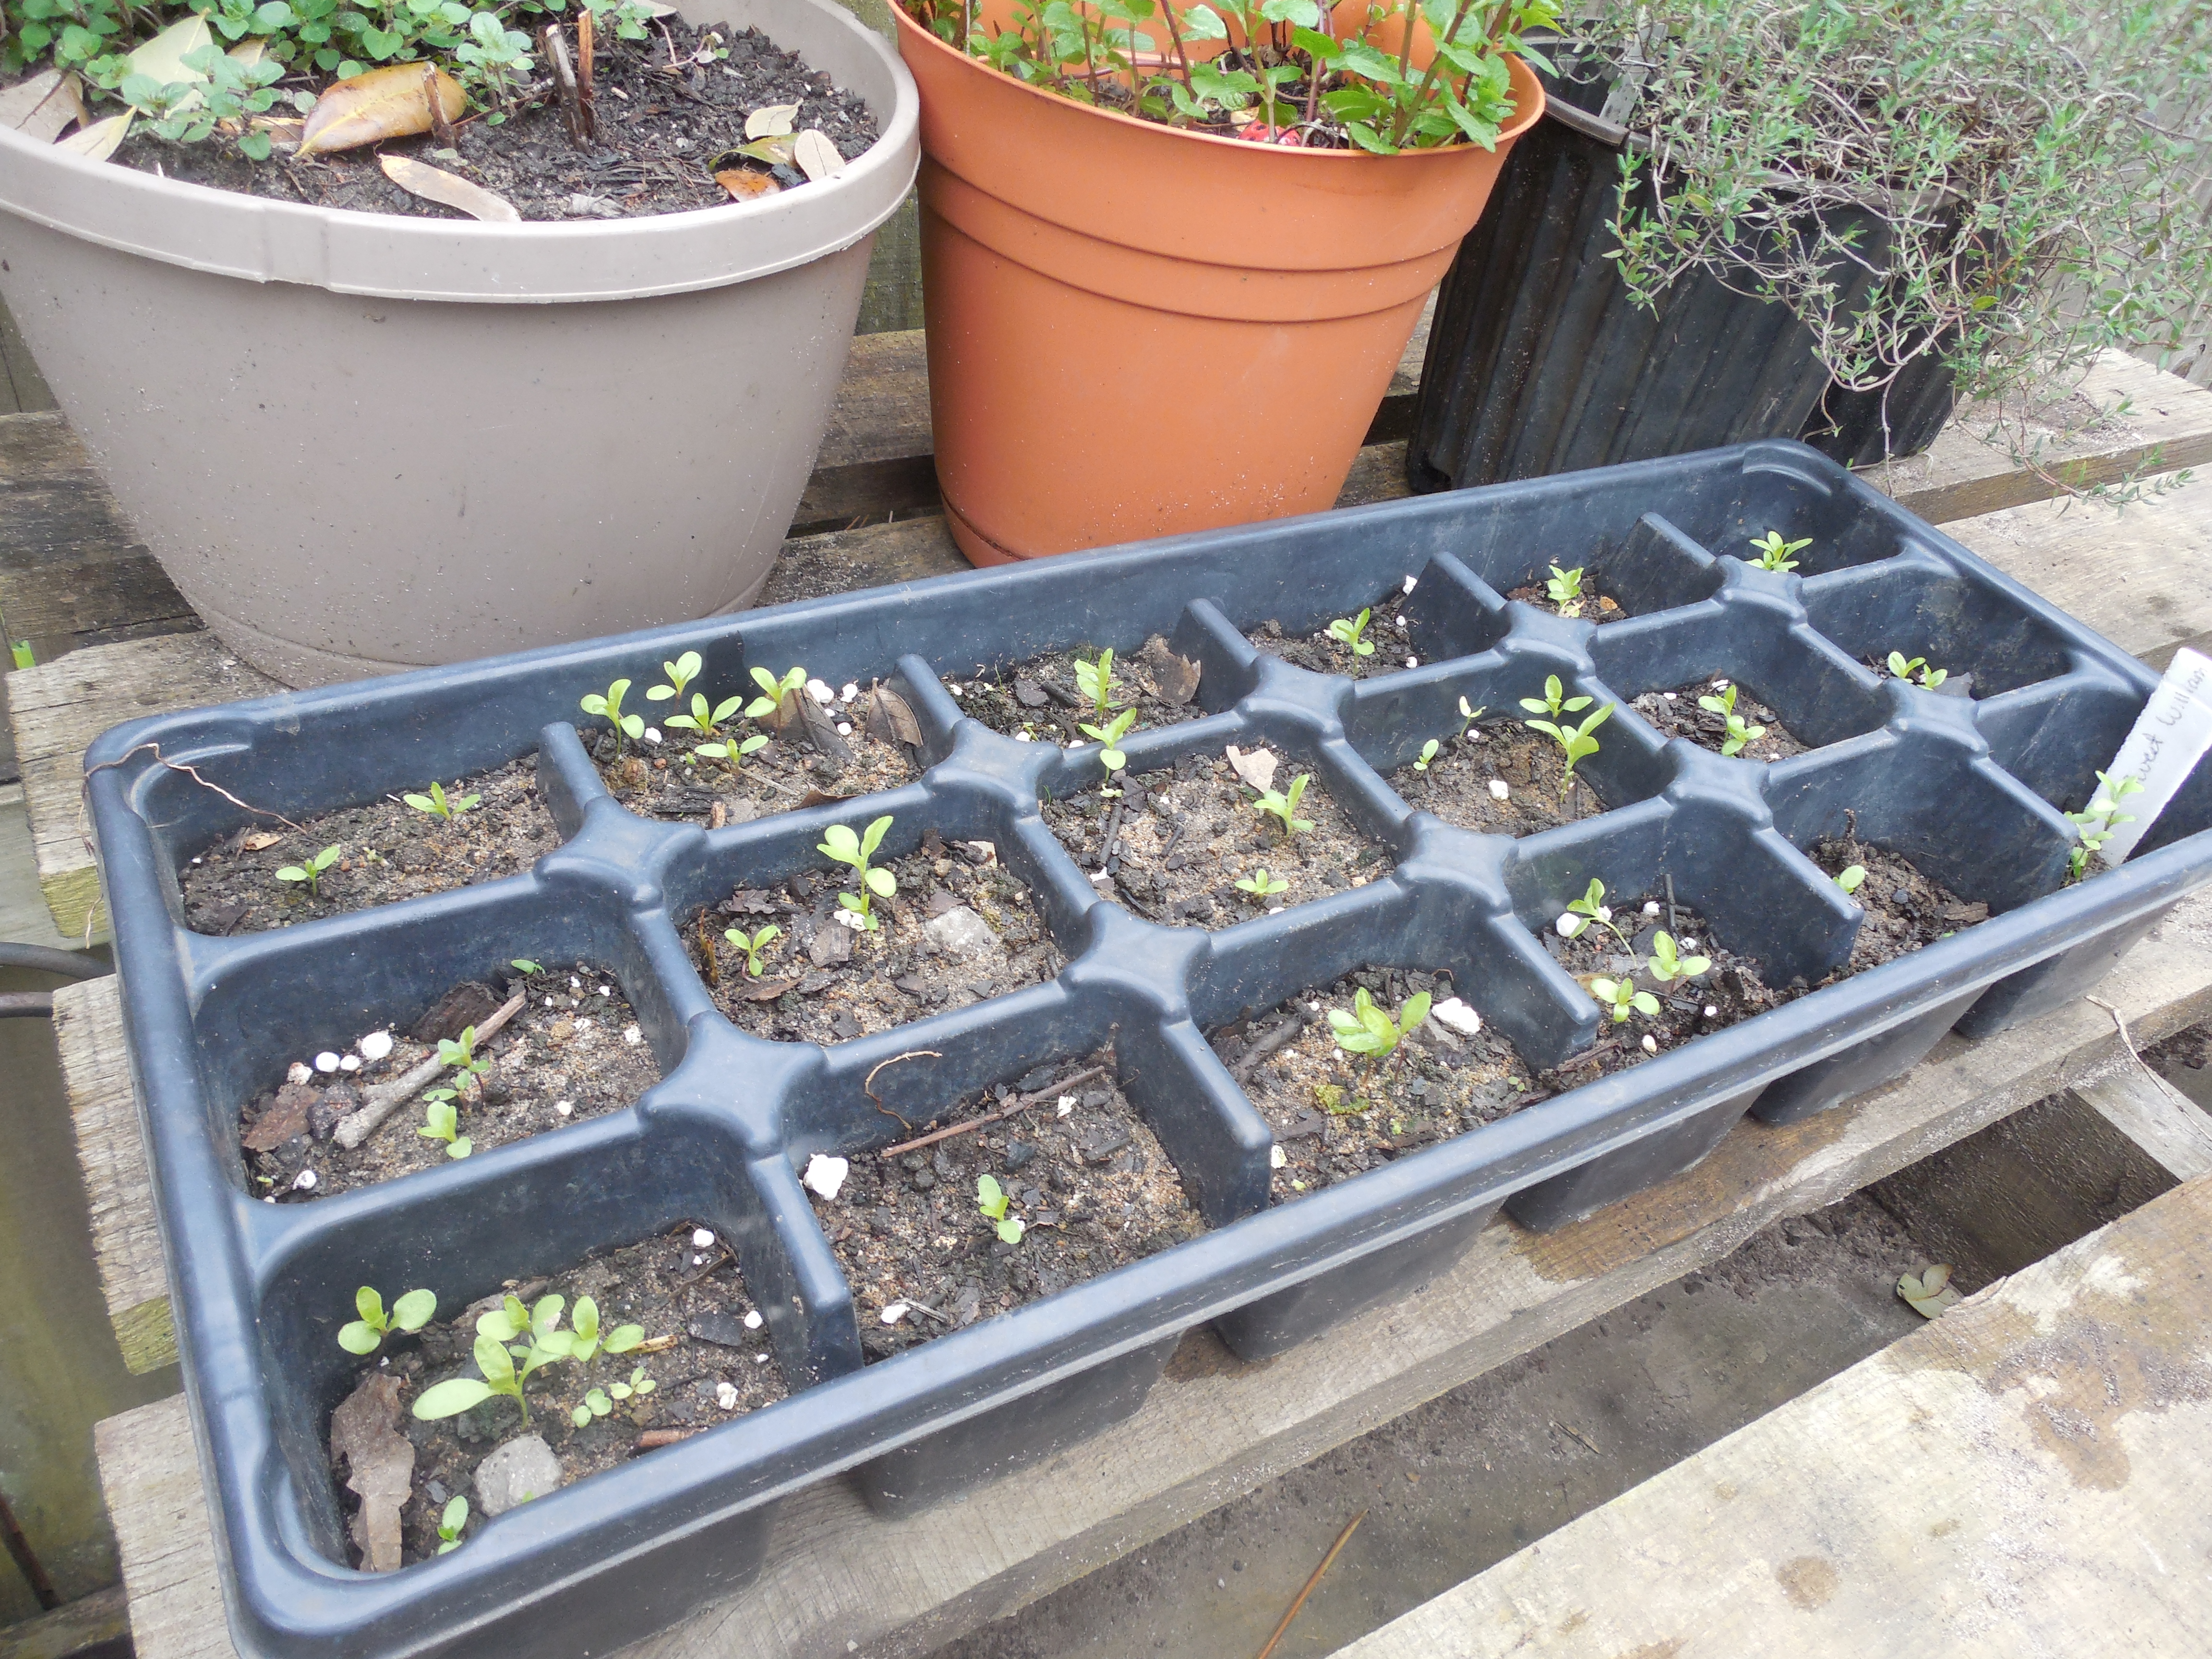
I planted this flat and easily have enough seeds to sow 2 more like this from just one packet of seeds. By the time that it is warm enough to plant them in the ground, they should have their second set of true leaves.

If Sweet William was the only type of flower that I wanted for this year, I probably would’ve just paid the 10 bucks for someone else to grow them for me.

However, I also wanted 27 marigolds (at least!), zinnias, blanket flower, sunflowers, petunias, salvia, milkweed (for the butterflies), black-eyed Susans, dill, basil, cilantro, chives, 8 types of tomatoes, bell peppers, eggplants, and more!

Some of the varieties I wanted I haven’t seen offered as plants; I’d have to start them myself anyway. Why pay someone else to start them for me when I love planting and am suffering from spring fever anyway?

I was able to plant all of these seeds for a small fraction of the cost of buying plants. Starting these seeds also helped me get my “gardening fix” when I couldn’t really do anything else outside.

Many seeds are easy to start, and now is a good time to start vegetable and flower seeds for this year.

DSCN3857

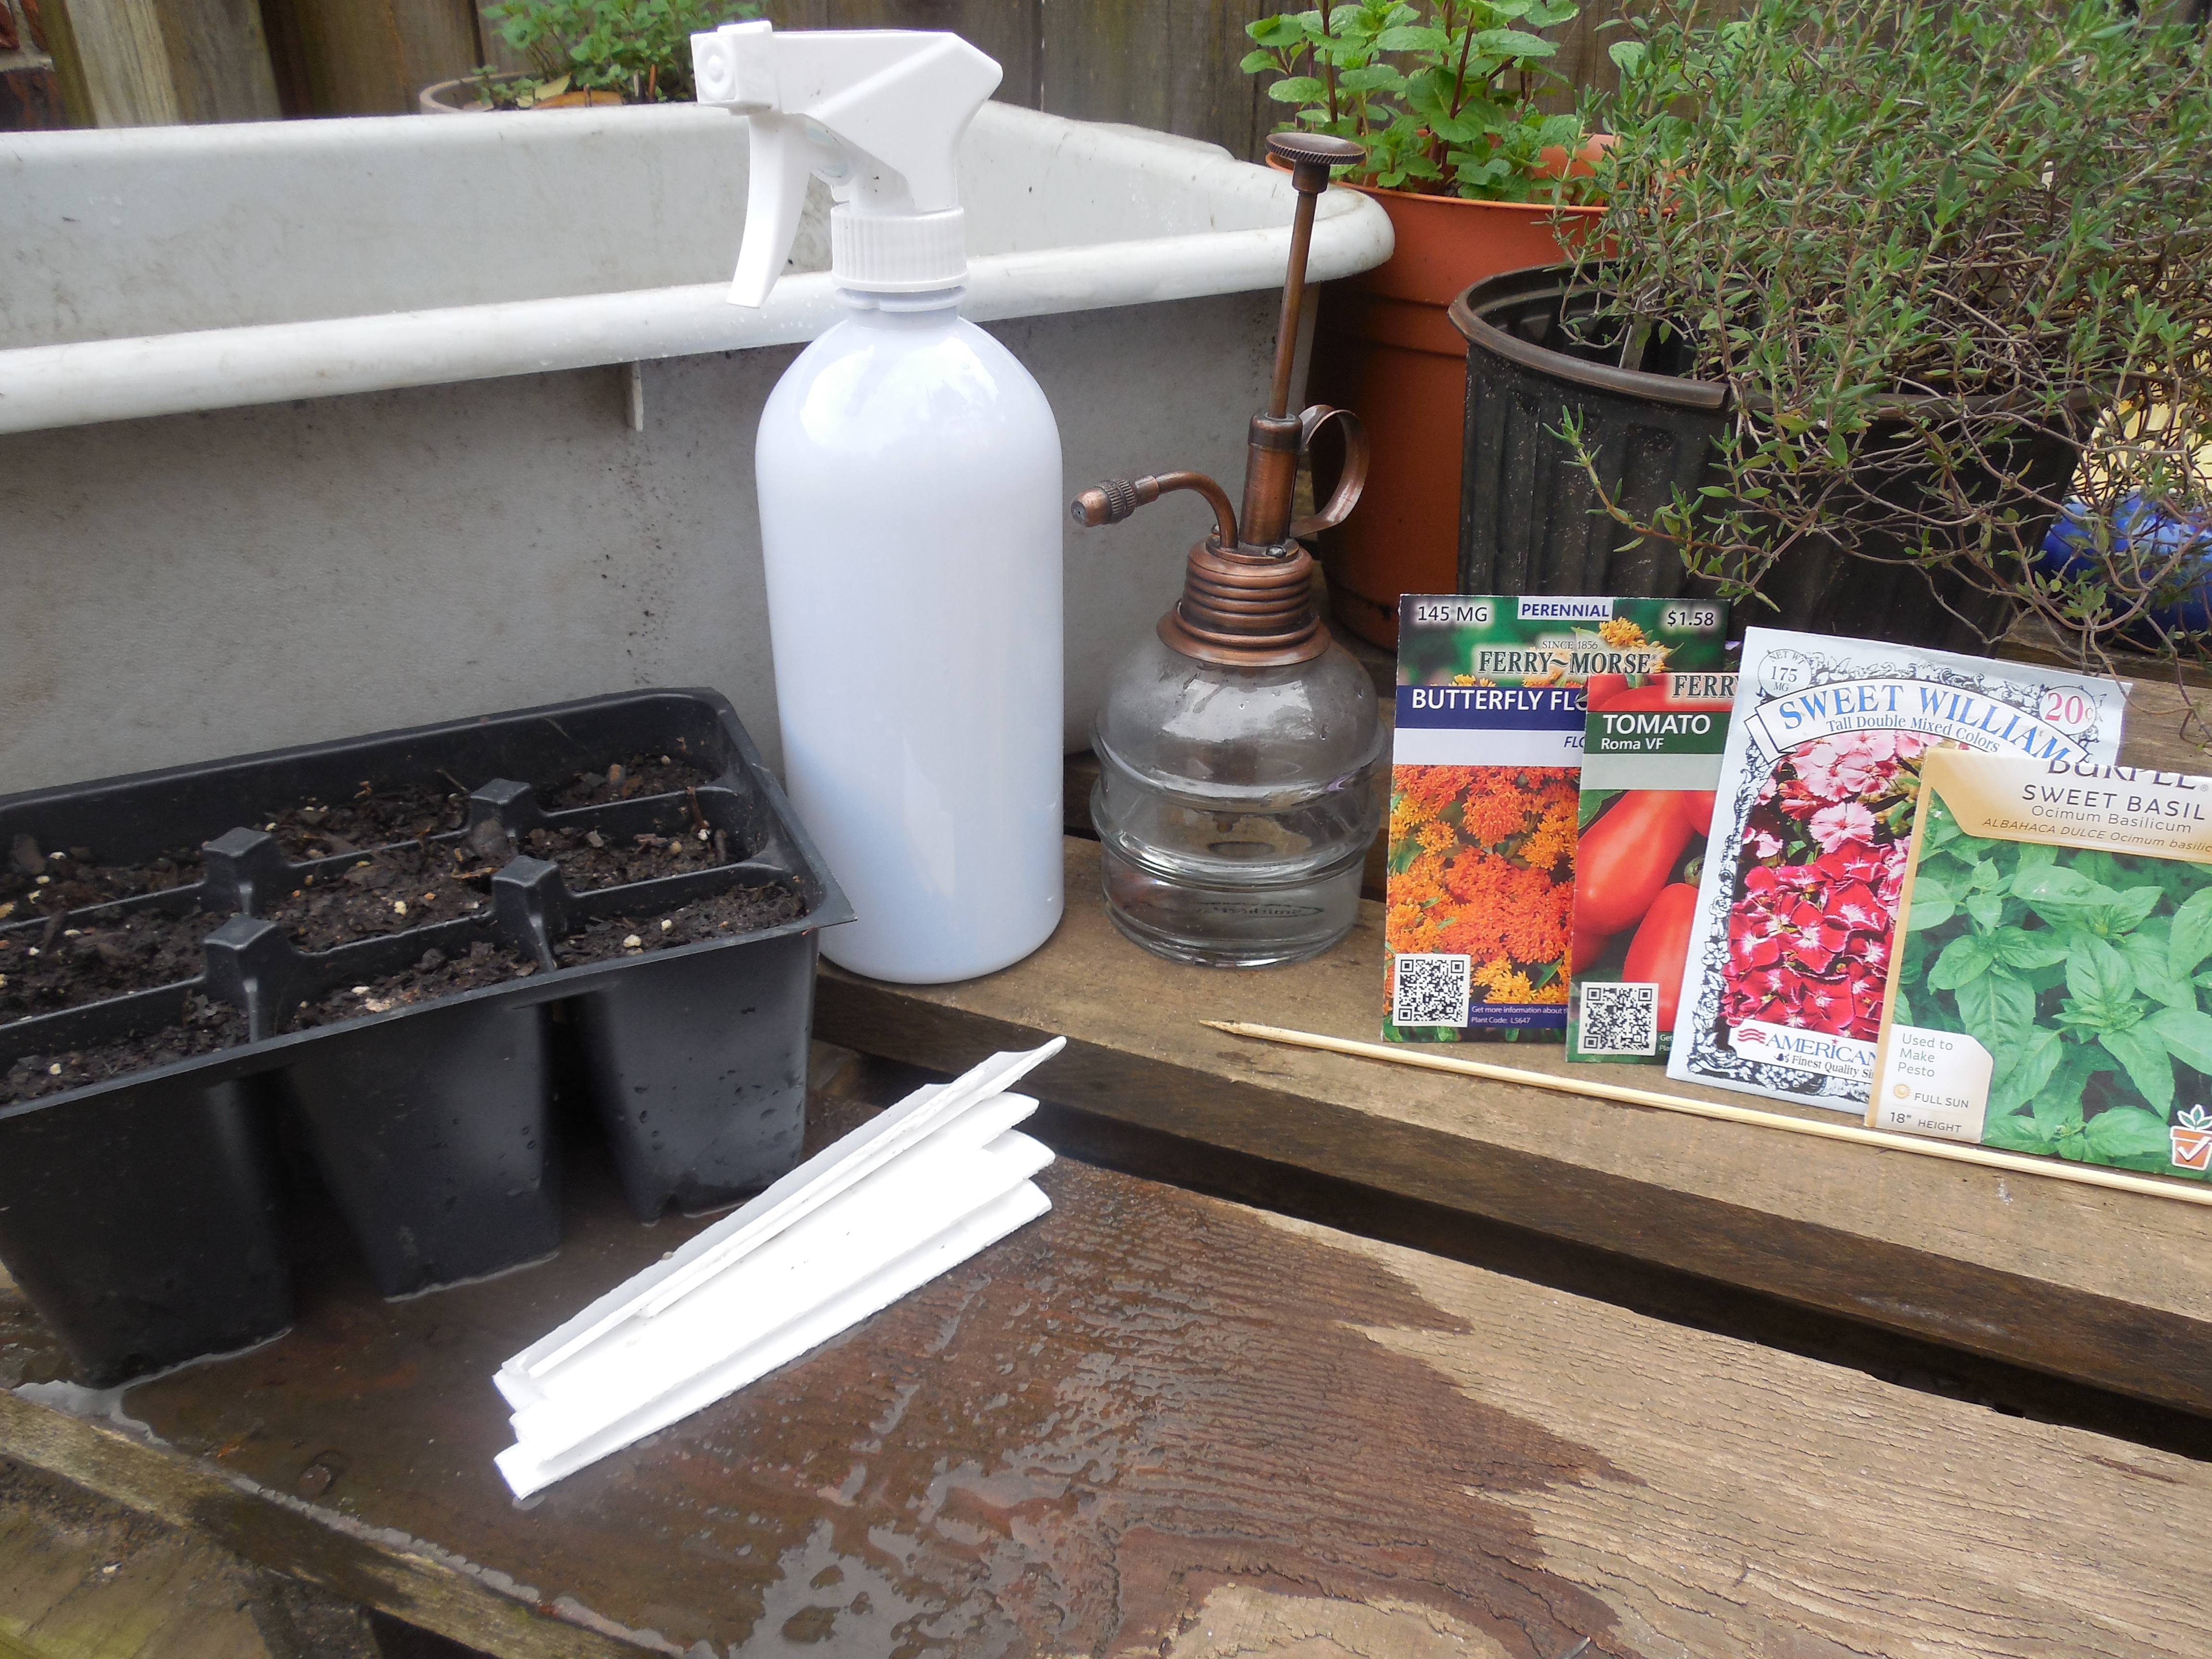
All you need are some pots or flats filled with seed-starting mix, seeds, a spray bottle of water, a stick for making planting holes, and plant labels (see how to make some here). For bottom-watering, you will also need a container large enough for the pots or flats.

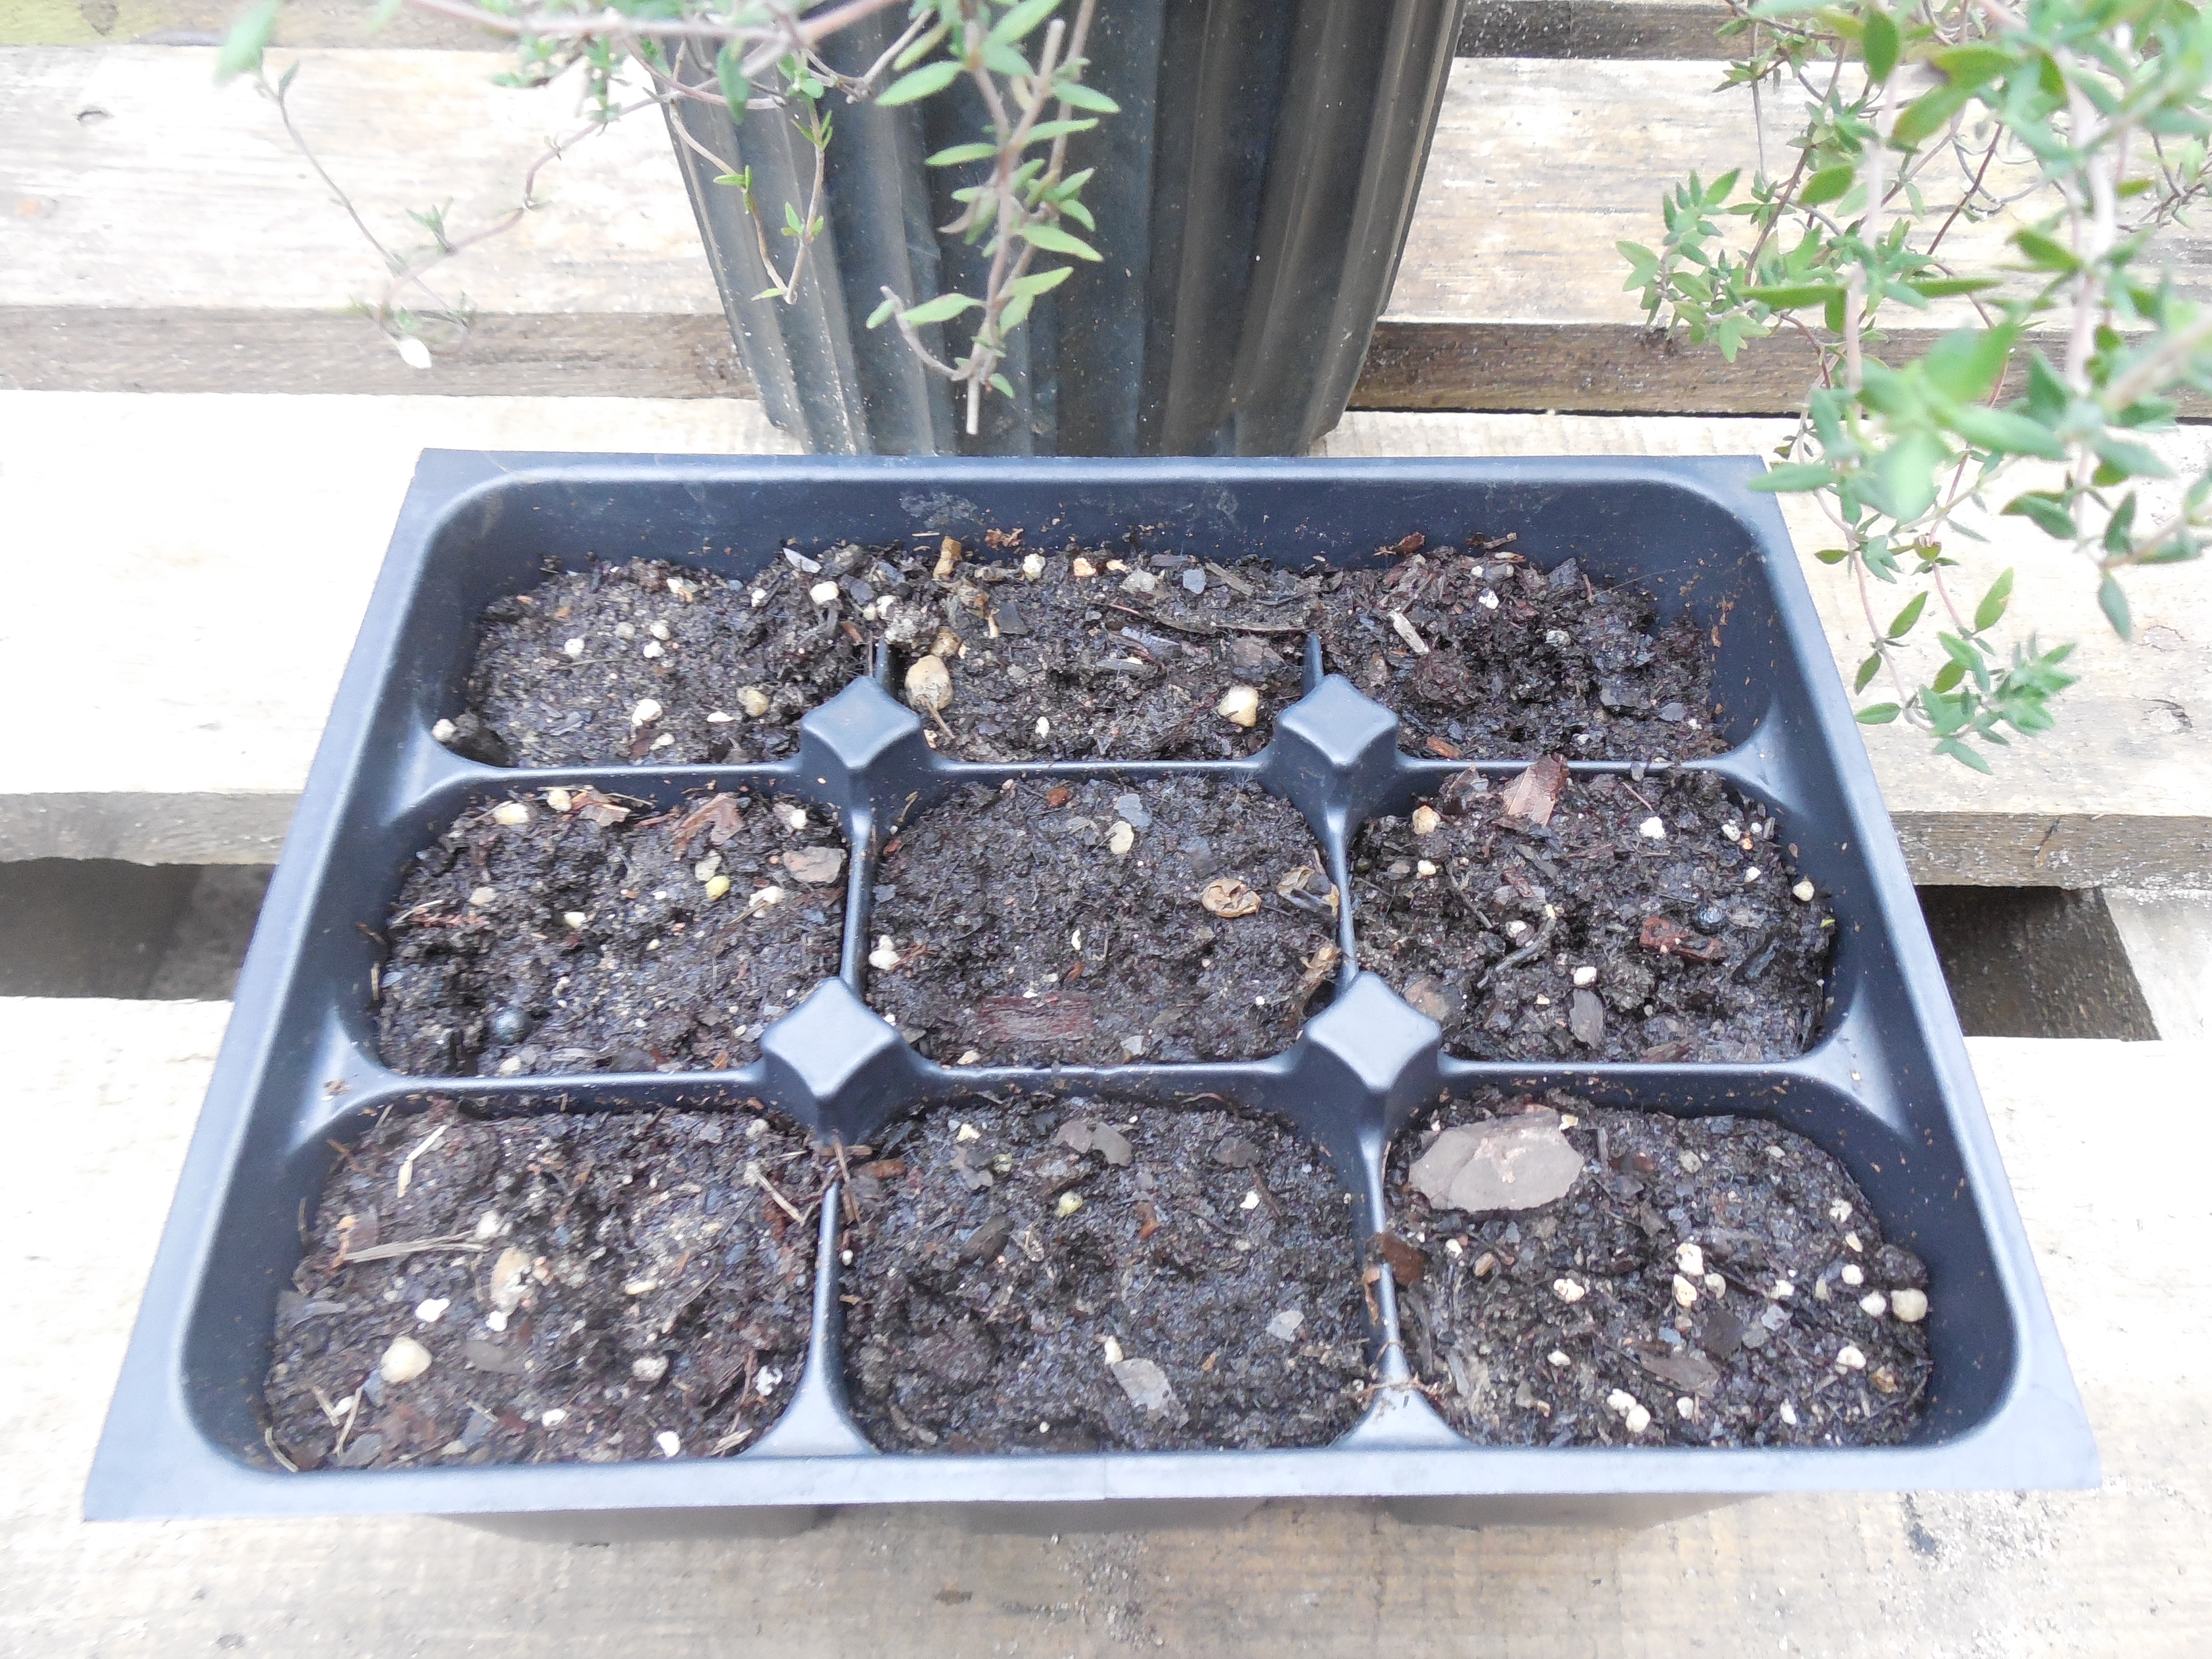
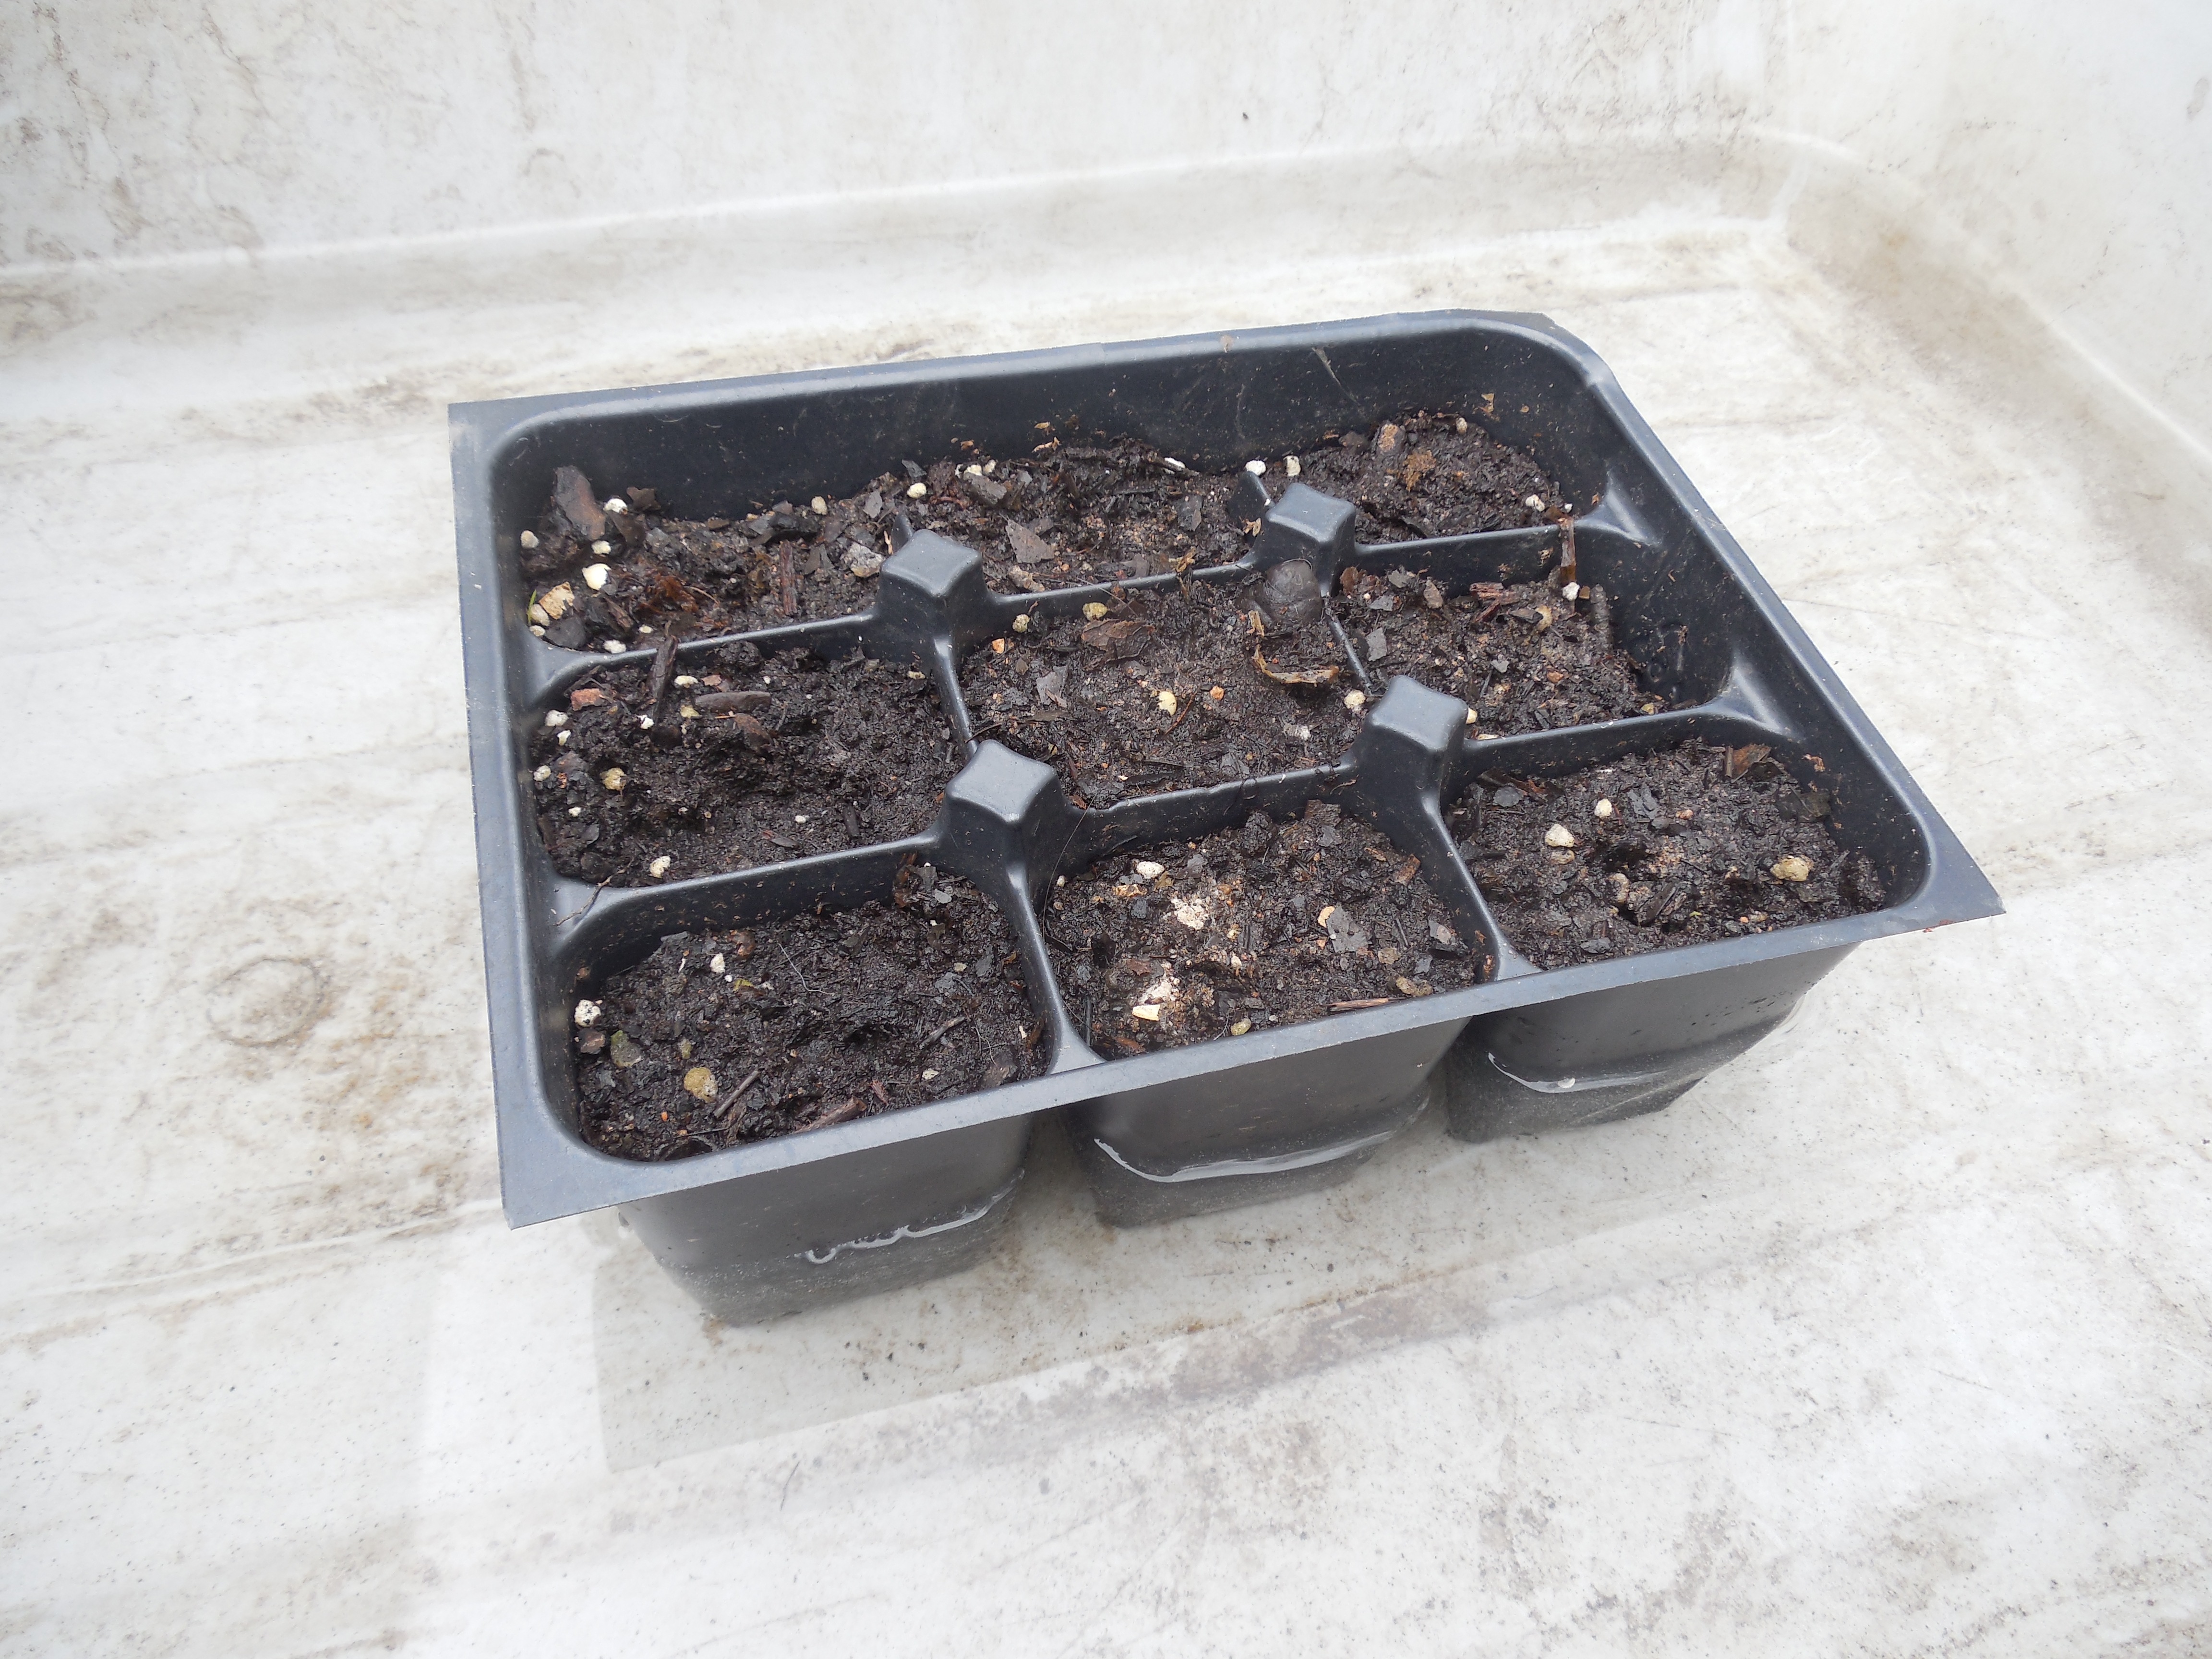
Fill the pots with the seed-starting mix.

DSCN3827

I often use my own compost, but I have to know what the seedlings look like because sometimes there are weed seeds or even tomato seeds that have survived the composting process.  If you use regular soil from your garden, you will have the weed possibility and perhaps drainage issues too.

Wet the seed-starting mix completely either by using your spray bottle or by setting the pots in the container filled with a few inches of water.

DSCN3856

The container doesn’t have to be pretty, just able to hold water. 🙂

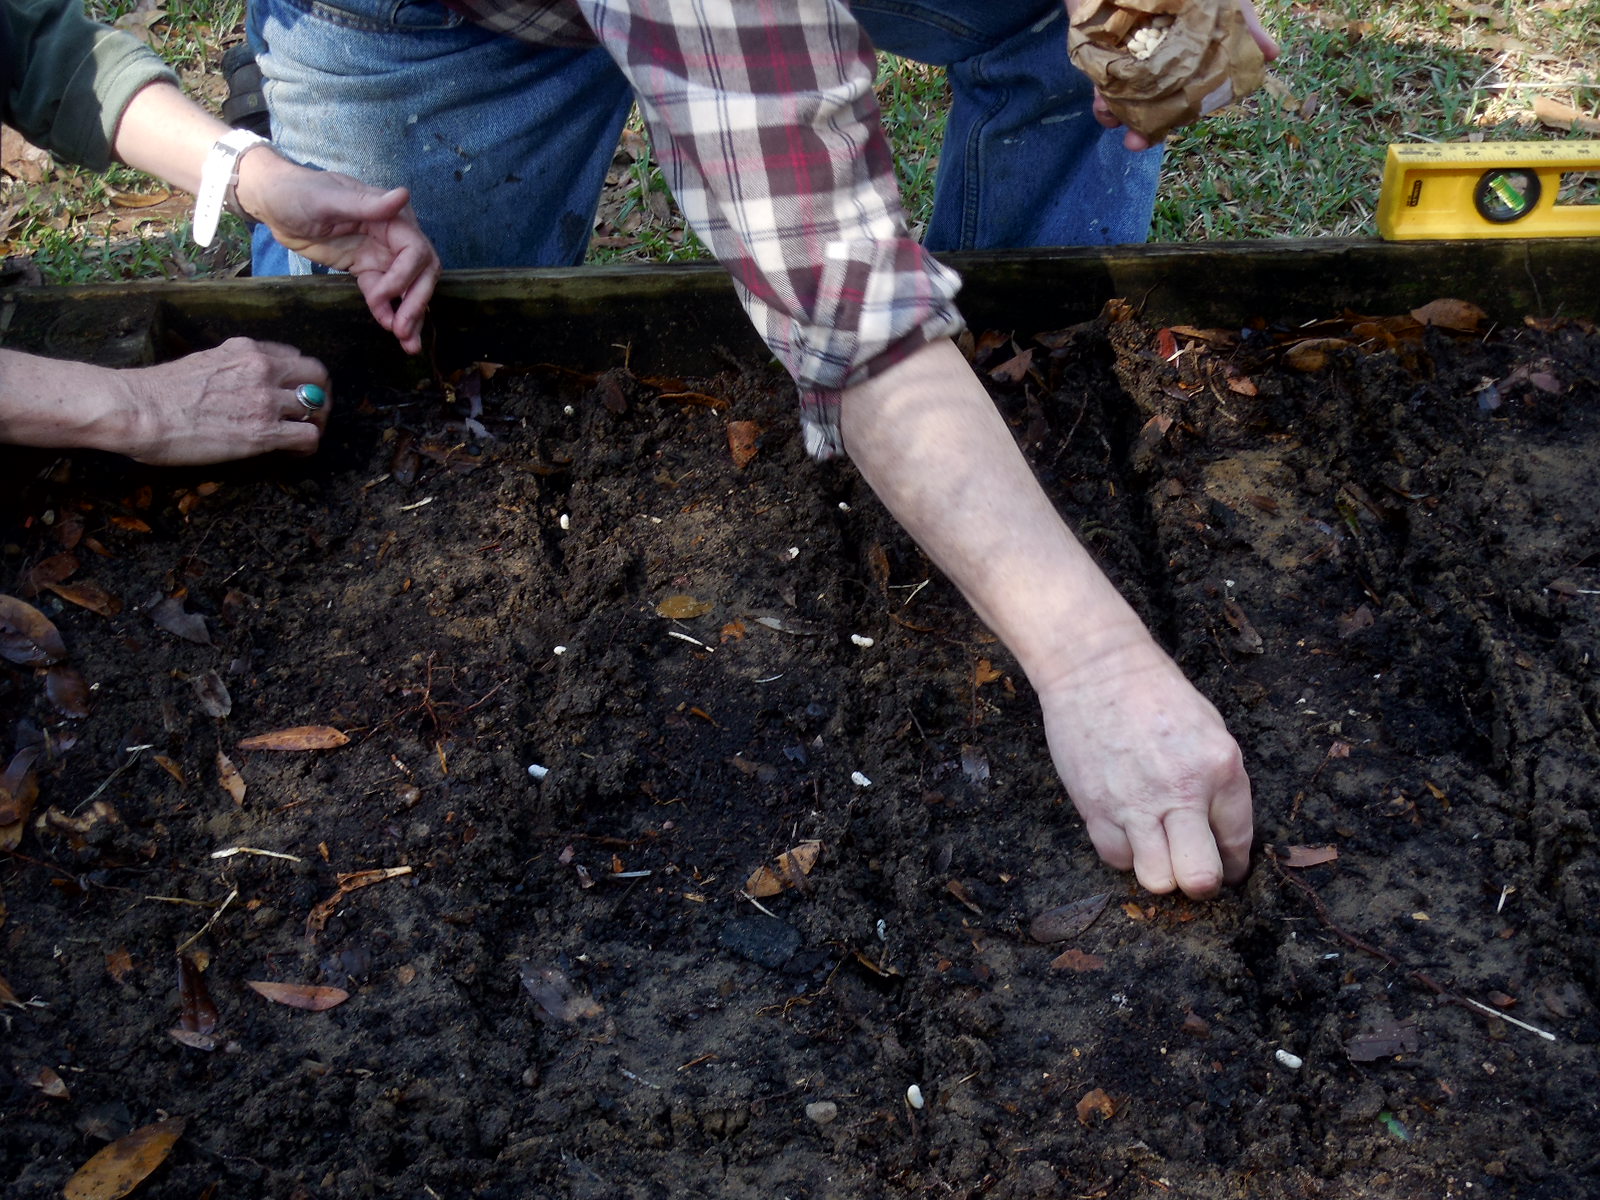
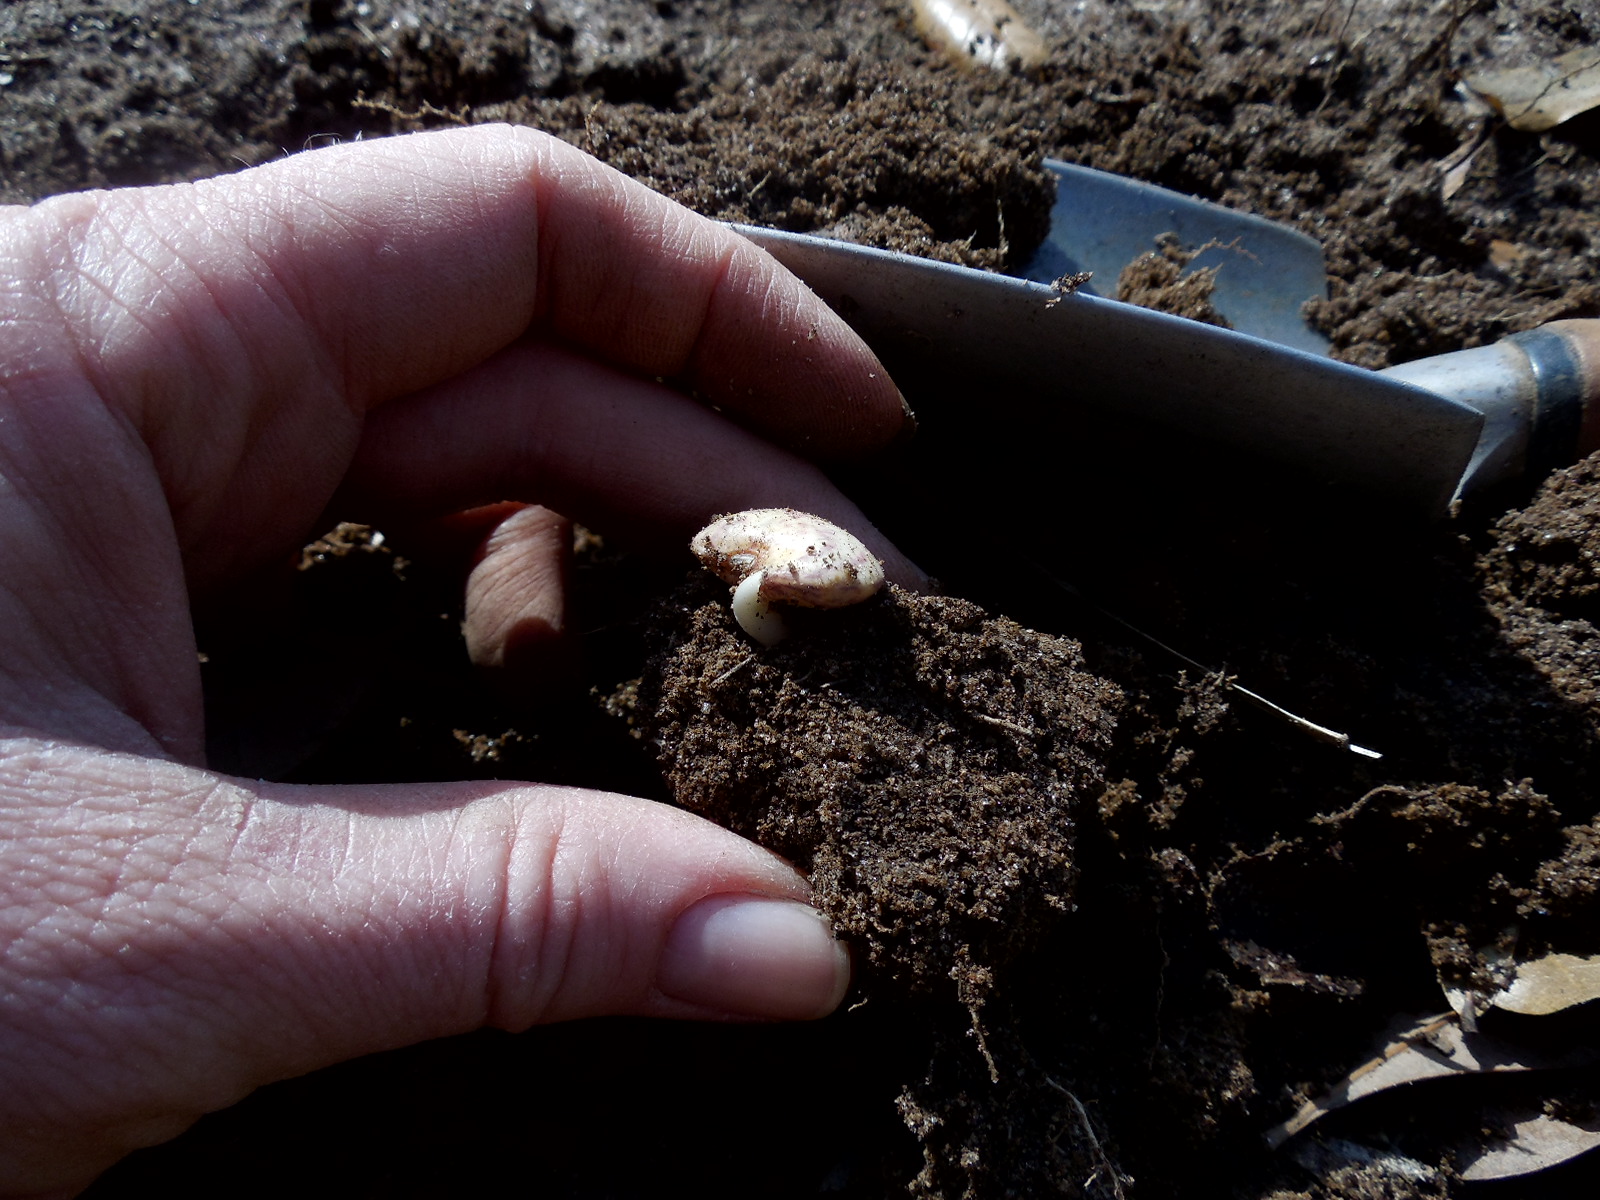
Then make a little hole for the seed.You can use a bamboo skewer like the one pictured, or you can use a twig, pencil or even just use your finger. Generally,  you should have shallow holes for little seeds, deeper holes for large seeds like sunflowers and beans. I usually put the seed in a hole twice as deep as it is wide. I sprinkle teeny-tiny seeds (like petunia seeds) on top of the soil.

Label your pots with the name of the plant and the date sowed.

DSCN3831

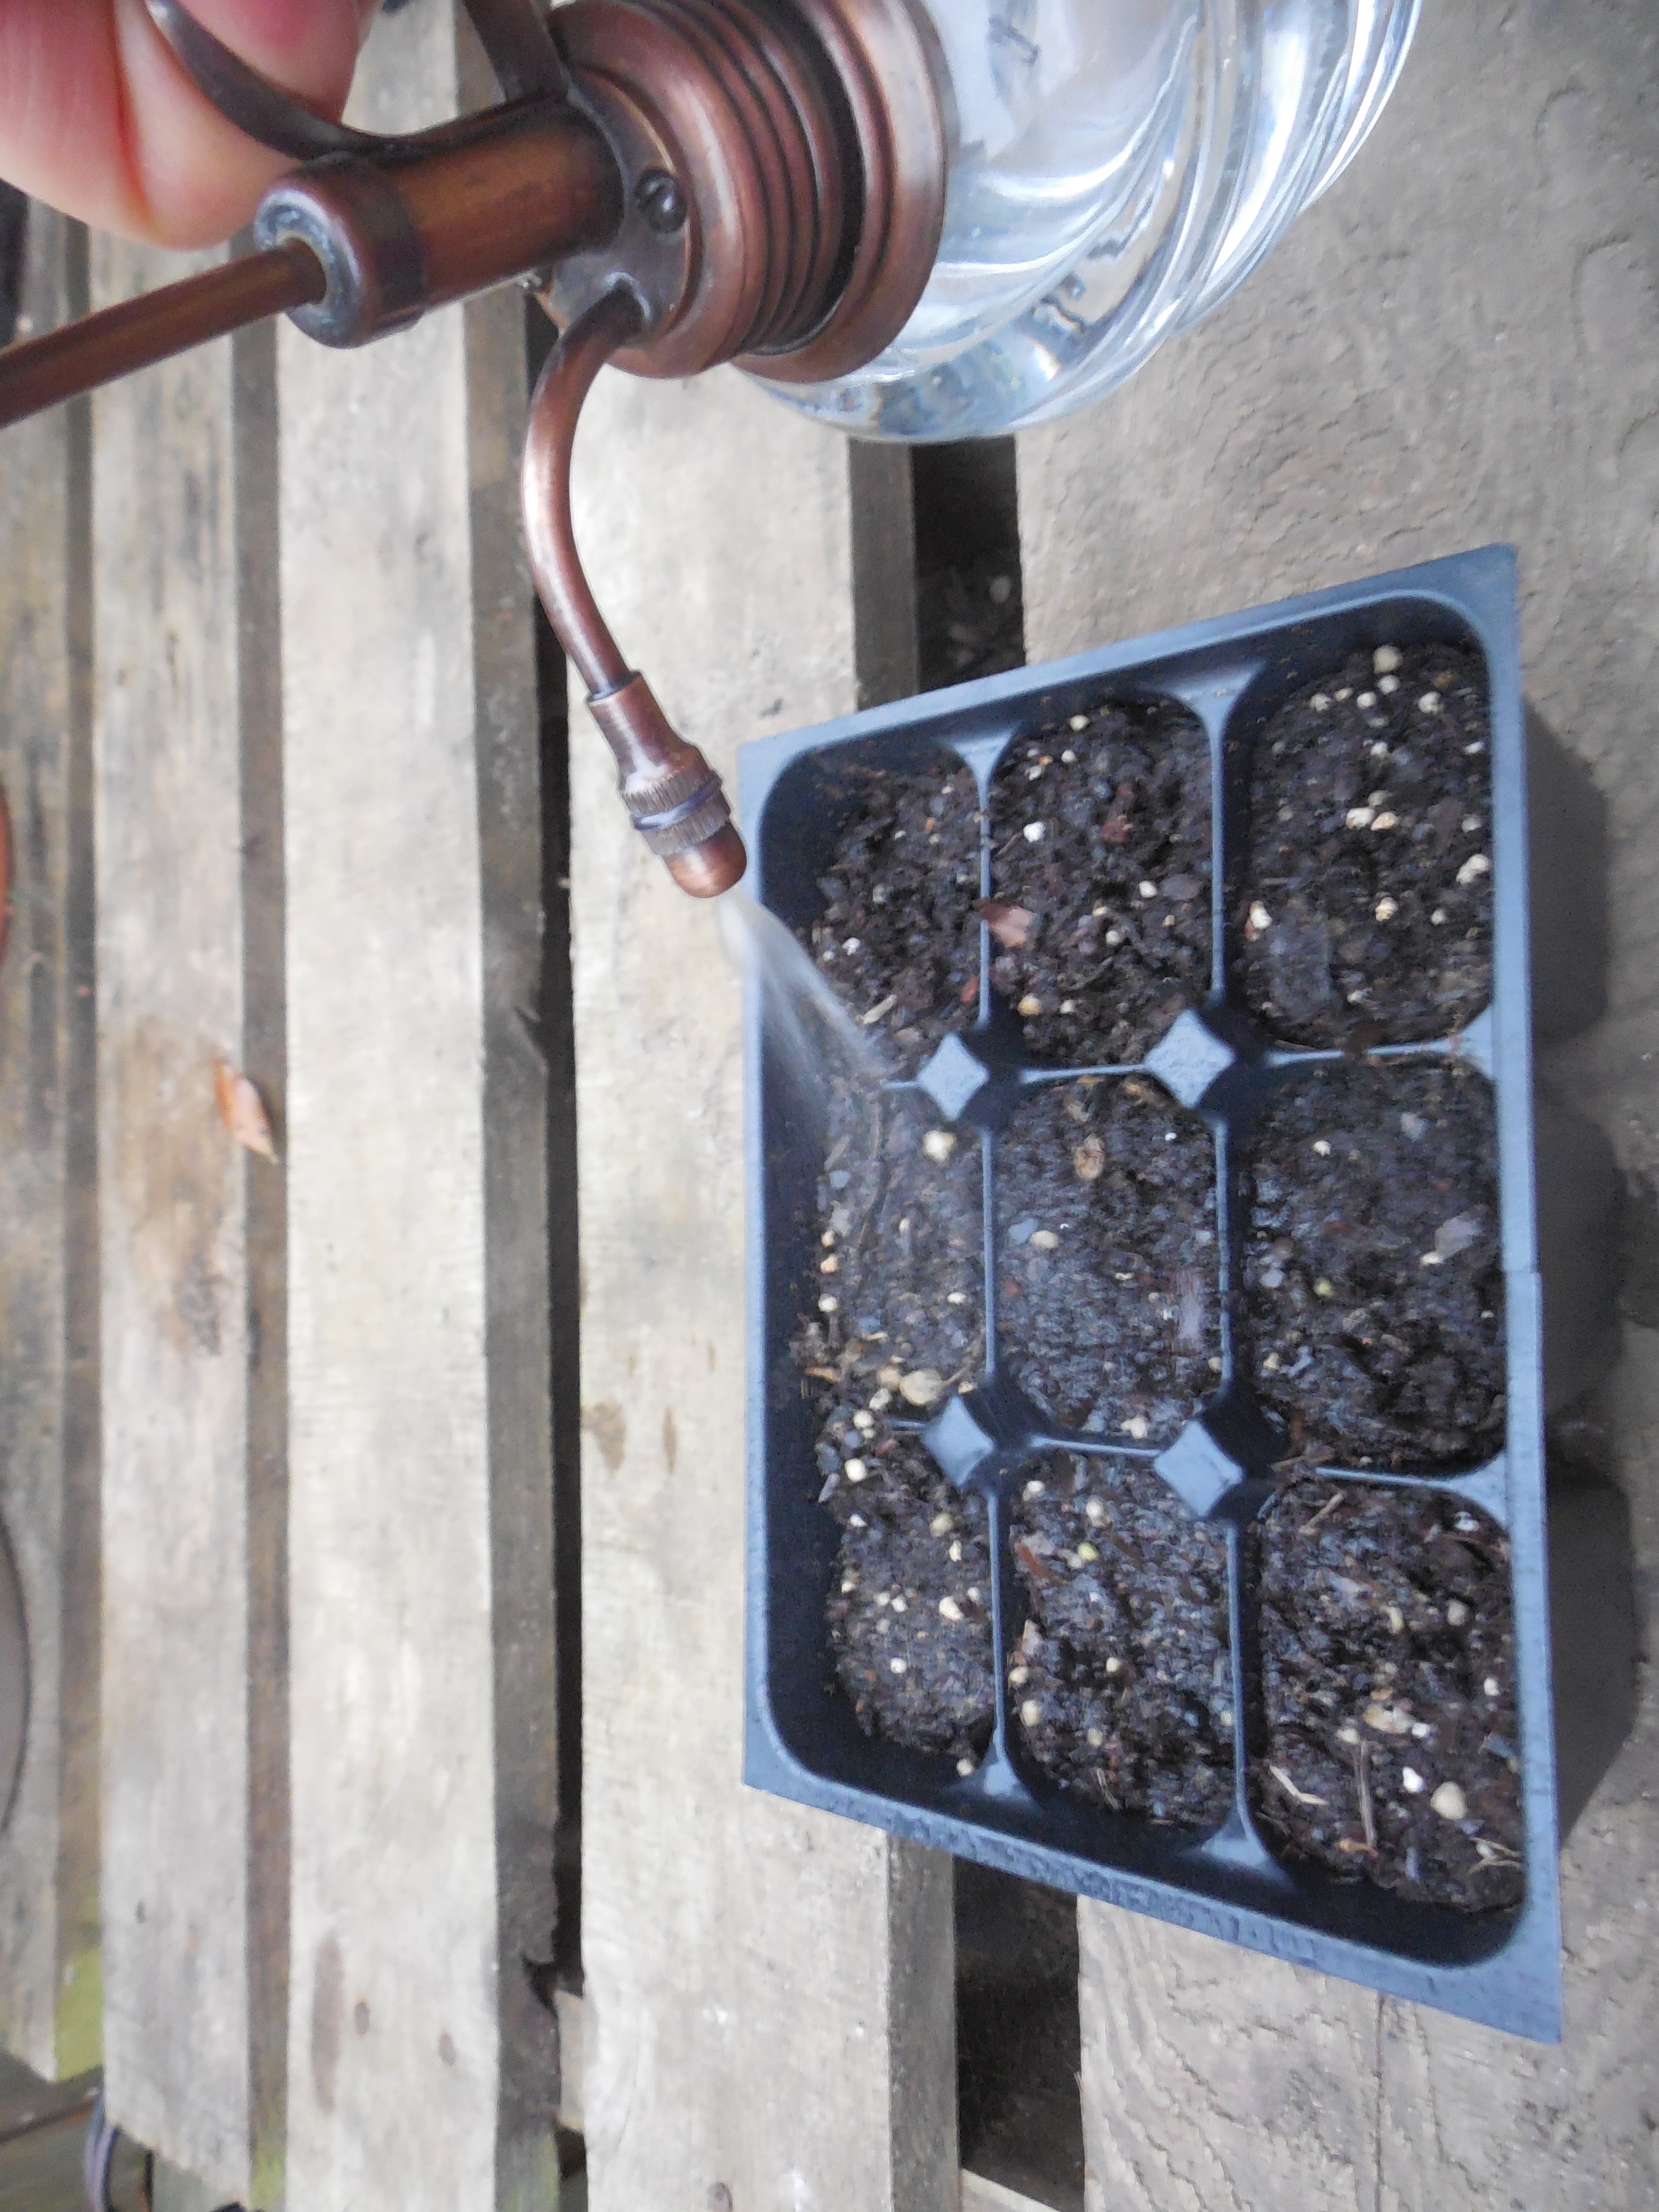
Cover gently and spray the surface until it is completely wet. Be sure to not let the seeds dry out once they have been planted.

I like using a spray bottle for light watering before the seeds sprout. Once the seeds have germinated, it is better to water from the bottom.

To water them from the bottom, place them in a container filled with a few inches of water. The water will be absorbed and will move up to saturate the soil. Be sure that you remove them after a minute so they don’t drown.

DSCN3818

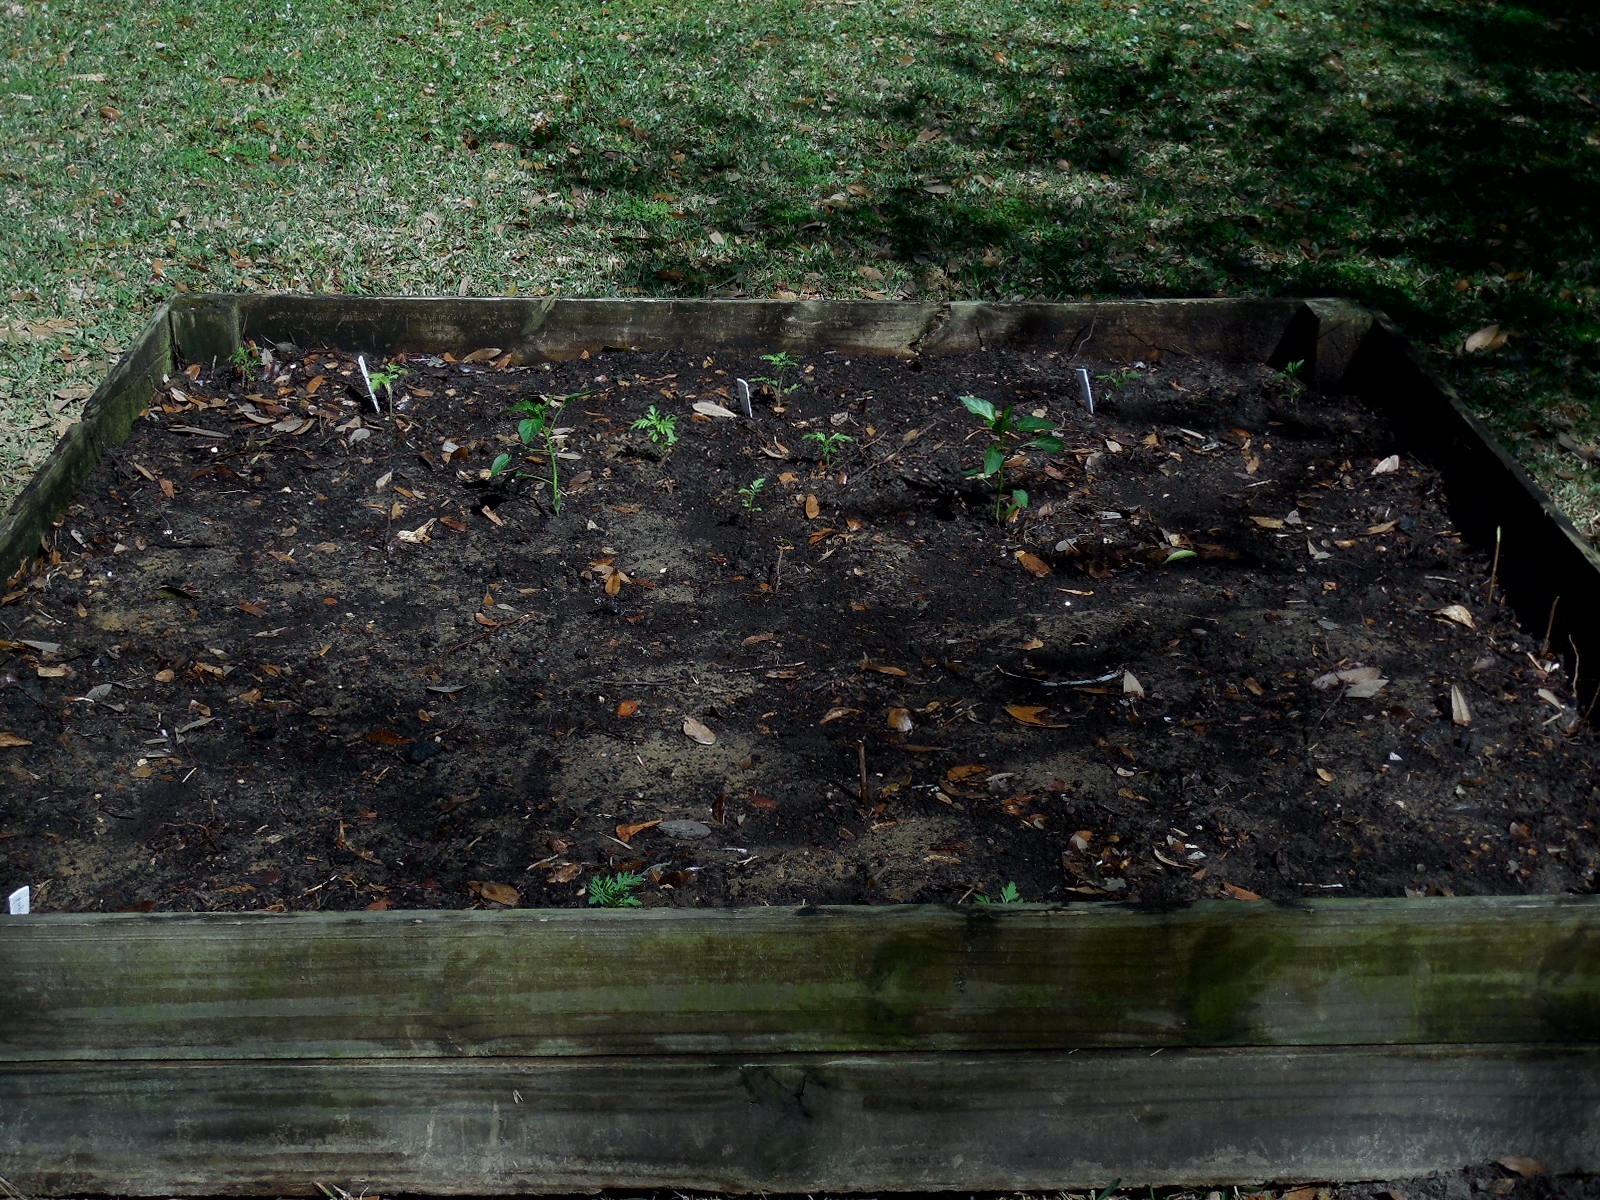
Soon you will have plenty of seedlings and probably will have seeds left over for next year!

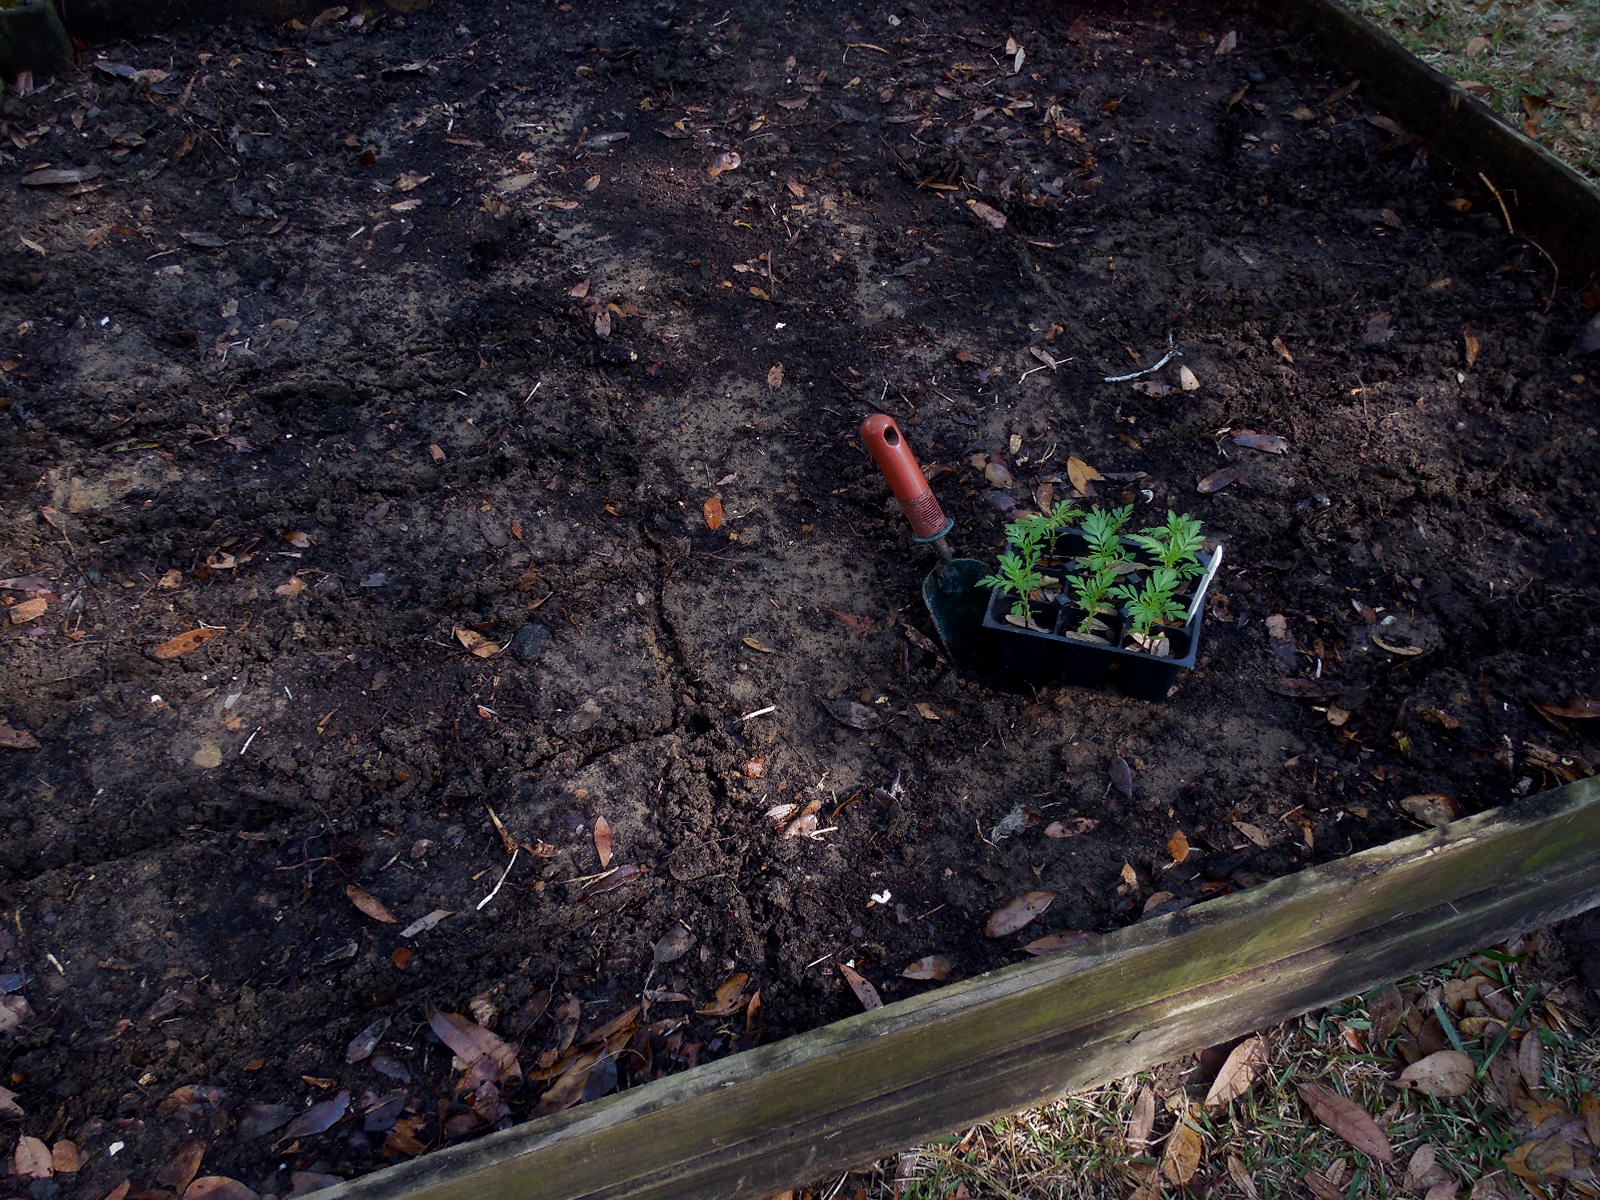
I usually transplant my little plants  when their roots begin to show out of the bottom or when they have their second set of true leaves.

March is a great month to start flowers and vegetables and to really get ready for spring. My March To-Do List will be posted soon.

It’s pretty cold out there (for Florida), maybe a Pumpkin Oatmeal Chocolate Chip Cranberry Walnut cookie would help. 🙂

Stay warm and protect your little seedlings!

Note: For an update on the Sweet William seedlings, including pictures, click here.