Daikon Radish Recipe-Simple and Yummy!

Standard

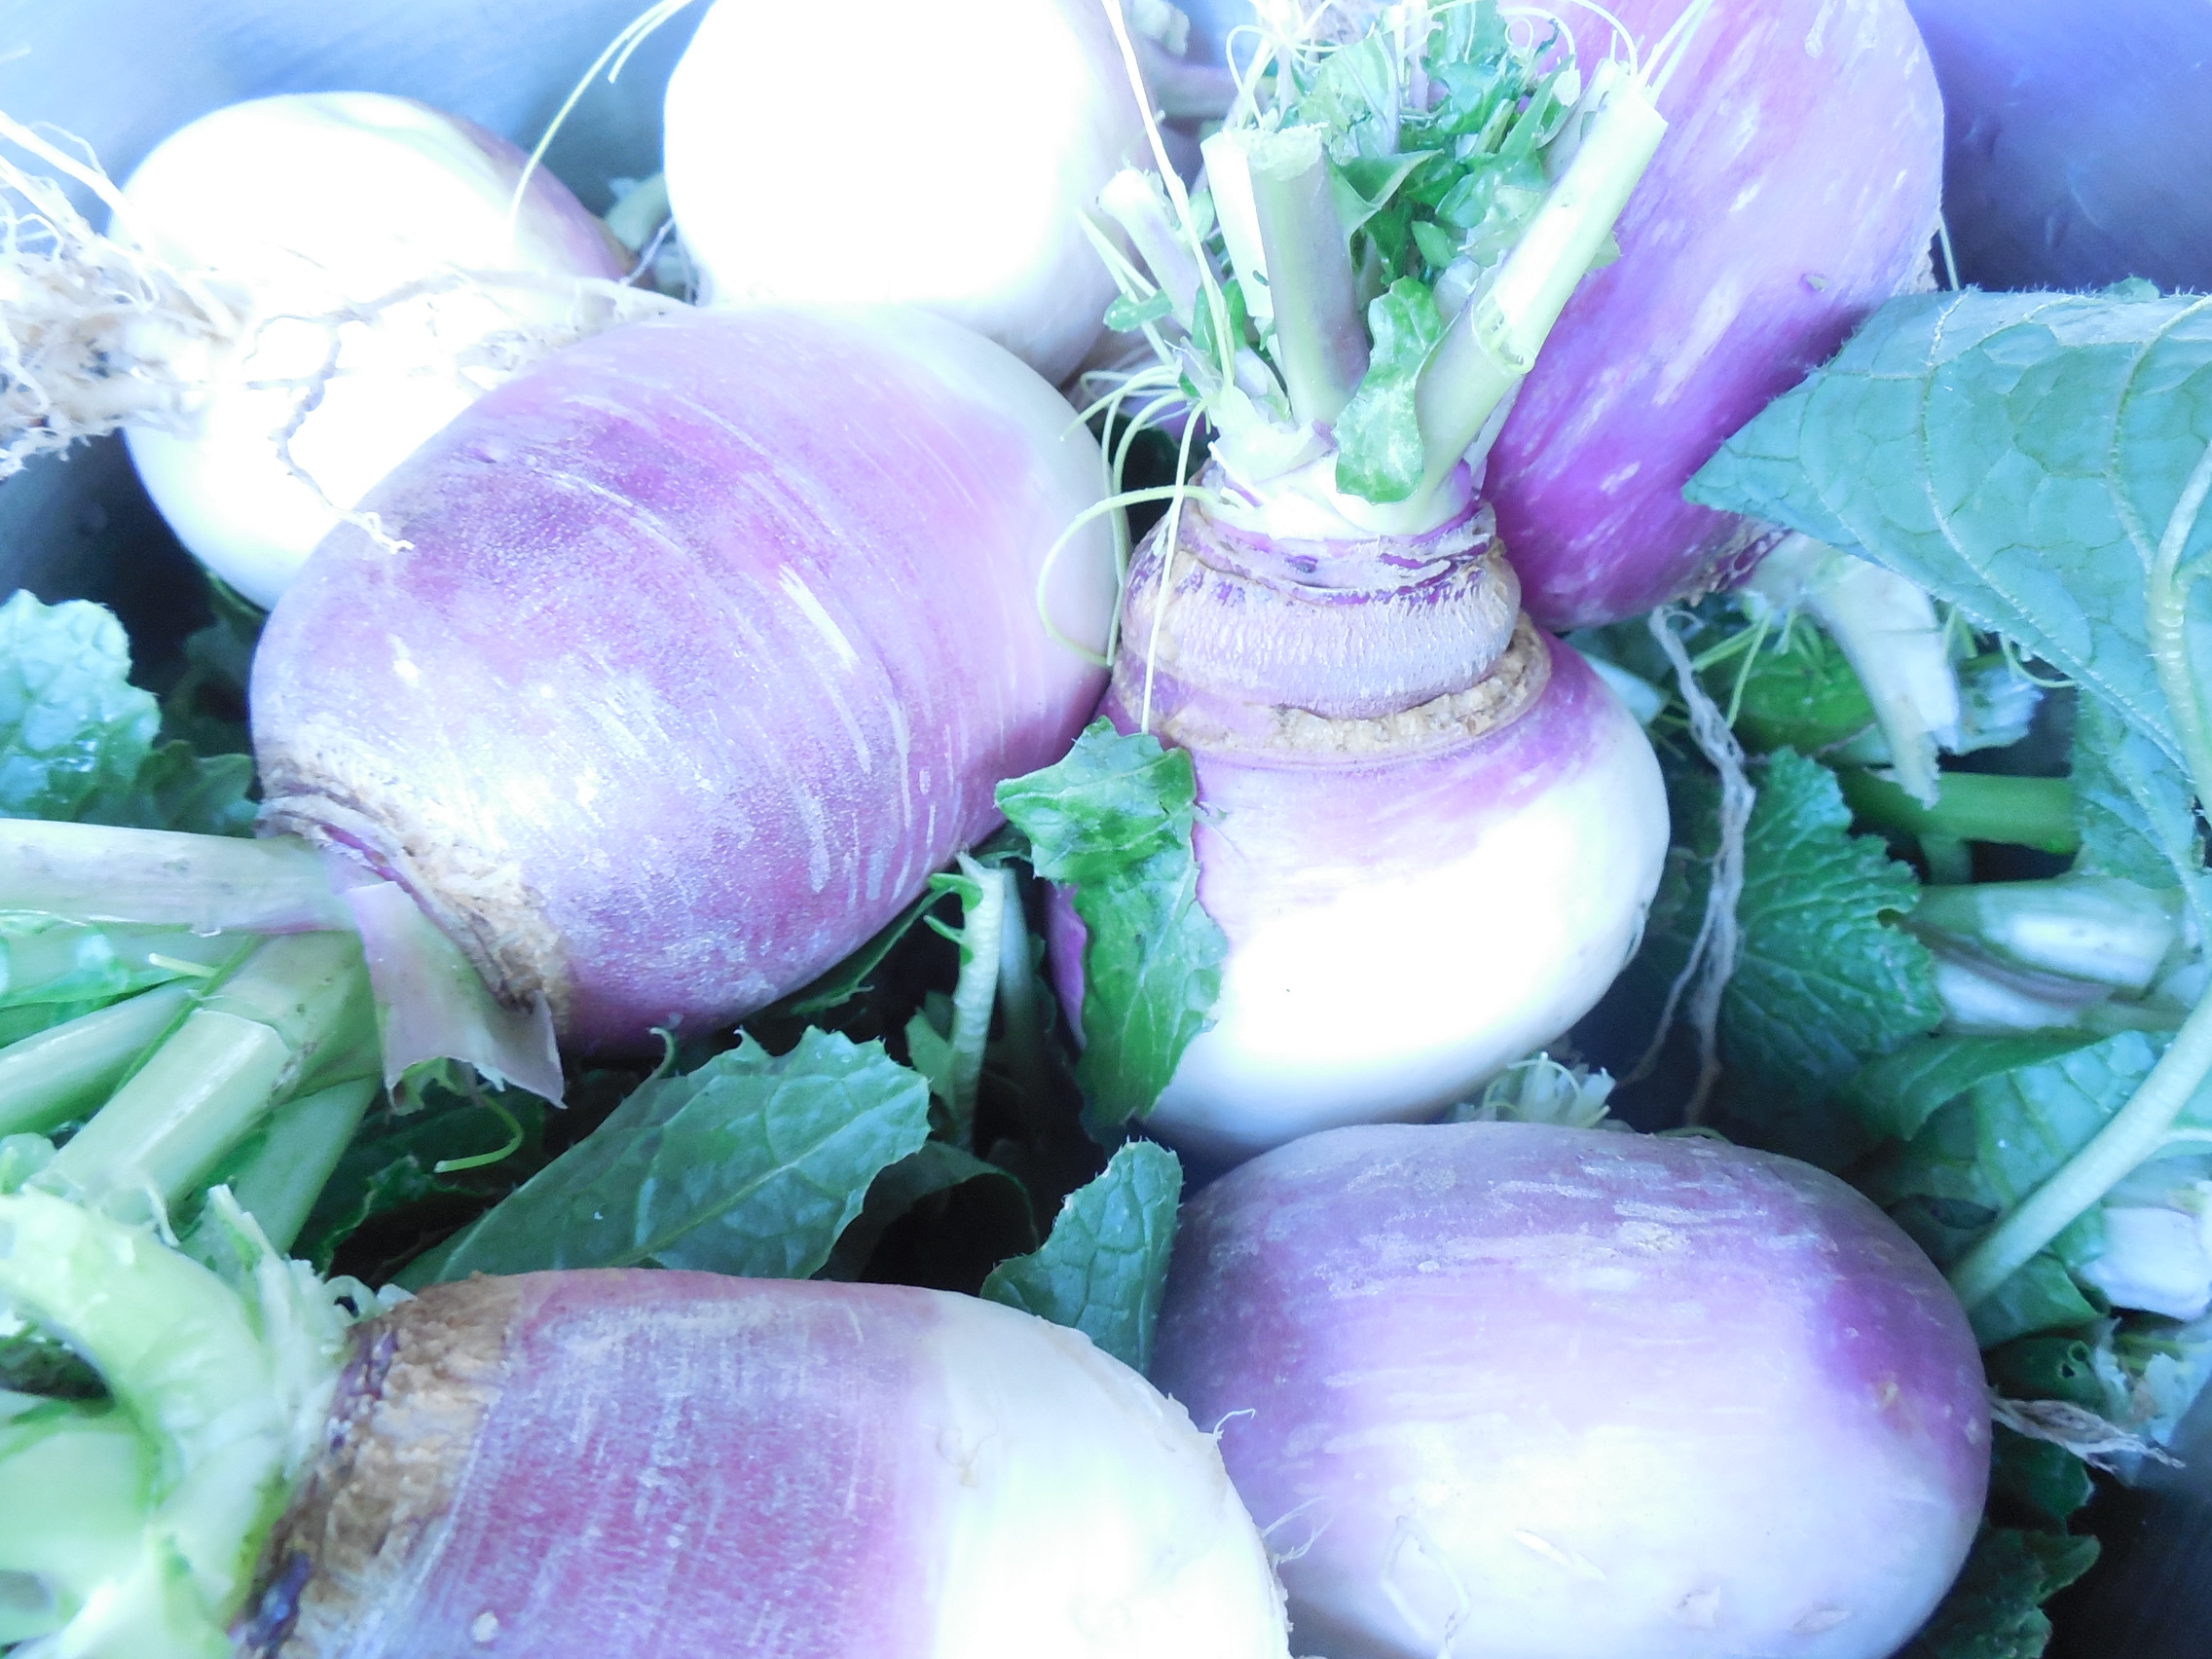
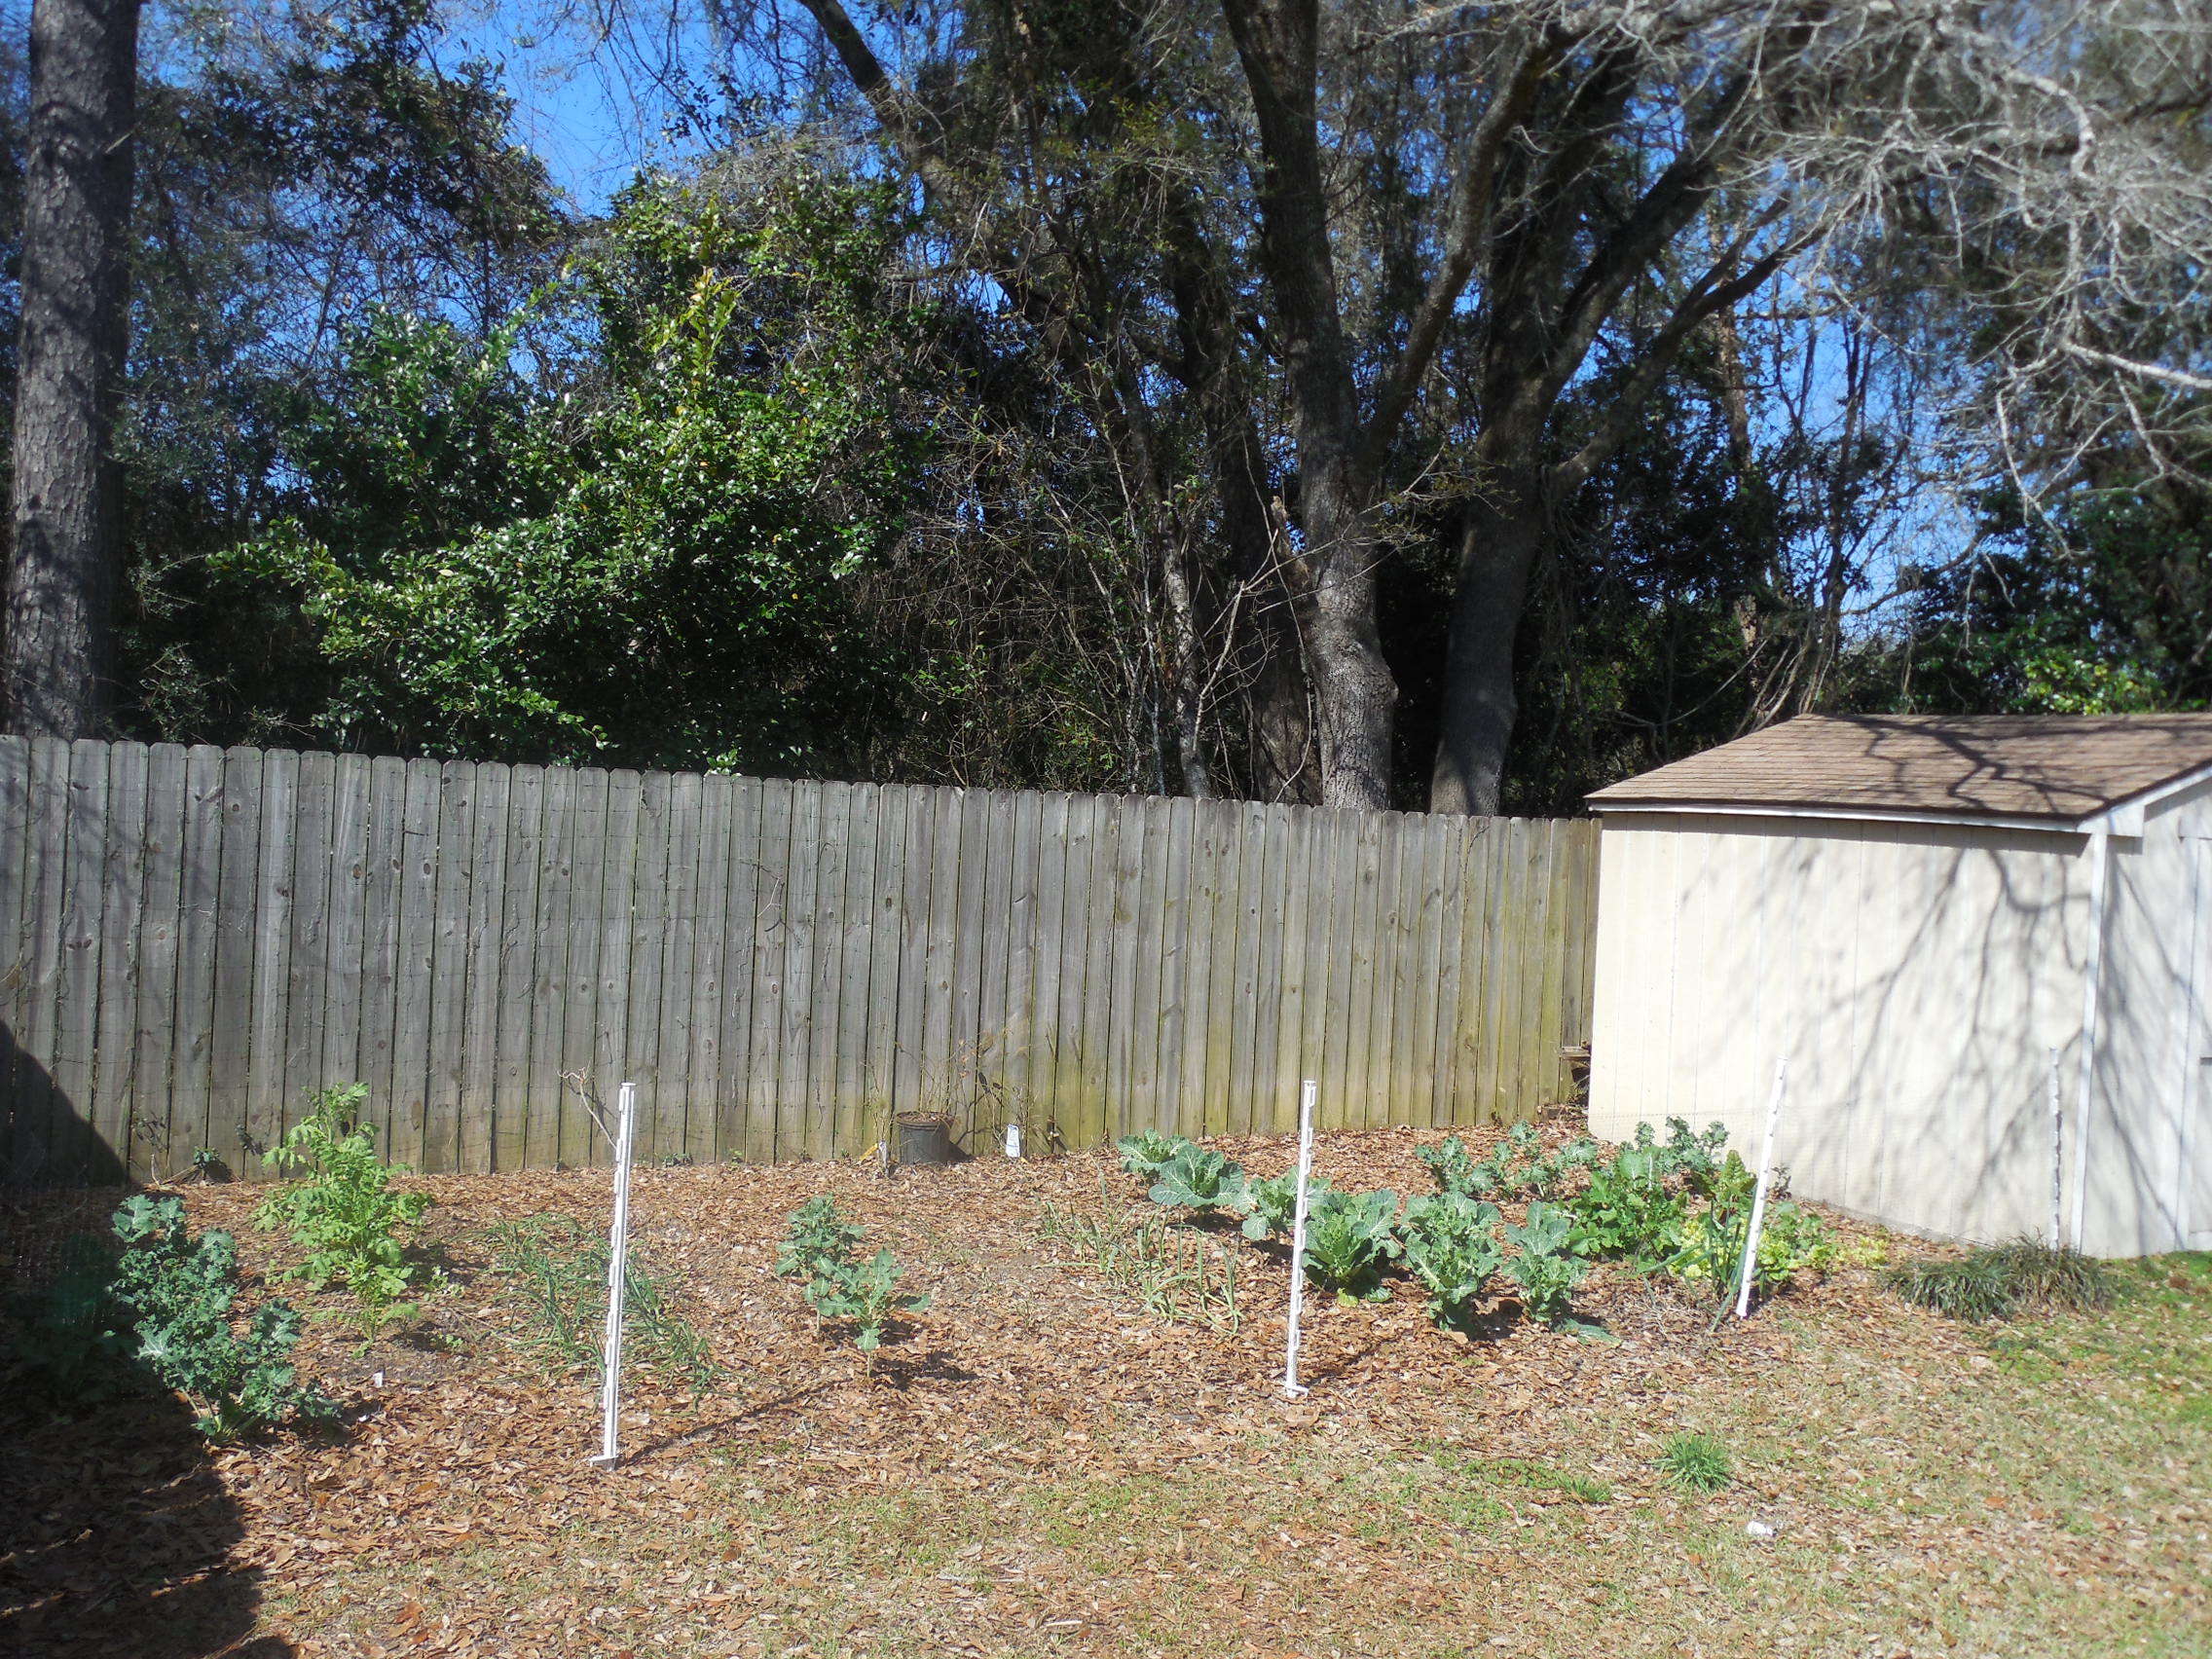
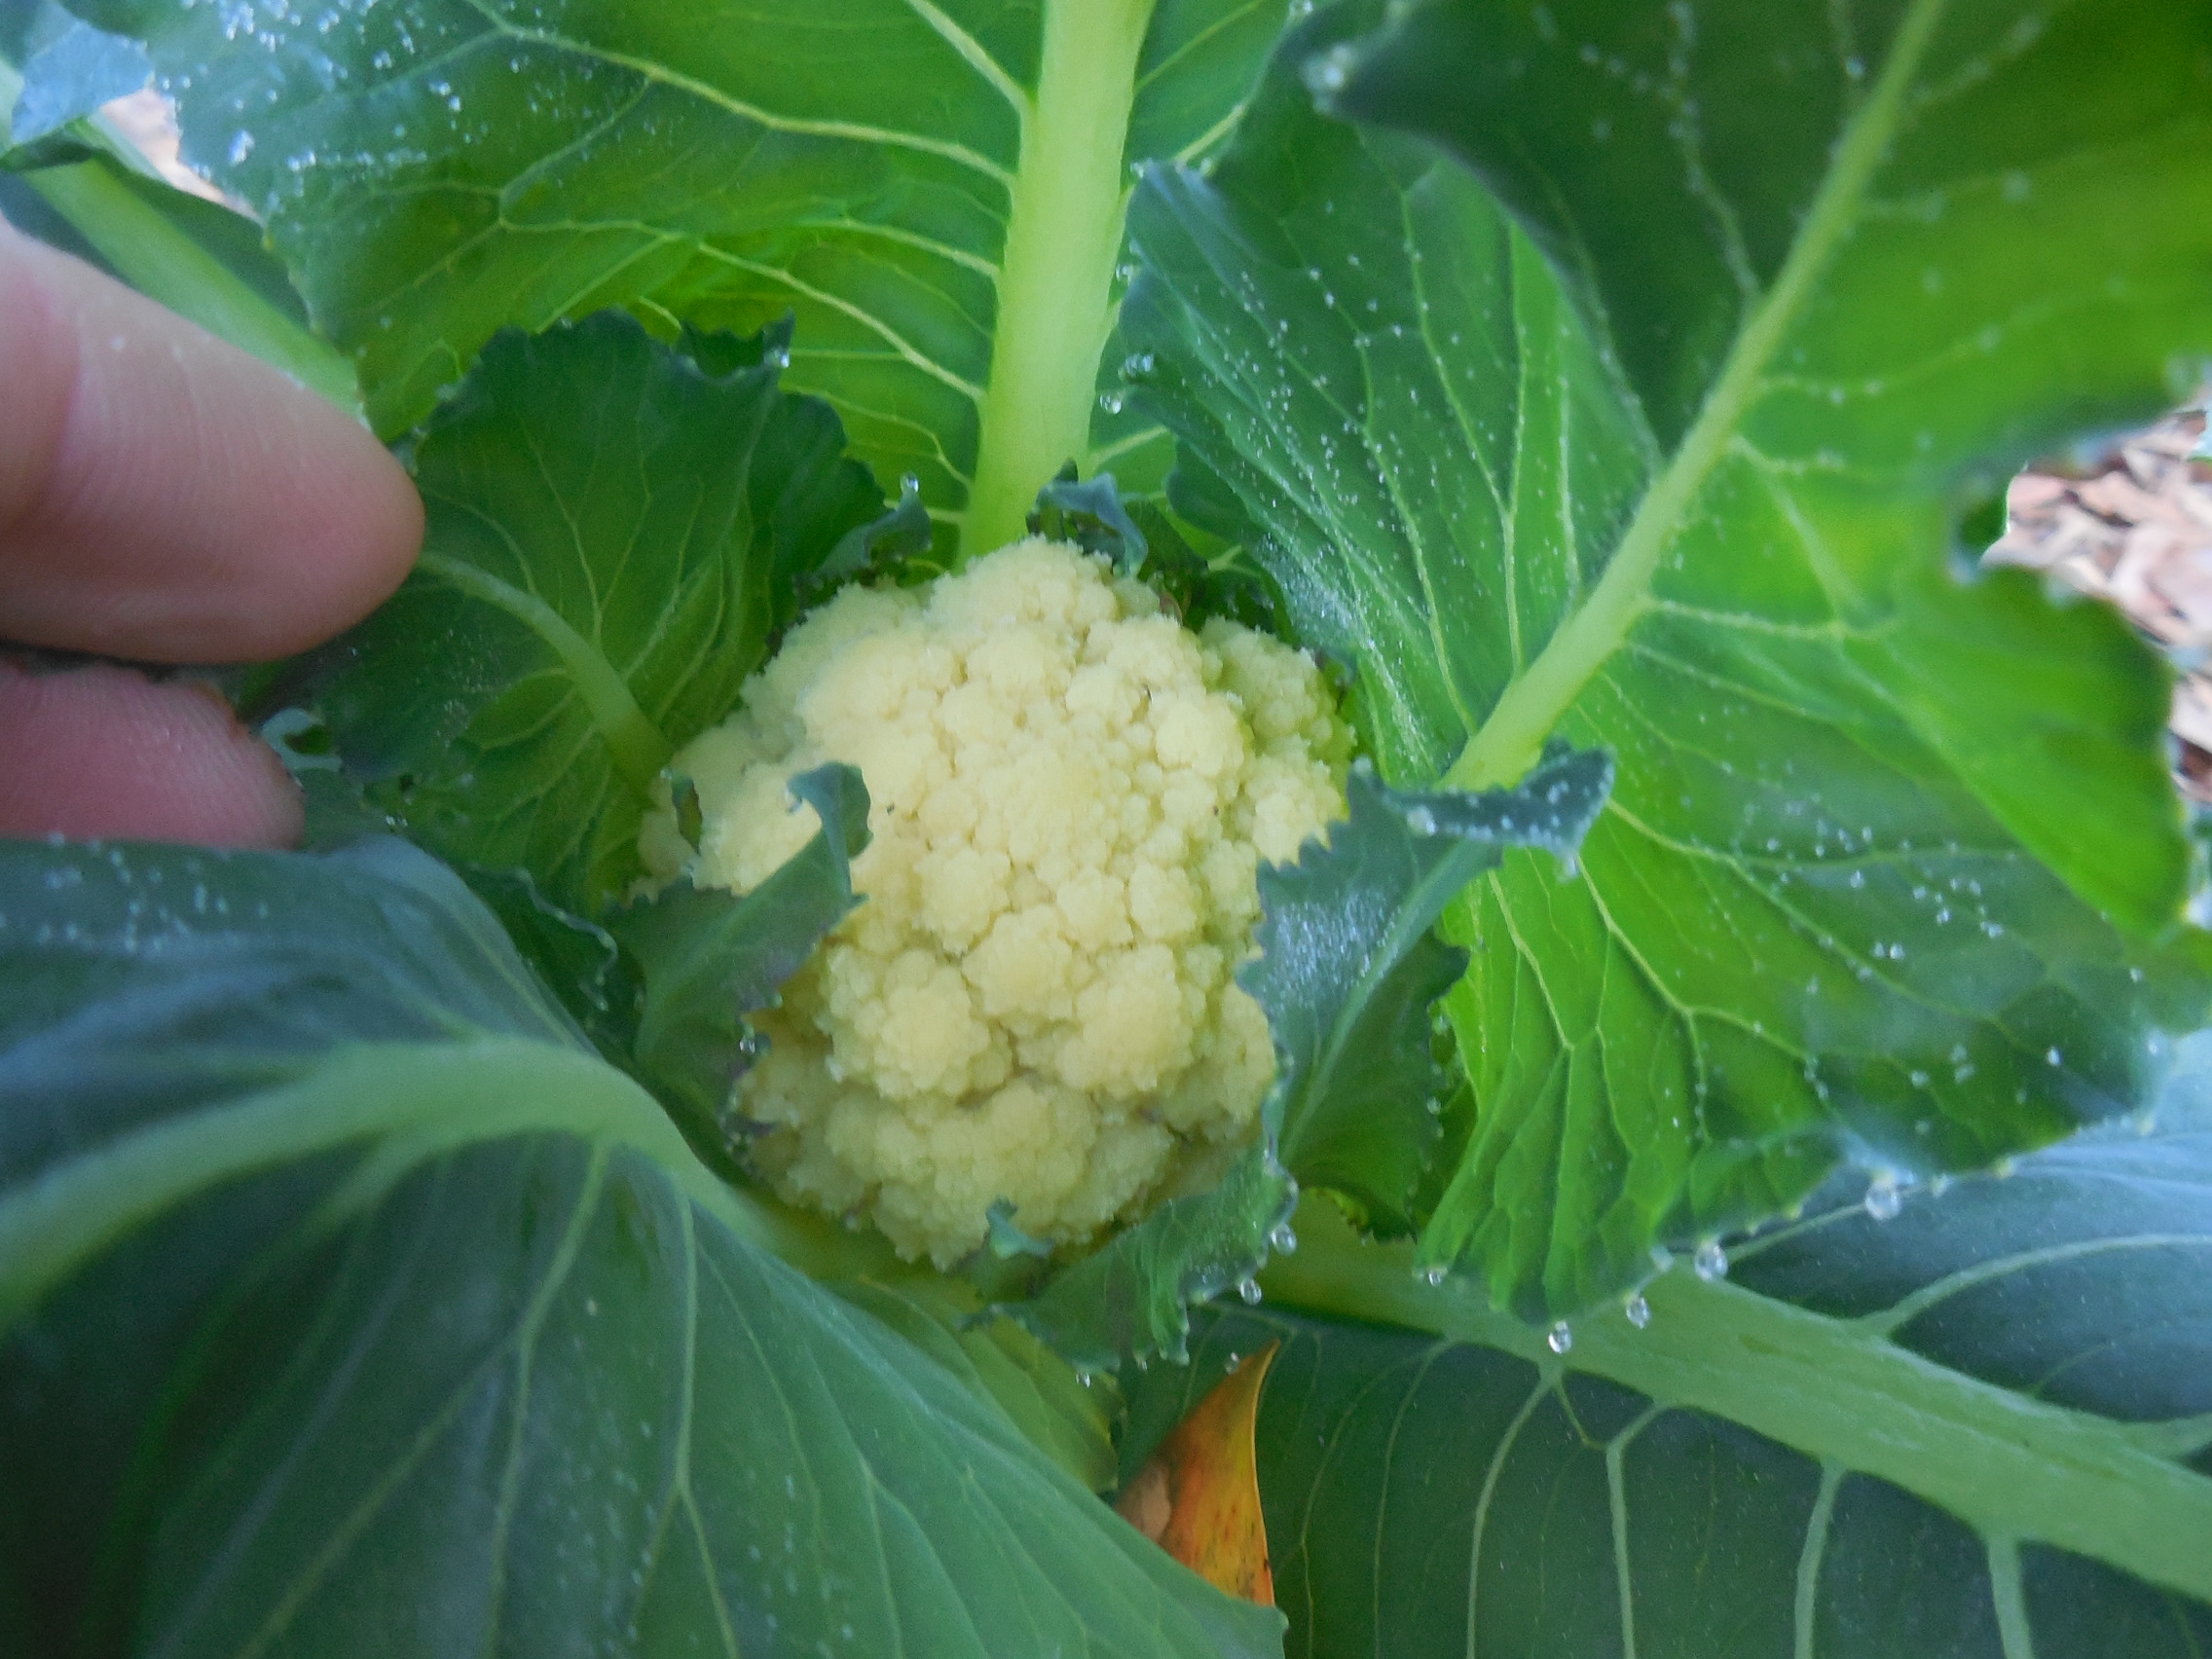
When I was researching what I could grow in the fall and winter garden of northwest Florida, I saw that radishes were an option. I had never really cared much for radishes before, but I don’t like to have bare ground in the garden when it could produce a crop. I noticed that ‘daikon’ was a variety recommended by the University of Florida’s gardening calendar.

So, when I was in my local feed-n-seed store and saw those seeds for sale in bulk, I promptly purchased some.

Then, I went home and researched my newly purchased daikons.

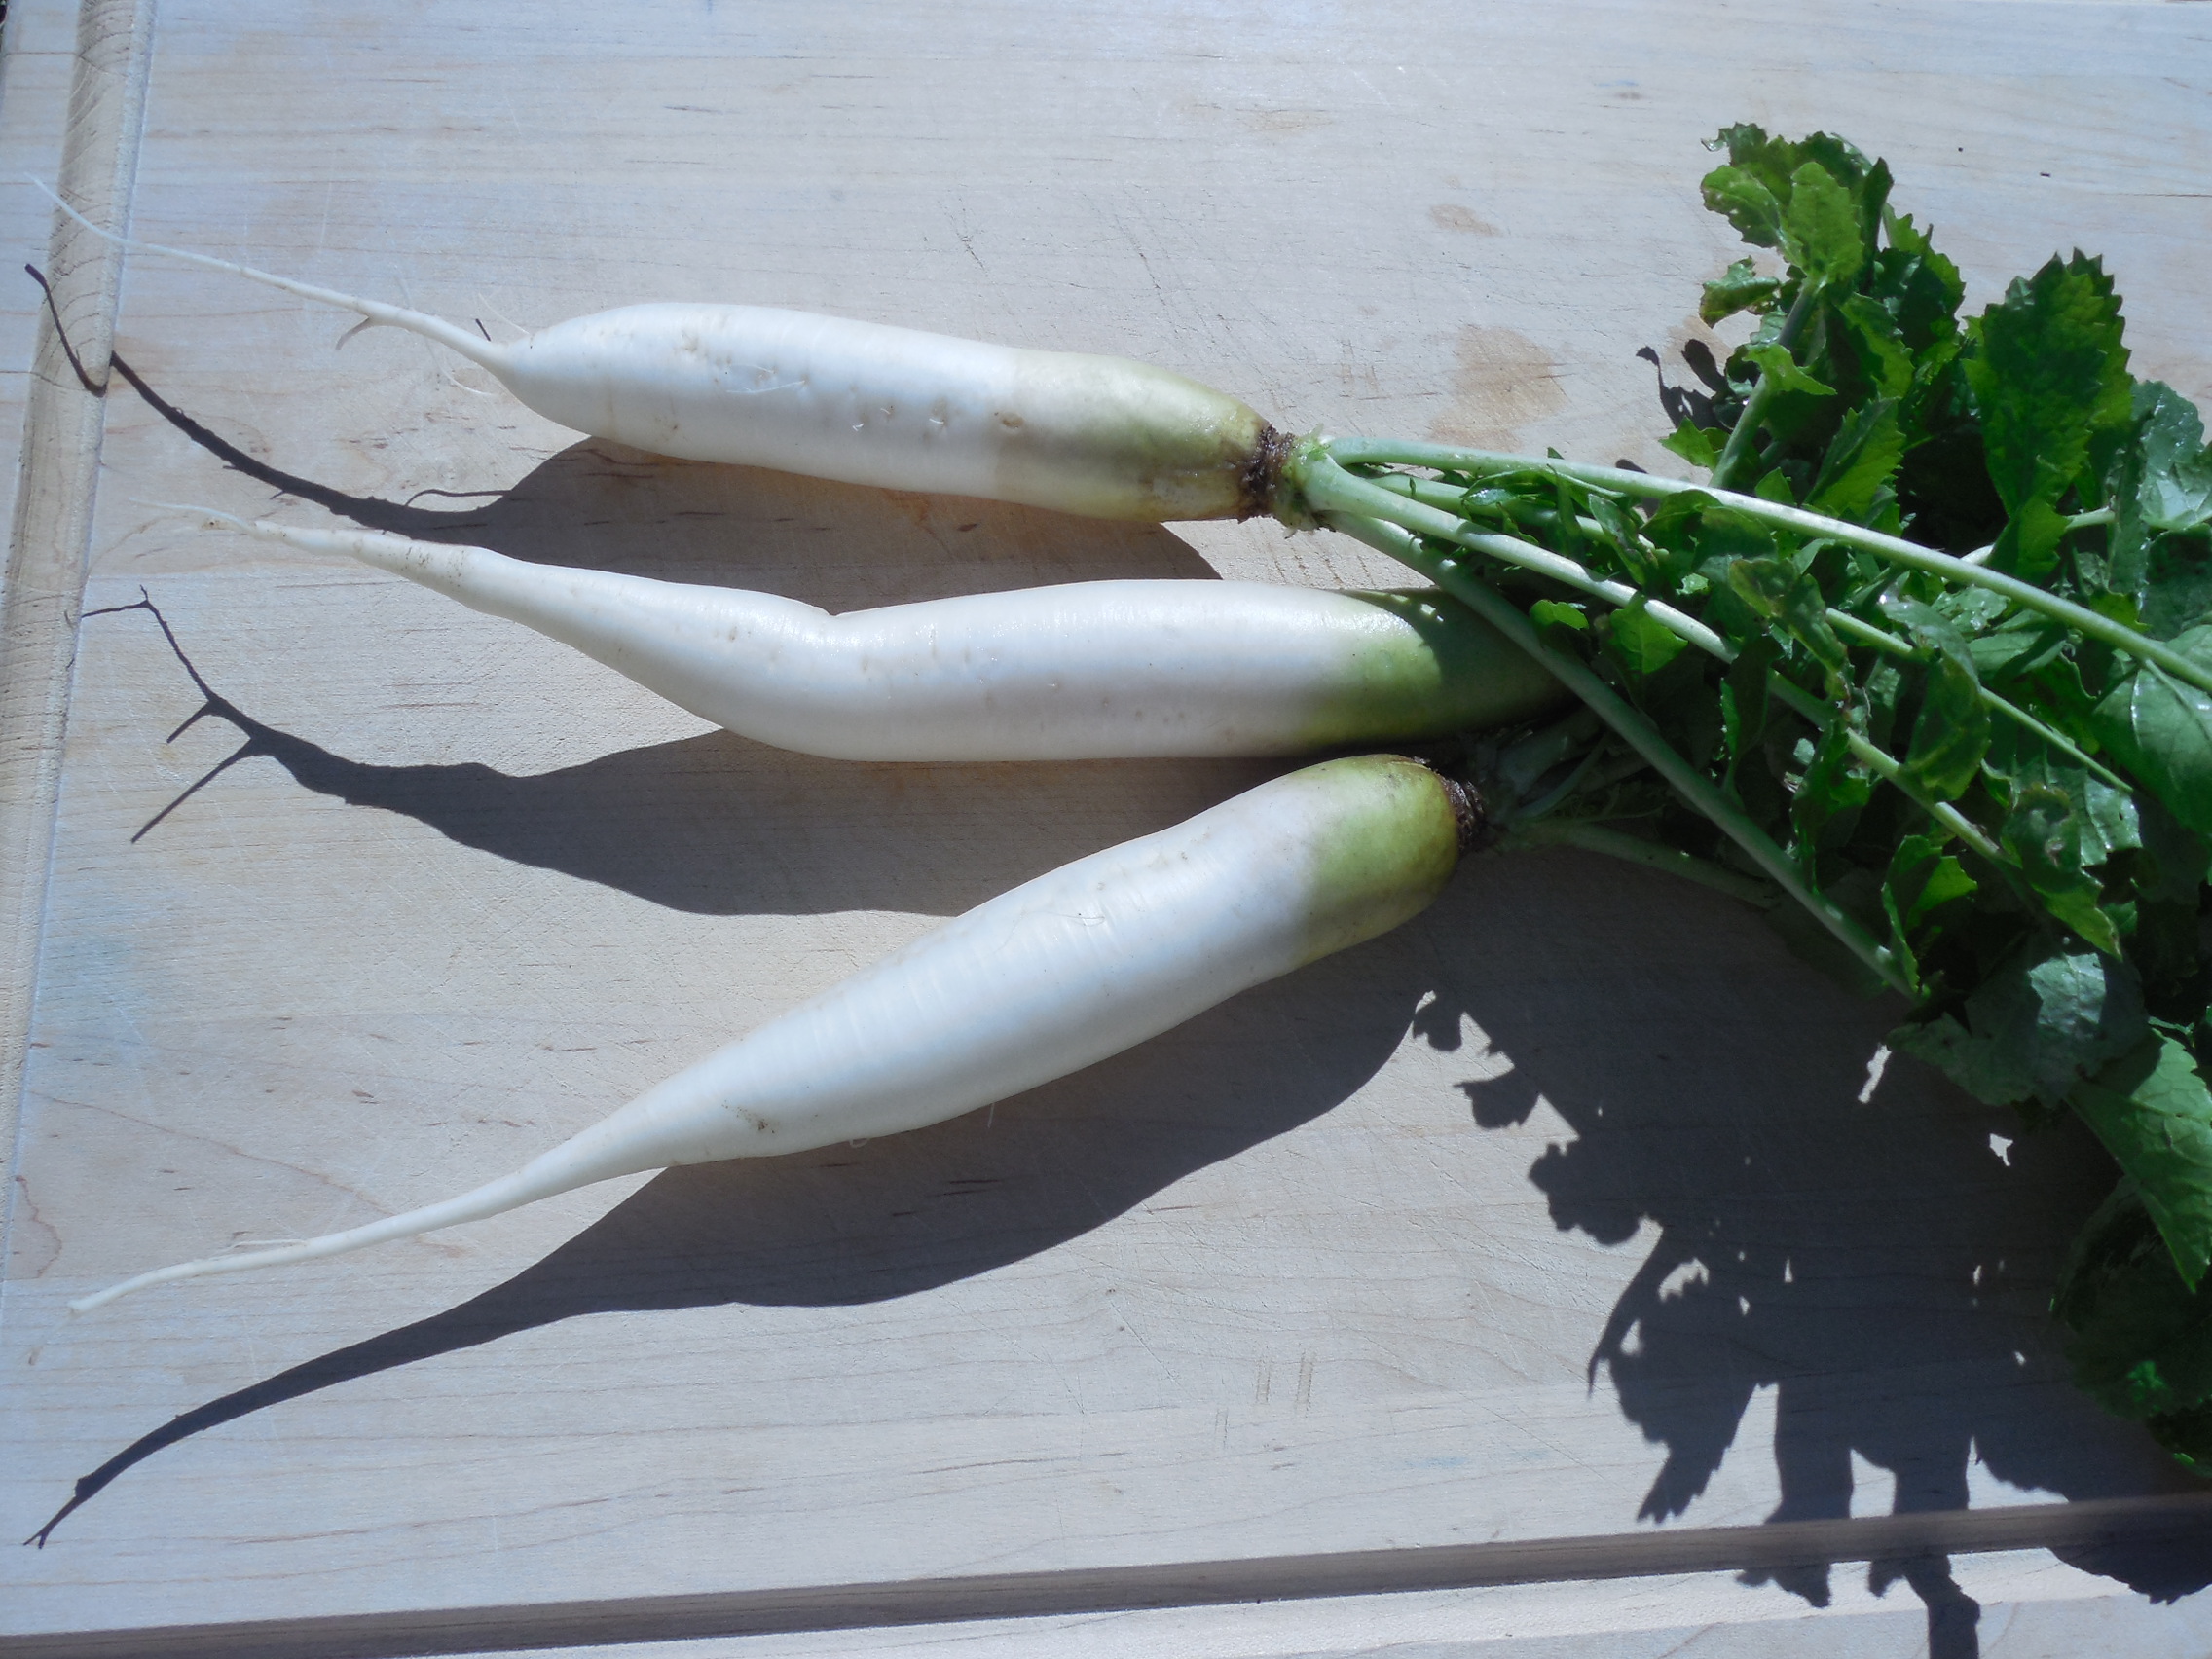
I did not see images of little red spheres. I saw huge white carrot-like roots.

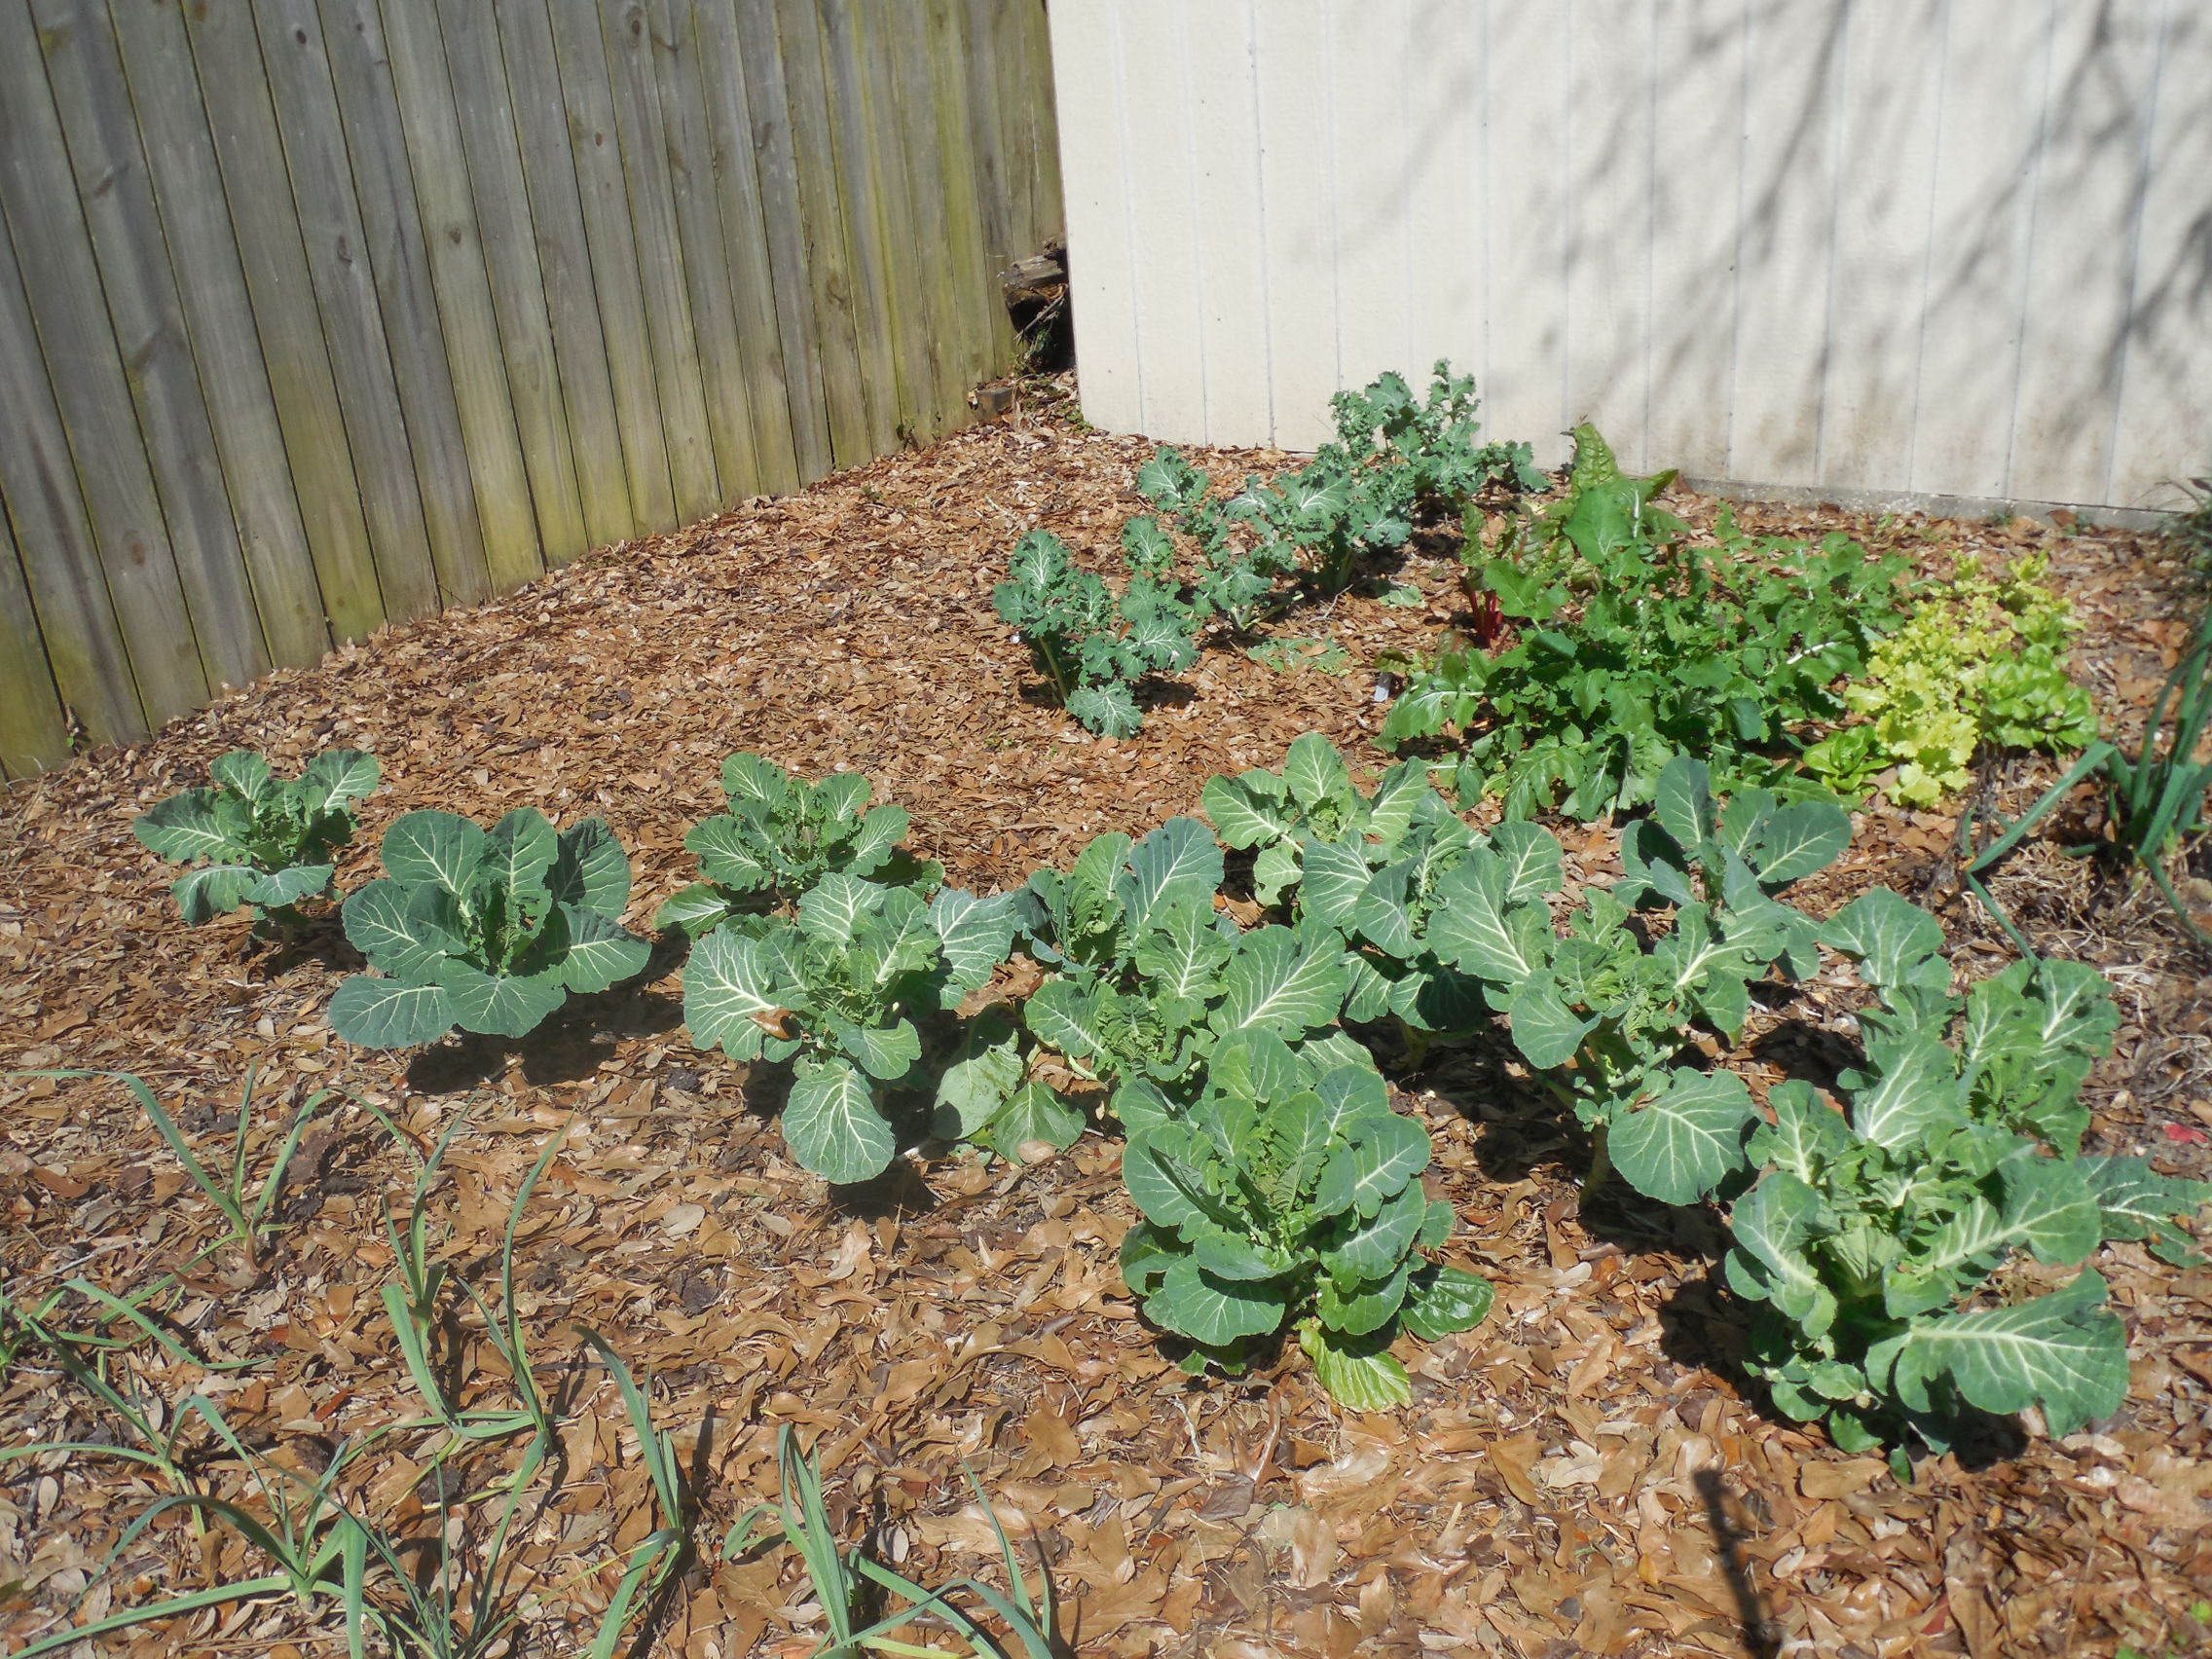
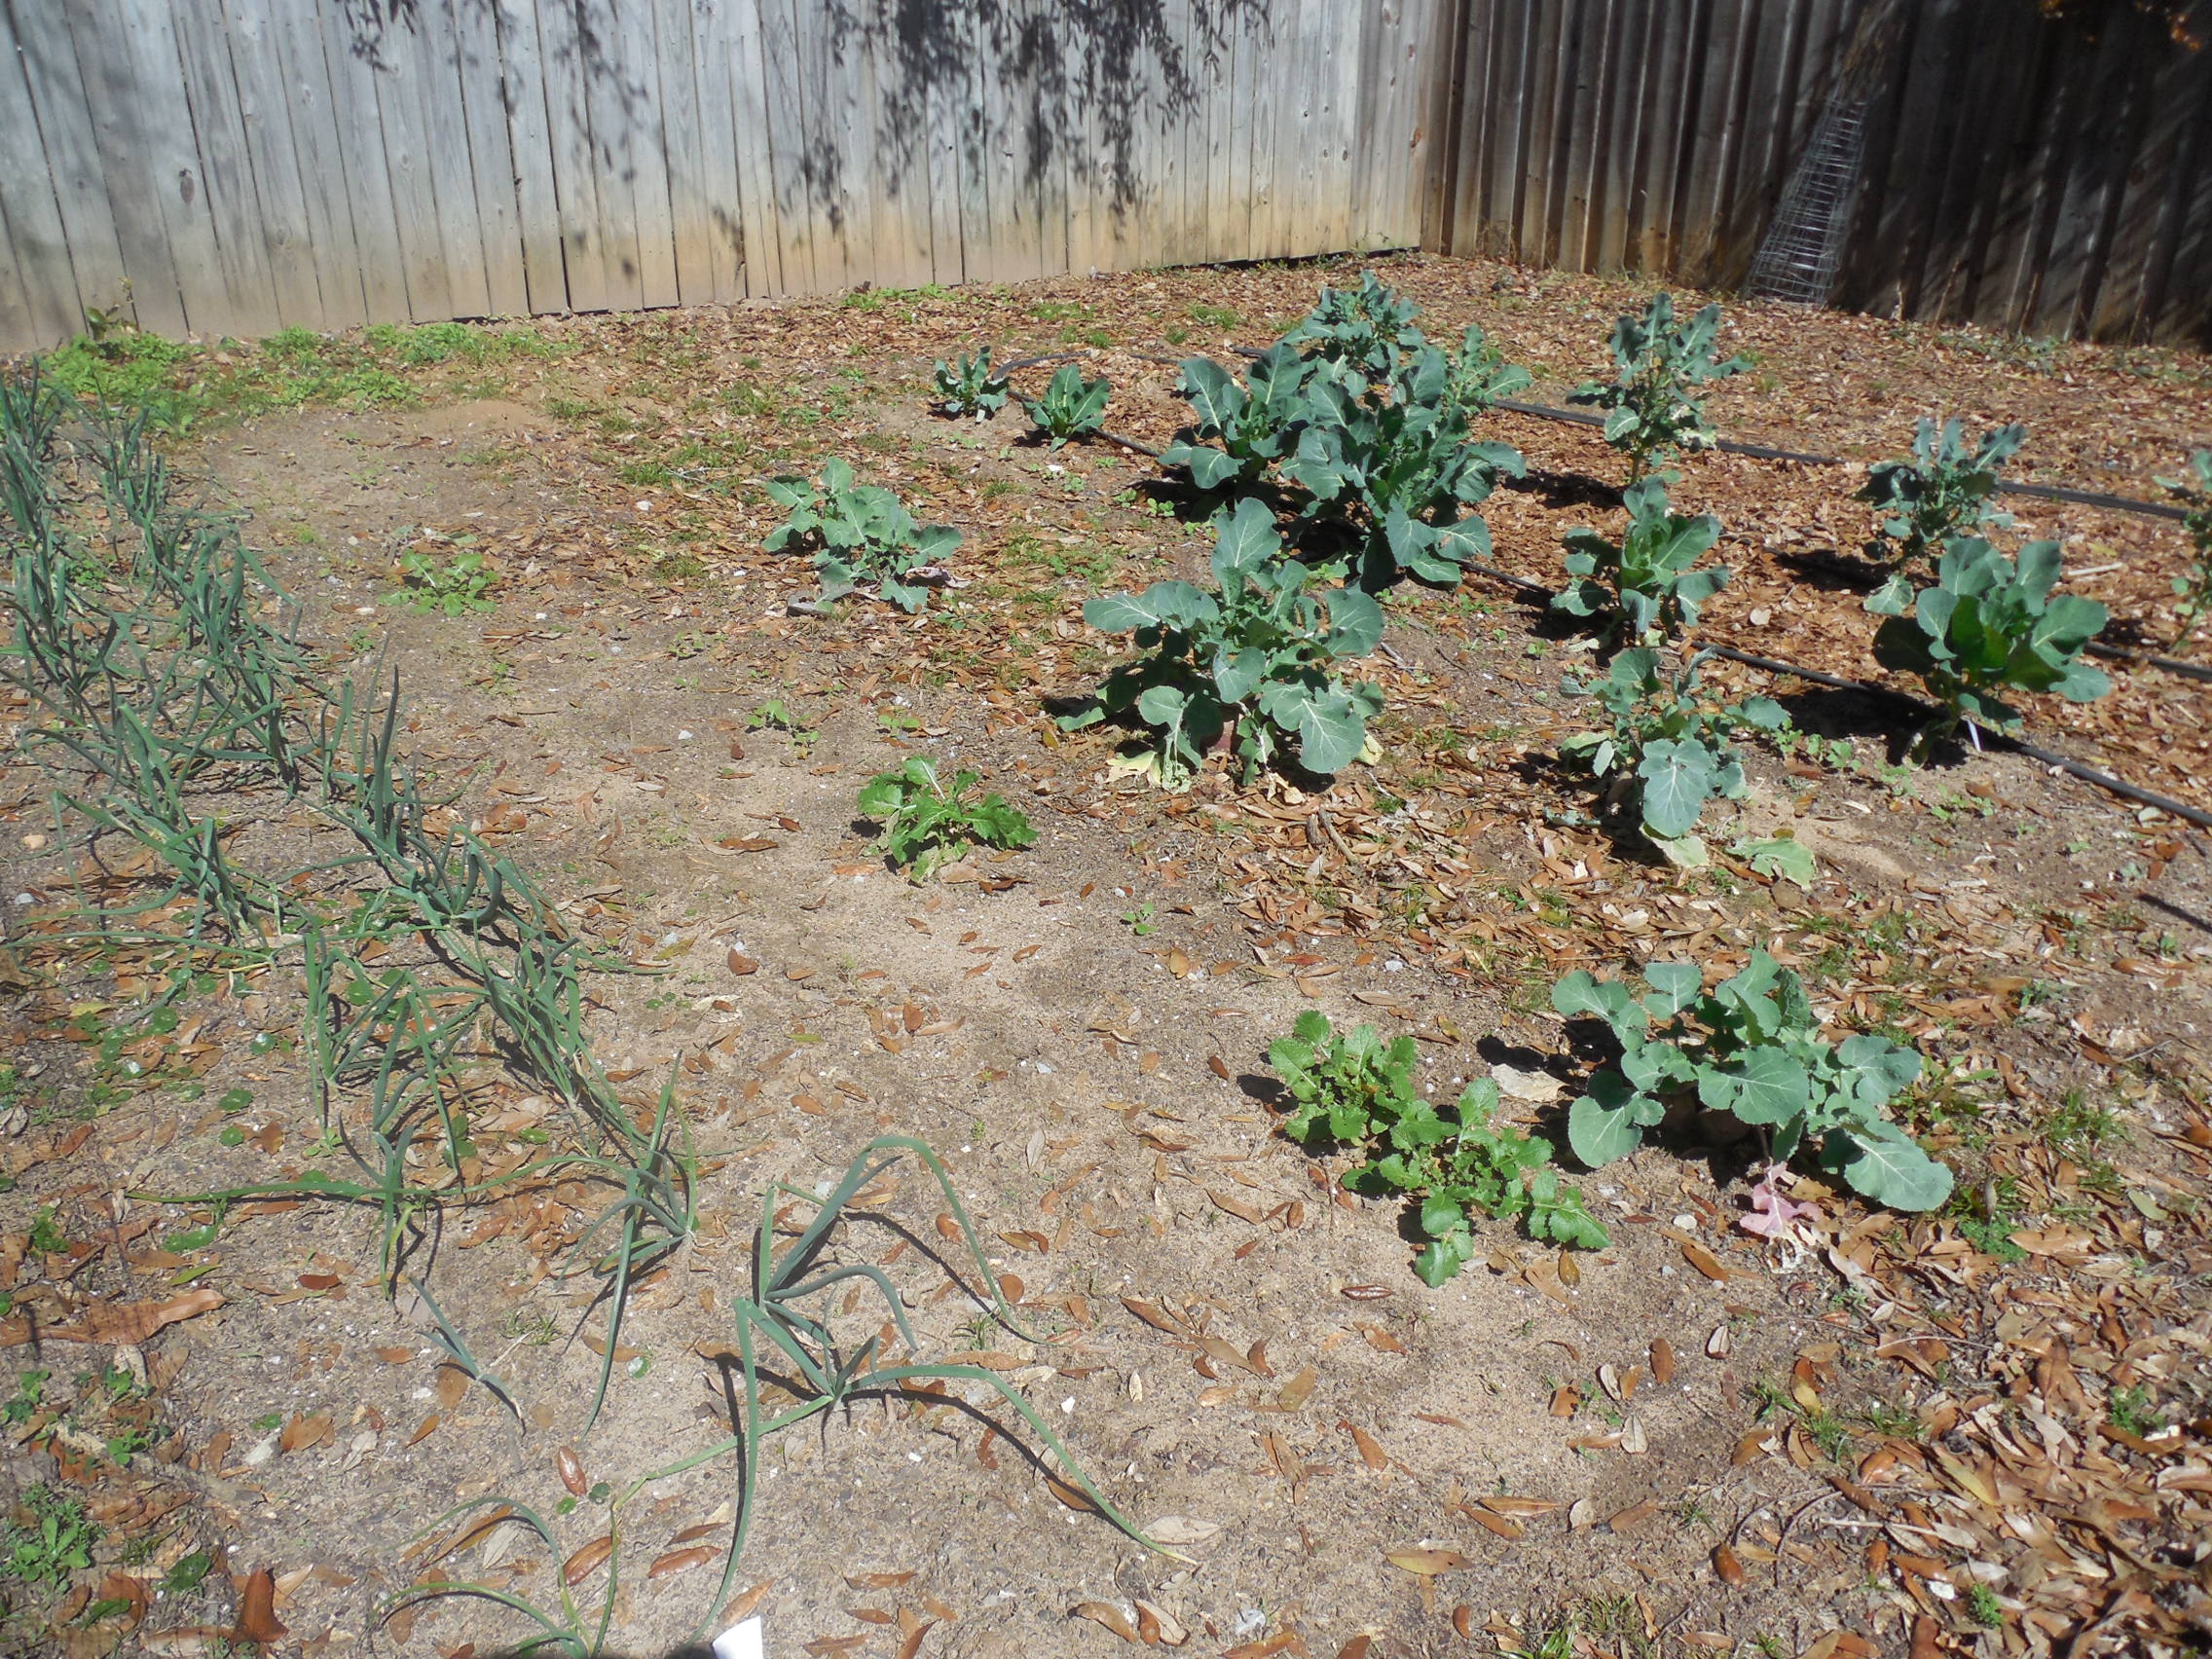
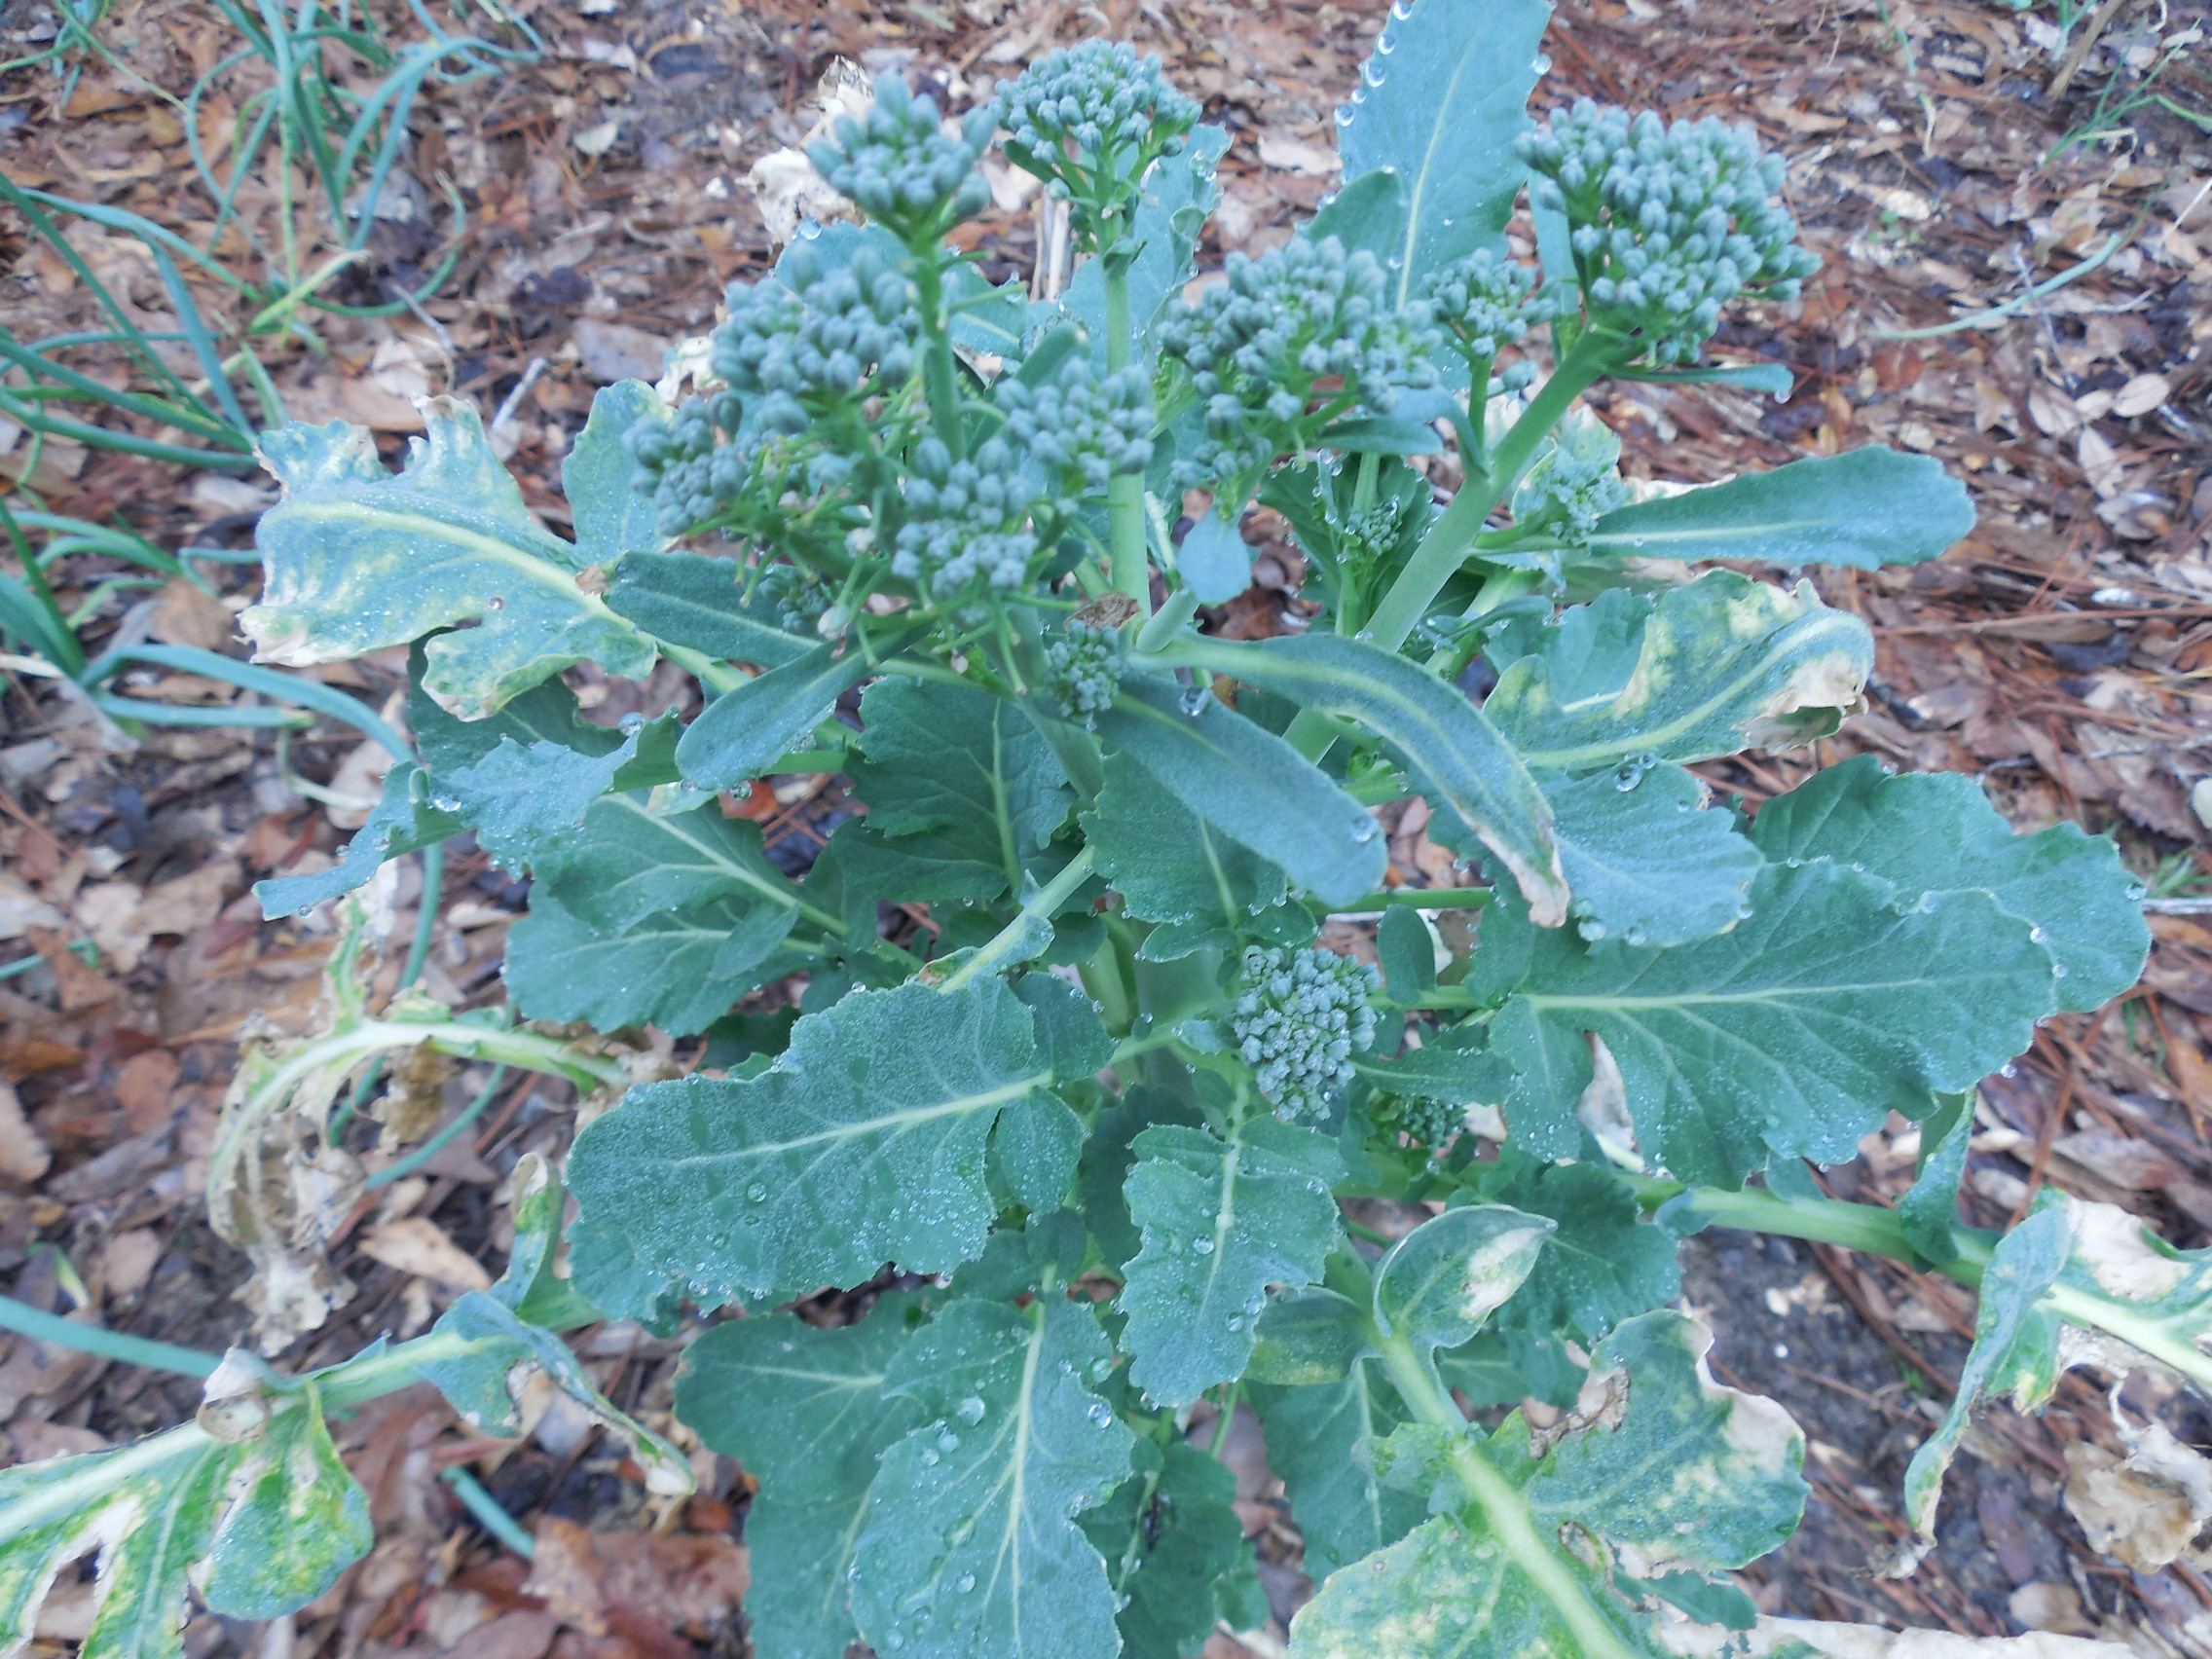
Undeterred, I went ahead and grew some anyway.

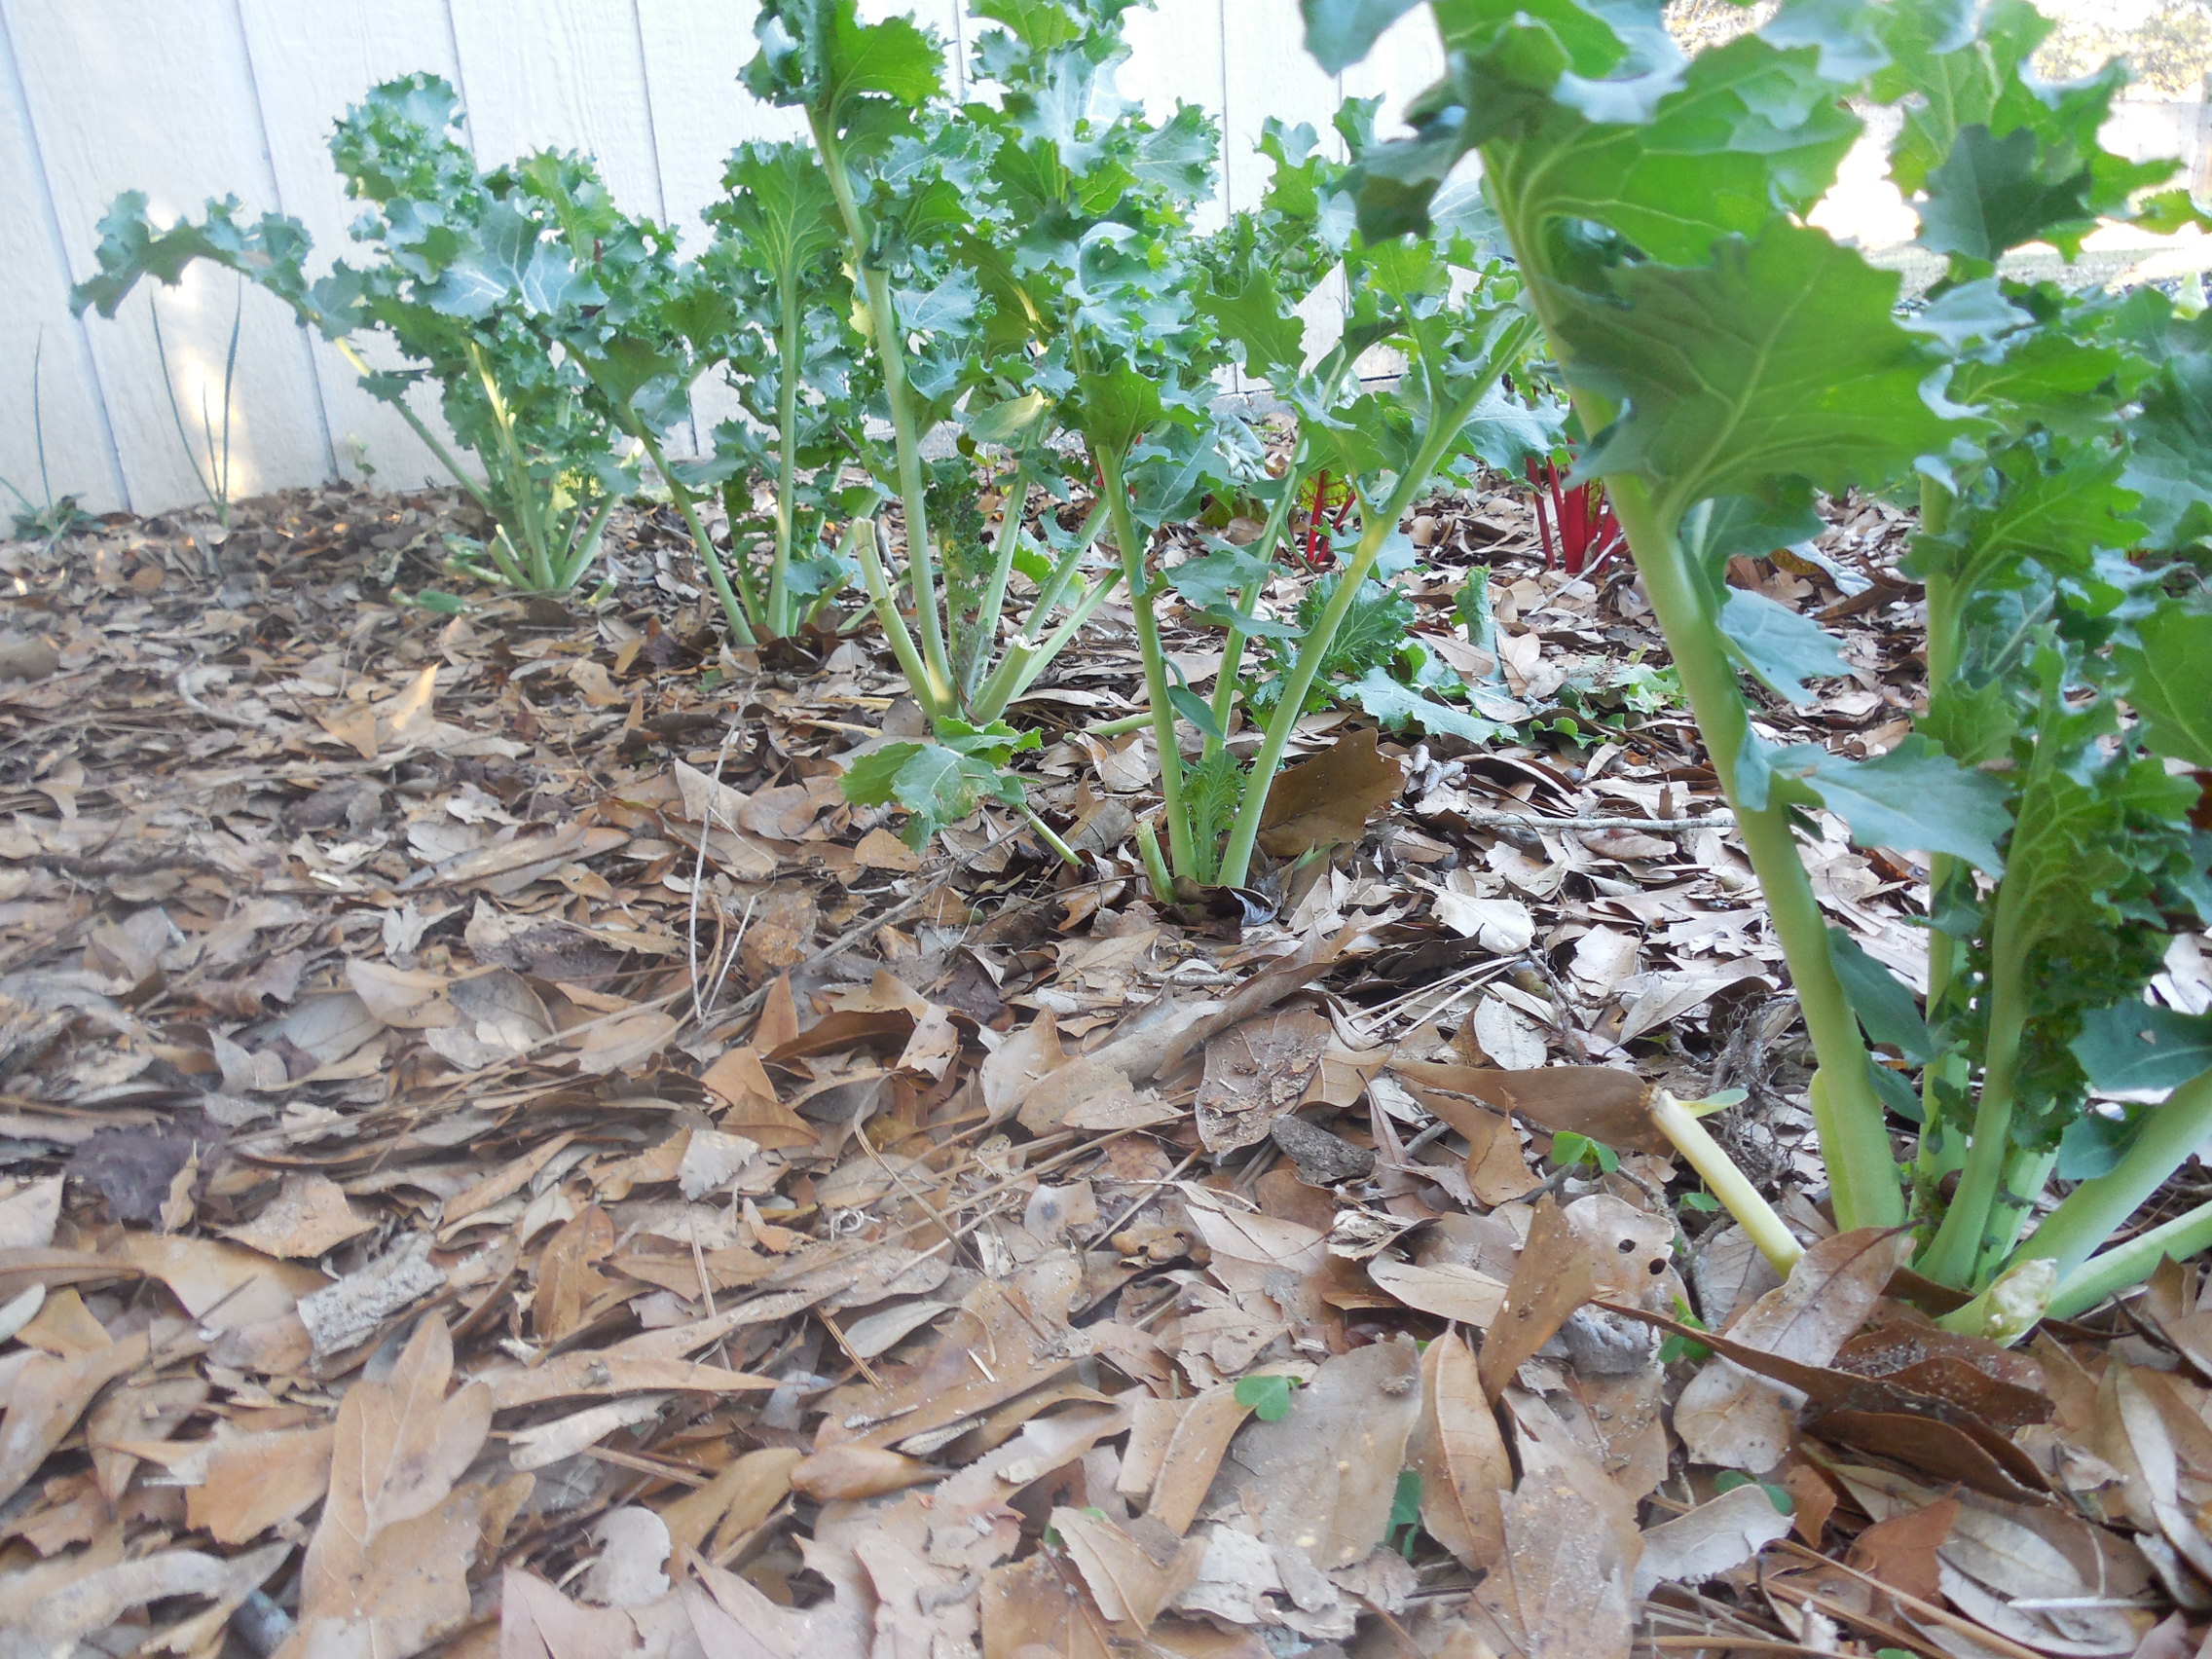
I’m glad I did! The few that I did plant as a trial germinated well and have been a fuss-free crop. Here’s a simple way to prepare this unique vegetable.

First, select some daikons, either from your garden or from a grocery. I walked outside and pulled mine. Three this size will make sides for 2 people.

You will also need olive oil, one clove of garlic, two tablespoons of apple cider vinegar, a pinch of minced fresh tarragon, and kosher salt.

DSCN3570

Wash them very well, no need to peel. The greens can sometimes have sand lodged in them, so be sure to trim them off and rinse well. Don’t be afraid to be a little rough with them in order to remove all the grittiness.

Unless, of course, you want to simultaneously remove plaque from your teeth and eat your dinner. That’s a bit too much multitasking for me, so I just wash my greens really well.

Slice the root into thin medallions and coarsely chop the greens.
DSCN3573
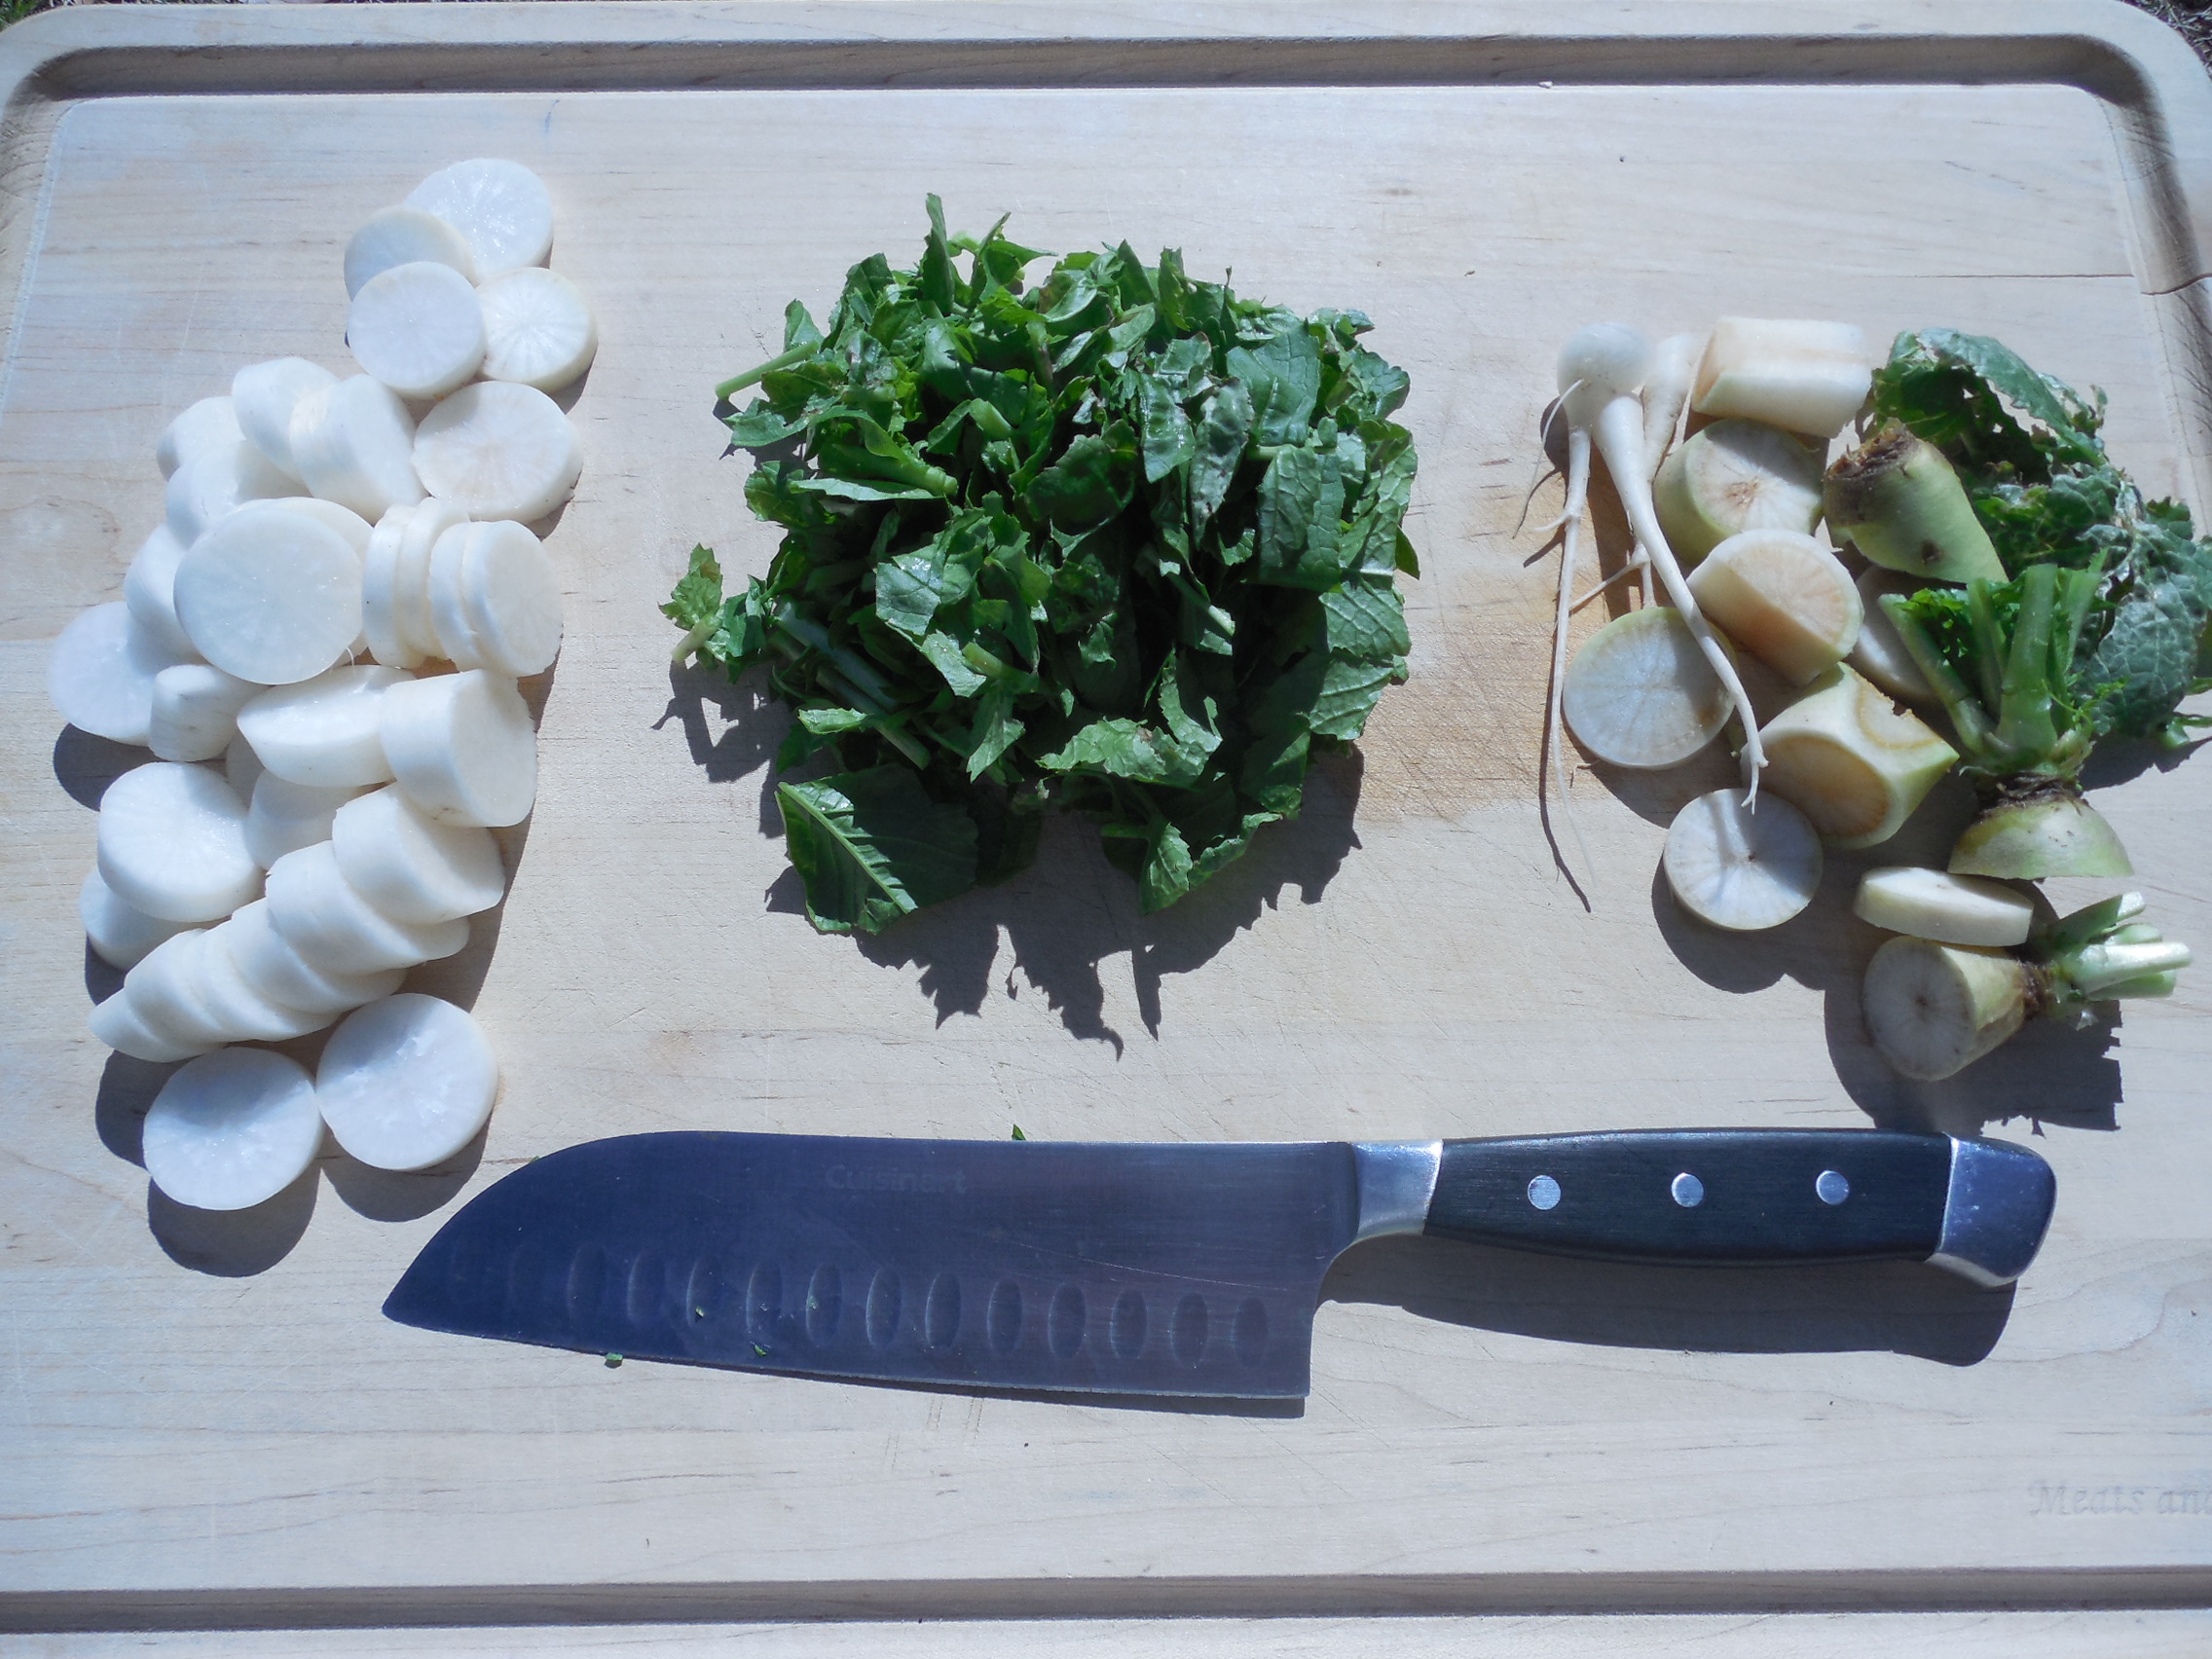
I love how every part of this vegetable has a use, even the scraps. They will be turned into compost for another crop. No waste here!

Next, heat some olive oil in a skillet ( I used cast iron) on medium heat, then lightly brown some minced garlic in the oil. Add the medallions first and cook until lightly browned and slightly translucent.

My Certified Executive Chef father-in-law suggested this next step that really elevates this dish. Deglazing. Don’t skip it- it really is easy!

Turn the heat to high, be sure the skillet is nice and hot, then pour in two tablespoons of apple cider vinegar. You will see lots of bubbling and really smell the vinegar, but don’t panic! The bubbling is loosening all those little flavorful pieces that would otherwise stay stuck to the skillet and is putting them in your dish.
DSCN3580
Now, start adding the chopped greens a handful at a time, wilting them a bit. Once your greens are all in, add a pinch of minced fresh tarragon. Continue to cook over medium heat until the root medallions are lightly browned and the greens are wilted, stirring frequently. If you prefer a milder flavor for your radishes, just leave the skillet over medium-low heat for a few more minutes.
DSCN3581
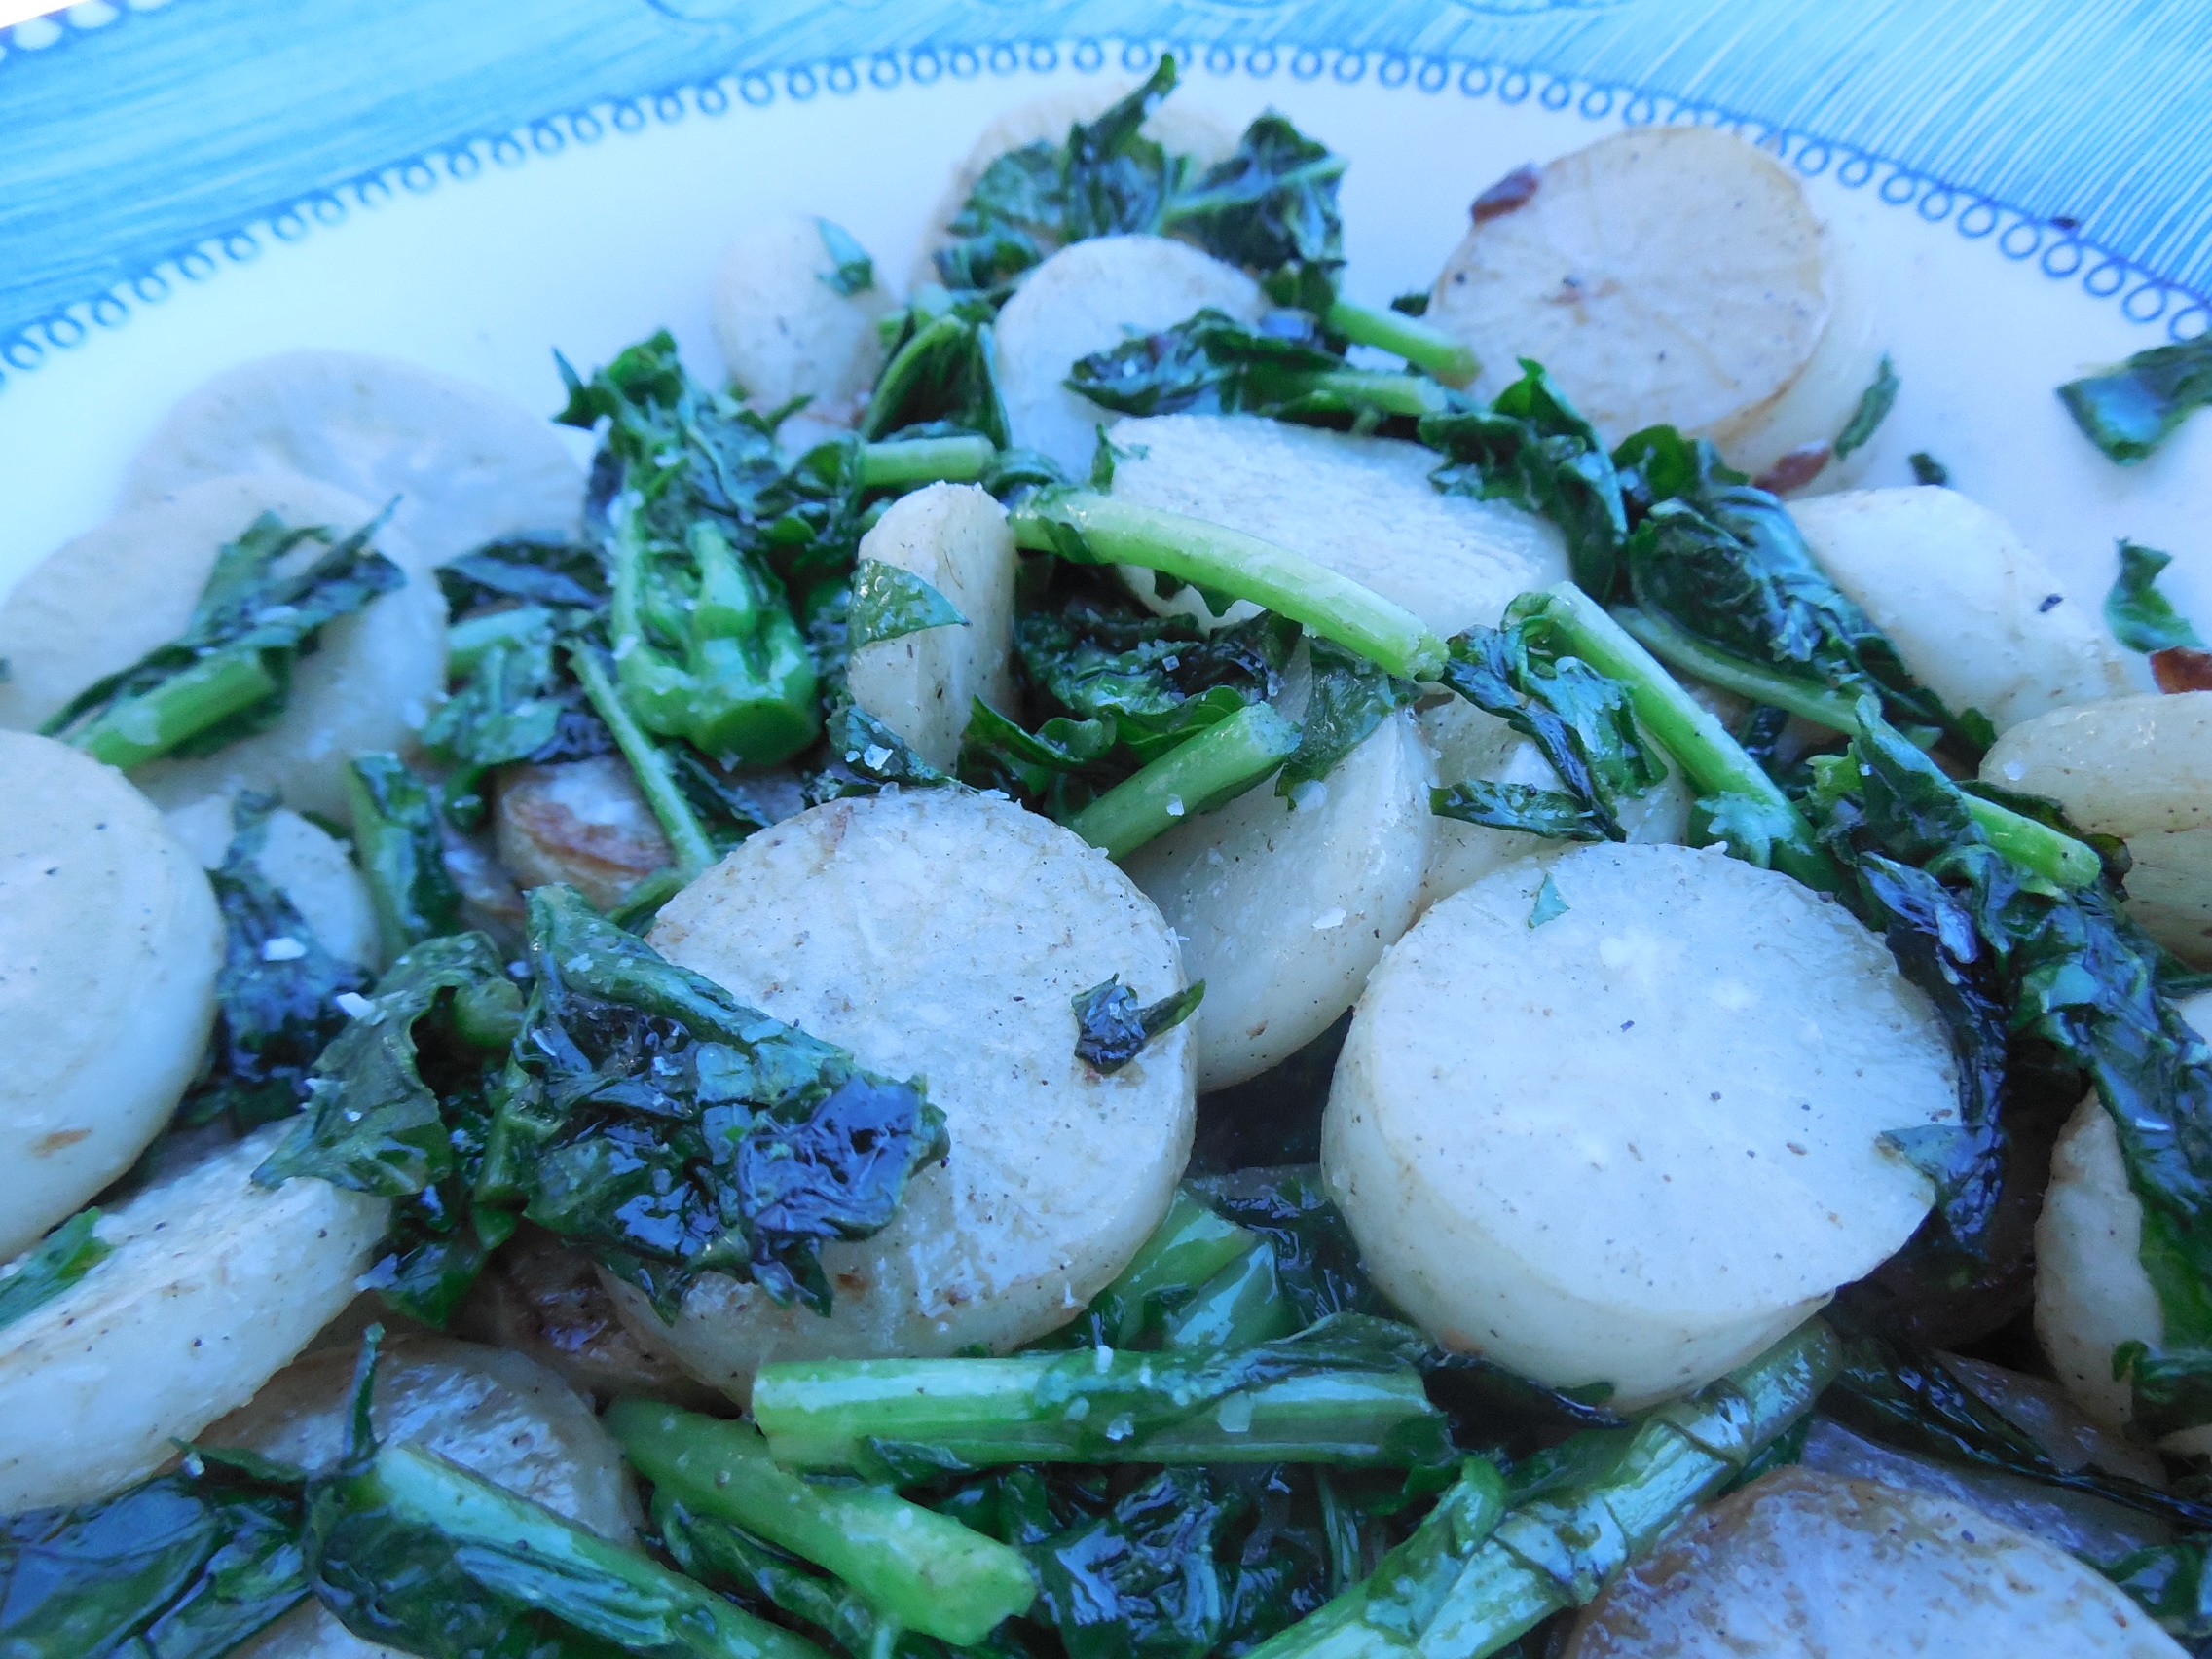
Sprinkle generously with kosher salt and enjoy!

Looking for something sweet? Try my Pumpkin Oatmeal Chocolate Chip Cranberry Walnut cookies!

What to do with a Broken Pot

Standard

DSCN3757
Ever had a nice flowerpot break? Being the frugal gardener that I am, I usually just rotate the chip to the back. Alas, the break was way too big to hide this time. I really didn’t want to throw such a pretty pot away, so I decided to reuse it in my flowerbed.

When I looked at my (mostly dormant) flowerbed, I noticed that I had a little lonely parsley that looked like he could use a buddy. That gave me an idea! I could reuse the broken pot and add interest at the same time by putting the two together!

DSCN3761
So I dug a little trench for the pot to hide the broken edge.
DSCN3780
Then I nestled the flowerpot close so now it looks like the parsley is spilling out of the pot. Isn’t that pretty?

Now what about that random shard? How about making a plant label?
DSCN3765
Florida sun can be pretty brutal; I hope that permanent marker is up to the challenge!
DSCN3767
My little Shasta daisy should produce some pretty blooms this year. I started this little plant from seed last year and it has survived our winter. Maybe having a label will inspire it to bloom a little earlier. 🙂

I was able to reuse a broken pot in two ways! What do you think? Do you use broken pots in a creative way?

My Florida Garden in February

Standard

I love being able to go outside on a winter afternoon to harvest vegetables. Often we are able to eat vegetables that were growing in the ground an half hour before dinner. You can’t get much fresher than that! We have been enjoying delicious root vegetables like turnips and daikon radishes, as well as nutritious leafy greens.

Image

I love the purple and white on these turnips.

Image

The daikon radishes above are pretty easy to grow. Most seem to just  use the roots, but the greens are edible too. They seem like turnip greens to me, only a bit milder. I love crops that are edible above and below the ground!

Much of my Florida backyard garden is waiting for some consistent warmth. I have two gardens: the “shed bed”, which is shady for a good part of the day; and a larger, sunnier garden in the corner of the backyard.

Image

“Shed bed” with its fall/winter crops of kale, daikon radish, onions, broccoli, garlic, collards, and other greens such as Swiss chard and lettuce. We can eat greens a few times a week now by just harvesting the outer leaves. Kale is so tasty cooked with just a little olive oil, garlic, and kosher salt. Yum! Just the thing to round out a hearty winter meal.

Image

See how the leaf mulch keeps the weeds under control in the picture above? I seldom have to weed over here.

Image

This corner garden is just hanging on with its onions, few turnips and rutabagas, cauliflower, and broccoli. Soon it will be full of tomatoes, green beans, and eggplants.

Image

This broccoli is “buttoning”, or forming little broccoli florets rather than large heads. I think the snow and ice that we experienced here in the Florida Panhandle stressed it out a bit. My daughter doesn’t mind though, she eats them raw.

Image

Isn’t that just the cutest little cauliflower you’ve ever seen? I had some last year that turned out to be very yummy so I have high hopes for this year. Hopefully they will reach full size by the middle of April.

The corner bed was the big expansion last year. I remember indicating an area roughly 23’x25′ to my husband, then watching him till under this huge corner of the backyard and thinking,”What have I done?!”

I filled it though, and last summer we enjoyed homemade spaghetti sauce, tender eggplant, fresh green beans, and crisp bell peppers. For most of the summer I hardly bought vegetables. It was worth it!

This year, I plan to double the size of that garden.

Ambitious, yes, I know. Either that, or slightly crazy. What do you think?

February Garden To-Do List

Standard

Short answer: Getting ready for spring! If I can get the right plants started now, I’ll have a great start on the season. We have just a few month of moderate warm before the blasting heat kills the tomatoes in June. If I plant too early, or if it gets cold unexpectedly, the poor little plants may suffer and I may have to start all over again. It’s a risk I’m willing to take as I try to avoid succumbing to cabin fever.

I’ve started tomatoes, peppers, and eggplants from seed this year. I start mine in empty plastic cell packs that I salvaged from my local Lowe’s. When the plant starts are beyond clearance, they end up in trash bins or recycle racks. My cashier asked me to dump the dying plants out with their soil first, then let me take as many as I wanted.
DSCN3716
Dill seedlings- hoping for great pickles this year!
DSCN3715
Little tomato seedlings. BLTs seem so far away…
DSCN3712
Baby cilantro. Nothing like homemade salsa!

It’s also a great time to weed and mulch. The weeds are small, so I’m getting them under control now and then will cover the bare areas with mulch. I use leaves as mulch in my vegetable gardens. They’re a great addition to the soil as they decompose and they are free, too! Start looking around, some of your neighbors may have been so kind as to bag some up for you.
DSCN3732
See how the kale doesn’t have many weeds? I also like how it helps to keep the vegetables cleaner. Dirt and sand are less likely to splash on them during a hard rainstorm.
DSCN3733
The Swiss chard likes the mulch too. I hate weeding, so I try to be proactive and smother the ground around my plants.

In my flowerbed, though, I plan to have so many flowers growing and acting as “living mulch” to shade out the weeds. I’d much rather spend my gardening moolah on seeds or pretty flowerpots than bark chips.

Some new flowers that I’m starting: milkweed (for the butterflies), painted daisies, nasturtiums, black-eyed Susans, and blanket flowers. I loved my zinnias and petunias last year and am planting them again.

1045097_270647036410494_1604609450_n
Zinnias were great for attracting butterflies.
9390_270647163077148_2120498316_n
I was able to save some of the tiny petunia seeds from my Mother’s Day hanging baskets last year. Special memories are connected to those flowers.

I’ve also been sketching out where I want to put everything. I love to plant on paper before I start digging in the ground. Literal “back of the envelope calculations” and rough sketches help me avoid the temptation to over-plant.
DSCN3734closeupsketch
I may be the only one who understands the scribbling, but it helps me get organized rather than just plopping plants in the ground.

So I’m starting seeds, weeding, mulching, and planning the garden in February. I’m getting ready for some fresh tomatoes! What are you looking forward to from your garden??

Why Another Garden Blog?

Standard

DSCN3652

My Florida backyard garden is a source of so much happiness and so many wonderful vegetables. Here in the Florida panhandle (zone 8b), we can grow something fresh and healthy all year long. Vegetable gardening in northwest Florida is sometimes challenging, but it is very rewarding to grow plants that are both beautiful and productive. In this blog, you are invited to peek over my fence and watch my garden grow.

There are already many sites and blogs dedicated to the outdoors; why did I decide to add yet another gardening blog?

It started when I began vegetable gardening in the Florida panhandle. I found myself (as many of you are) searching for resources that would first tell me what should be planted and then show me what they were growing. Growing vegetables here is completely different than what is portrayed in many gardening books.

Usually my dear research assistant, Mr. Google, provided me with zillions of sites and I found what I needed on the first page. However, I found it hard to find many people sharing their gardens in my area. What I did find I read voraciously and studied intently. I love gardening and have learned so much; both by research, and by hard-won experience.

Some tell me that I have the coveted green thumb, but I say with H. Fred Ale, “My green thumb came only as a result of the mistakes I made while learning to see things from the plant’s point of view.” I hope that I can create a resource to make gardening a bit easier for you. I also plan to share resources that I found helpful.

I am so grateful that I have my little garden journal to refer to as I start seeds(see my seed-starting tutorial here, plant my okra, and harvest tomatoes; but now I plan to have an illustrated journal here, on coffeetocompost.com. I find that few things are more cheerful in the damp cold days of February than looking back to pictures of the enthusiastic garden in June.

I love to have my hands in the soil, feed the compost, watch little sproutlings grow, and feel the hope that a packet of seeds brings.  If you eagerly await the seed catalogs each year, obsessively monitor your seedlings’ progress, frantically try new ways to outwit frost,or just want to figure out how to have fresh basil this year; let’s garden together.