Category Archives: Garden Tips

Are Those Plants in There?!

Standard

My husband, so tolerant of my backyard gardening, came home to an interesting sight one evening.

Image

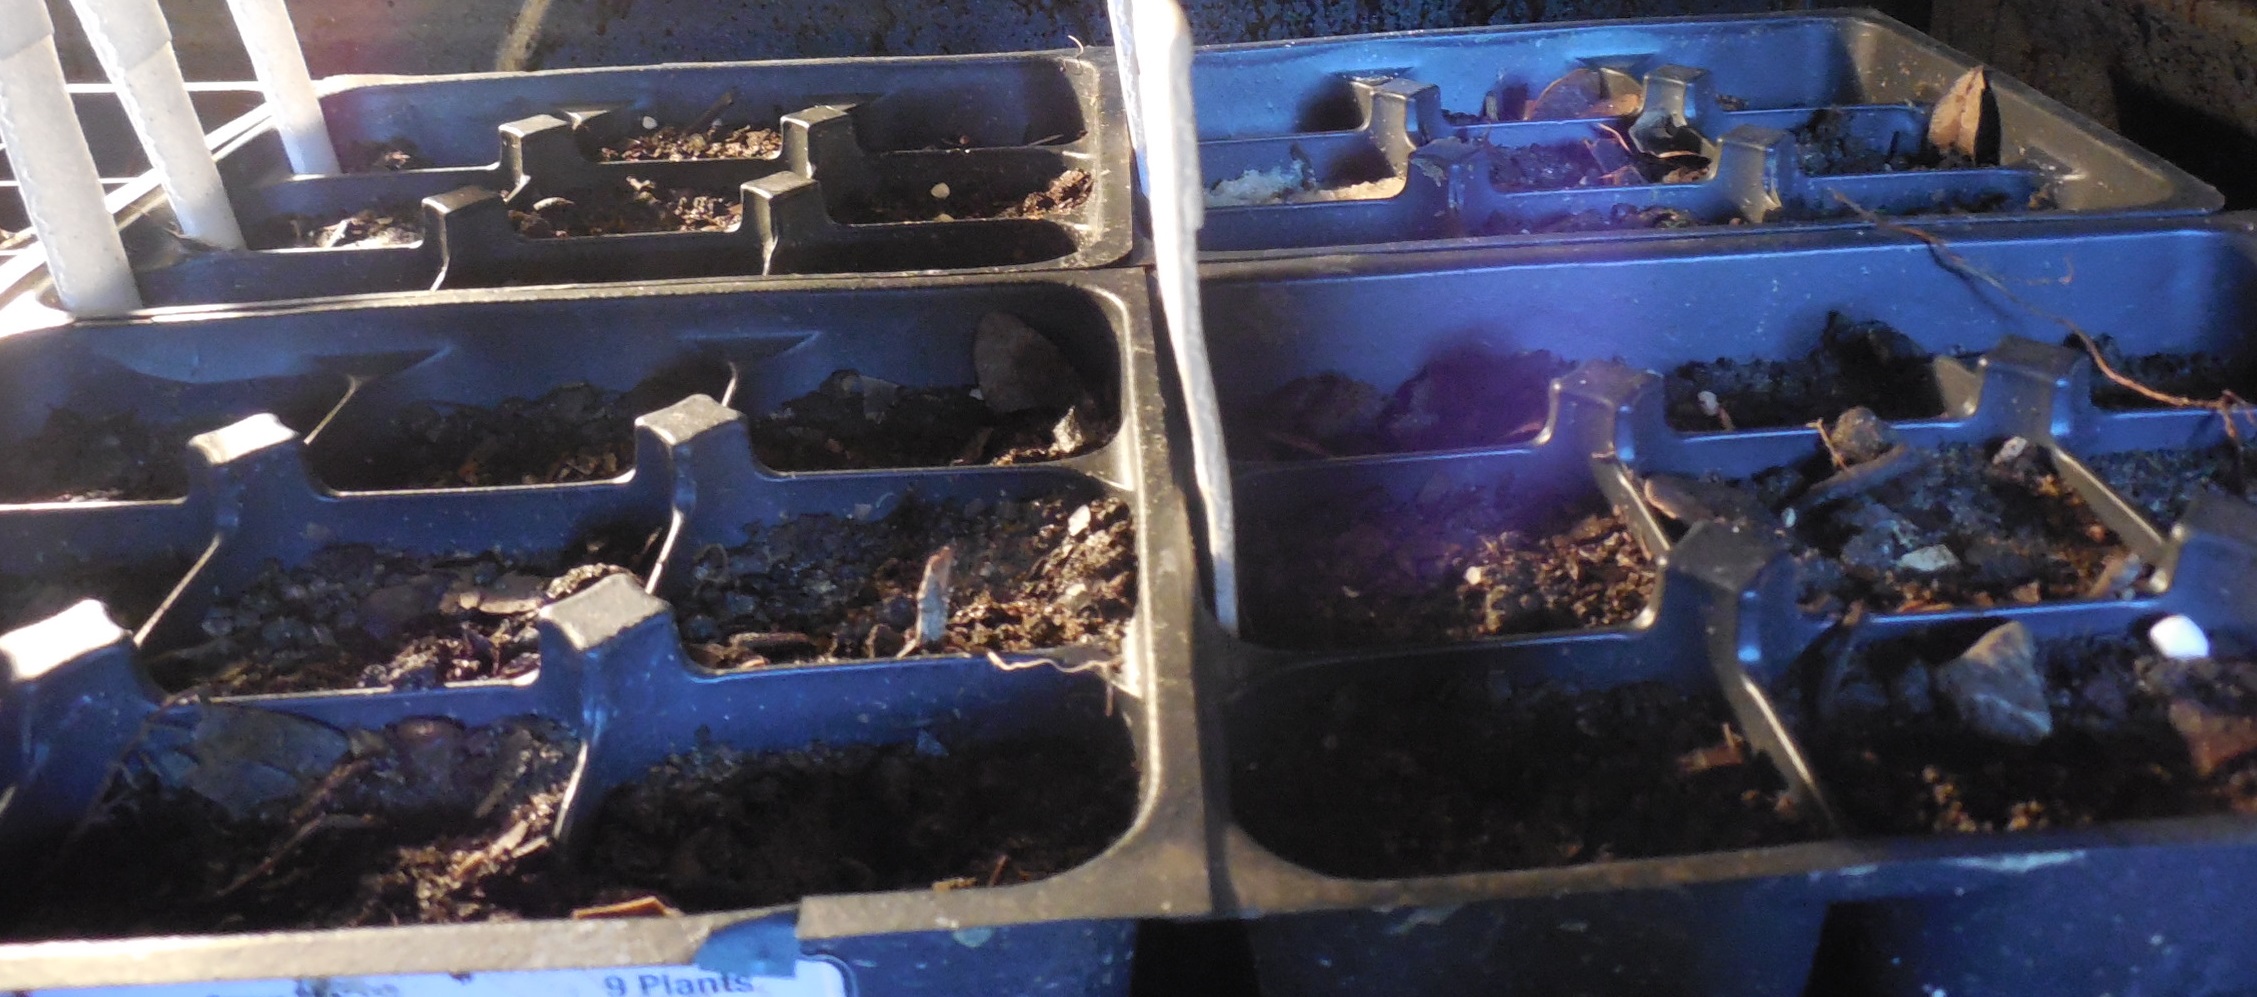
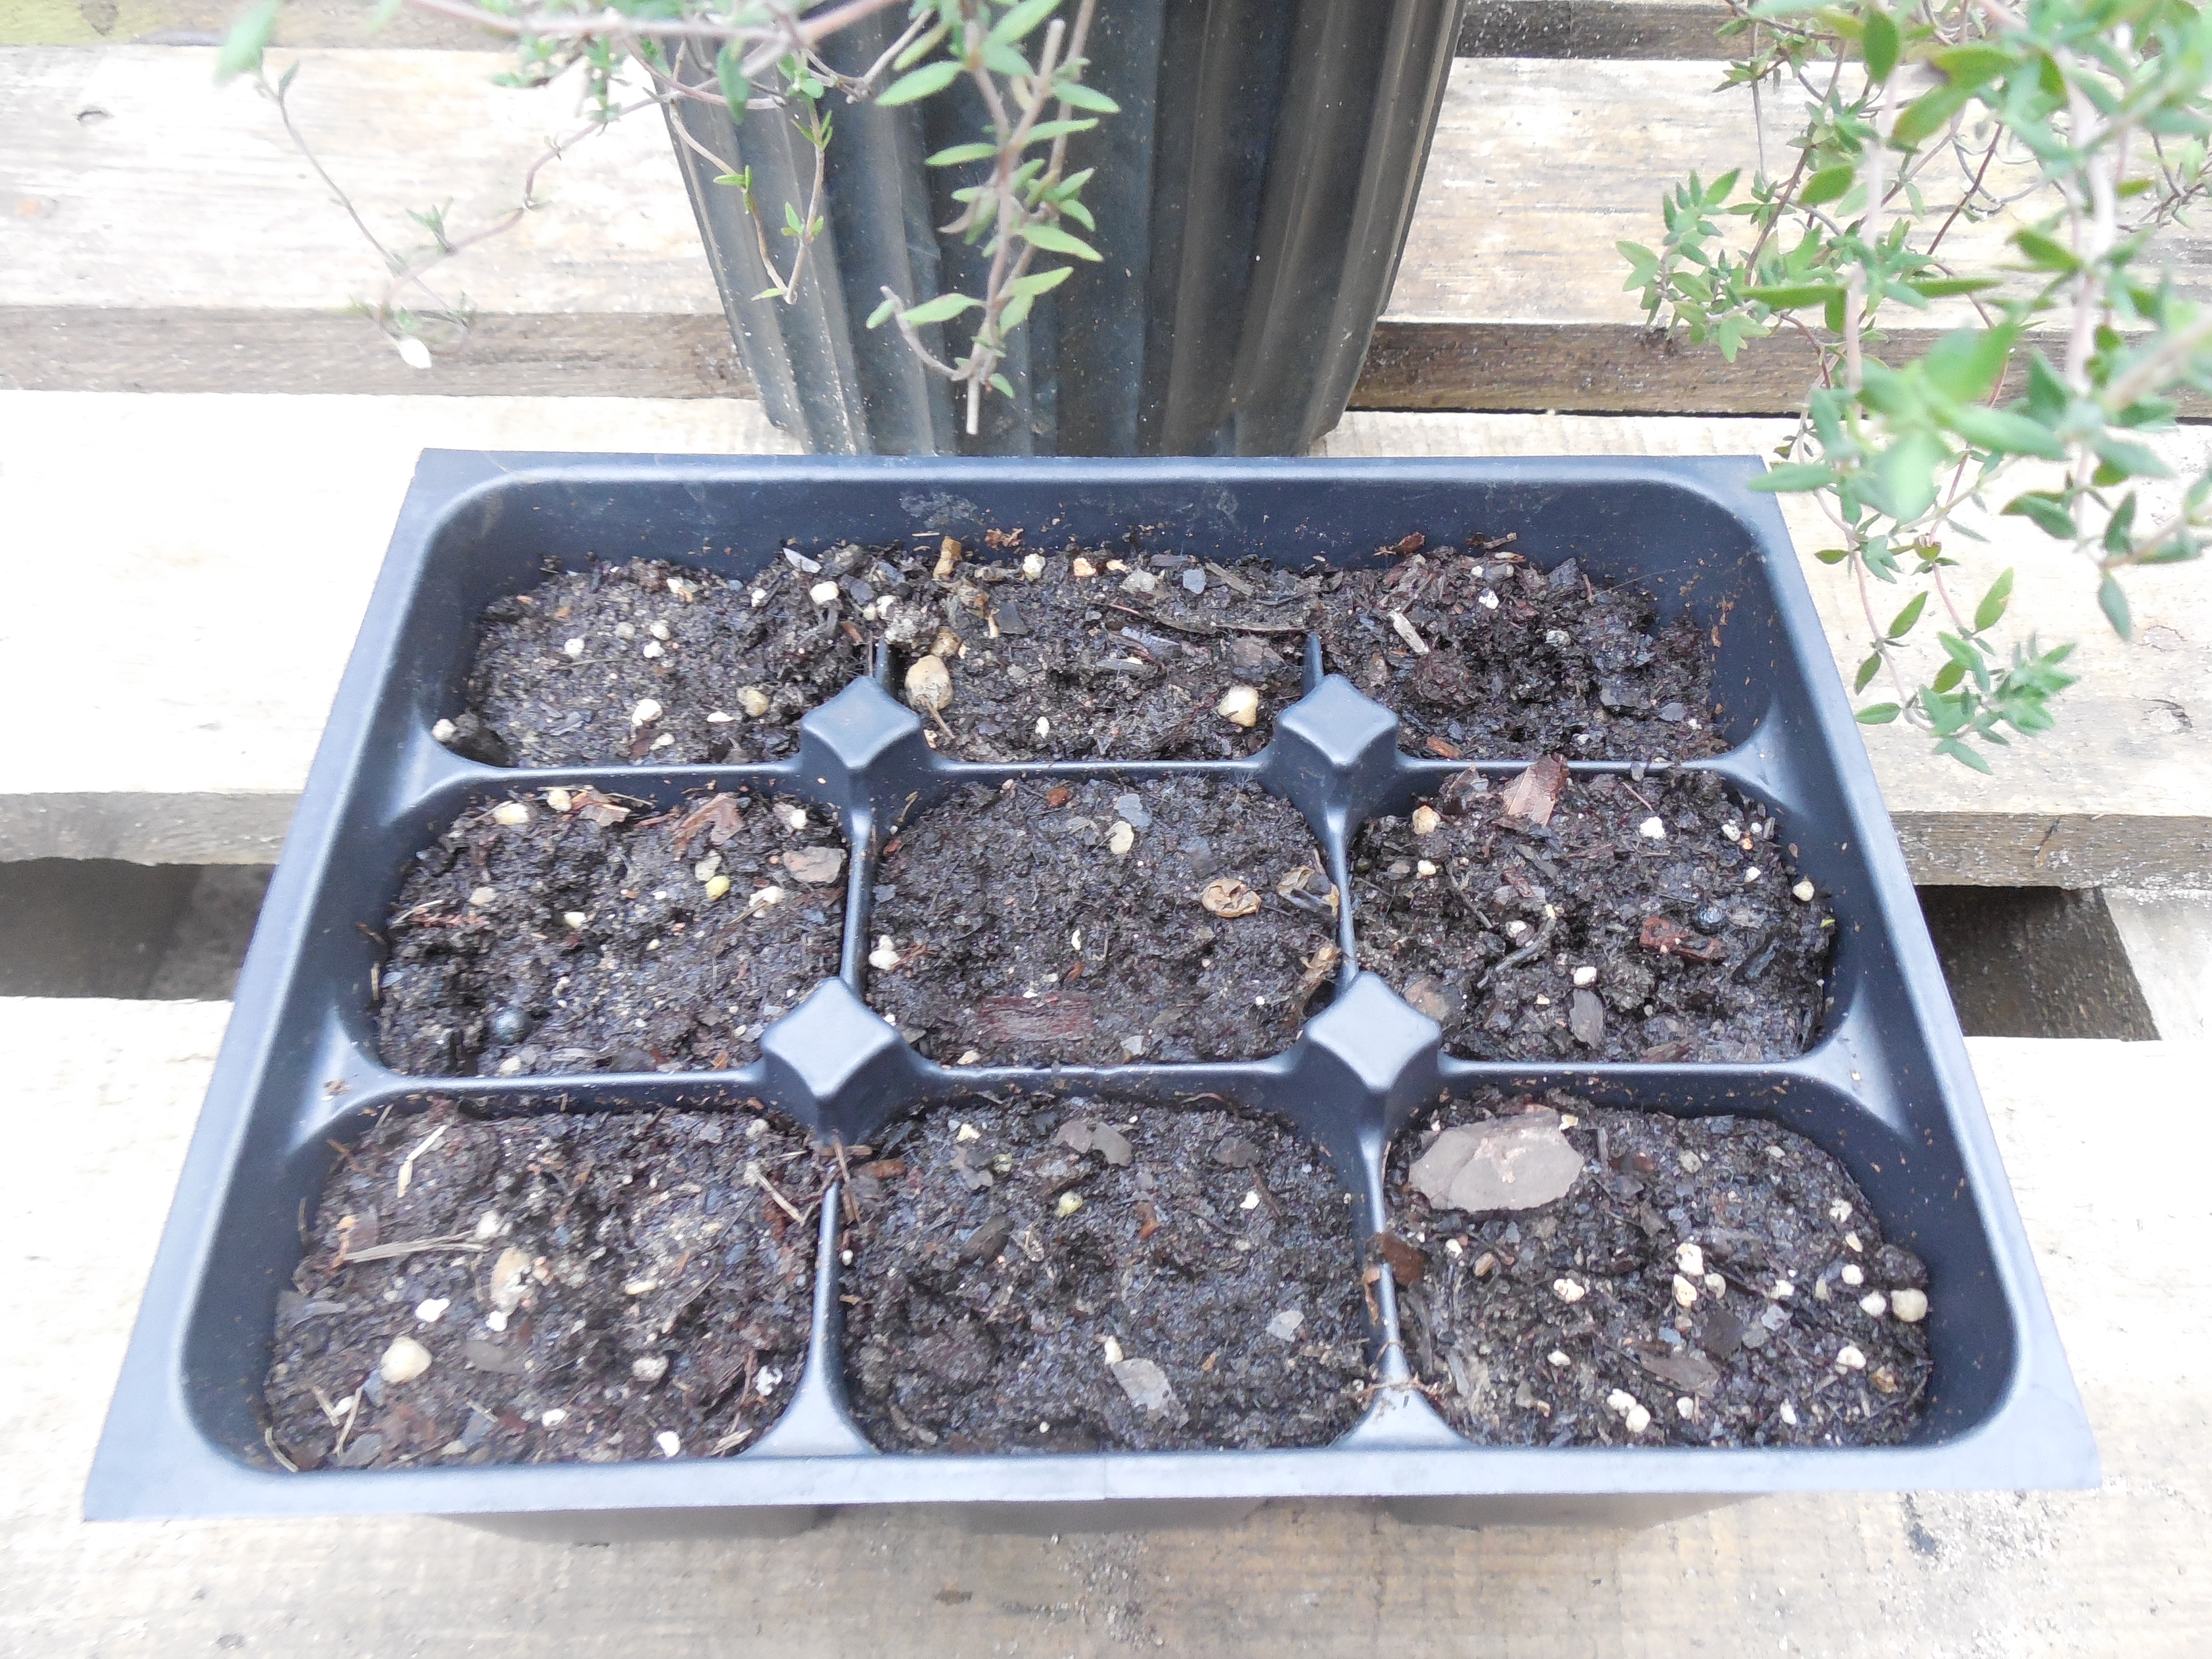
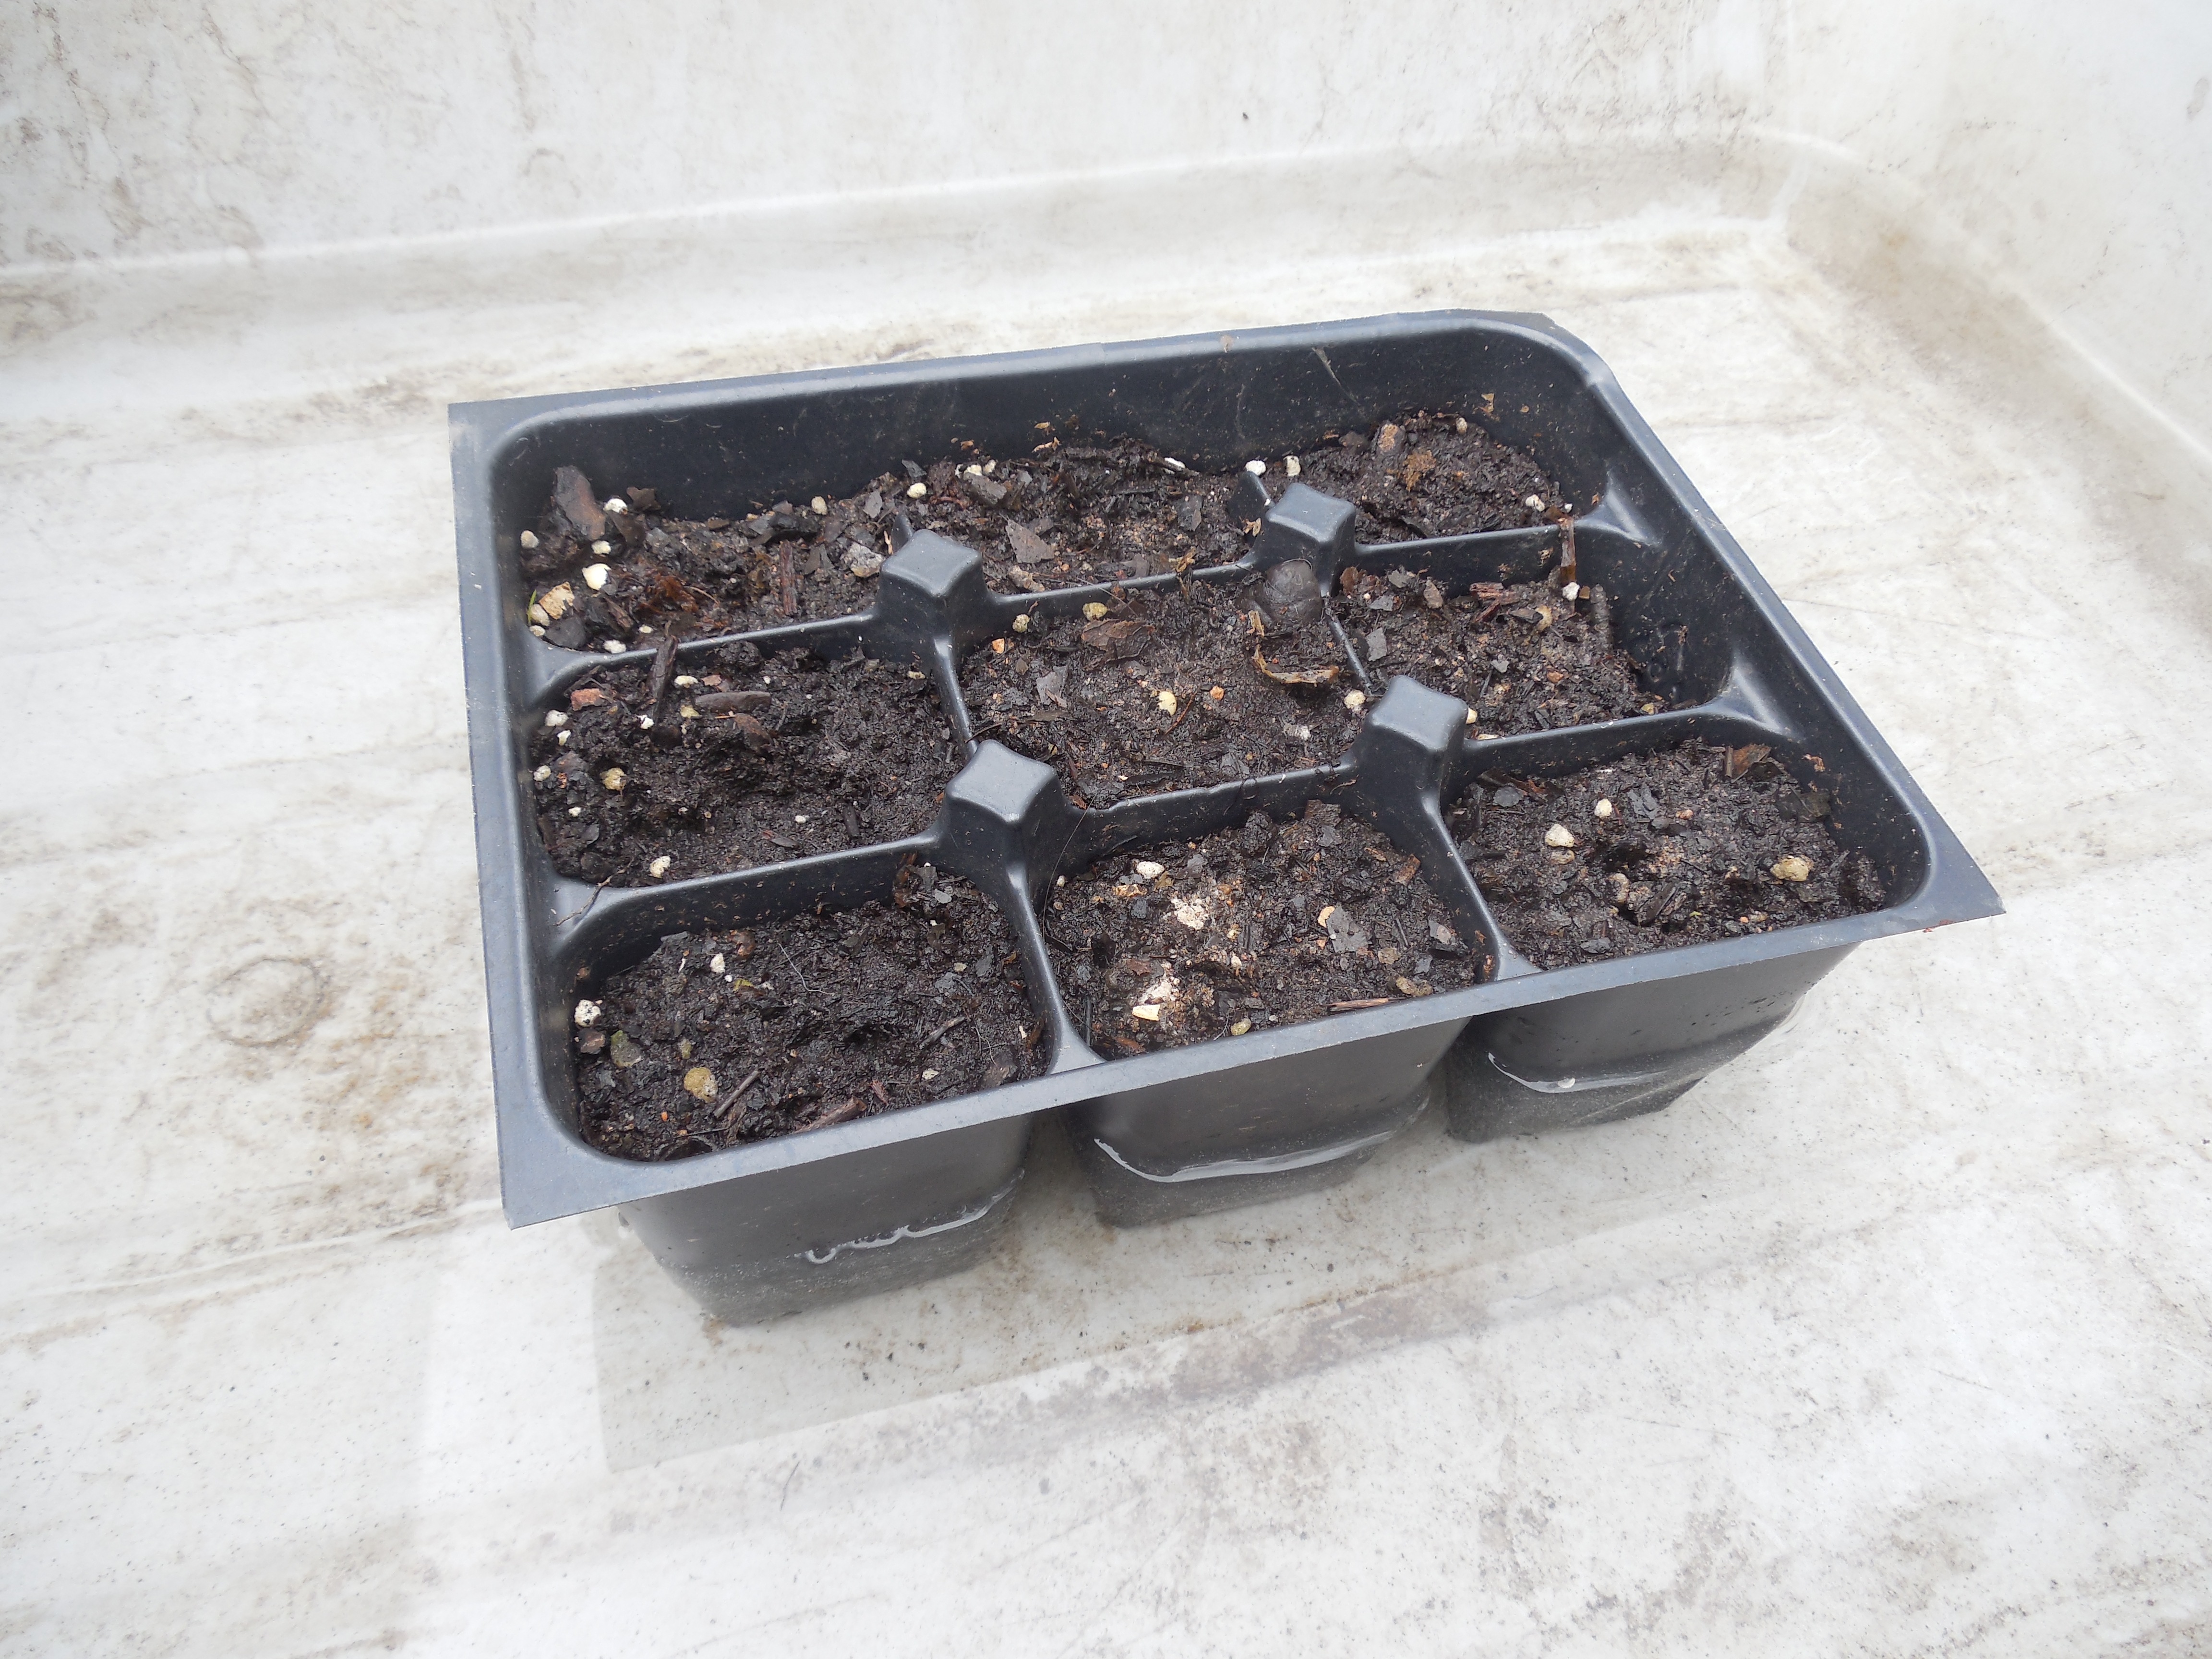
Can you tell where these flats are?

Here are a few hints: enclosed area, bad lighting, mild warmth.

Yep, the oven!

The tomatoes were in there because of the petunias.

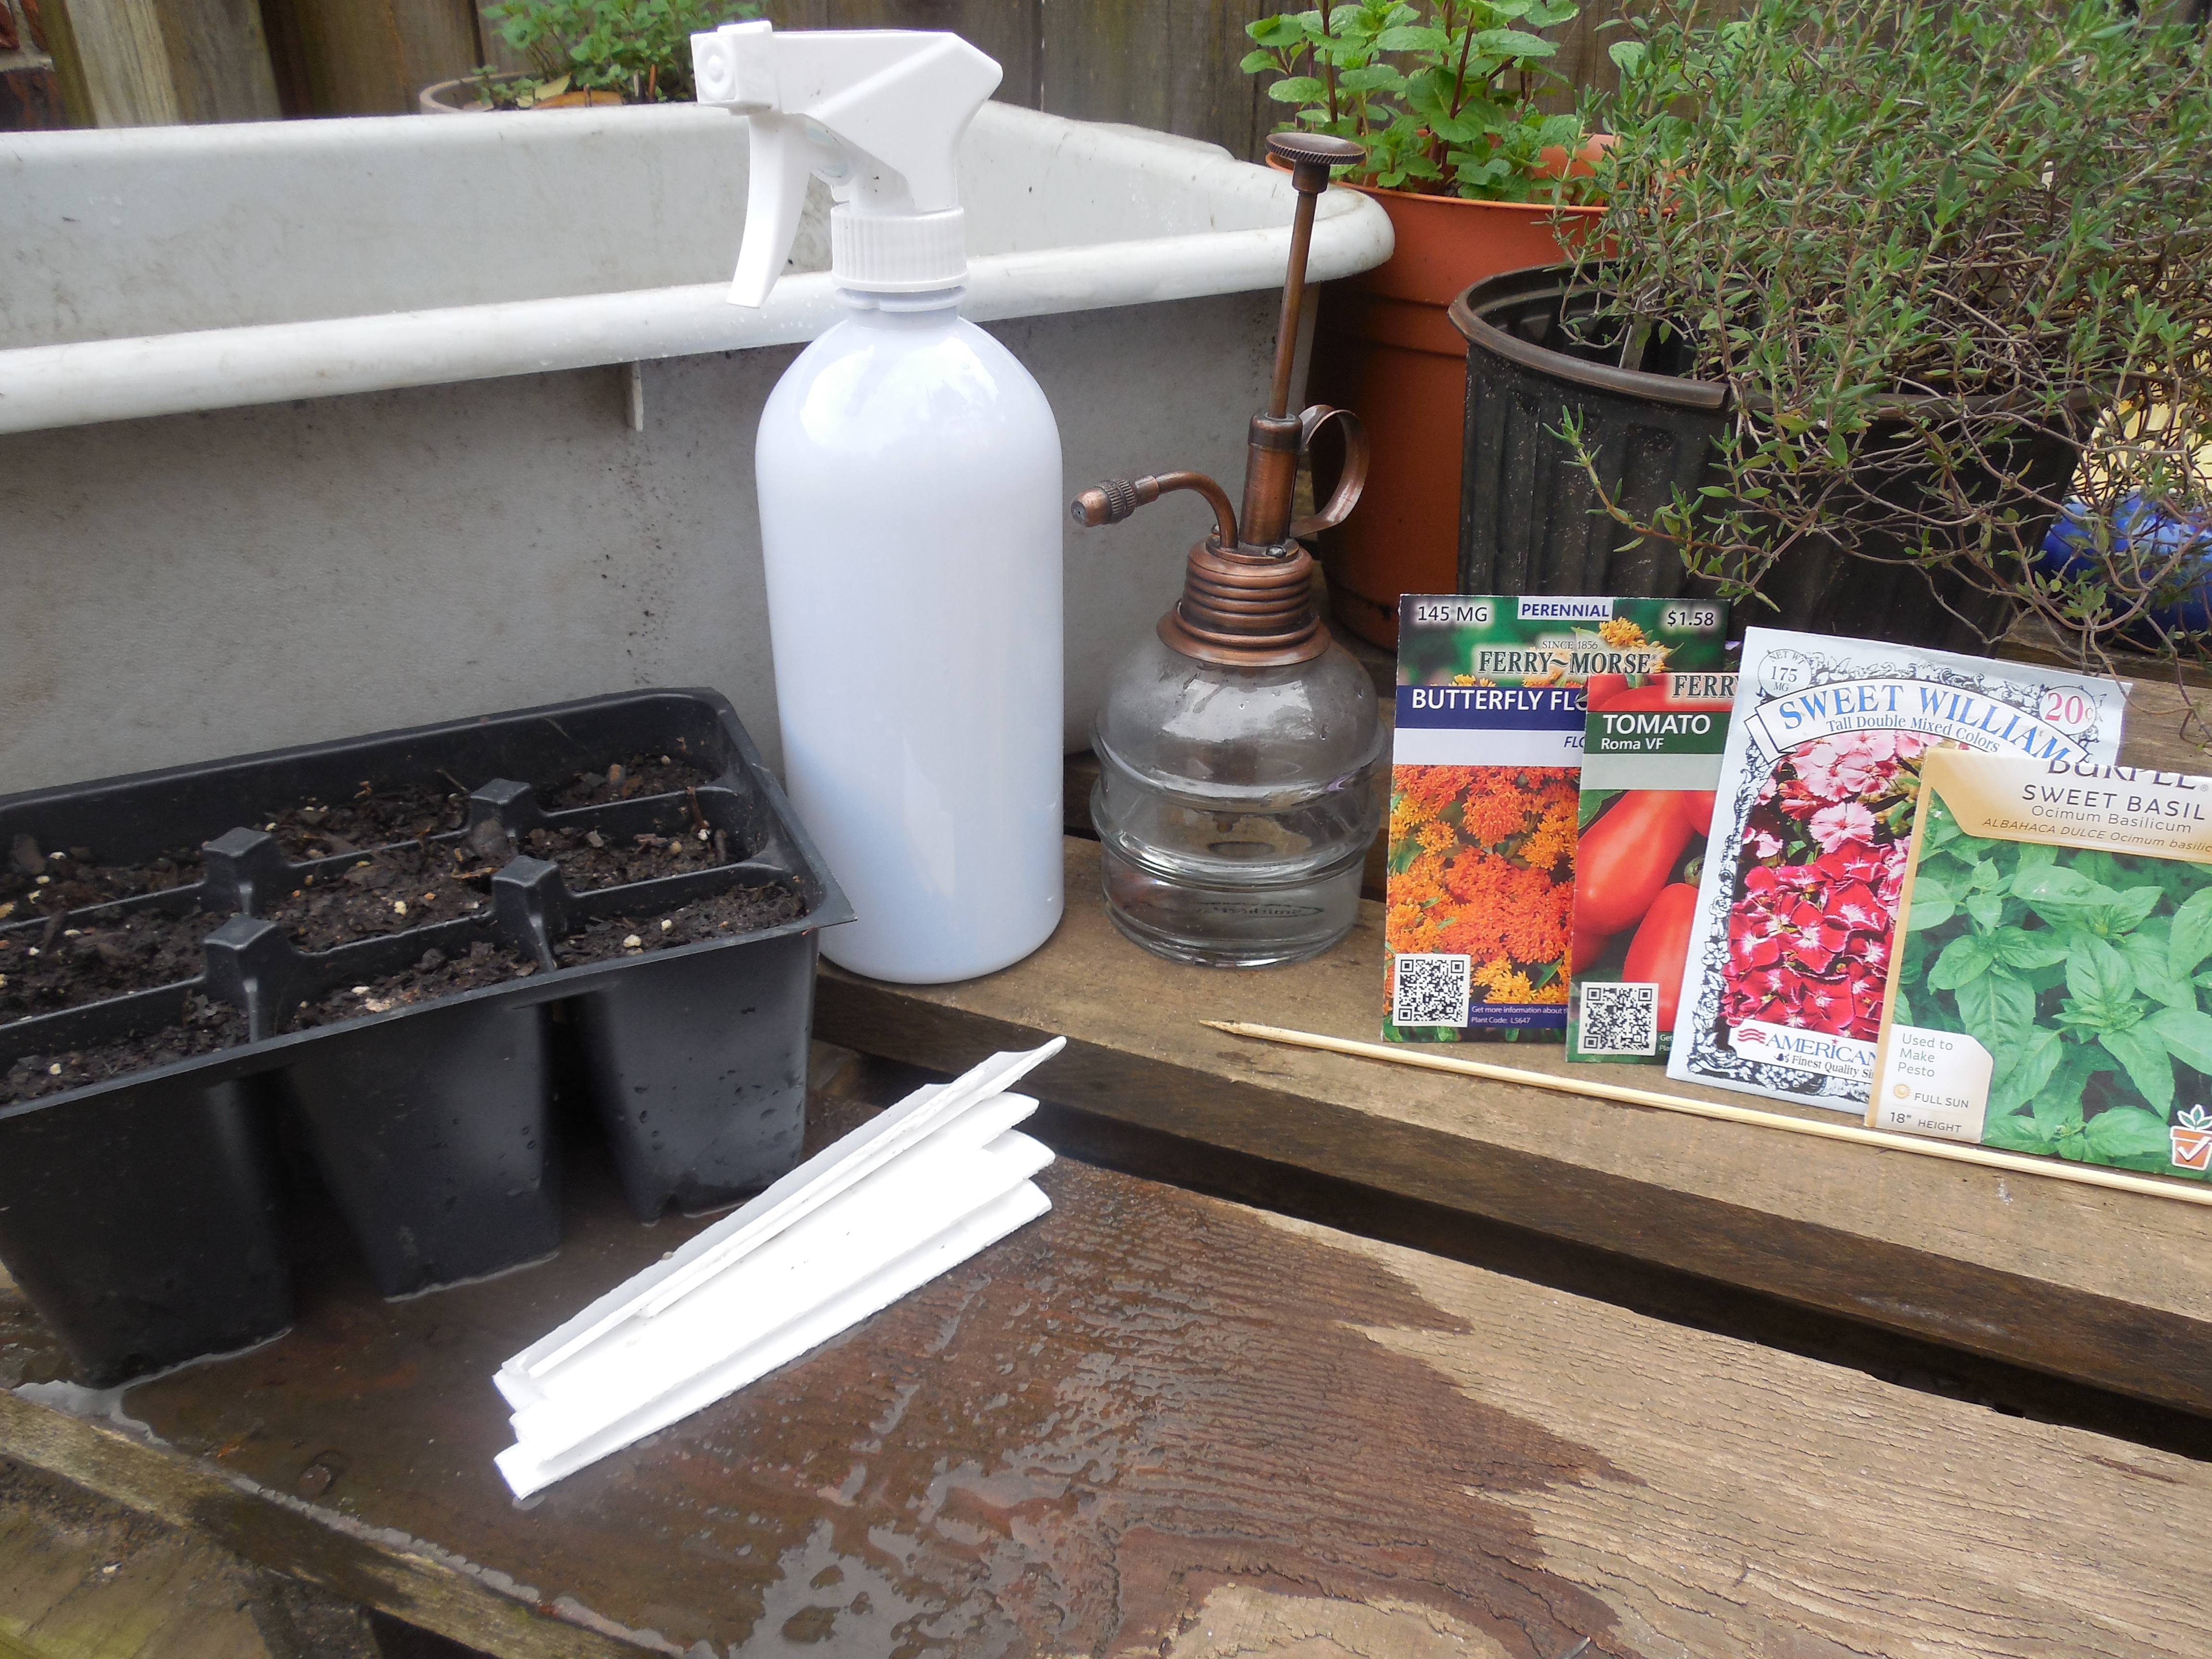
You see, the tomato and flower seeds sowed on the 1st hadn’t germinated yet; and weren’t likely to germinate anytime soon, thanks to the cool temperatures. With many nights reaching freezing temperatures, the flats were coming in and out, depending on the weather forecast.

Image

After one night in my laundry room, I had petunia sprouts!

So I reasoned with myself, “If a little warmth is good, more warmth must be even better!”

So on the 11th of February, I decided to try the oven trick, which is when you put your seeds in the oven with just the light on – NO OTHER HEAT!

This is when my dear husband noticed them. 🙂 He got over his shock quickly, which probably only makes you wonder what other crazy things I’ve done for my plants…

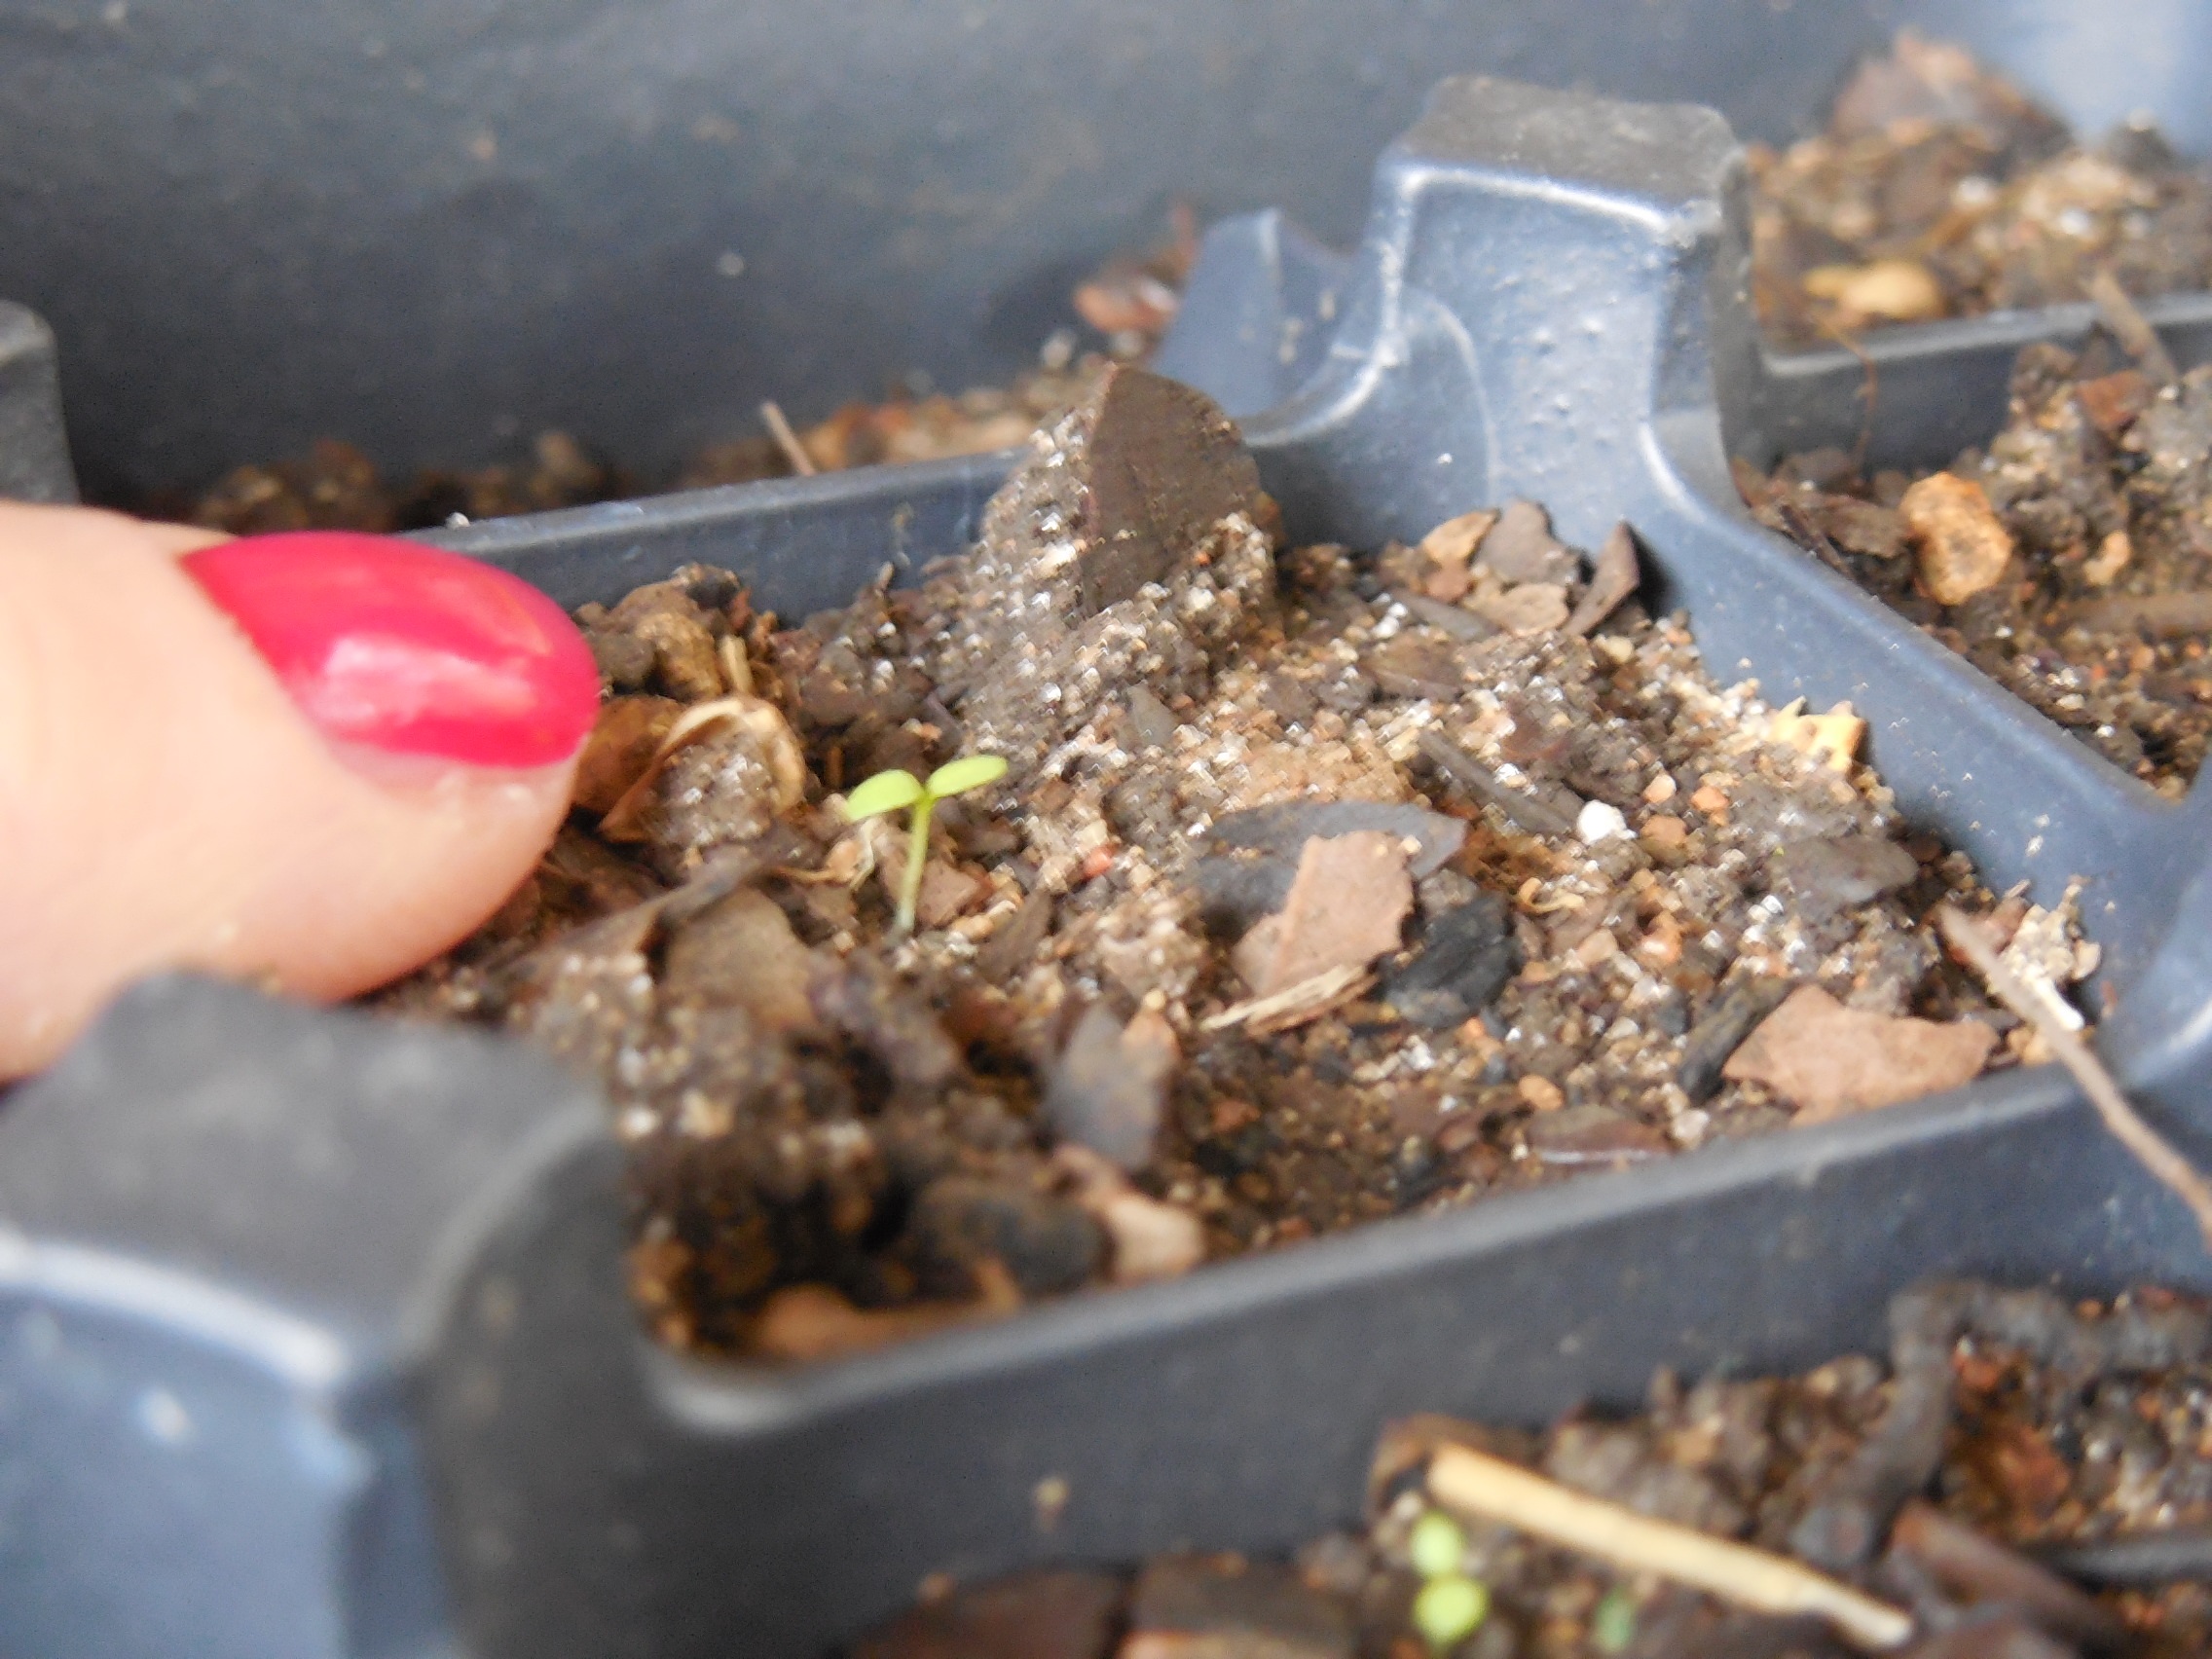
Anyway, back to this story. I was so eager to check them the next morning. Can you believe that the little oven light had produced enough heat that I was seeing germination overnight! I was so excited!

Image

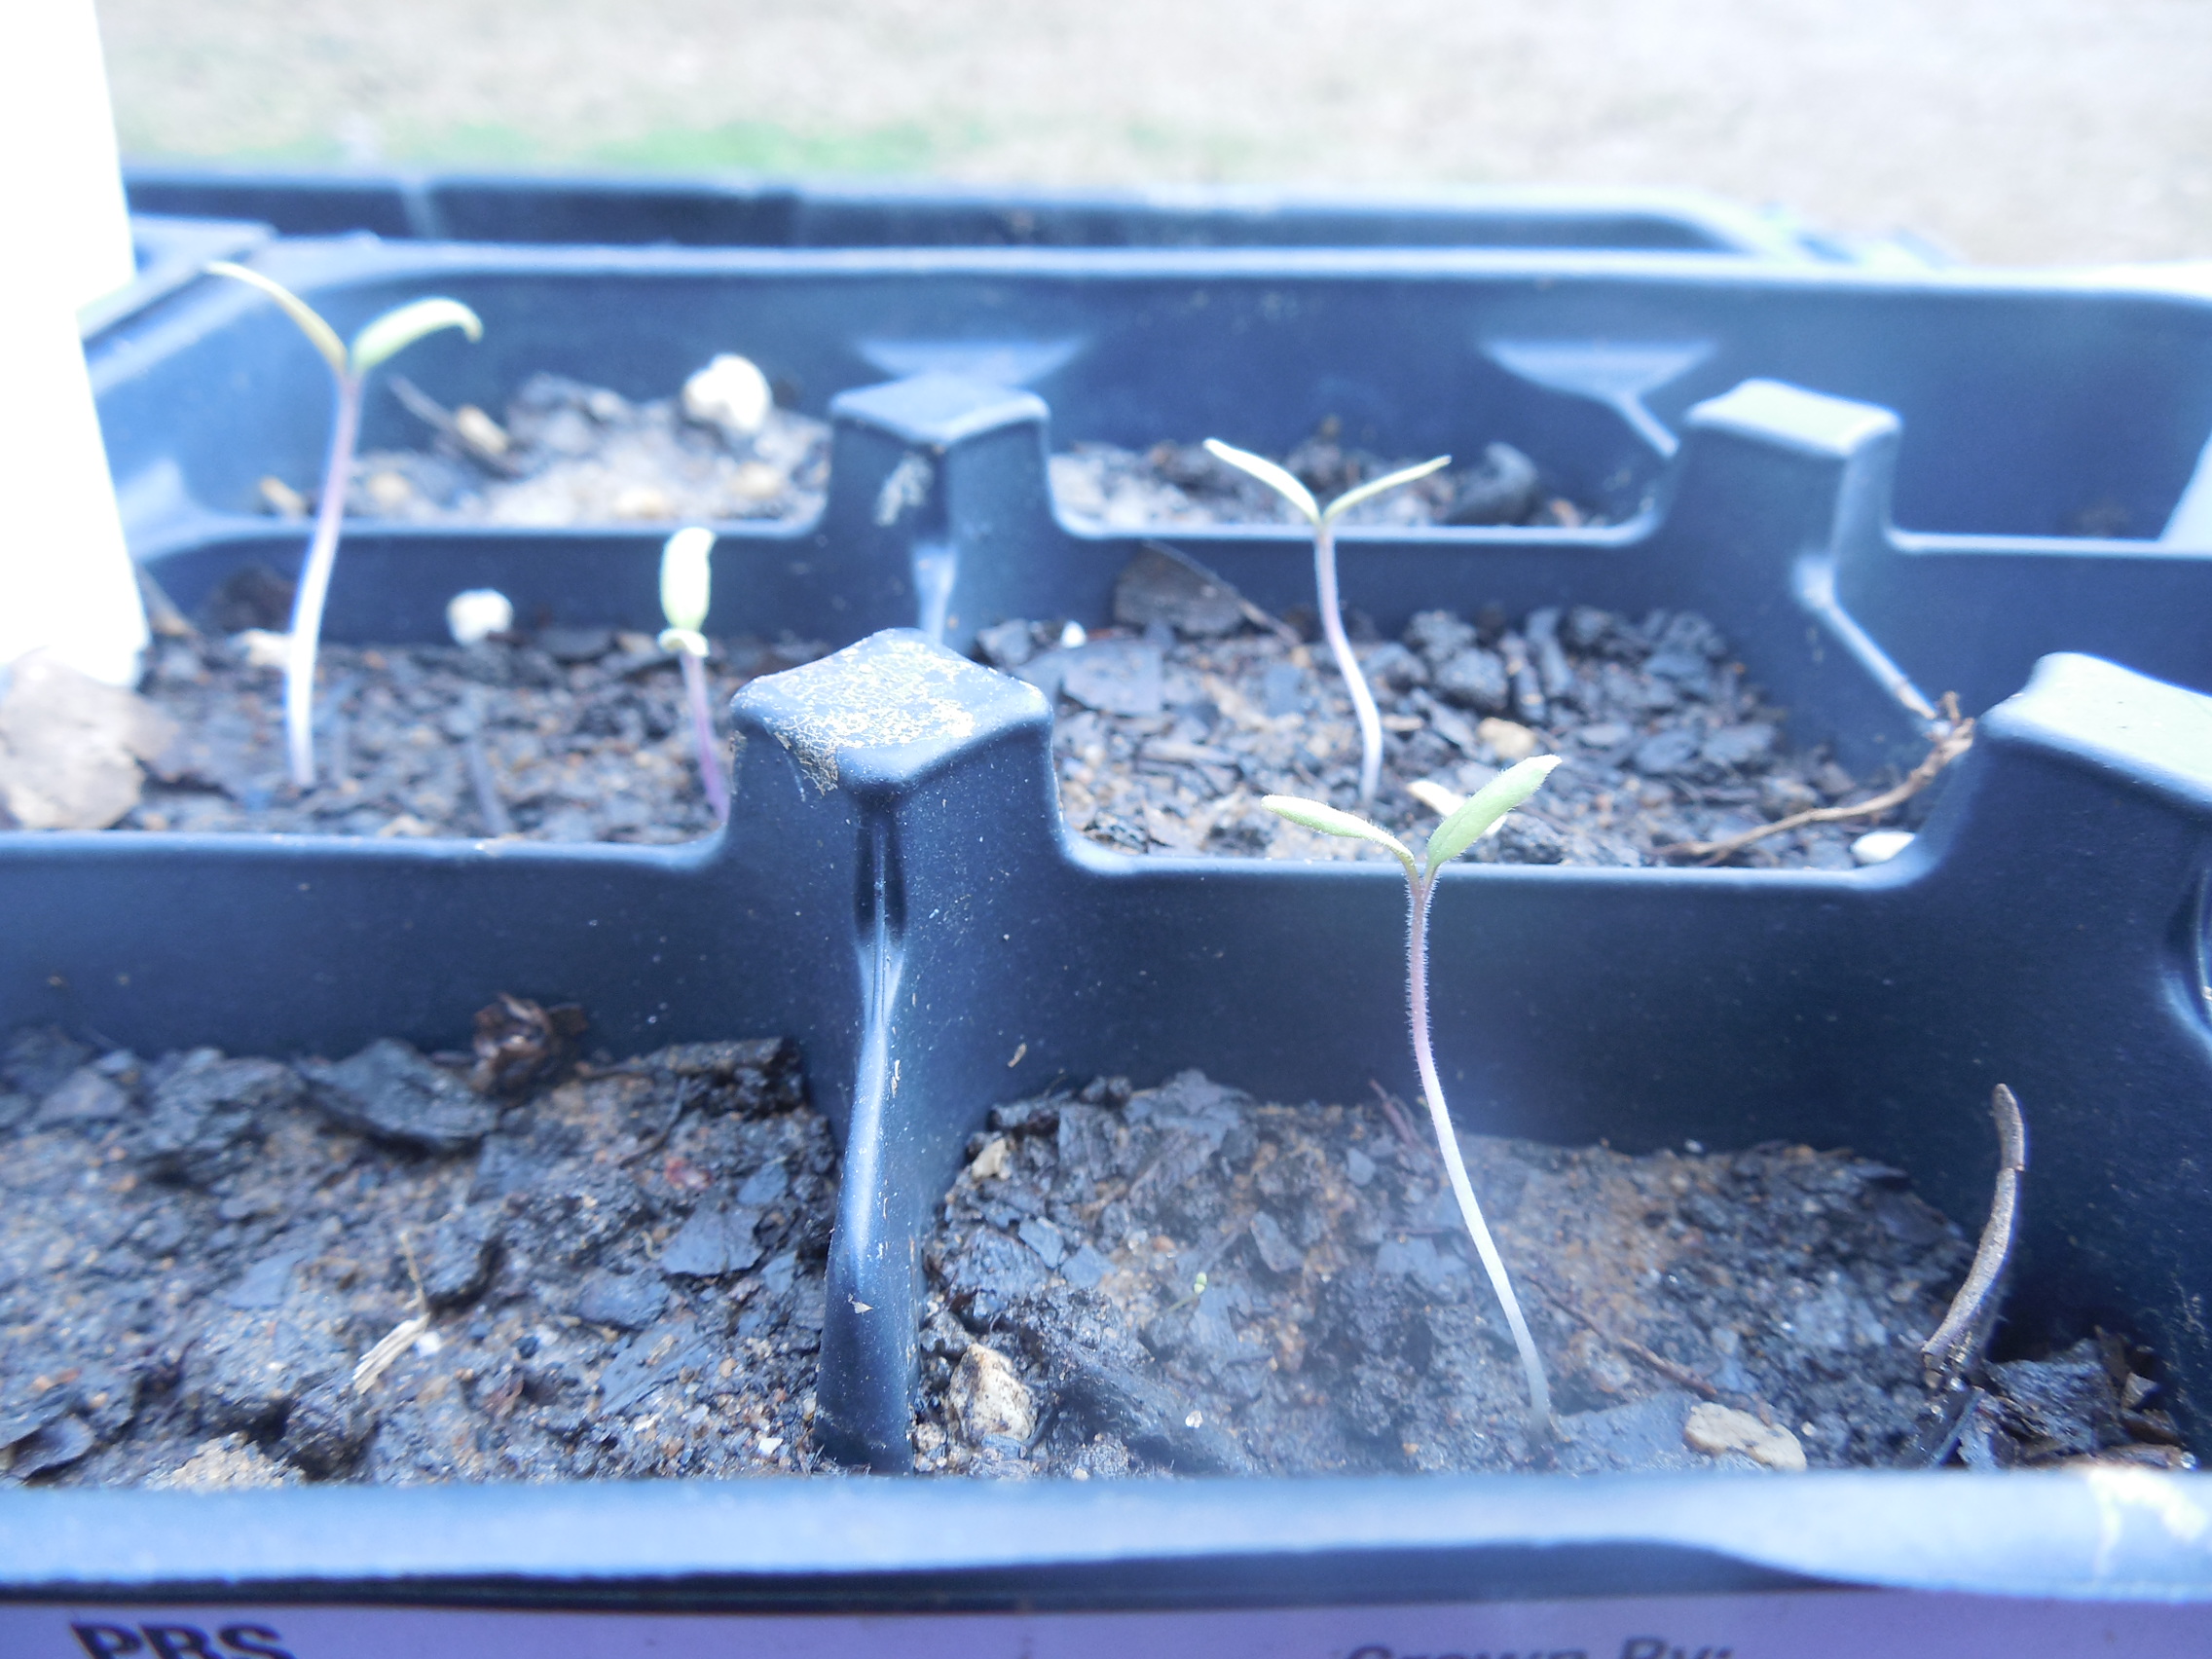
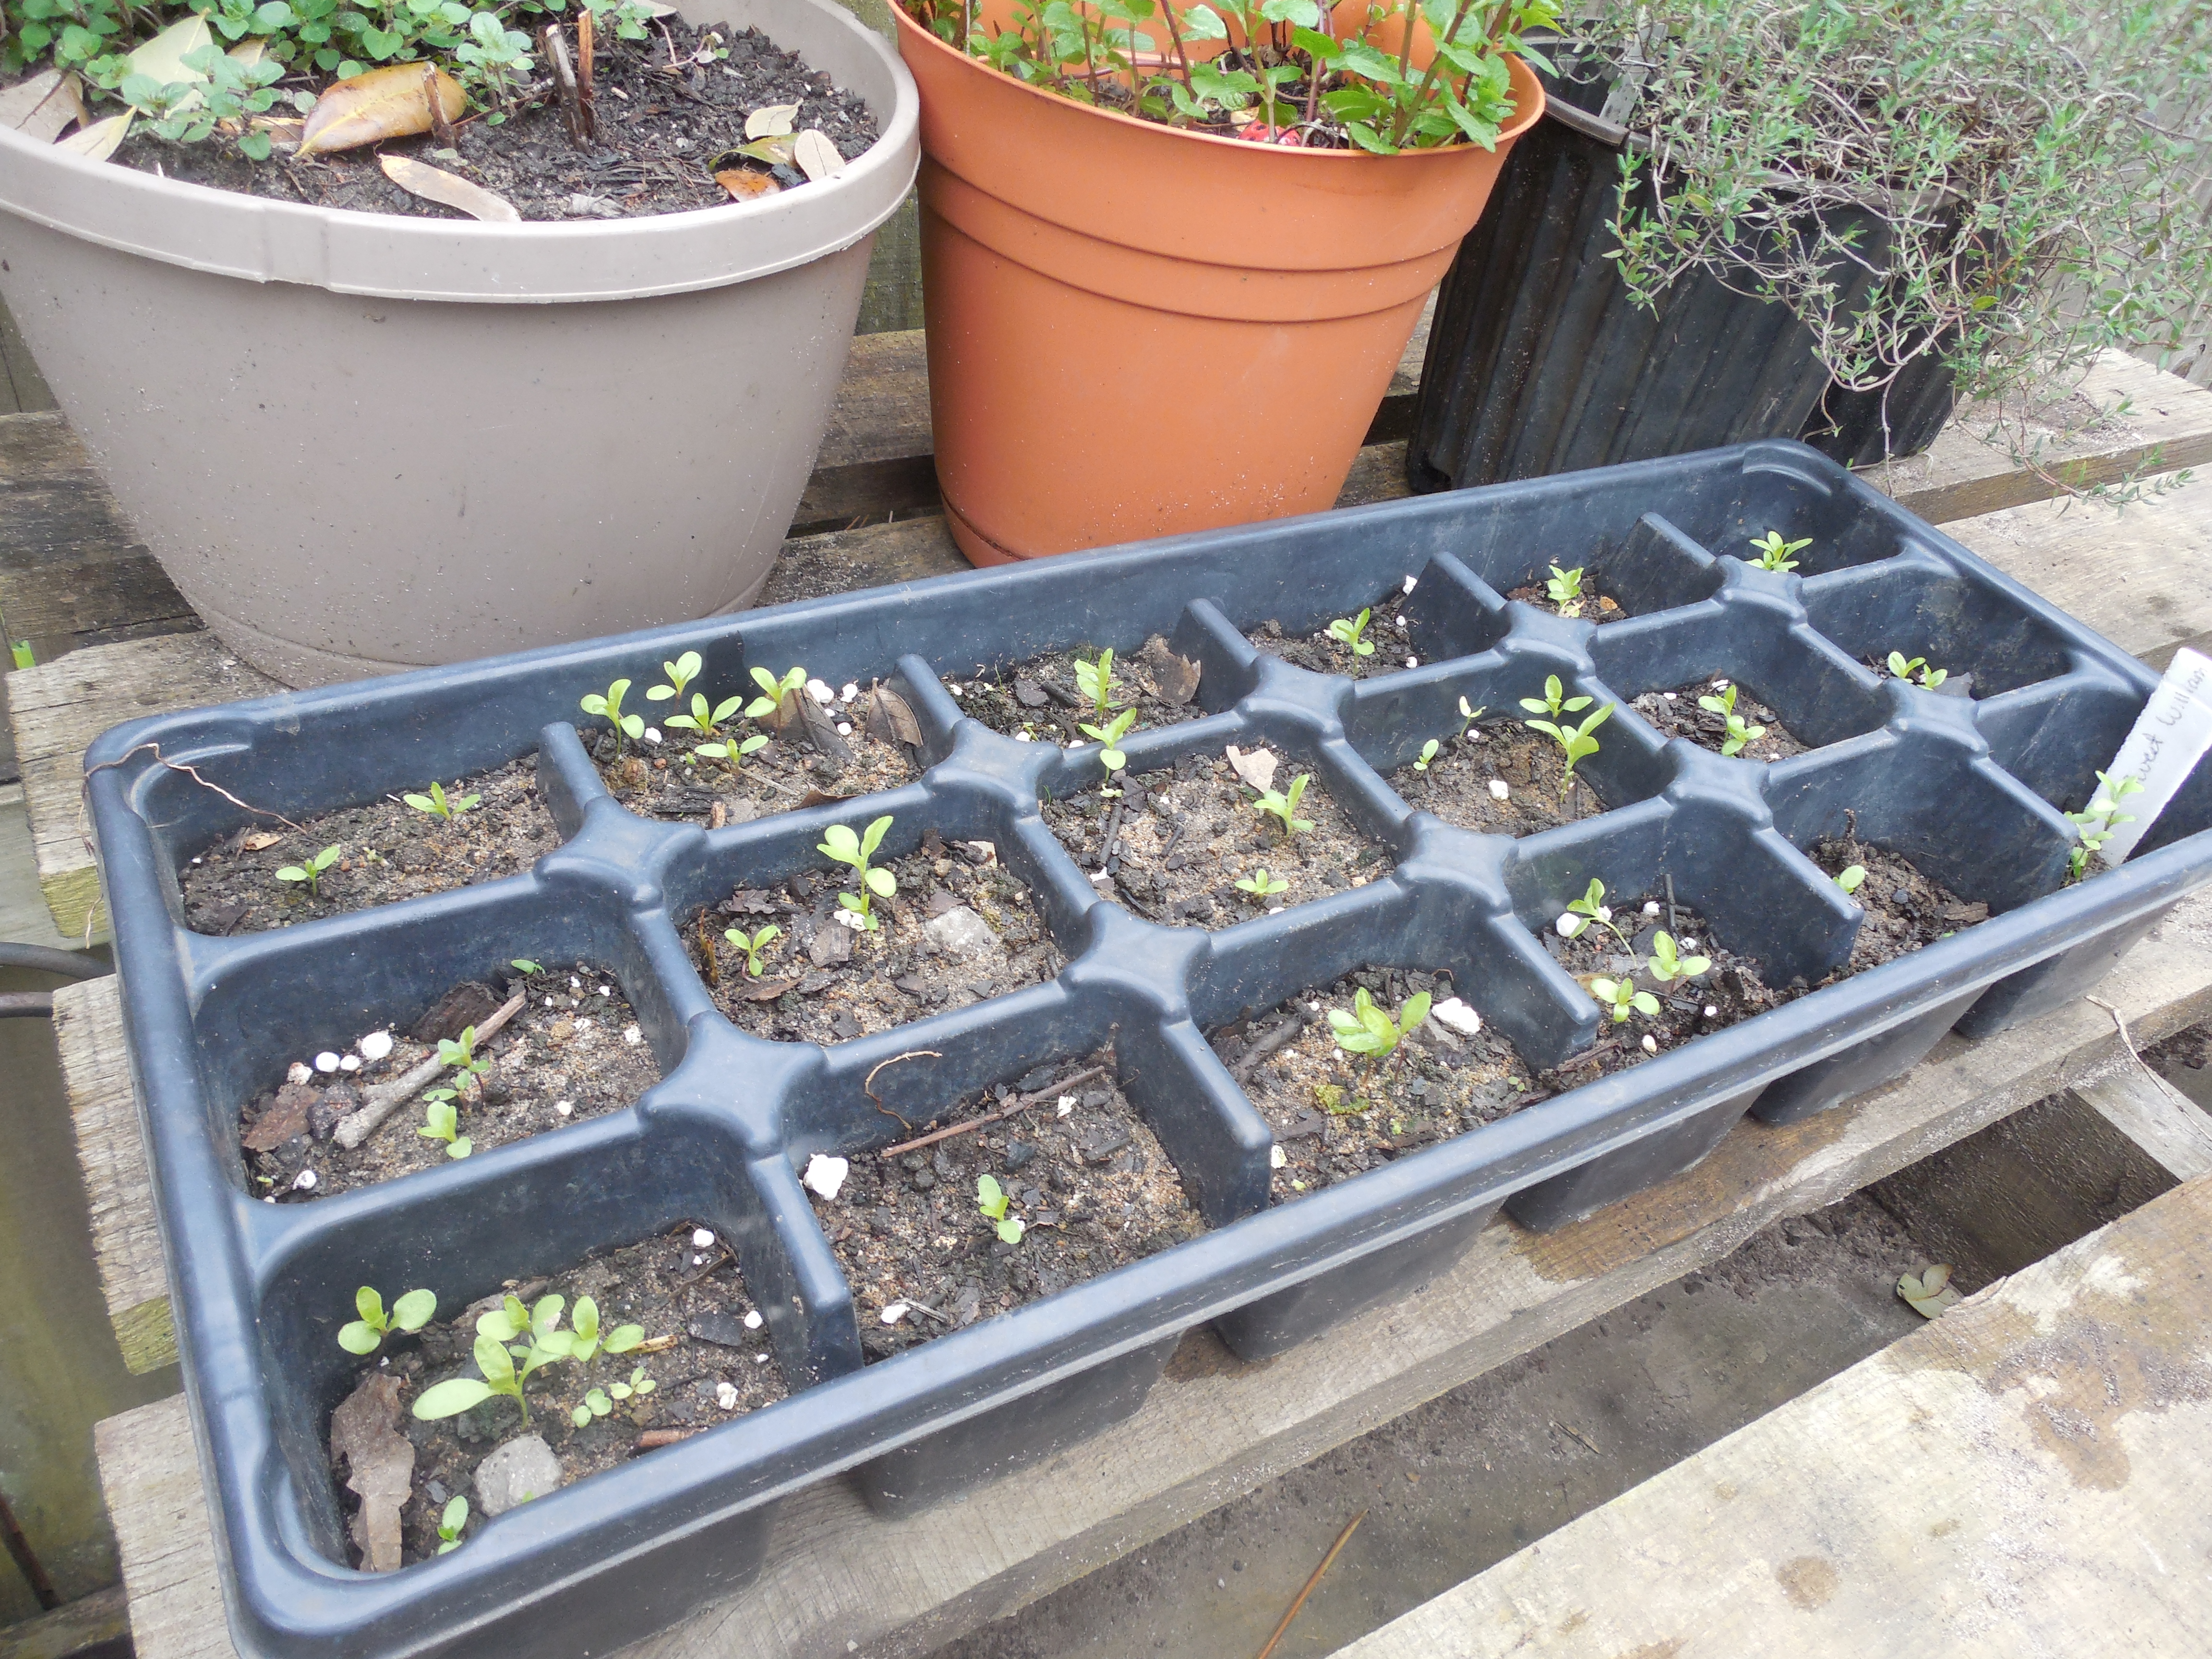
Here are some brand new tomato seedlings.This oven method is wonderful for the seeds that need warmth to germinate, like peppers and eggplants.

Just be sure that you get them under a bright light source THAT DAY. I knew that I should get them under light, but didn’t. As a result,a few seedlings were sacrificed on the altar of experience.

Image

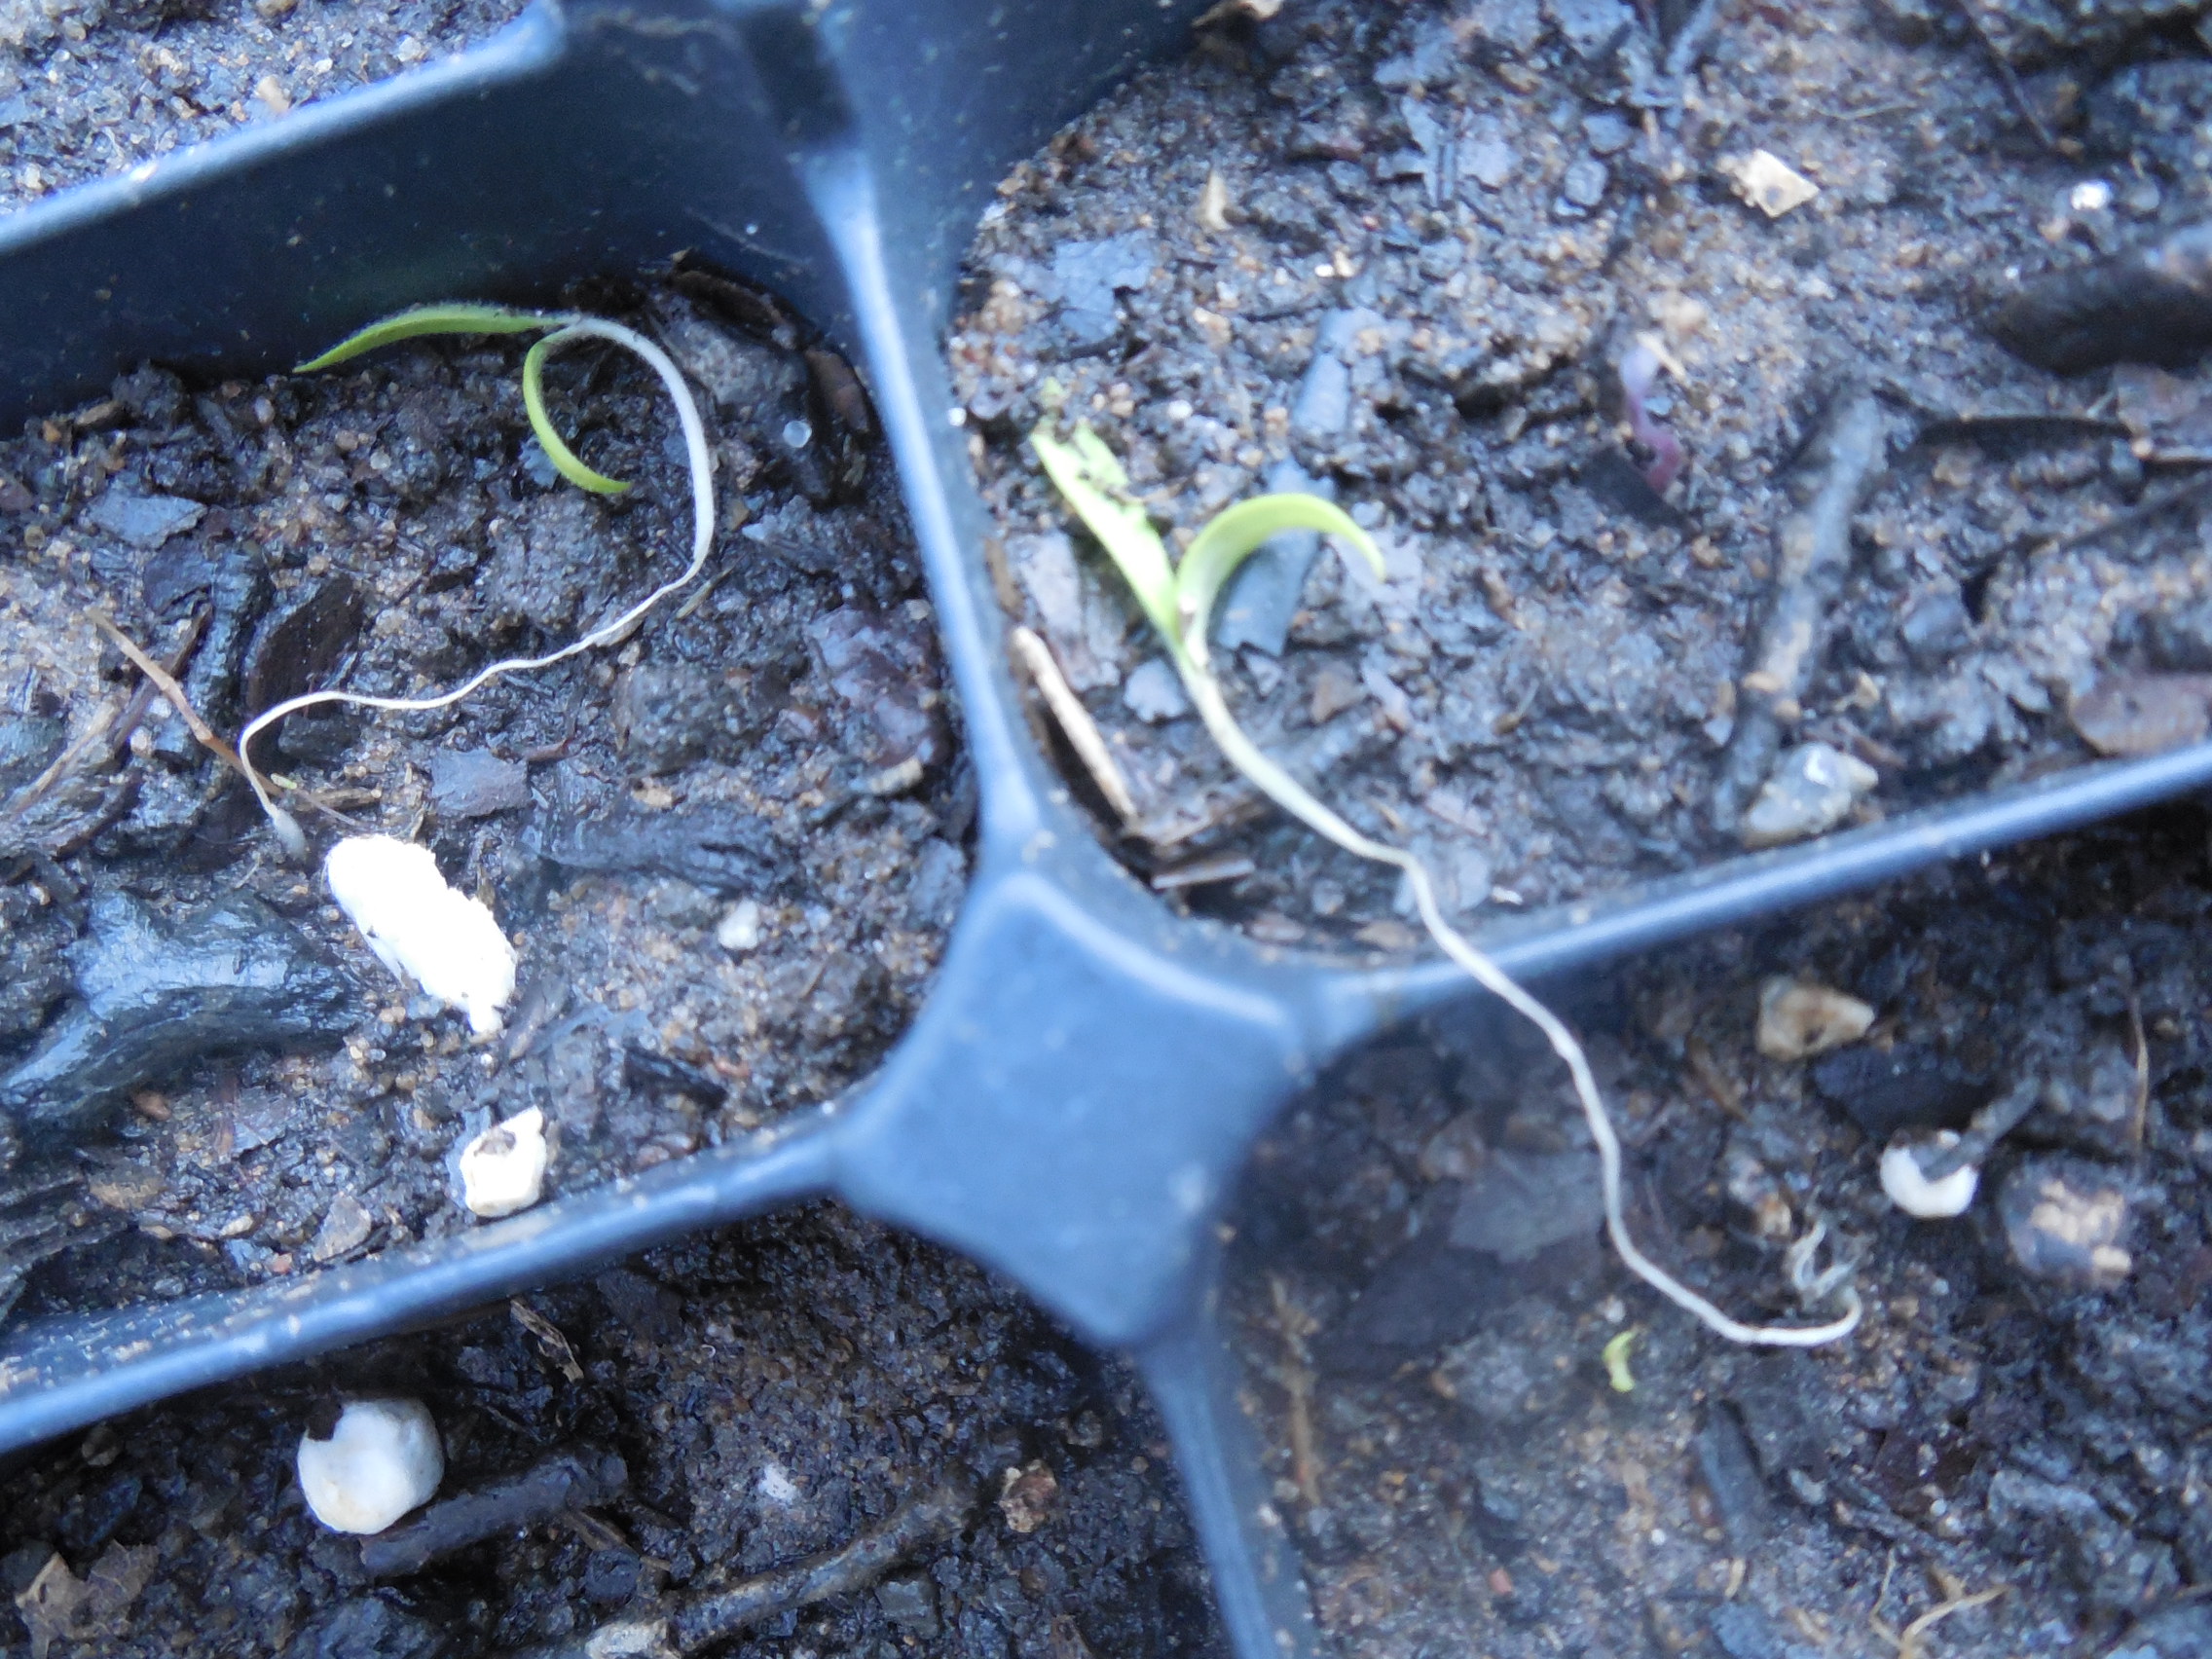
If you do not get the newly germinated plants under strong light, they reach so hard for the oven light or for the light from a distant window that they grow leggy, flop over, and die.

Tragic, yes, I know. But I still had plenty of tomato seedlings and a valuable lesson had been learned. I have 8 varieties of tomatoes that I will be growing this year and they are all growing well and should be ready for transplant soon.

Now hopefully I won’t turn the oven on and bake my ‘California Wonder’ bell pepper seeds that are in there today. My husband has enough stories. 🙂

What’s the craziest thing you’ve done for the love of gardening?

Basics of Starting Seeds

Standard

When all the seed catalogs start arriving, I feel like a little kid with a toy advertisement- I just sit there and circle away. I realize that there is no way that I would be able to fit everything in my yard, much less take care of it all; but it is so fun to look at all the new varieties and plan the garden. However, I can try many varieties at a good price if I start some of my plants from seed.

For example, I really wanted some Sweet William for my flower bed this year. A landscaper’s flat of 18 would cost me around $10. A packet of seeds usually is less than $2.

DSCN3859

I planted this flat and easily have enough seeds to sow 2 more like this from just one packet of seeds. By the time that it is warm enough to plant them in the ground, they should have their second set of true leaves.

If Sweet William was the only type of flower that I wanted for this year, I probably would’ve just paid the 10 bucks for someone else to grow them for me.

However, I also wanted 27 marigolds (at least!), zinnias, blanket flower, sunflowers, petunias, salvia, milkweed (for the butterflies), black-eyed Susans, dill, basil, cilantro, chives, 8 types of tomatoes, bell peppers, eggplants, and more!

Some of the varieties I wanted I haven’t seen offered as plants; I’d have to start them myself anyway. Why pay someone else to start them for me when I love planting and am suffering from spring fever anyway?

I was able to plant all of these seeds for a small fraction of the cost of buying plants. Starting these seeds also helped me get my “gardening fix” when I couldn’t really do anything else outside.

Many seeds are easy to start, and now is a good time to start vegetable and flower seeds for this year.

DSCN3857

All you need are some pots or flats filled with seed-starting mix, seeds, a spray bottle of water, a stick for making planting holes, and plant labels (see how to make some here). For bottom-watering, you will also need a container large enough for the pots or flats.

Fill the pots with the seed-starting mix.

DSCN3827

I often use my own compost, but I have to know what the seedlings look like because sometimes there are weed seeds or even tomato seeds that have survived the composting process.  If you use regular soil from your garden, you will have the weed possibility and perhaps drainage issues too.

Wet the seed-starting mix completely either by using your spray bottle or by setting the pots in the container filled with a few inches of water.

DSCN3856

The container doesn’t have to be pretty, just able to hold water. 🙂

Then make a little hole for the seed.You can use a bamboo skewer like the one pictured, or you can use a twig, pencil or even just use your finger. Generally,  you should have shallow holes for little seeds, deeper holes for large seeds like sunflowers and beans. I usually put the seed in a hole twice as deep as it is wide. I sprinkle teeny-tiny seeds (like petunia seeds) on top of the soil.

Label your pots with the name of the plant and the date sowed.

DSCN3831

Cover gently and spray the surface until it is completely wet. Be sure to not let the seeds dry out once they have been planted.

I like using a spray bottle for light watering before the seeds sprout. Once the seeds have germinated, it is better to water from the bottom.

To water them from the bottom, place them in a container filled with a few inches of water. The water will be absorbed and will move up to saturate the soil. Be sure that you remove them after a minute so they don’t drown.

DSCN3818

Soon you will have plenty of seedlings and probably will have seeds left over for next year!

I usually transplant my little plants  when their roots begin to show out of the bottom or when they have their second set of true leaves.

March is a great month to start flowers and vegetables and to really get ready for spring. My March To-Do List will be posted soon.

It’s pretty cold out there (for Florida), maybe a Pumpkin Oatmeal Chocolate Chip Cranberry Walnut cookie would help. 🙂

Stay warm and protect your little seedlings!

Note: For an update on the Sweet William seedlings, including pictures, click here.

DIY Plant Labels

Standard

I love to start plants from seeds, like my beautiful zinnias from last year. The butterflies loved them!
1045097_270647036410494_1604609450_n

When I start my own seeds, I usually start a zillion different varieties. I can typically recognize the plants when they get their true leaves(second set), but until then I need a way to see what I planted and when I planted. With some vegetables like tomatoes, the plants will look the same for weeks. If I really want my ‘Super Sweet 100’ cherry tomatoes to be planted near my back porch, how will I tell them apart from my ‘Mortgage Lifter’ tomatoes when it’s time to transplant?

Although there are many pretty labels available for purchase, I don’t typically need to keep the labels forever, I just need to know what seeds are coming up, what may need to be replanted, and when I sowed the seeds.
DSCN3821
I’ve tried popsicle sticks; they’ve gotten moldy and tend to deteriorate quickly. Last year I tried making my own from milk jugs; the permanent marker faded into nothingness.

Earlier this year, when I began to feel spring fever and wanted to start some seeds, I thought about the label dilemma again.

How could I label a zillion plants without paying for a zillion labels that I would only use for a little while?
DSCN3813
Enter the lowly styrofoam cup!

To make some simple labels you only need a styrofoam cup, scissors, and a ballpoint pen. You could even reuse your coffee cup from work this morning, the plants won’t mind. 🙂
DSCN3814
Cut the cup from the rim to close to the bottom.
DSCN3815
Cut around the bottom to separate the labels.
DSCN3816

DSCN3817
Ta-da! Now you have lots of labels with very little time or money invested. Now you can write the name of the plant (there’s plenty of room for long names) and the date sowed.
DSCN3818
So if you too are suffering from a touch of spring fever, you can get those seeds out and start making labels. Here in zone 8b, you should start vegetables like tomatoes, peppers, and eggplants ASAP. It’s also a good time to start some flowers if you haven’t already done so. I love having marigolds in with my vegetables.

I will be posting about how to start seeds soon. If you want to get your supplies ready here’s what you will need: pots or plastic plant cells(pictured above), seed starting mix, seeds, and of course labels!

How do you label your little seedlings?

What to do with a Broken Pot

Standard

DSCN3757
Ever had a nice flowerpot break? Being the frugal gardener that I am, I usually just rotate the chip to the back. Alas, the break was way too big to hide this time. I really didn’t want to throw such a pretty pot away, so I decided to reuse it in my flowerbed.

When I looked at my (mostly dormant) flowerbed, I noticed that I had a little lonely parsley that looked like he could use a buddy. That gave me an idea! I could reuse the broken pot and add interest at the same time by putting the two together!

DSCN3761
So I dug a little trench for the pot to hide the broken edge.
DSCN3780
Then I nestled the flowerpot close so now it looks like the parsley is spilling out of the pot. Isn’t that pretty?

Now what about that random shard? How about making a plant label?
DSCN3765
Florida sun can be pretty brutal; I hope that permanent marker is up to the challenge!
DSCN3767
My little Shasta daisy should produce some pretty blooms this year. I started this little plant from seed last year and it has survived our winter. Maybe having a label will inspire it to bloom a little earlier. 🙂

I was able to reuse a broken pot in two ways! What do you think? Do you use broken pots in a creative way?